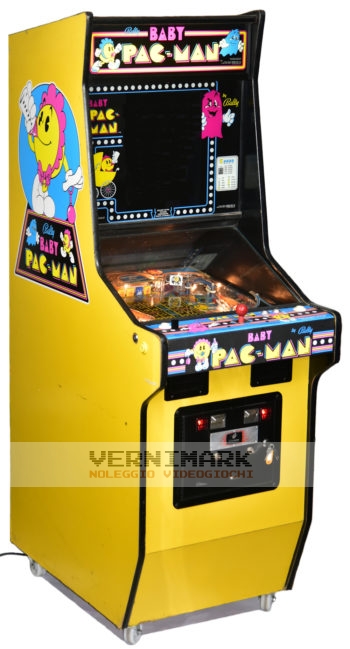
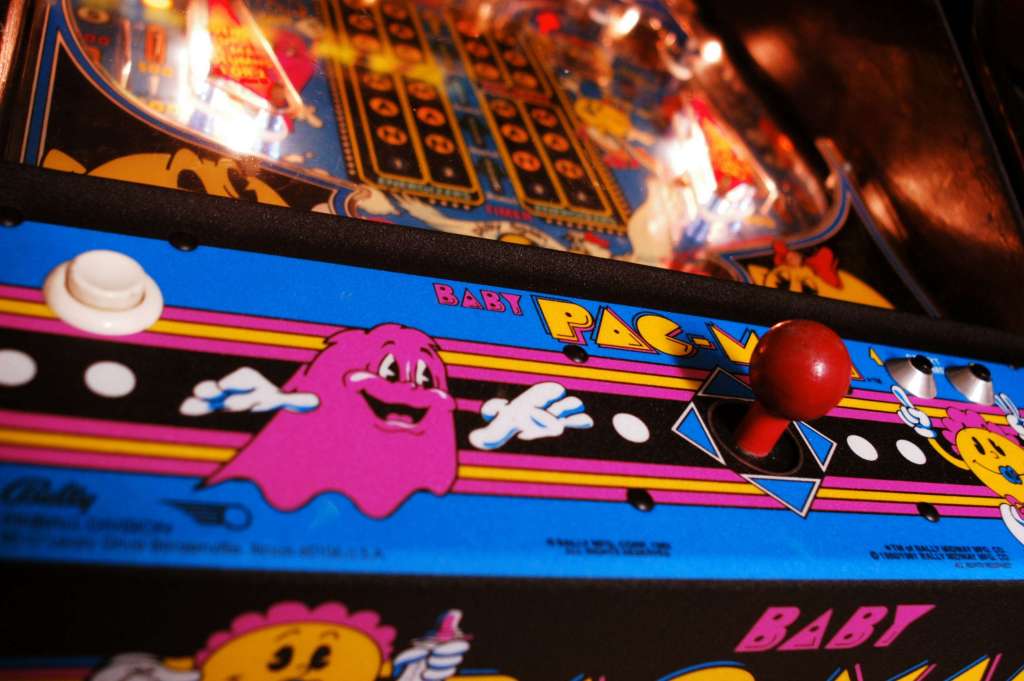
Baby Pac-Man

  • Manufacturer: Bally-Midway
  • Year: 1982

Useful info

  • Cabinet type: Upright / Pinball
  • Measures (WxHxD): 61,0 x 179,3 x 94,0 cm
  • Working voltage: 220V
  • Maximum consumption: 238,0W 1,120A
  • Technology: Vertical color raster monitor

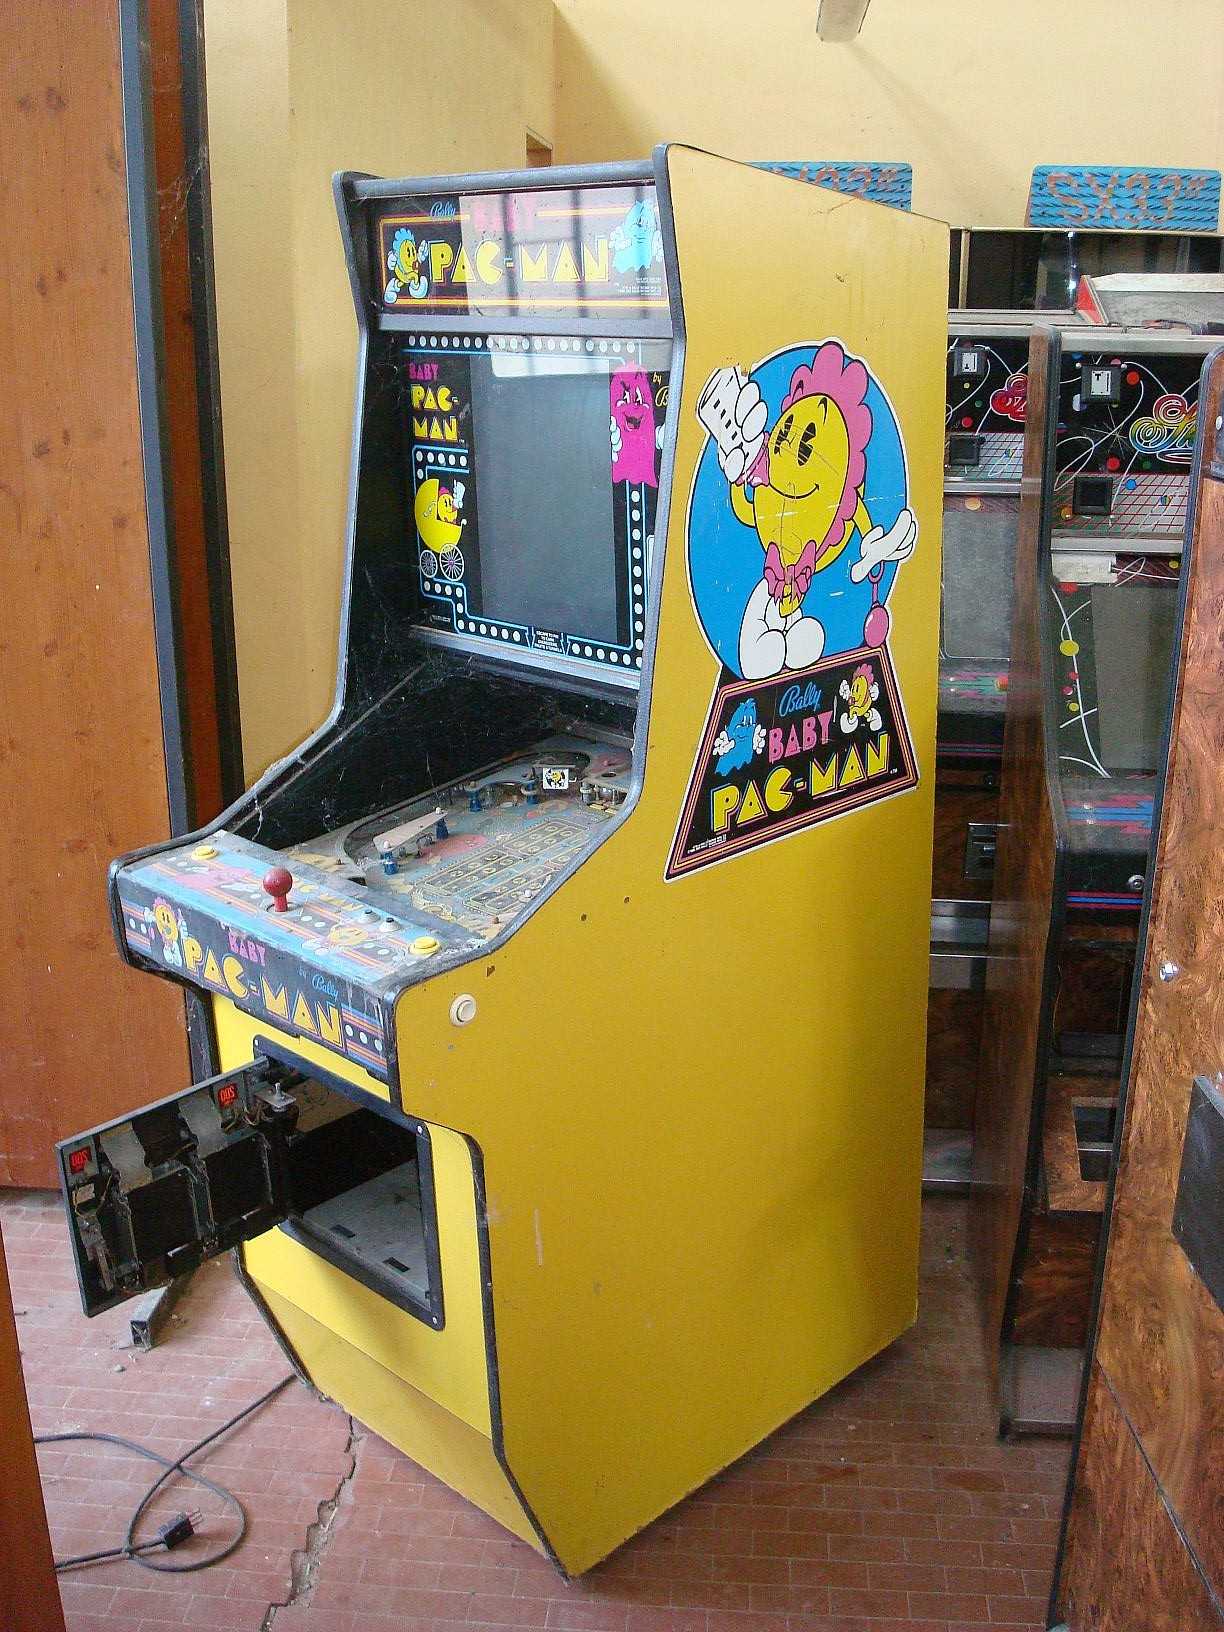
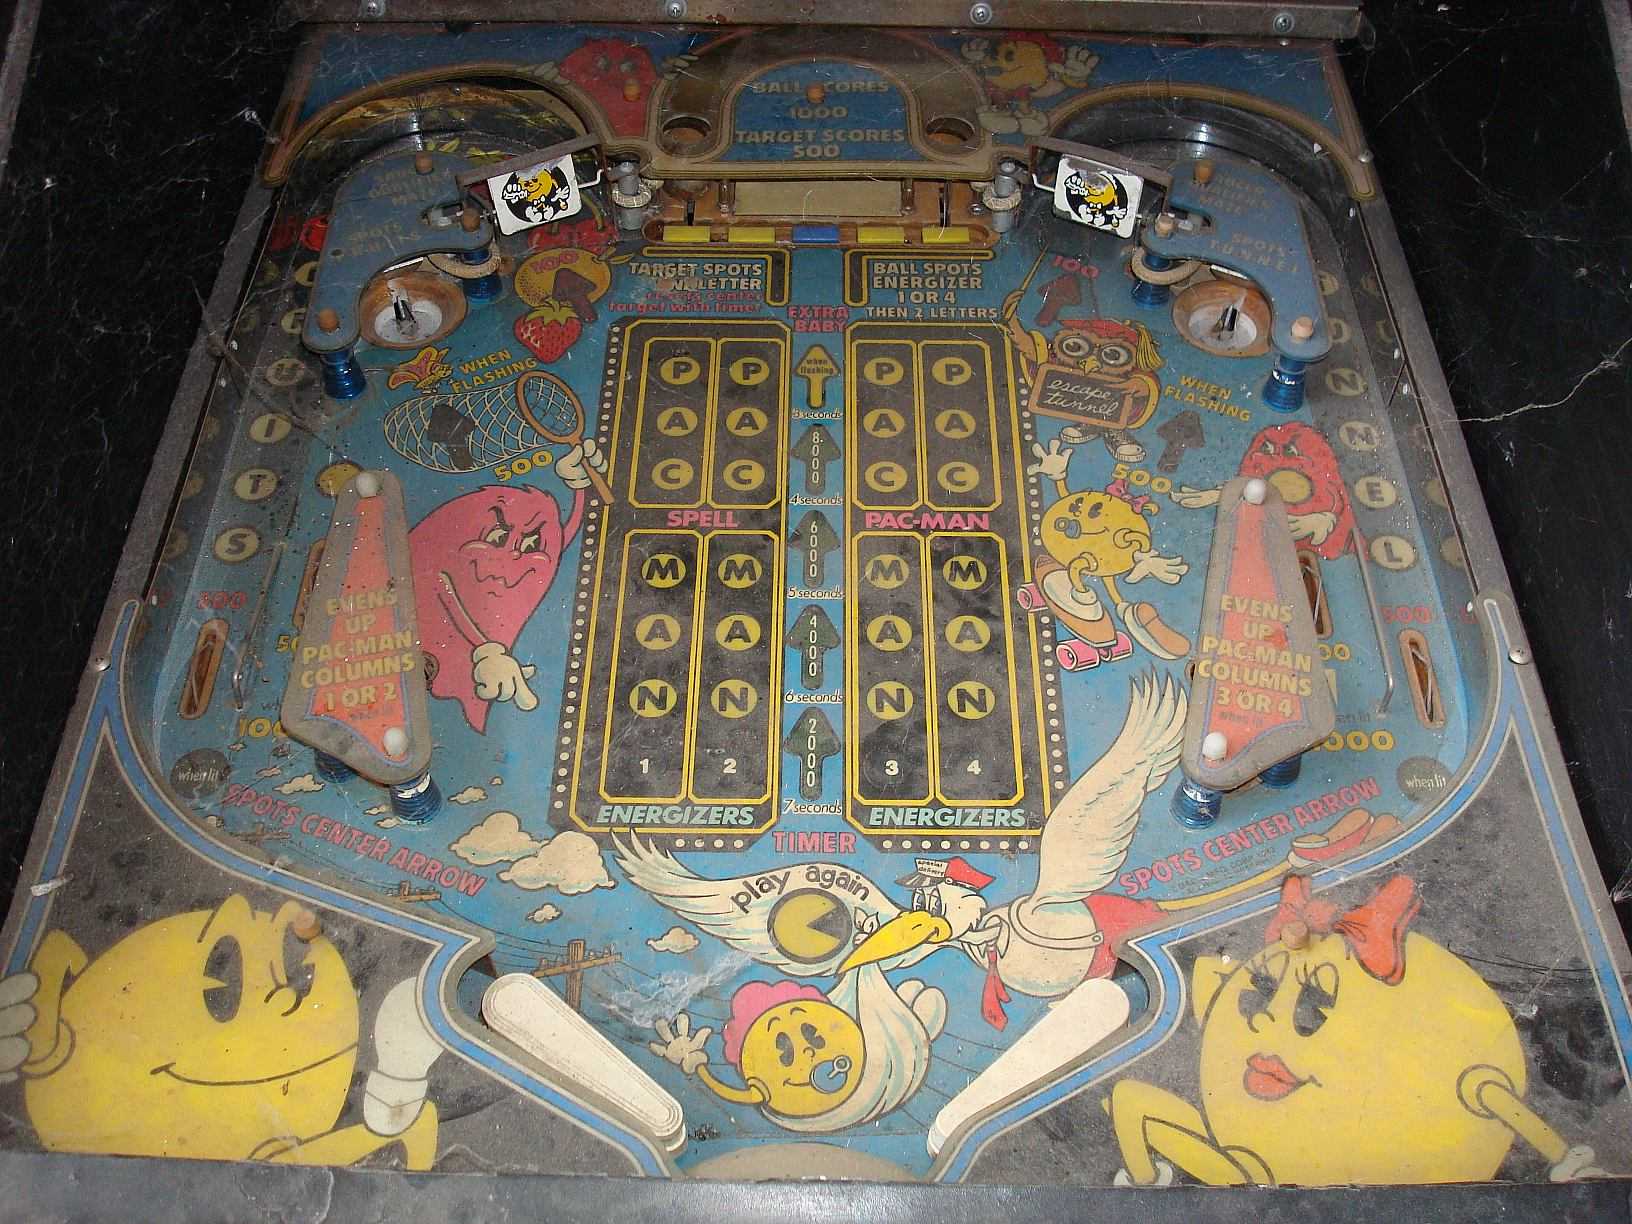
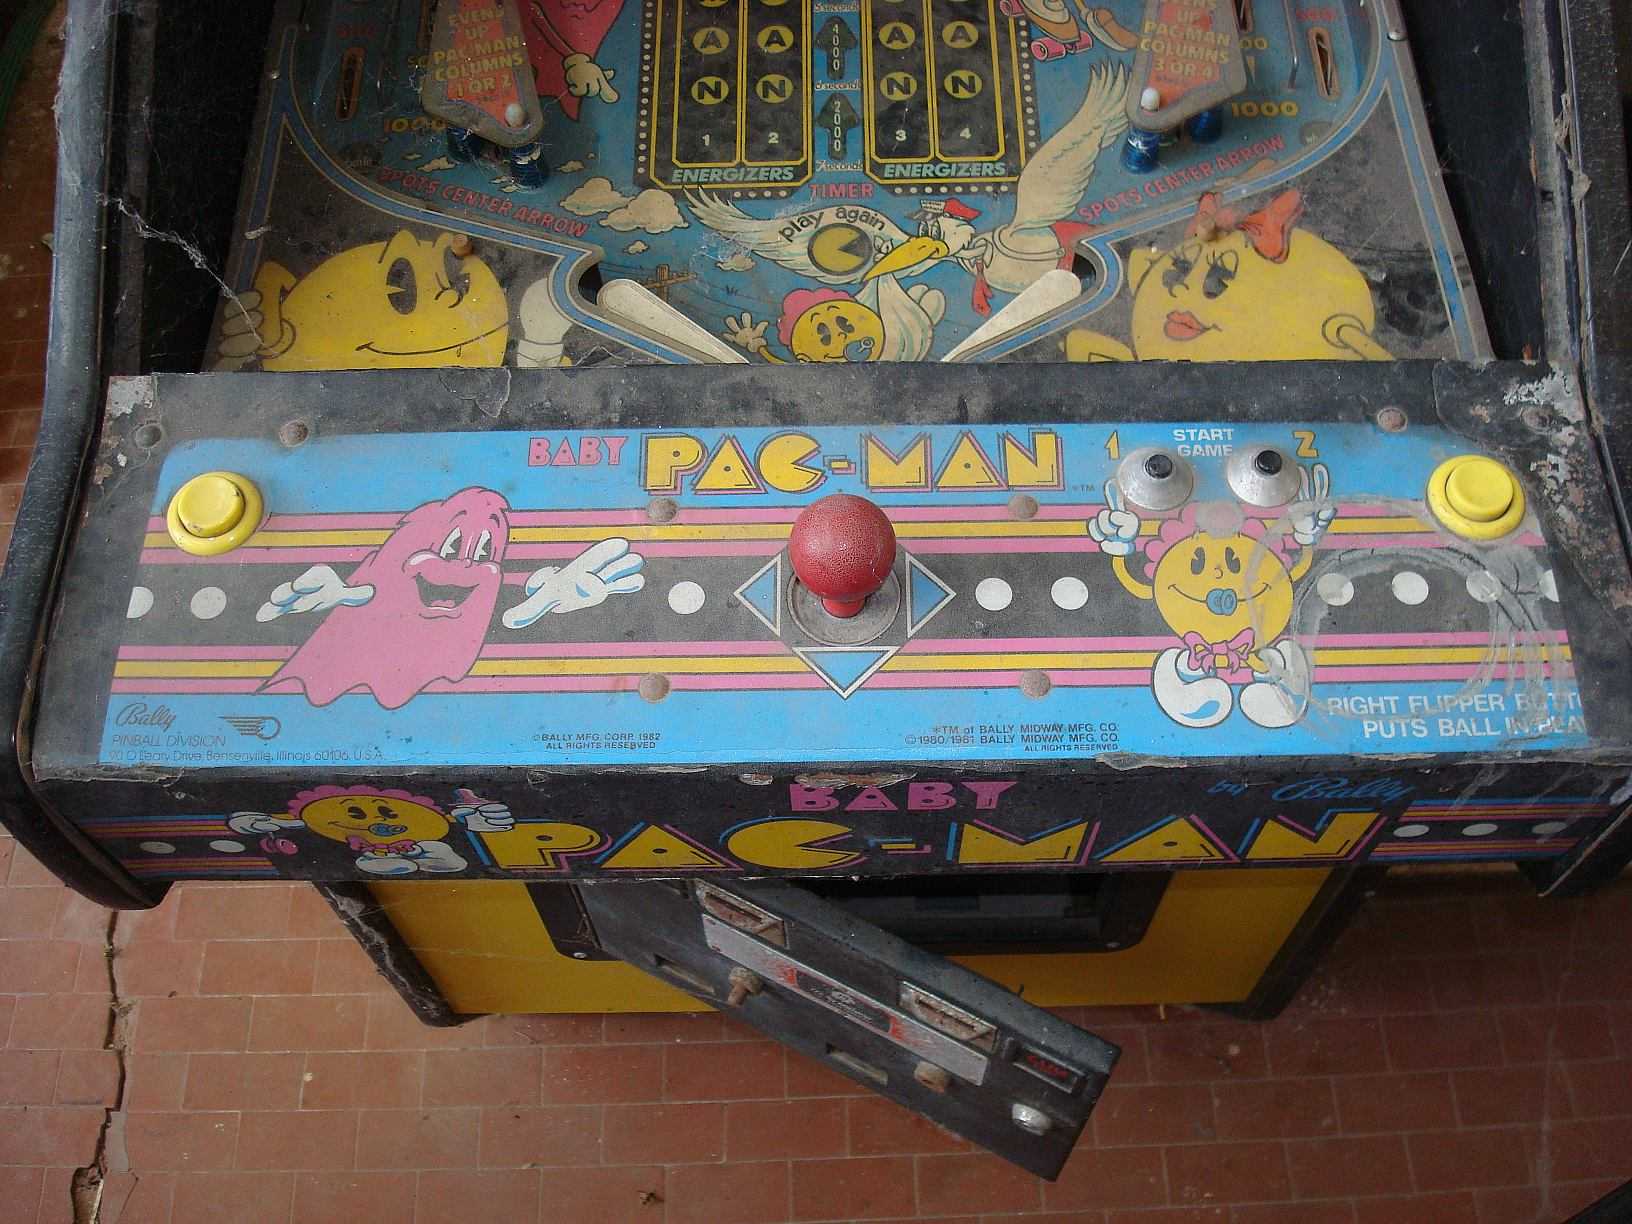
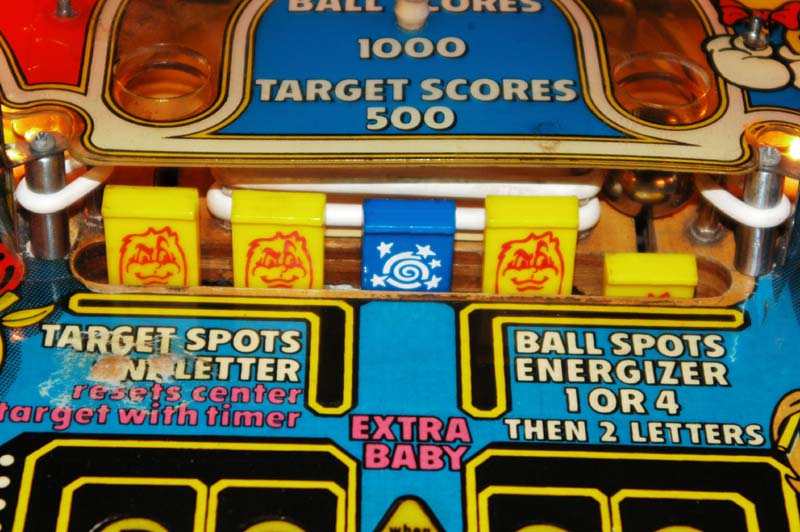
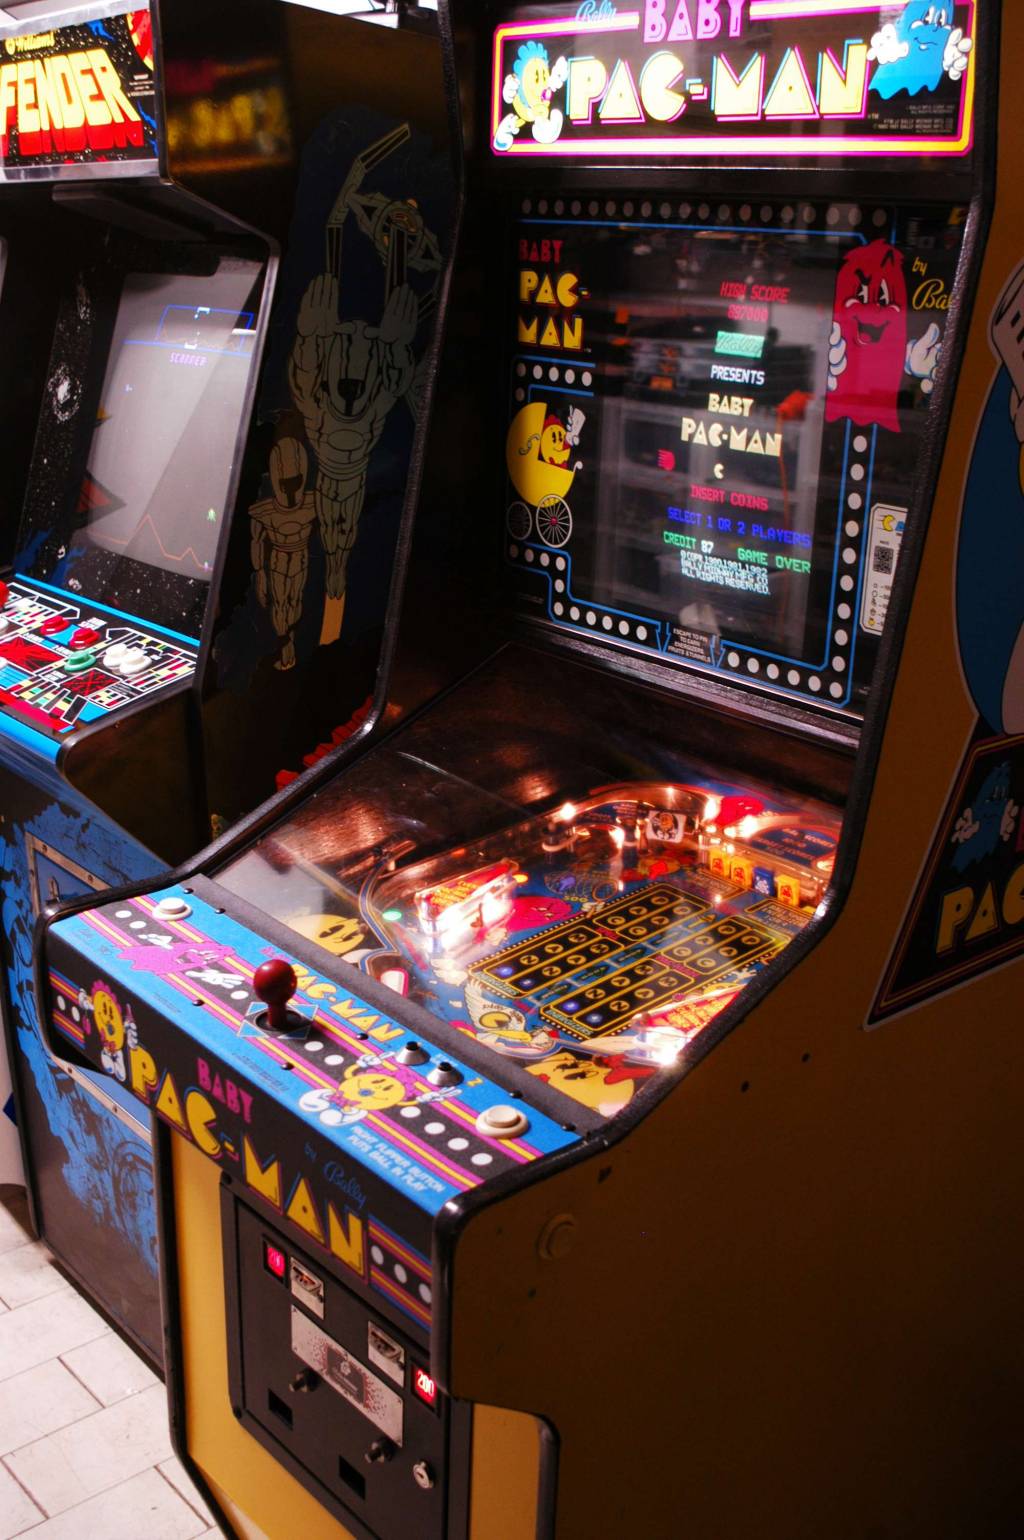
The yellow ball-shaped character became iconic in a very short time and the themed games proliferated immediately. Baby Pac-Man continues the saga after the adventure of his father (Pac-Man, in fact) and his mother (Ms. Pac-Man). This time the baby has to escape the ghosts in an even more amazing, without the famous pills that turn enemies into edible material! To be able to remedy this lack the poor child must exit the maze using one of the outputs at the bottom of the screen. At this point you activate the second part of the game consisting of a real pinball machine!! The player must remain as much as possible in the pinball part, trying to hit the targets that represent, each one, a corner of the screen obtaining the desired pill. You can also turn on bonuses that allow you to temporarily return to the upper floor to complete part of the maze. Generally, however, once the steel ball is lost, the Baby-Pac-Man returns to the maze without being able to access it for the entire duration of the level.

The game in the collection is the original American version, very hard to find in Italy, and it is in very good condition. It has both the side art and the Control panel overlay reproduced as the original ones were irreparably compromised. The pinball plan is in excellent condition as is the rest of the graphics. The TV shows a bit the signs of time.

Initial conditions

26 March 2014

Game is quite complete. general conditions are:
– MPU and VIDIOT with acid damage
– Ball is missing – Rubbers missing or worn away
– control panel rusted
– pinball target pictures in bad conditions
– scratches on side arts
– Coin door rusted …

vernimark arcades - Bally Midway Baby Pac-Man vernimark arcades - Bally Midway Baby Pac-Man vernimark arcades - Bally Midway Baby Pac-Man vernimark arcades - Bally Midway Baby Pac-Man

First boards fix

26 March 2014

I’d never seen a Bally MPU so I had to look for some documents online. Here there are two useful links: Bally Tips 1981 Bally Baby Pacman troubleshooting
Monitor is in acceptable conditions but TEST says there are some communication problems.
First of all I tracked the problem

TESTPROC.MPU CONN.Result
0101J2-08ok
0202J2-09ok
0404J2-10ok
0800J2-11wrong…
1010J2-12ok
2020J2-13ok
4040J2-14ok
8080J2-15ok


This was an easy fix, just a defective connector. If you have the same problem, the game freezes after the game over.

Coin door

26 March 2014

I could find on ebay all parts I needed  to complete the phisical restoration, as side arts, rubbers, targets and other minor graphics On Oct 6, 2011 I restored the coin door. Bally-Midway plate needed only to be cleaned but I had to de rust all the other metal parts…

vernimark arcades - Bally Midway Baby Pac-Man


vernimark arcades - Bally Midway Baby Pac-Man

vernimark arcades - Bally Midway Baby Pac-Man

The result is not so bad 😉

Targets

26 March 2014

As I said I bought new targets. These are the original

vernimark arcades - Bally Midway Baby Pac-Man

These are the new ones.

vernimark arcades - Bally Midway Baby Pac-Man

Last step

26 March 2014

Then I replaced the CP overlay and side stickers, cleaned the play field and made some minor issues on the game boards. This is the final result:

vernimark arcades - Bally Midway Baby Pac-Man vernimark arcades - Bally Midway Baby Pac-Man

I closed the restoration on Nov 18, 2011

vernimark arcades - Bally Midway Baby Pac-Man vernimark arcades - Bally Midway Baby Pac-Man vernimark arcades - Bally Midway Baby Pac-Man vernimark arcades - Bally Midway Baby Pac-Man vernimark arcades - Bally Midway Baby Pac-Man

Regenerating the tube

27 March 2014

On Sep. 26, 2011 I decided to regenerate the cathod tube. I have a Müter CRT Rejuvenator BMR95 but I missed the proper adapter, so I decided to built it on my own. This is a picture of a BMR95 taken from its manual:

vernimark arcades - Bally Midway Baby Pac-Man


Adapter code needed: 816, with the following schematics

vernimark arcades - Bally Midway Baby Pac-Man


I have several TVs in my garage and I could find one of them with the neck board useful to build the adapter needed.

vernimark arcades - Bally Midway Baby Pac-Man

 
So, more or less, I have everything I need…   STEP 1 – making the Müter -Adapter connector

vernimark arcades - Bally Midway Baby Pac-Man vernimark arcades - Bally Midway Baby Pac-Man vernimark arcades - Bally Midway Baby Pac-Man vernimark arcades - Bally Midway Baby Pac-Man vernimark arcades - Bally Midway Baby Pac-Man vernimark arcades - Bally Midway Baby Pac-Man vernimark arcades - Bally Midway Baby Pac-Man


STEP 2 – making the adapter case

 vernimark arcades - Bally Midway Baby Pac-Man vernimark arcades - Bally Midway Baby Pac-Man vernimark arcades - Bally Midway Baby Pac-Man vernimark arcades - Bally Midway Baby Pac-Man


STEP 3 – soldering all wires from the connector to the neck

 vernimark arcades - Bally Midway Baby Pac-Man


STEP 4 – assembling and painting. In the following picture you can see the handmade 816 adapter and another original adapter

vernimark arcades - Bally Midway Baby Pac-Man

New MPU

27 March 2014

On Sep. 24, 2012 Baby Pacman has stopped working. After some checks I could understand that the acid damages made difficult any kind of repair. Fortunately a friend of mine gave me a new MPU. Following the instruction flyer inside the cab I could adapt the new MPU to BP quite easily but I had some other communication problems. This time the problem was not inside a connector and I had to back track the signals until the faulty component.

TITLES |MPU |VIDIOT                                   | MPU              |
TEST   | J2 | J1 | R  | U1   | U2   | U3-U4| R   | J1 | J1 | R   | U20   |
00  00 | 08 | 26 | R1 | 2->3 | 2-> 3| 2-> 3| R10 | 14 | 20 | R84 | 5-> 3 |
00  00 | 09 | 24 | R3 | 5->4 | 5-> 4| 4-> 5| R11 | 13 | 21 | R85 | 7-> 6 |
00  00 | 10 | 20 | R5 | 6->7 | 6-> 7| 6-> 7| R12 | 12 | 22 | R86 | 2-> 1 |
08  08 | 11 | 17 | R7 | 9->8 | 9-> 8|12->11| R13 | 11 | 23 | R87 | 9->10 |
10  10 | 12 | 16 | R8 |12->13|12->13|10-> 9| R14 | 10 | 25 | R80 | ...   |
20  20 | 13 | 19 | R6 |15->14|15->14| 2-> 3| R15 | 09 | 26 | R81 | ...   |
40  40 | 14 | 23 | R4 |16->17|16->17|15->14| R16 | 08 | 27 | R82 | ...   |
80  80 | 15 | 25 | R2 |19->18|19->18| 4-> 5| R17 | 07 | 28 | R83 | ...   |

In this way I could see U20 on the new MPU was faulty. Changing that TTL BP started to work properly. U20 is a MC14502 Hex Inverter.