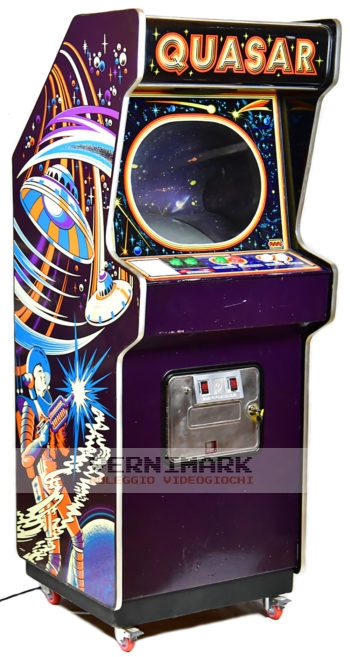
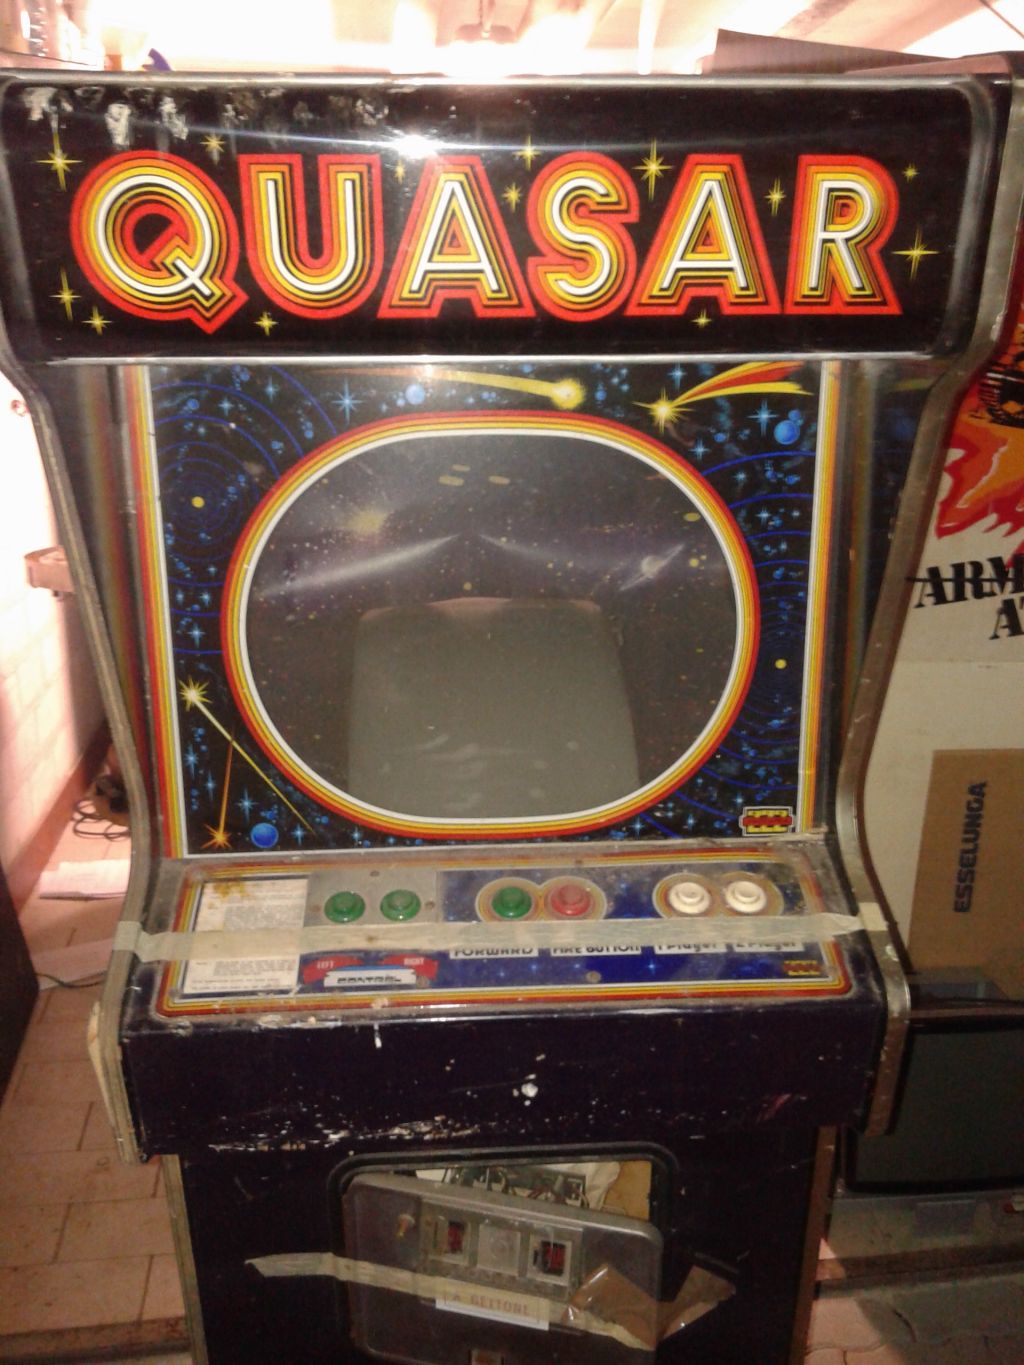
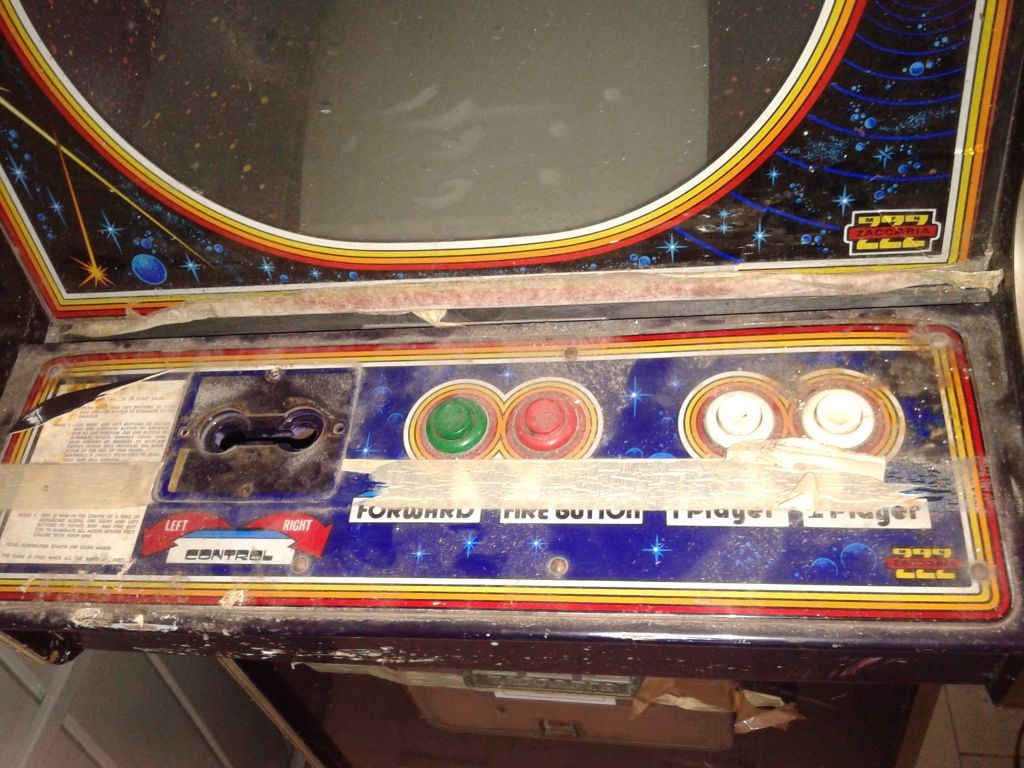
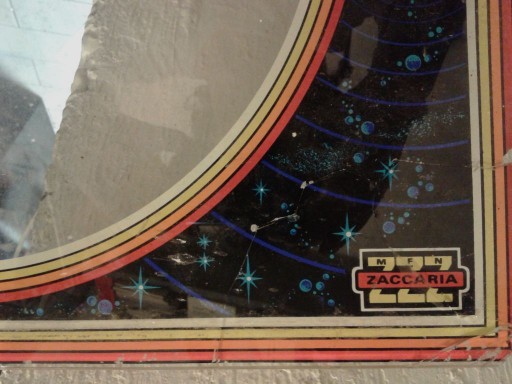
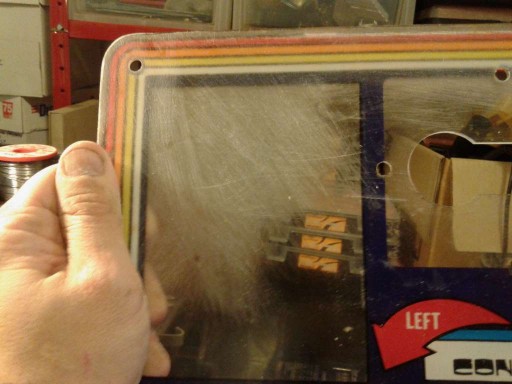
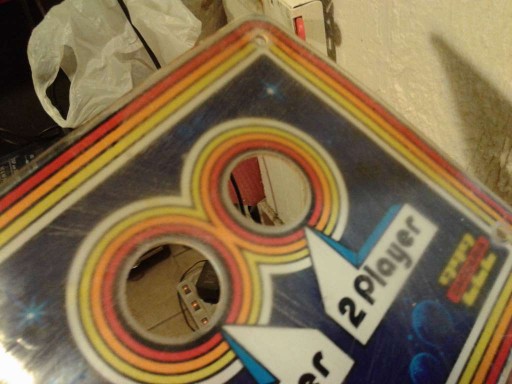
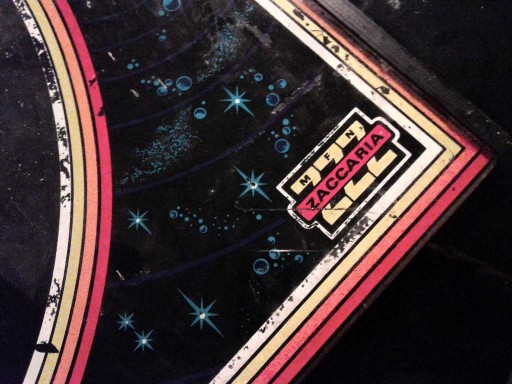
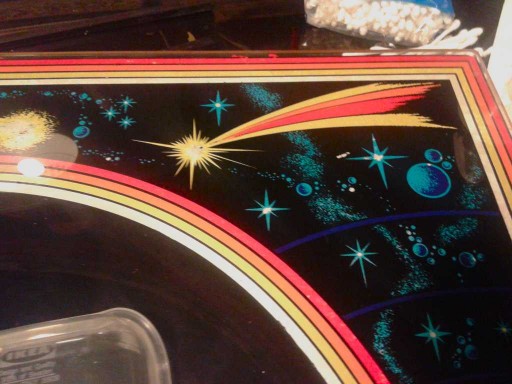
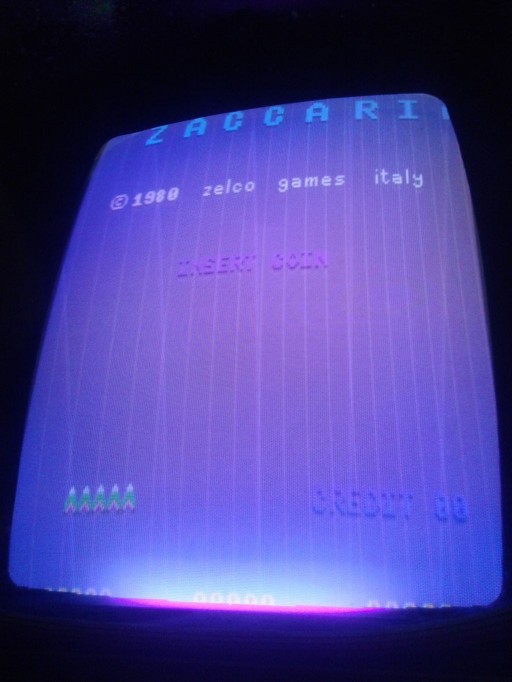
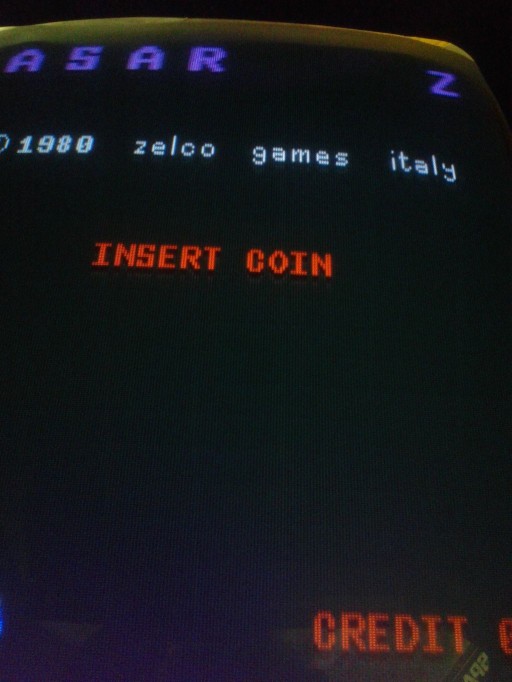
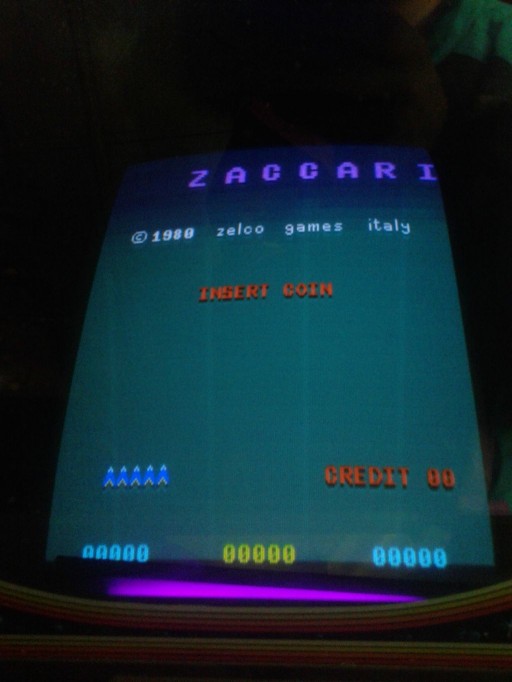
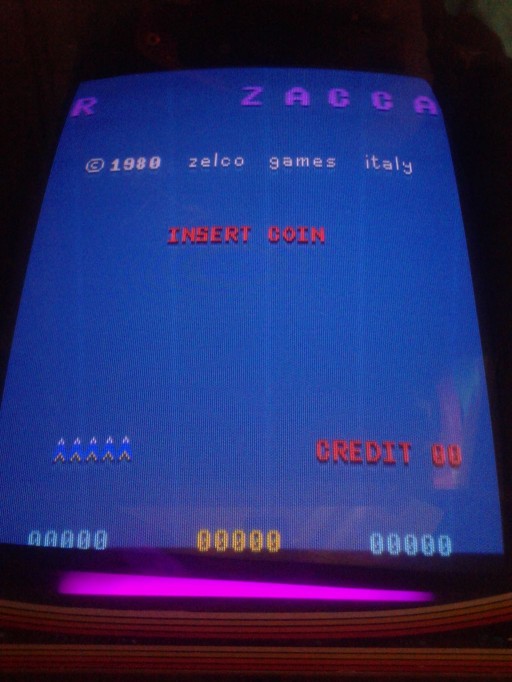
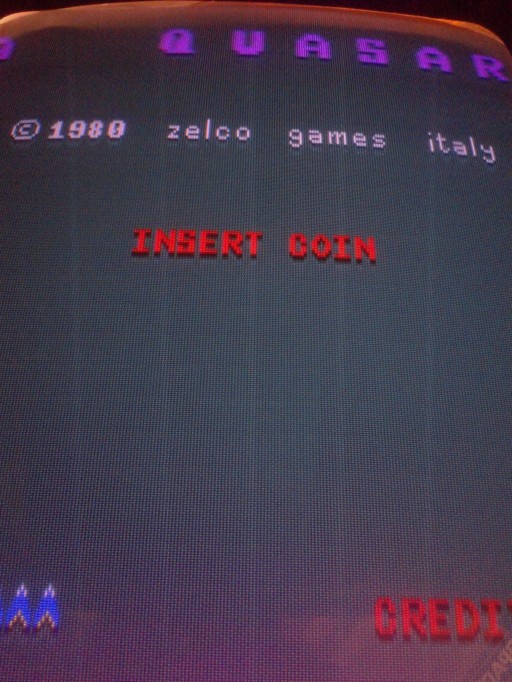
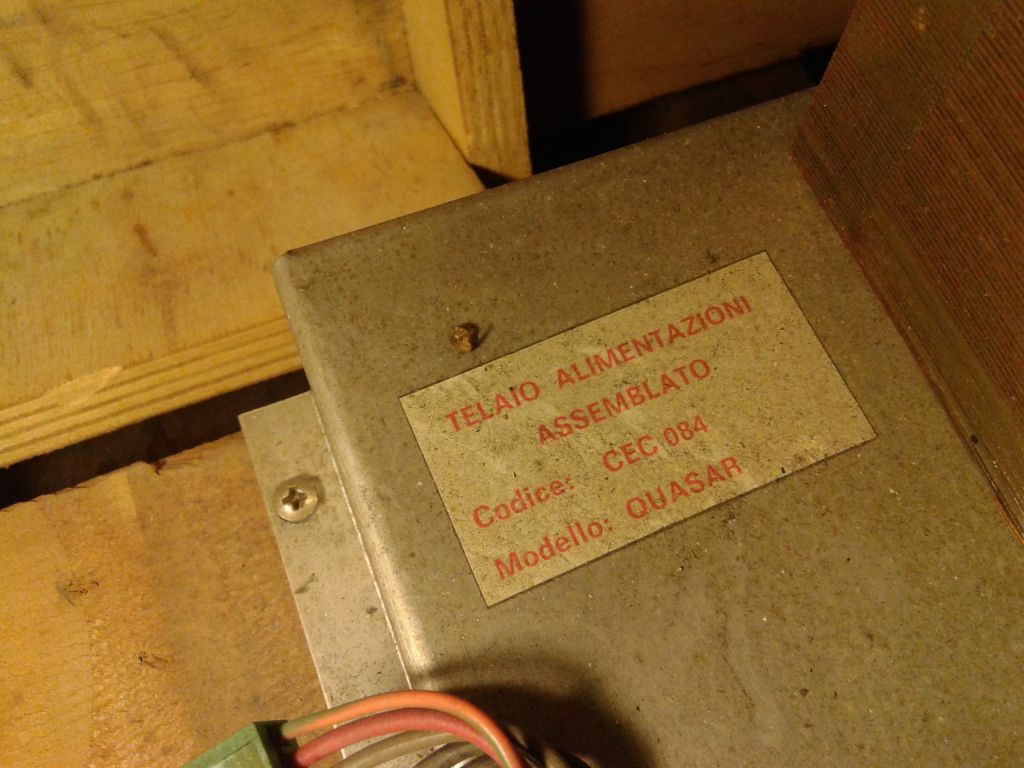
Quasar

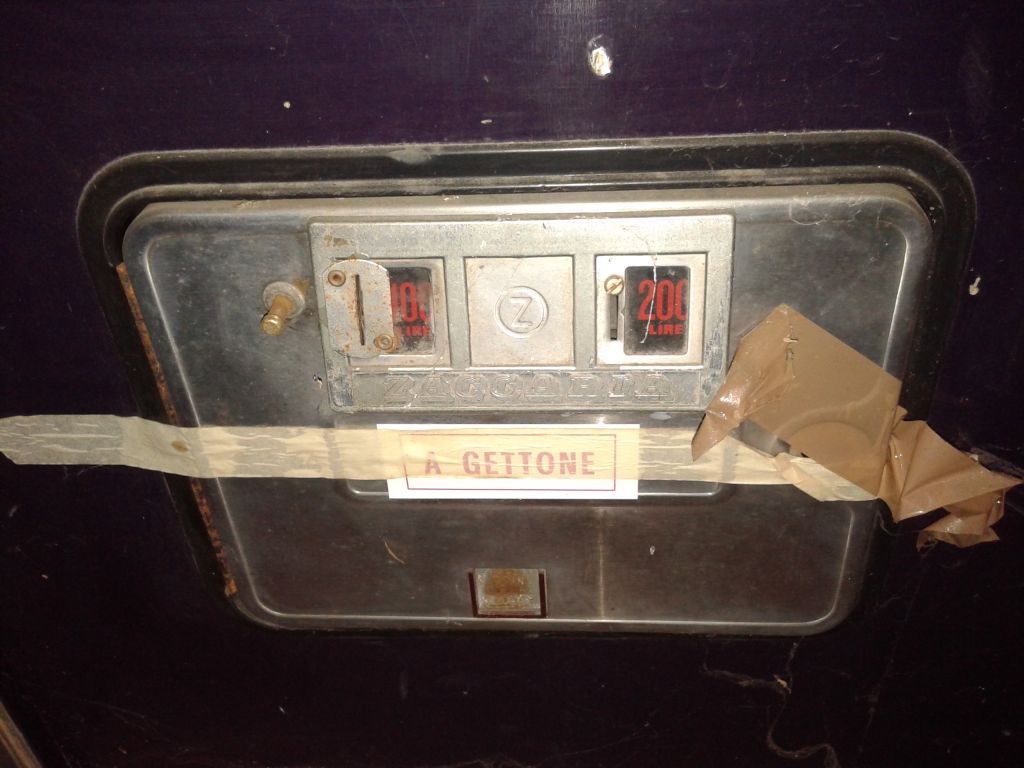
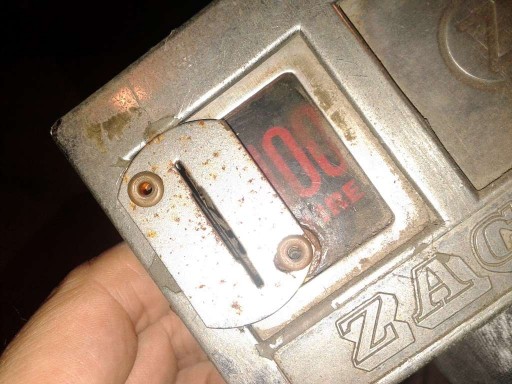
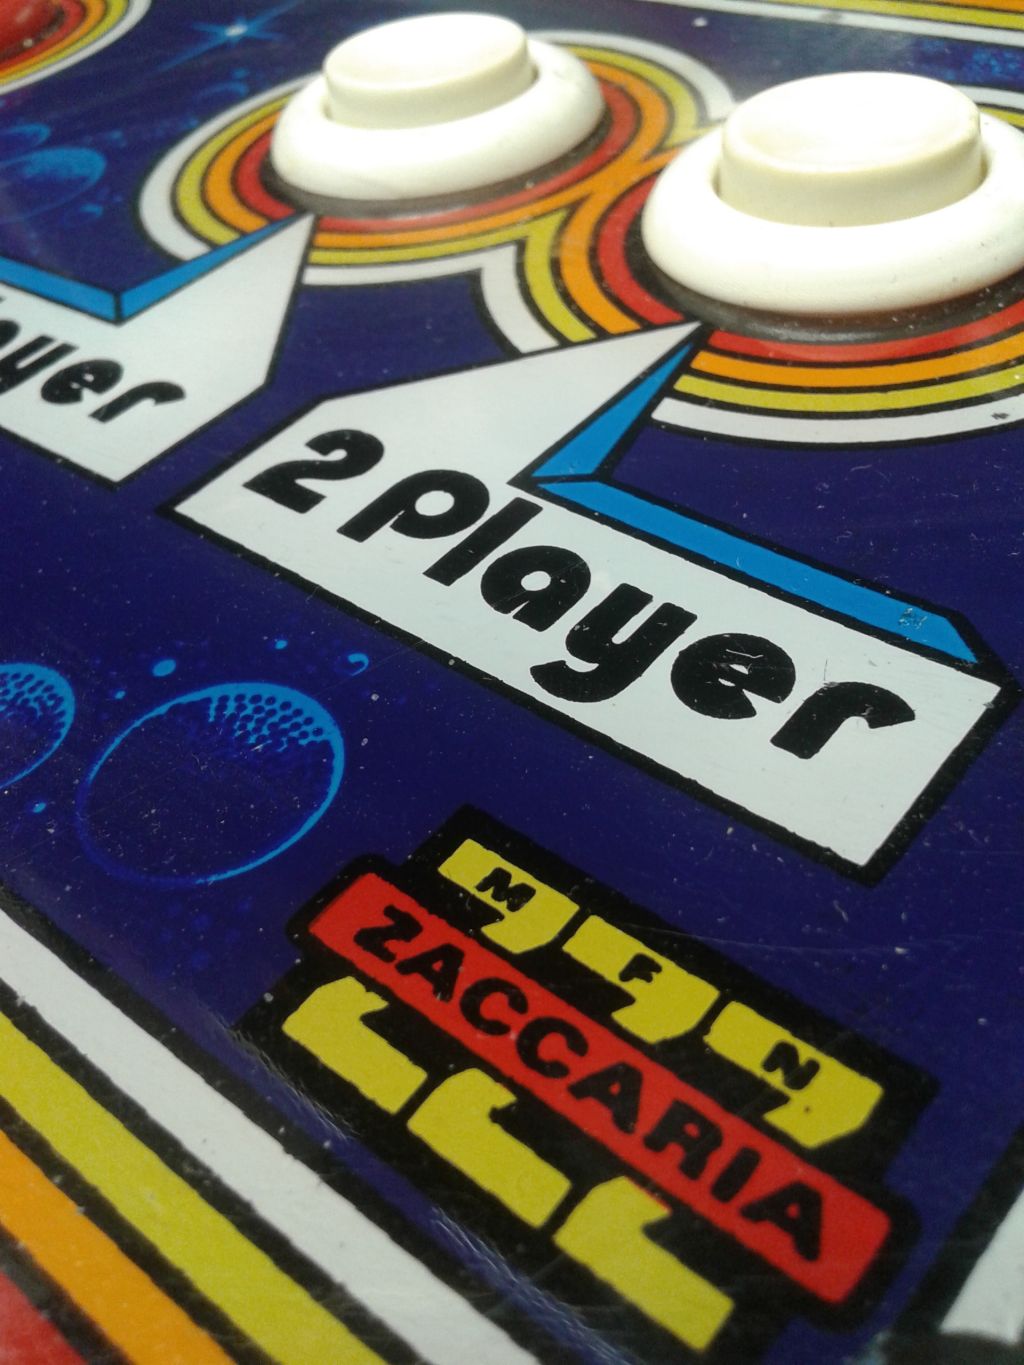
  • Manufacturer: Zaccaria
  • Year: 1980

Useful info

  • Cabinet type: Upright
  • Measures (WxHxD): 64,2 x 175,0 x 73,0 cm
  • Working voltage: 220V
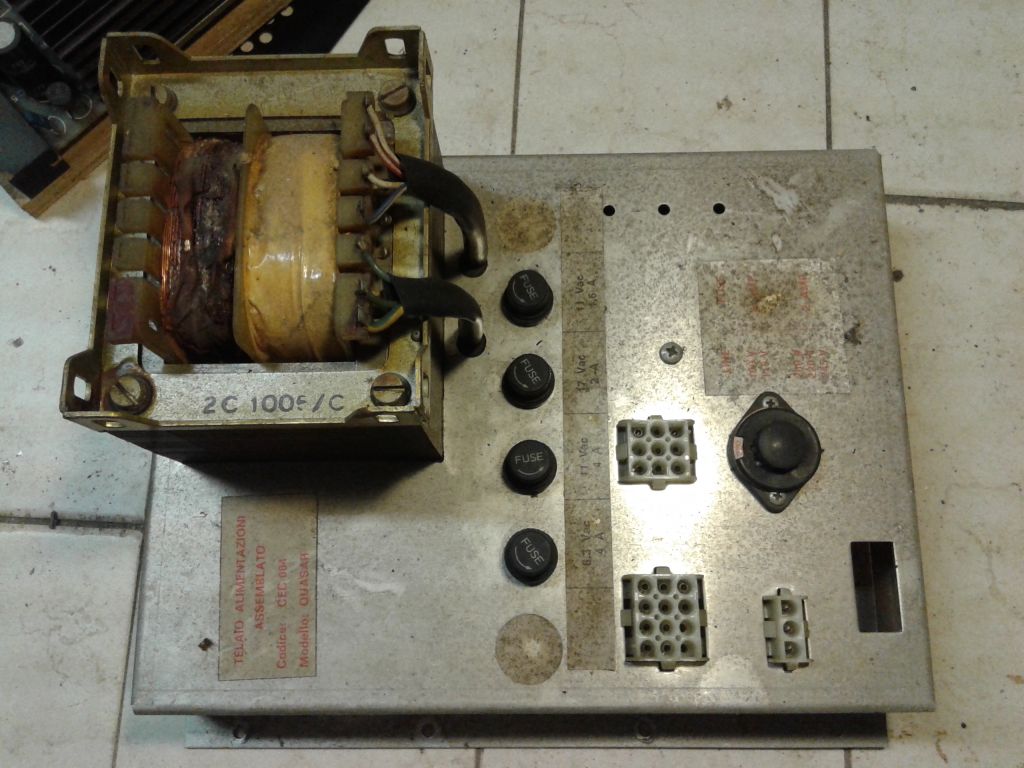
  • Maximum consumption: 175,0W 1,870A
  • Technology: Vertical color raster monitor

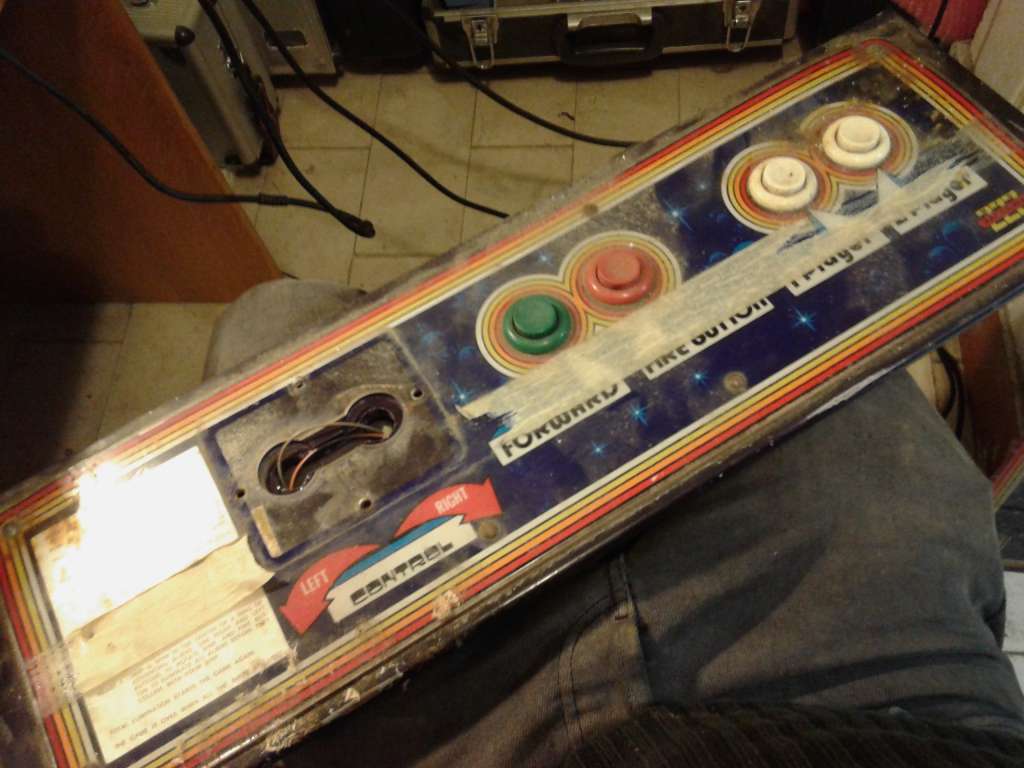
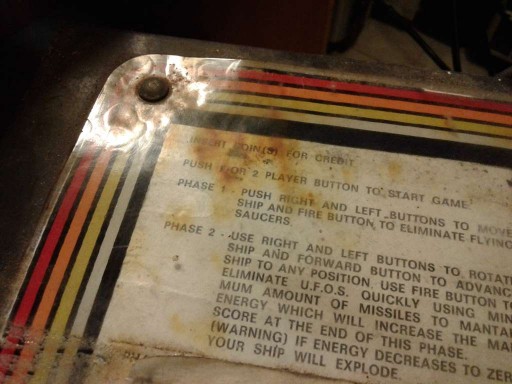
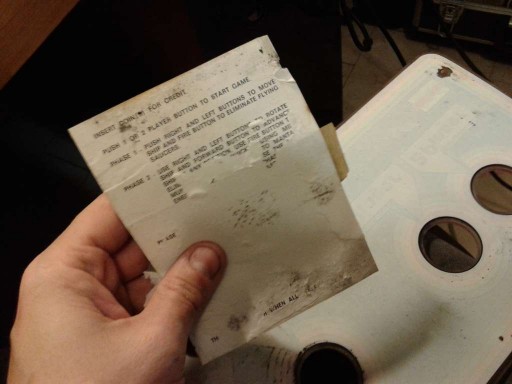
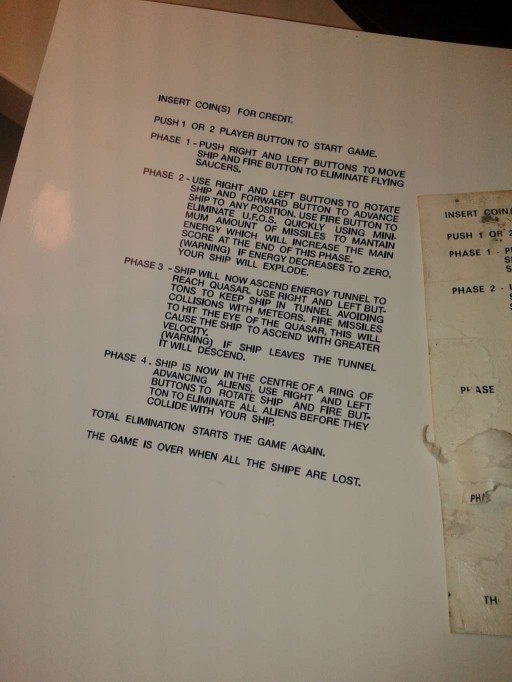
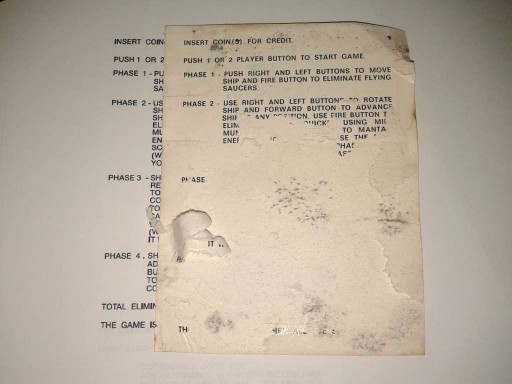
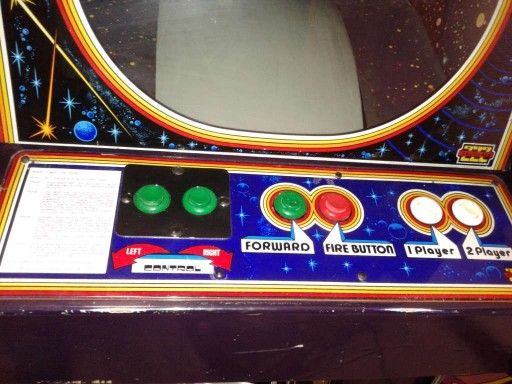
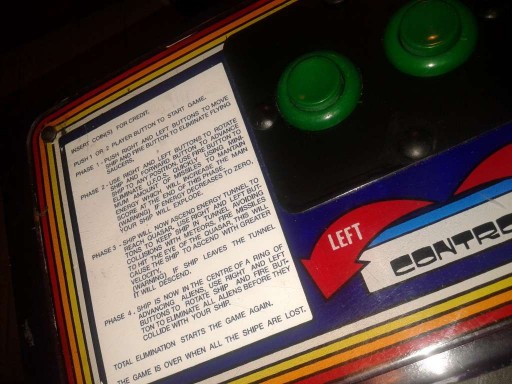
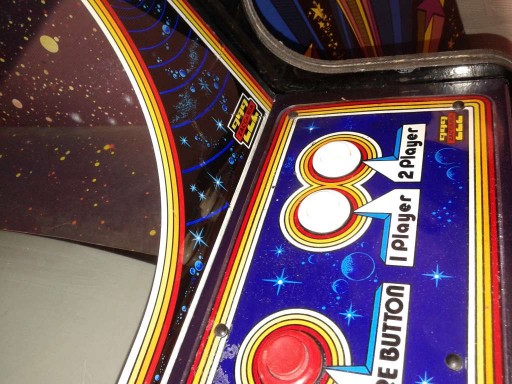
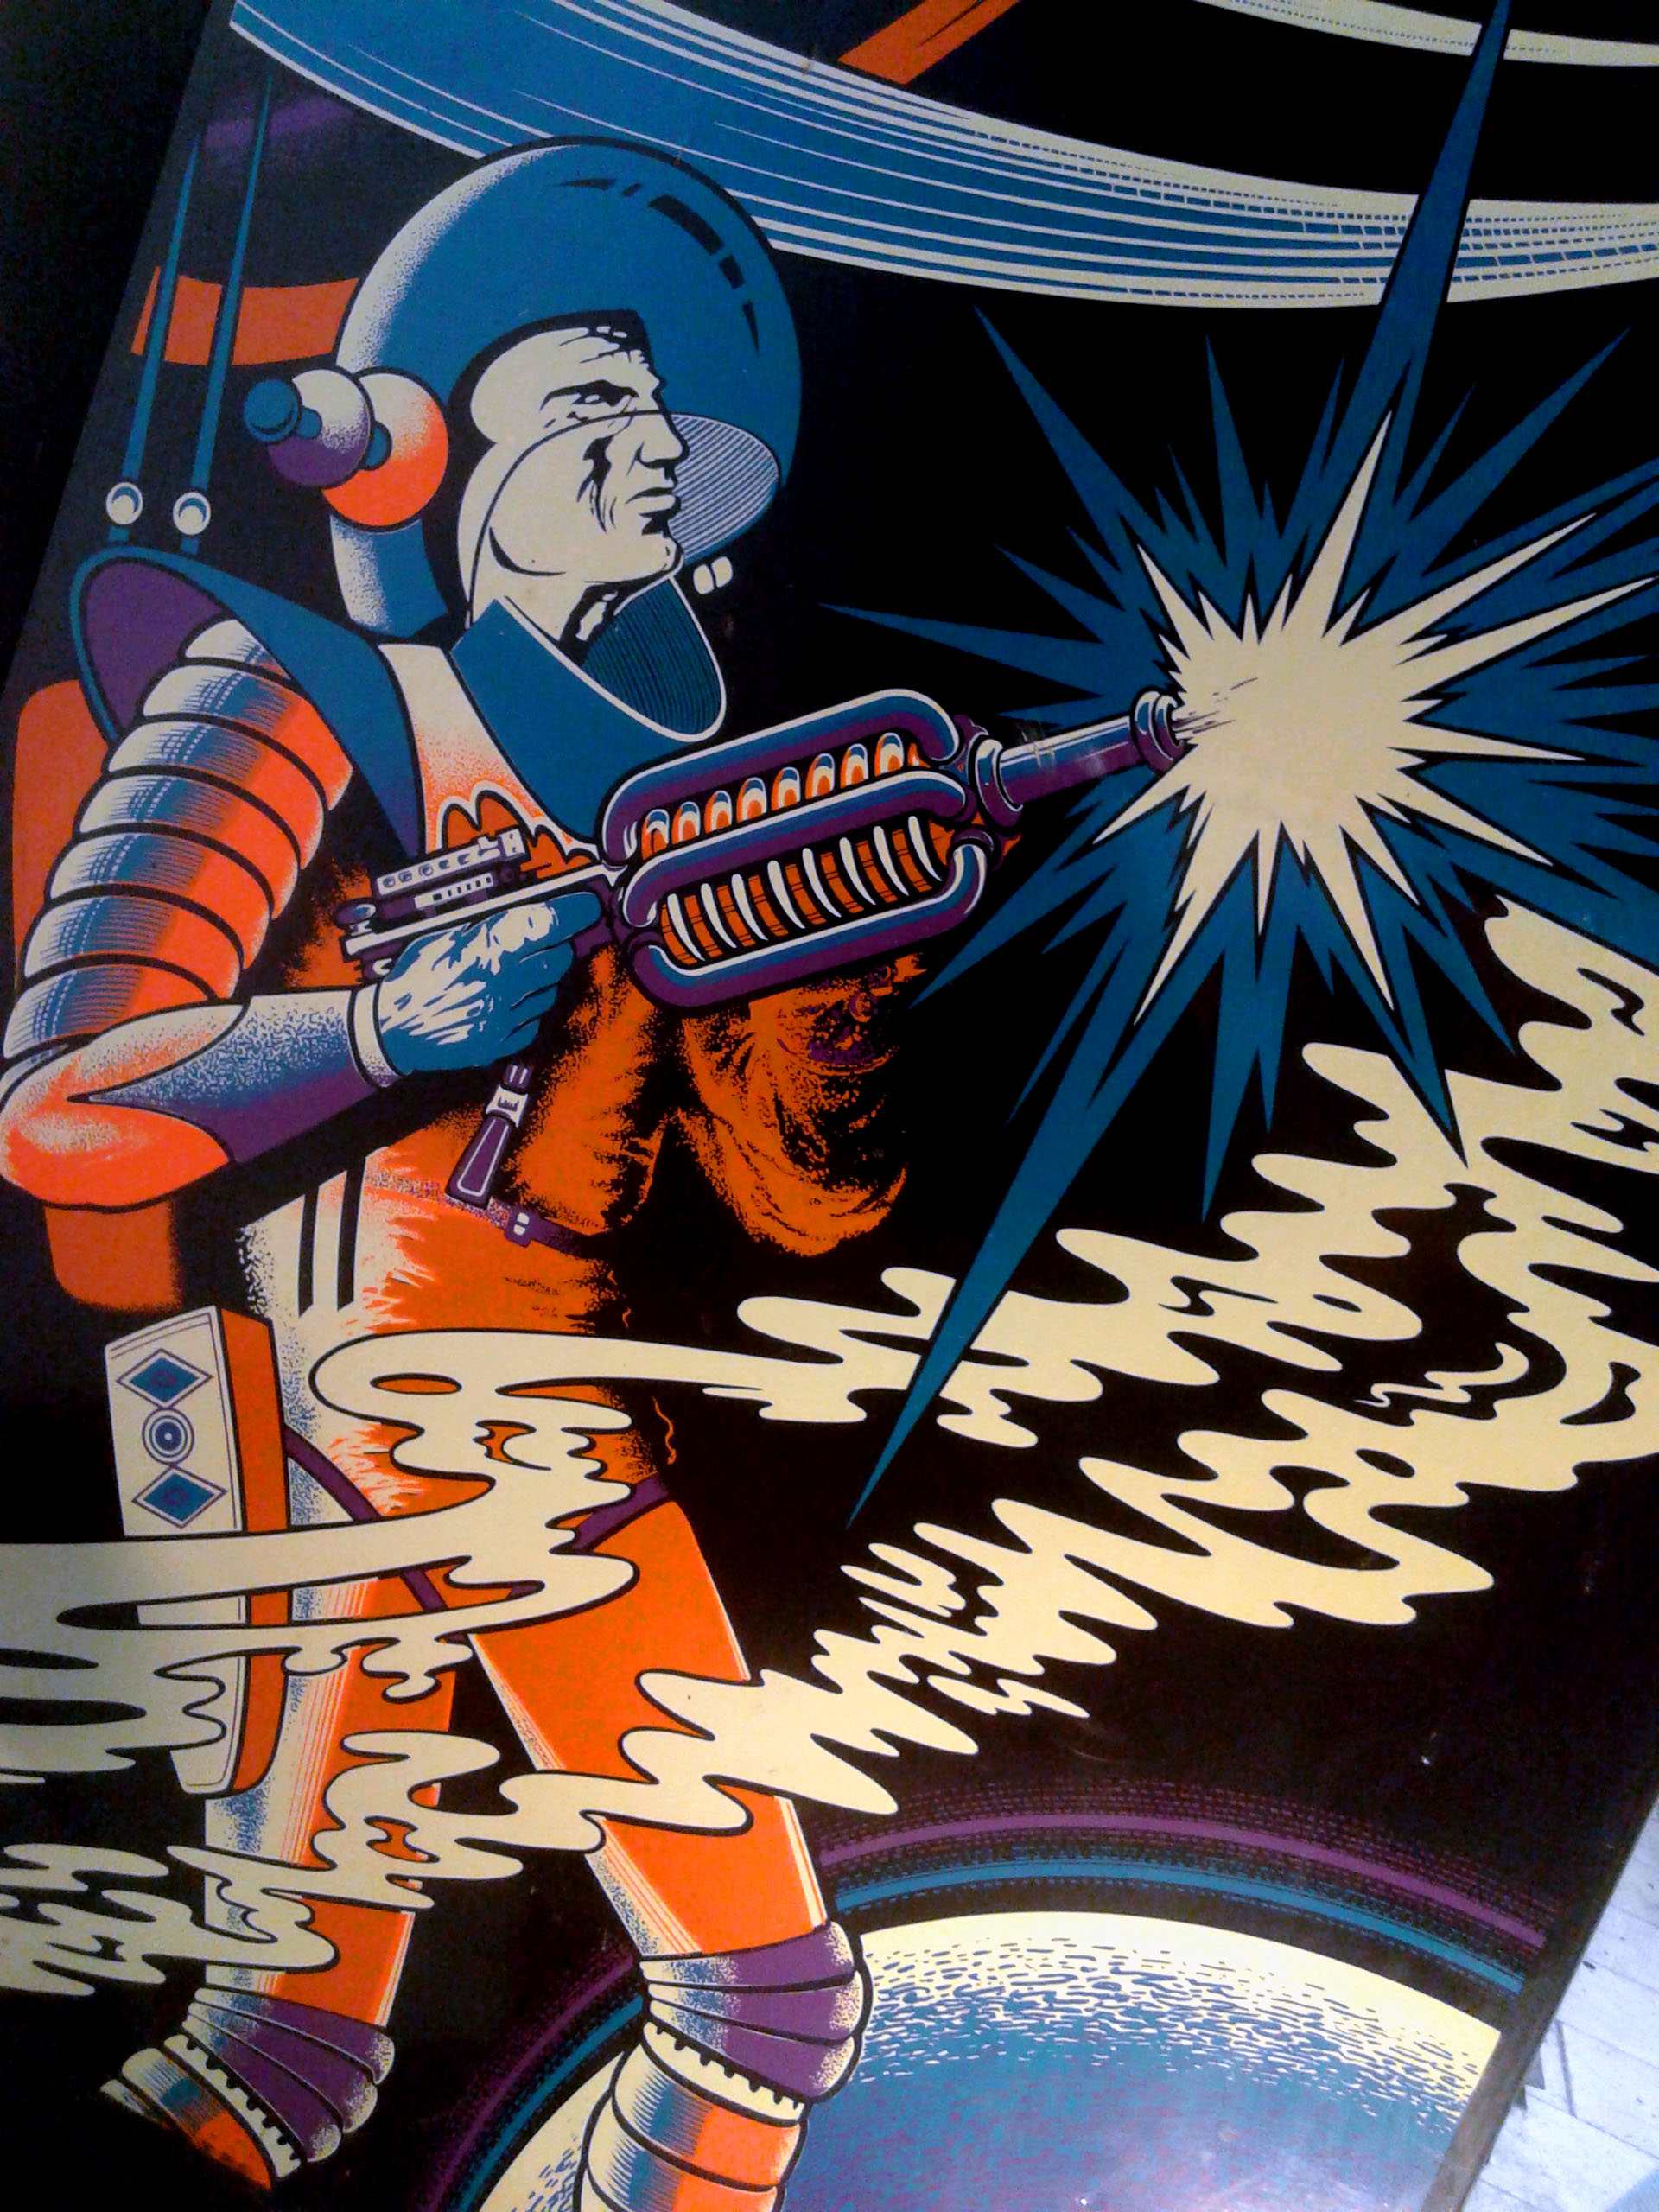
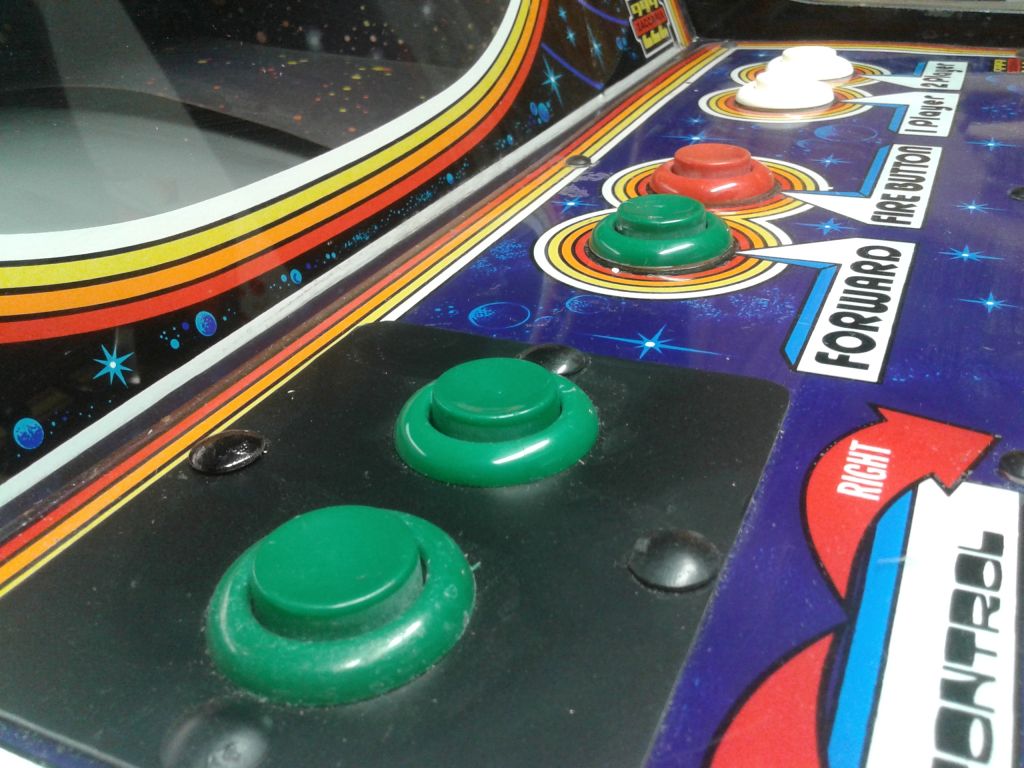
It is a game completely designed and manufactured in Italy. Conceptually it is a space shooter but here the player controls a small spaceship that can move freely on the screen. Each level has enemies of different shape and behavior and in the end you have to destroy a monster protected by shields. Completed a cycle of levels the game  starts again from the beginning. In its genre it is considered one of the most difficult games, due to the complexity of movement and the fury of enemies.

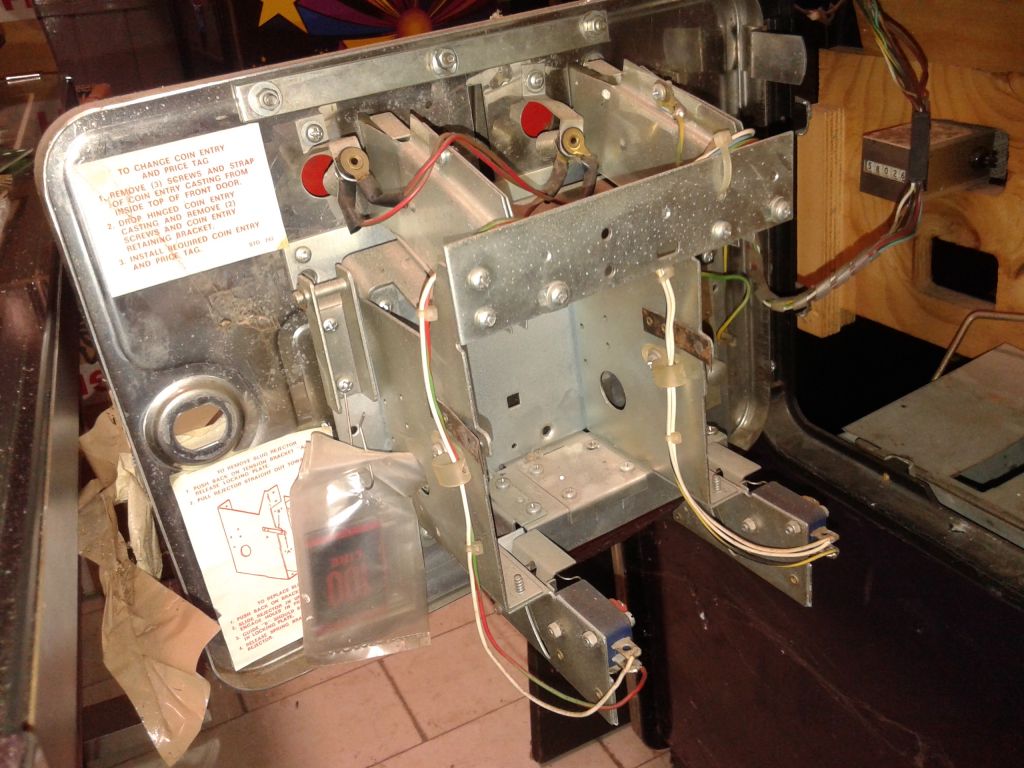
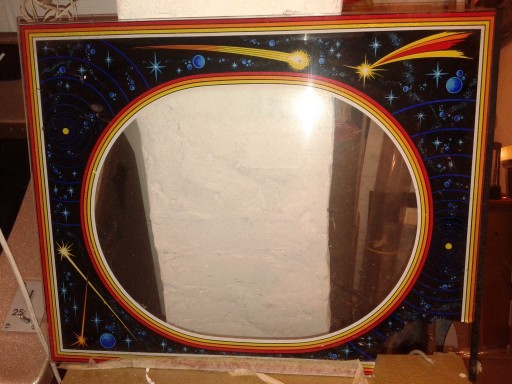
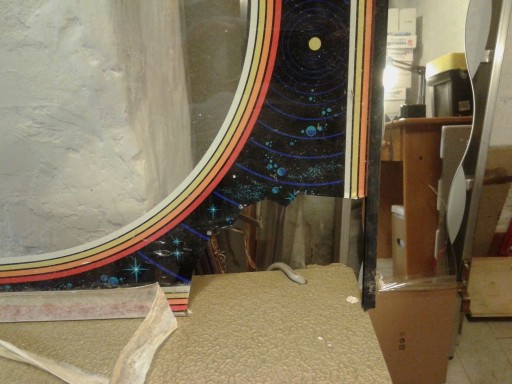
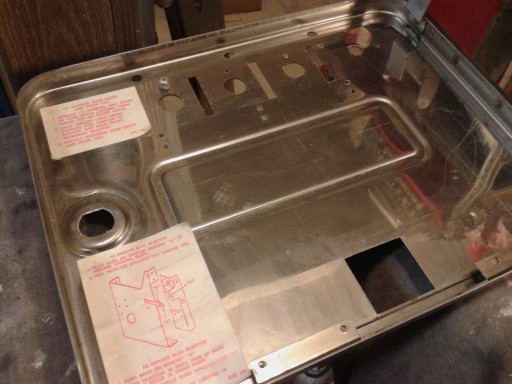
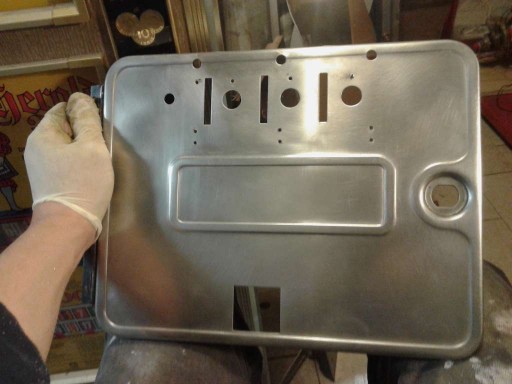
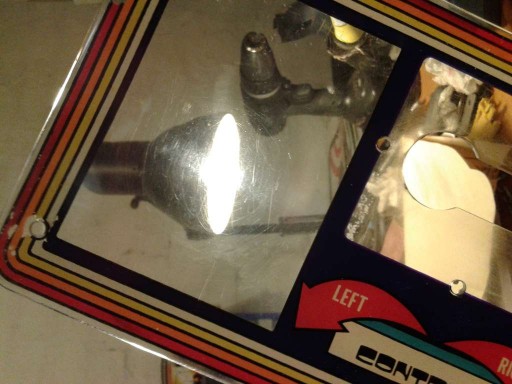
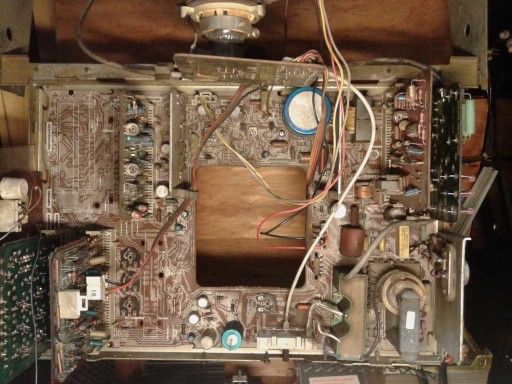
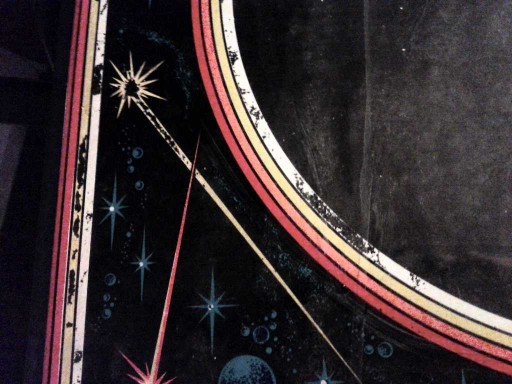
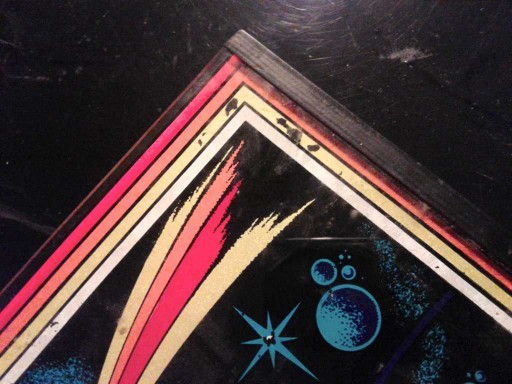
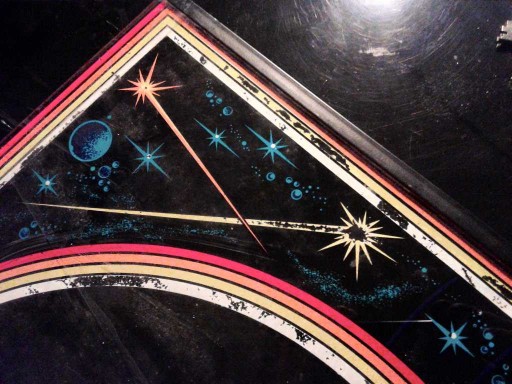
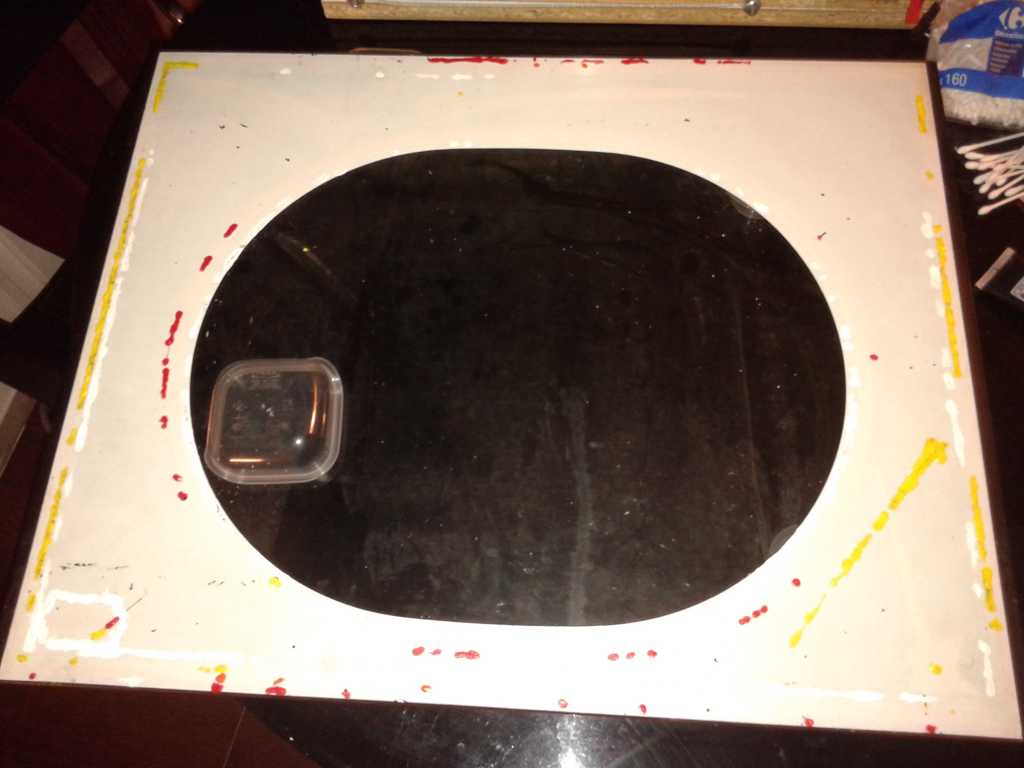
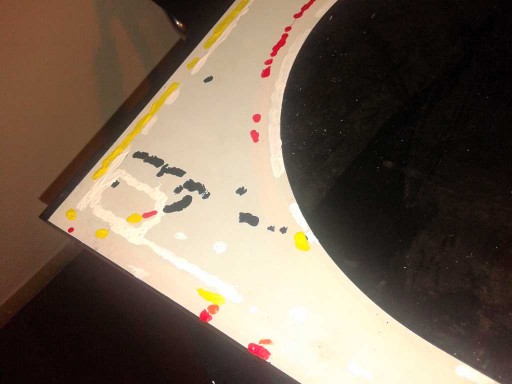
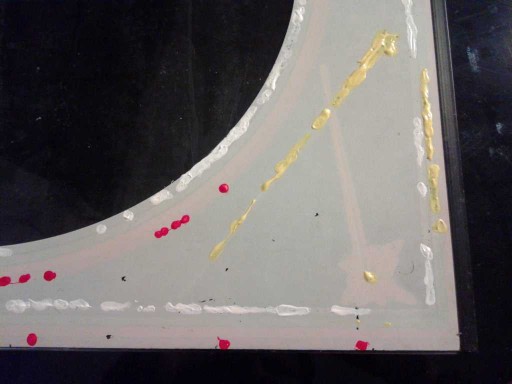
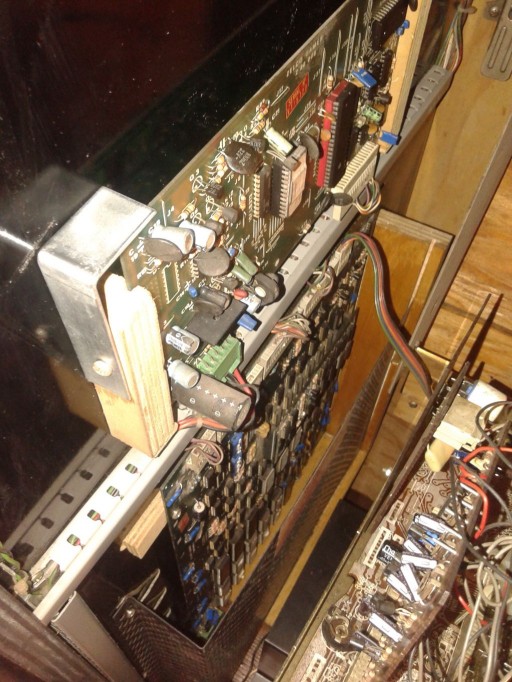
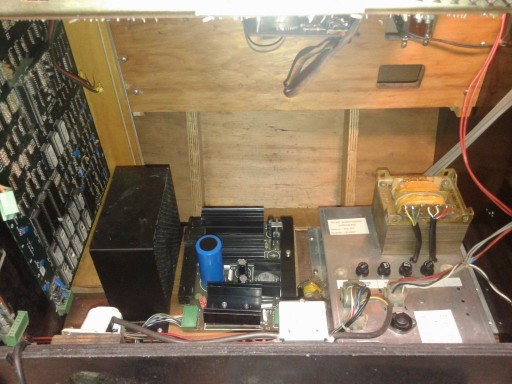
The game is complete and in excellent condition. Although widely known it is not considered a beautiful game, perhaps because the controlled spaceship is moved without any semblance of inertia or perhaps more simply for its extreme difficulty. It remains, however, a valuable collector’s piece for both graphics and conditions.

Welcome home

28 October 2014

This is my QUASAR:

quasar001 quasar002


Unfortunately the glass is broken in 3 parts, but probably I found a new one.

quasar003


Coin door has been hacked but nothing particular.

quasar004 quasar005 quasar006 quasar007 quasar008 quasar009 quasar010
Cabinet seems to be complete but dirty. It passed the last 3 years in a barn…

Inside

2 November 2014

Opening the cabinet I could see that it was compete (it’s a good start!!) but with some problems…

Wood neon was there but not working

quasar011


small neon assembly was complete but dirty

quasar012


tons of dust were all around the speaker, but nothing serious

quasar013

Inside I could see the primary section of the transformer was burned….

quasar015


Monitor is a Philips KT-3, with its instruction flyer on the right

quasar016


Here you can verify that nothing is missing

quasar017


Yep, veeeery dirty!

quasar018

Disassembling

6 November 2014

Disassembling the cabinet I found a lot of rust. All parts were very dirty but nothing was broken (excluding the monitor).  

this is the KT-3 TV. Dirty and broken.

quasar019


the typical power supply

quasar020


This is the burned transformer. 

quasar022


Rust rust rust rust…

quasar023 quasar024 quasar025 quasar026

Glass

6 November 2014

Silkscreened glass is broken. I tried to repair it but… how can I say… ah..

220v wiring

6 November 2014

I remade part of the 220V wiring. Parts have been cleaned and derusted I usually change the general switch from a SPST to a DPST. More often with a DPDT that are more common.  

SPST: Single Pole, Single Throw 100px-SPST-Switch.svg
DPST: Double Pole, Single Throw  100px-DPST-symbol.svg
DPDT: Double Pole, Double Throw 100px-DPST-symbol.svg


 You can see on the left the old switch and on the right the new one

quasar030


These are the metal parts after cleaning and after the de-rust liquid

quasar031


this is the result with new cables and connectors

Fan

6 November 2014

Fan was broken… Ok I can use the fan of my “next” restoration (in queue…), so look at Vanguard resto to see how I restored this part 😀

quasar037 quasar038 quasar039 quasar040quasar042

Power Brick

25 November 2014

Looking at the first pictures (i.e. the image I re listed again here) you can see that half of the transformed is burned. More in detail the primary coil is damaged and every time I plug the game the fuse burns. First of all removed the power brick from the cabinet and I tried to clean all parts in order to understand if I could find other damages.

quasar046 quasar047
It was clear to me that the primary coil of the transformer had gone…


Before removing the transformer I took some pictures of the wires positions


Then I removed the transformer but I couldn’t disassemble the leafs immediately so I decided to cut loop by loop


In the end I removed the leafs releasing the coils.


I had an old Zaccaria’s transformer with one not working secondary coil (the one with 11Vac used to produce the +5V) and I disassembled it too. Then I “cut” both transformers dividing the primary from the secondary and I saved the secondary coils package of the original transformer and the primary coils package from the second transformer.

quasar059 quasar061 quasar060 quasar062


The result is not bad 🙂

quasar066


Last step: I reprinted the sticker used to indicate the fuses.

quasar067

Coin Door

3 December 2014

Usual job for the coin door. This tme I ould save the stickers so I’m quite happy 😀

These were the starting conditions

quasar068  


I just cleaned the surfaces removing all components


Then I restored the plastic component

quasar071


I used an epoxy part to close the hole made by the rivet


Then I painted with a spray chrome effect

quasar079


Reject button was rusted (I want to say: as usual…)

quasar082


but nothing that couldn’t be removed…

quasar083


The same for the other metal parts


Not so good pics here but the result is not bad

quasar081

Control Panel

4 December 2014

Control Panel was quite burned. Too much cigarettes in that place!! In some parts CPO was curved by the high cigarettes temperature  

quasar092


First of all I sanded the CPO to remove brown burns and scratches


then I used fine sand paper, Pasta Abrasiva (used for cars) and then Novus 3, 2 and 1

quasar098


This is the sequence of the result


Then I reprinted the flyer that I damaged removing if from the CPO

Now this is  the CPO 

quasar107

KT-3

4 December 2014

In the beginning I though monitor was not in so bad conditions, but after a second look I could see that all connector had been plugged casually (most of connectors are similar)

quasar112


Then I found some damages


  • a wire all around the fuse !!#@#?!
  • Wrong R291 (R33 instead of 4R7)
  • R562 missing with a burn on the board
  • R466 burned
  • TS463 missing

these are the chassis defective parts positions

quasar123


Broken / missing / burned components are:

Component

Value

Watt, if necessary

Fuse (+ support) 2AT
R291 4R7 4
R466 180 ½
R562 33 ½
TS463 BUW84

 
I changed all these parts and switching on TS463 exploded :O I need more troubleshooting I think 😀   anyway I cleaned all boards:


KT-3 Troubleshooting 2

5 December 2014

I checked some values on the board and I definitely have to understand what’s happening there 😀

quasar124 quasar125  
This is the complete oscillogram:

Glass

3 March 2015

The original glass is broken


a friend of mine had one but with “some problems”. Here is the glass:  

Looking at the back the situation is not better


So I found acrylic colors very similar to the originals

quasar159
And I painted the missing parts color by color

quasar163  


This is the result.  

quasar164  


Not perfect but good enough 🙂

KT-3 Troubleshooting 3

4 March 2015

I changed some transistors and TDA, replaced some capacitors and checked some resistors values. Now I want to troubleshoot the switching regulator board

quasar122
    In order to avoid any burn I removed the T465 connecting pins 6 and 8 only in order to close the circuit.

quasar126
The troubleshooting manual describes the waveforms on this circuit in several parts. This is the most important part of the circuit:

quasar127
  with related waveforms:

quasar128
I checked points “B”, “D”, “E” and “F” this is the waveform in B. I think it is ok

B

quasar129
Checking the point “D” I had the same result as in the previous troubleshooting post, with regular spots blinking. Regulating R7317 (the pot. on the daughterboard) I could stop the blinking effect having a static image as the following

D

quasar130  
It is an extreme case of the waveform where the lower part of the square is reduced to a point. Transistor T7353 works properly because point “E” has the same shape but inverted    

E

quasar131
In the end the waveform in “F” is the following. It is static and doesn’t pulse anymore

F

quasar132

Looking at the pictures t2 seems to be close to zero….

Final pictures – inside

15 April 2015

This is the cab inside. TV is not working but I received some spares so in the next days I’ll try to repair it… again…

Final pictures – Side art and CP

15 April 2015
quasar177 quasar175 quasar176     quasar174 quasar171 quasar172 quasar173  

New KT-3 and Current status

16 April 2015

I replaced my KT-3 with a new chassis send by an ArcadeItalia forum. without any calibration I had this picture:

quasar133


These are other screenshots after some calibrations

 
CURRENT STATUS: plugging the sound board +5V decrease to 1,4V. So no sound at the moment. The rest is almost complete.

Sound problems

24 April 2015

Sound board and main board have the same connector. I could see that the cable connector to the sound board had a label with a number corresponding to the connector on the main board. So the cable was up side down. Now the sound is perfect!

Old KT-3 Vs. New KT-3

29 April 2015

Actually I made an easy job swapping the old KT-3 chassis with the new one. I only changed the color input board and removed the tuning card.   This is the input color board I’m using (taken from the old TV)

quasar139
  I can see that the new power card is more populated than the old one. I used the new one including the Degauss circuit. The old chassis had a small dedicated circuit screwed on the left of the metal frame for that.

quasar140
On the left you can see the old power card and on the right the new one.