Directly from UK
17 September 2015
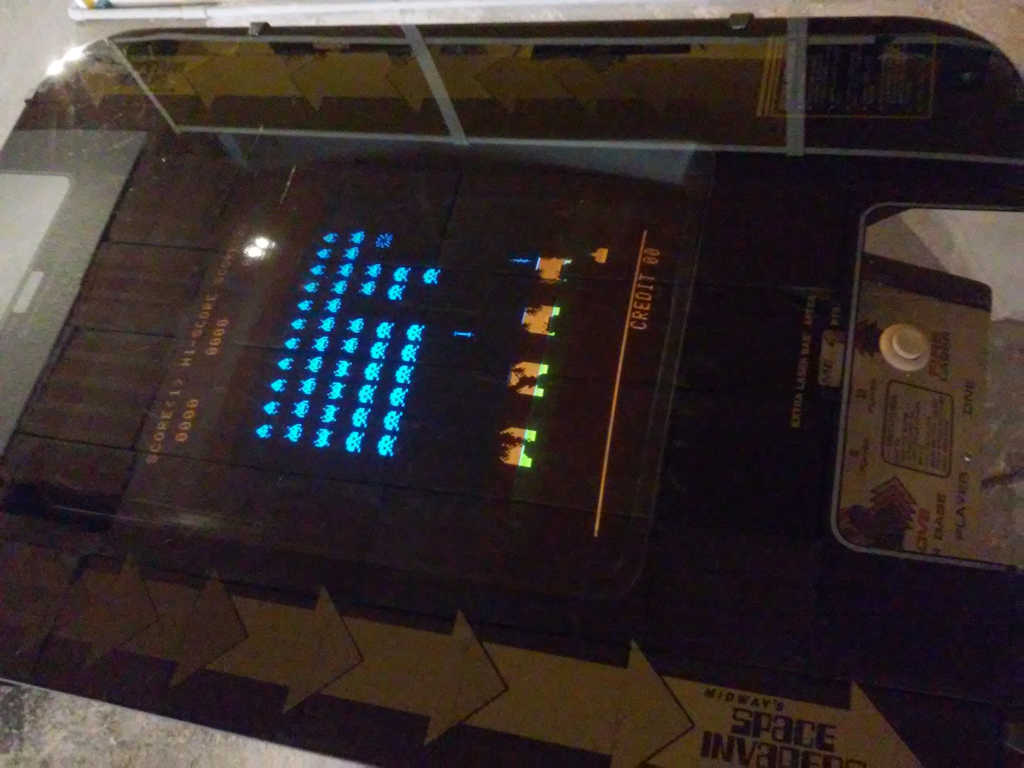
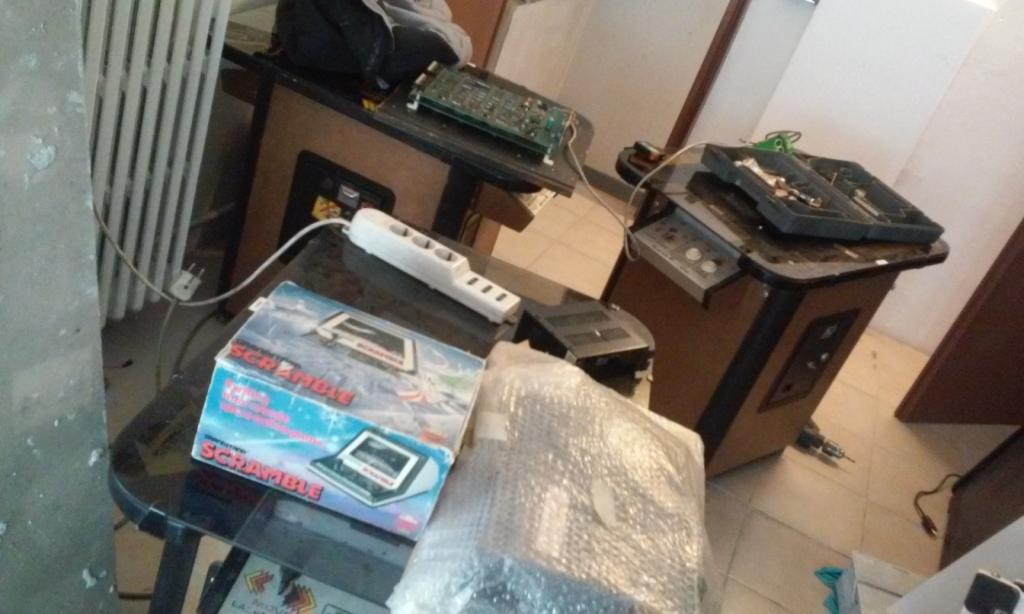
I bought these cocktails from UK, 2 for me and 1 for a friend of mine (Deluxe).
Both my cocktails are Space Invaders Cocktail Midway but one of them has been strongly converted, with additional buttons and color monitor inside. Actually I was convinced to buy another Deluxe but probably I had a misunderstanding with the seller.
Anyway let’s focus on this fantastic cocktail!
Alessio Matteo and I were very curious about what we could find inside; in fact we bought these cocktails without any knowledge on the internal status. Deluxe cocktail has been converted to but to a single button – 2 direction game so the levers and the entire control panels were ok.

My cocktail worked for a couple of days but now the main board freezes on the first garbage image.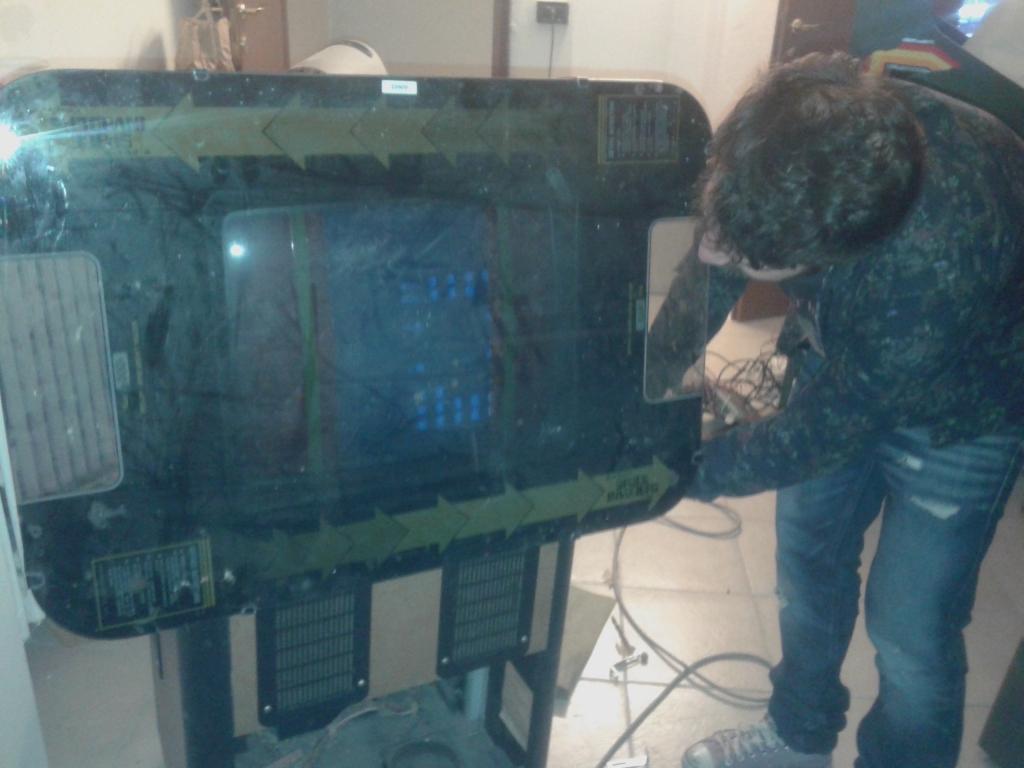
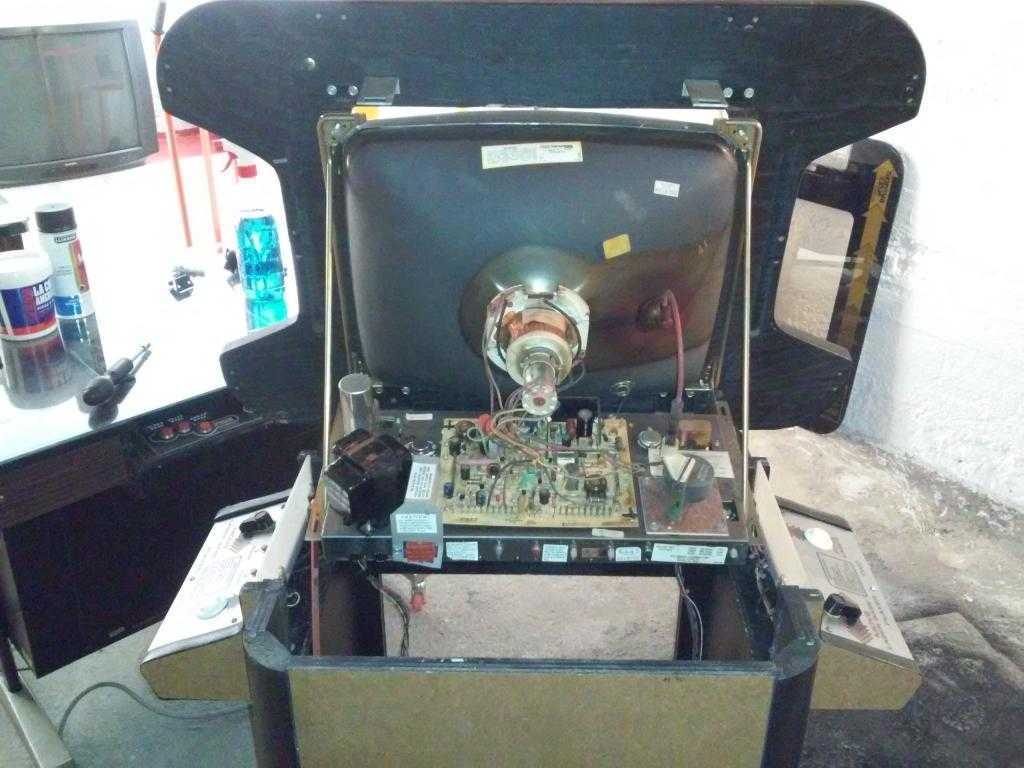
Monitor
18 September 2015
Monitor is completely original and fully working; I just removed some dust and nothing else…
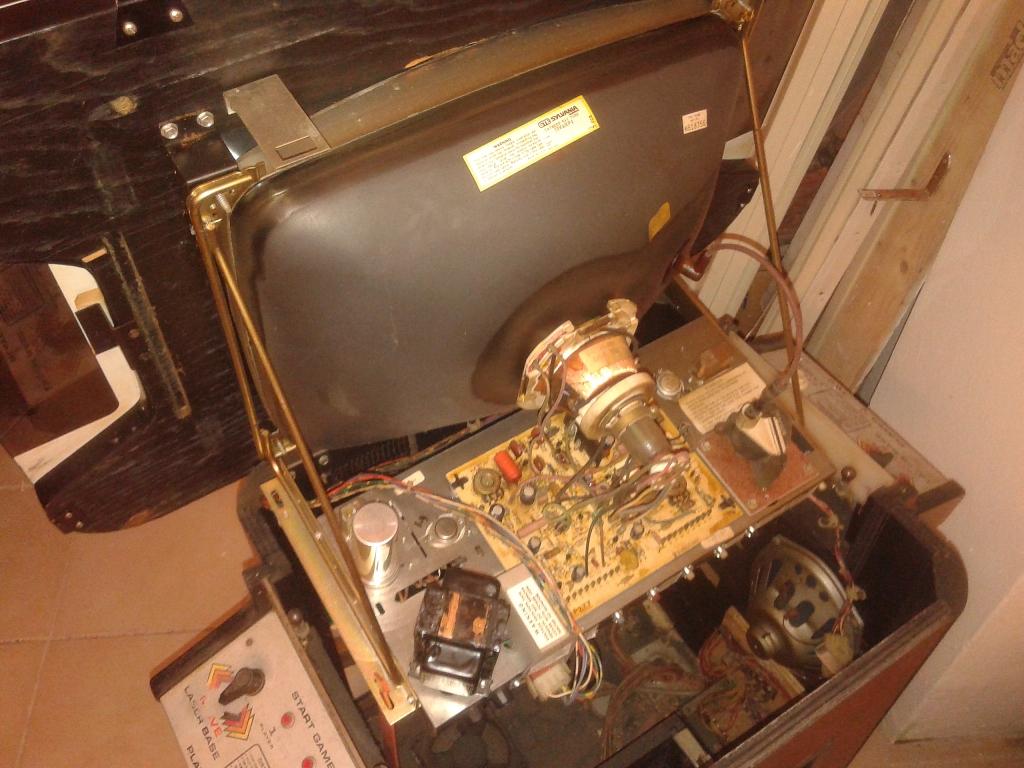
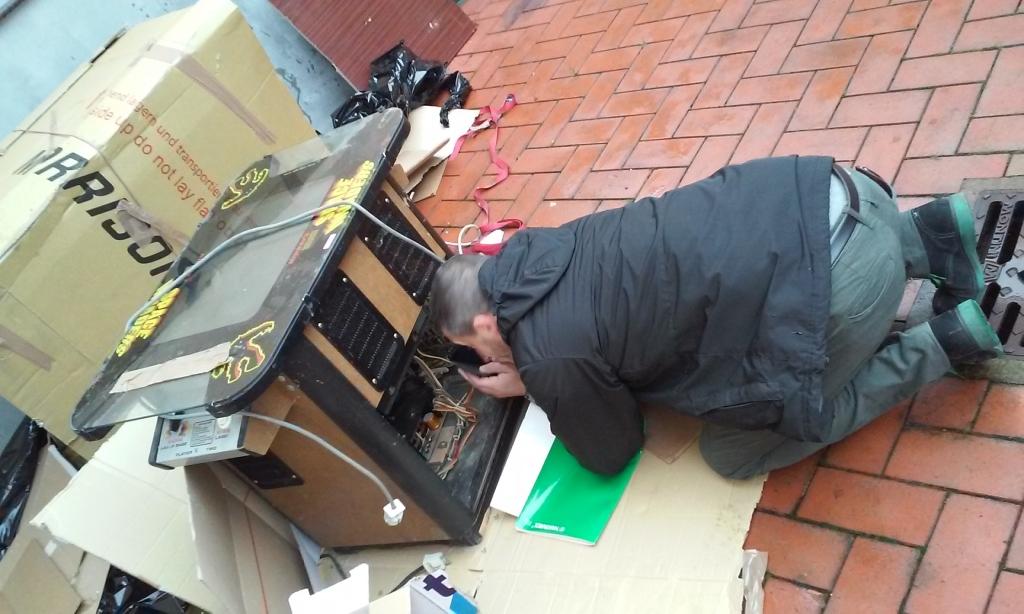
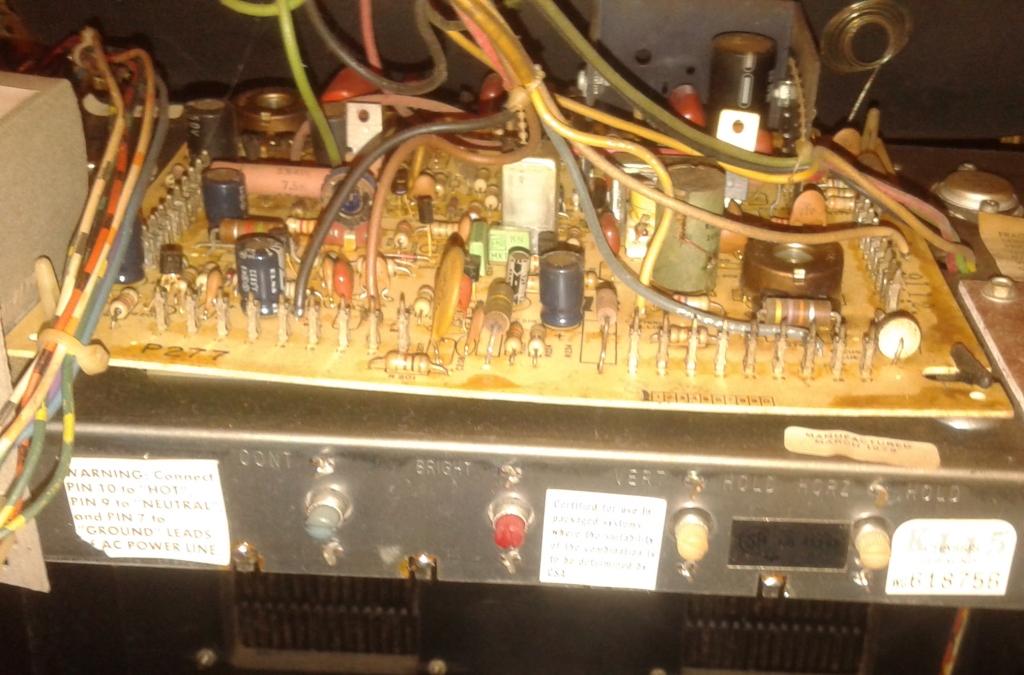
This is the HV unit

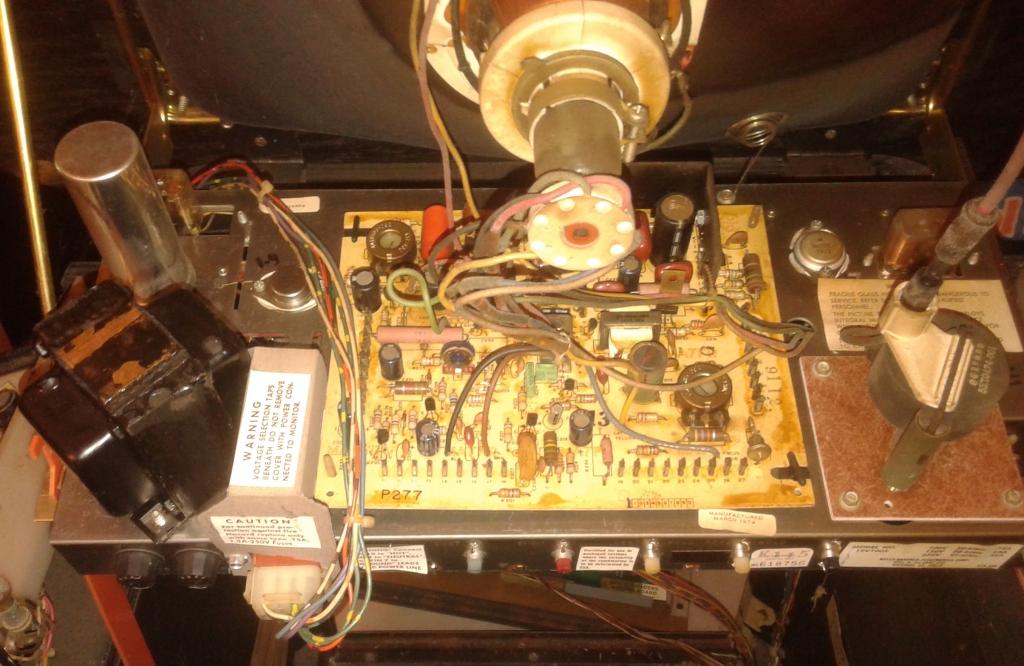
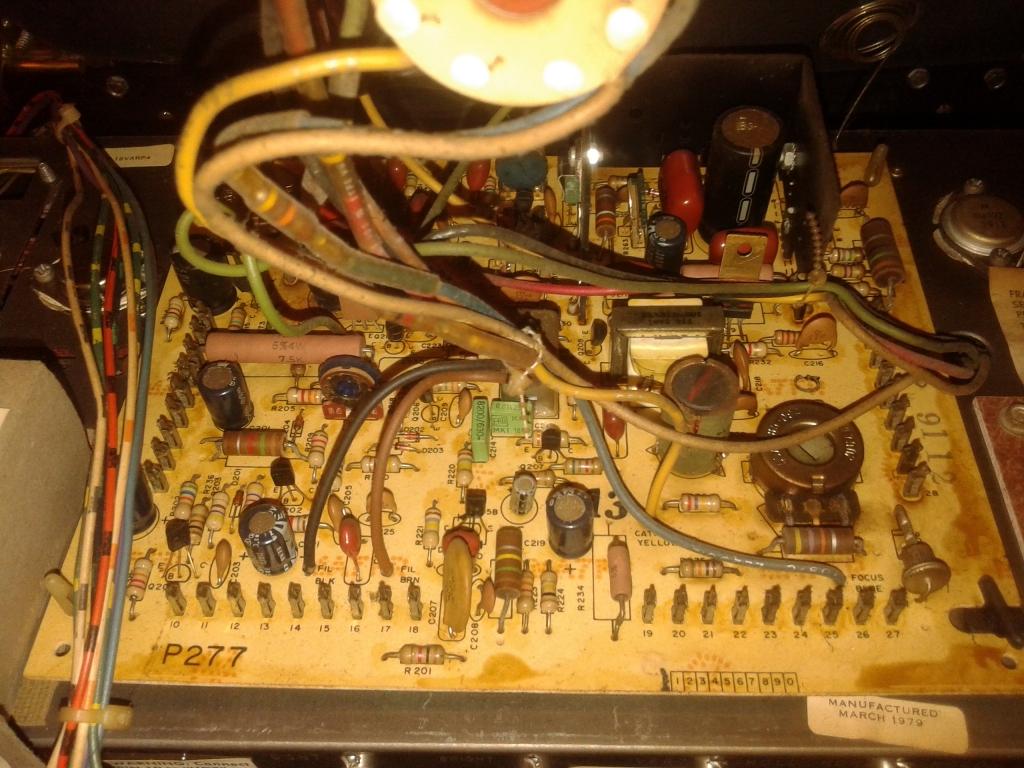
And here there is a more detailed pic of the main board
Picture controls are on the chassis back side
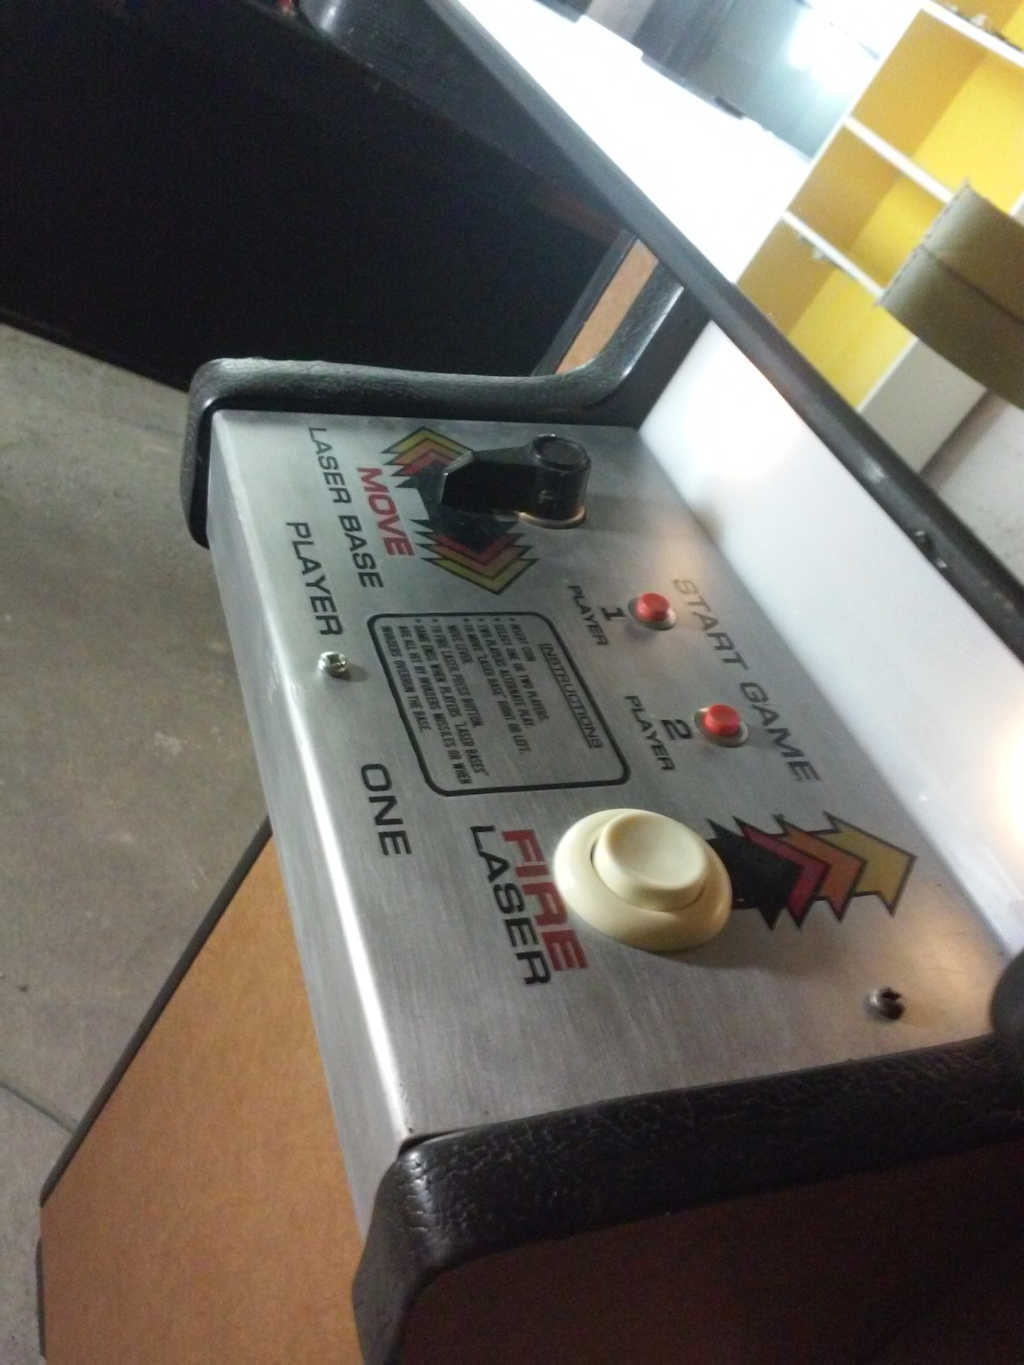
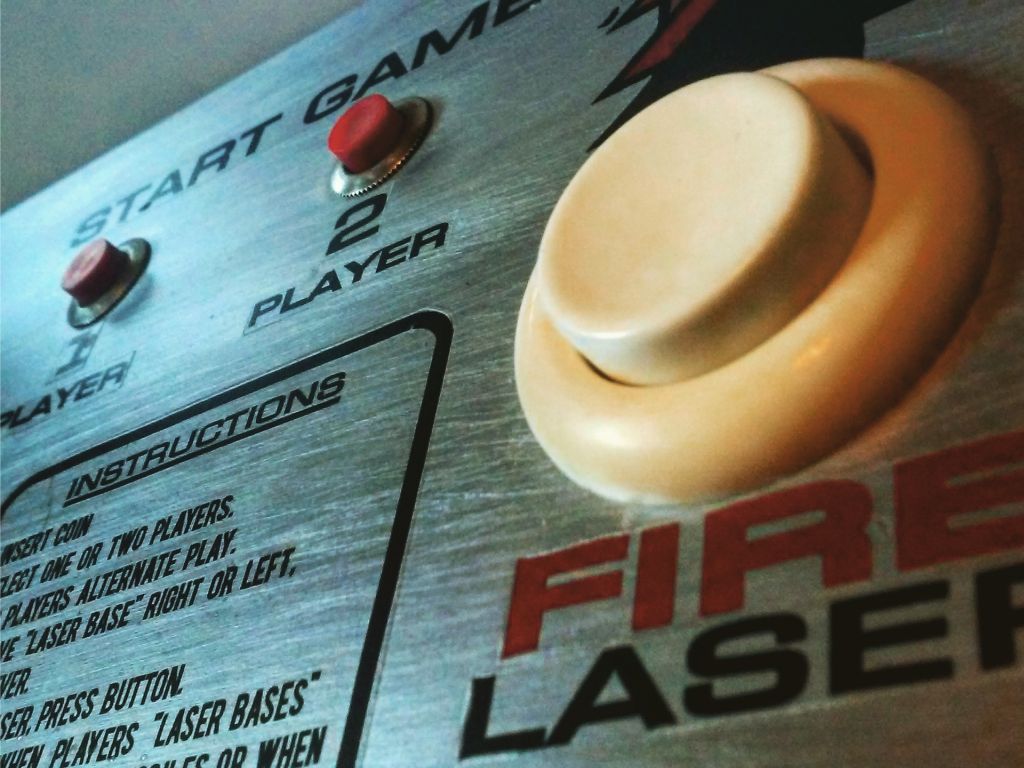
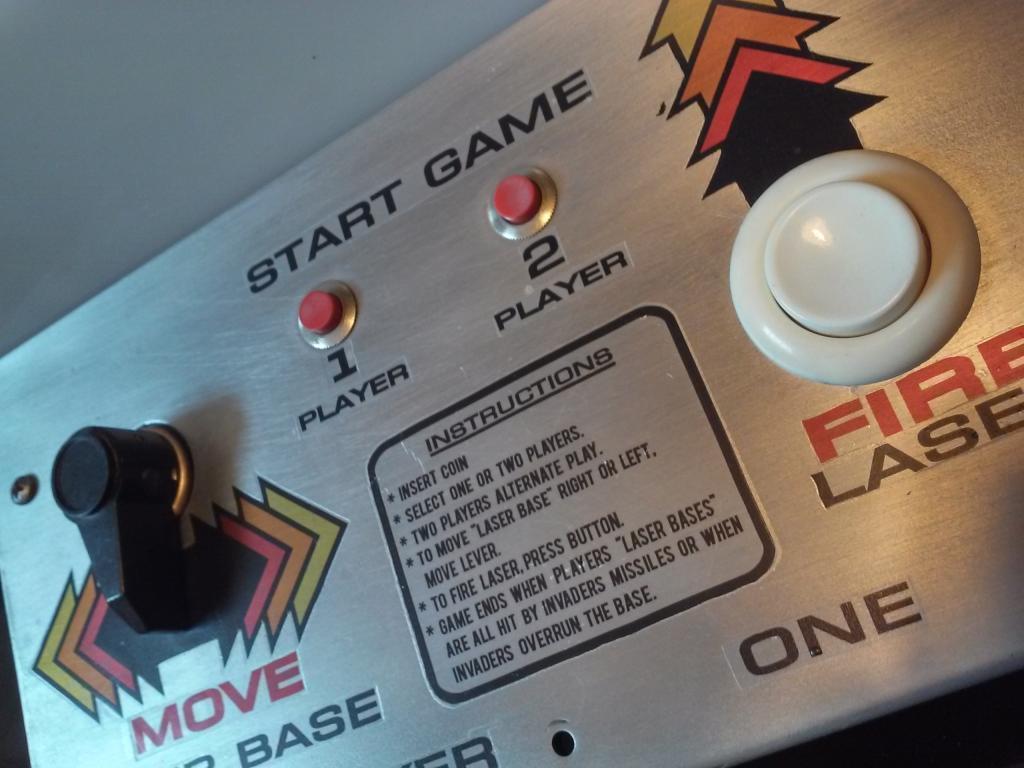
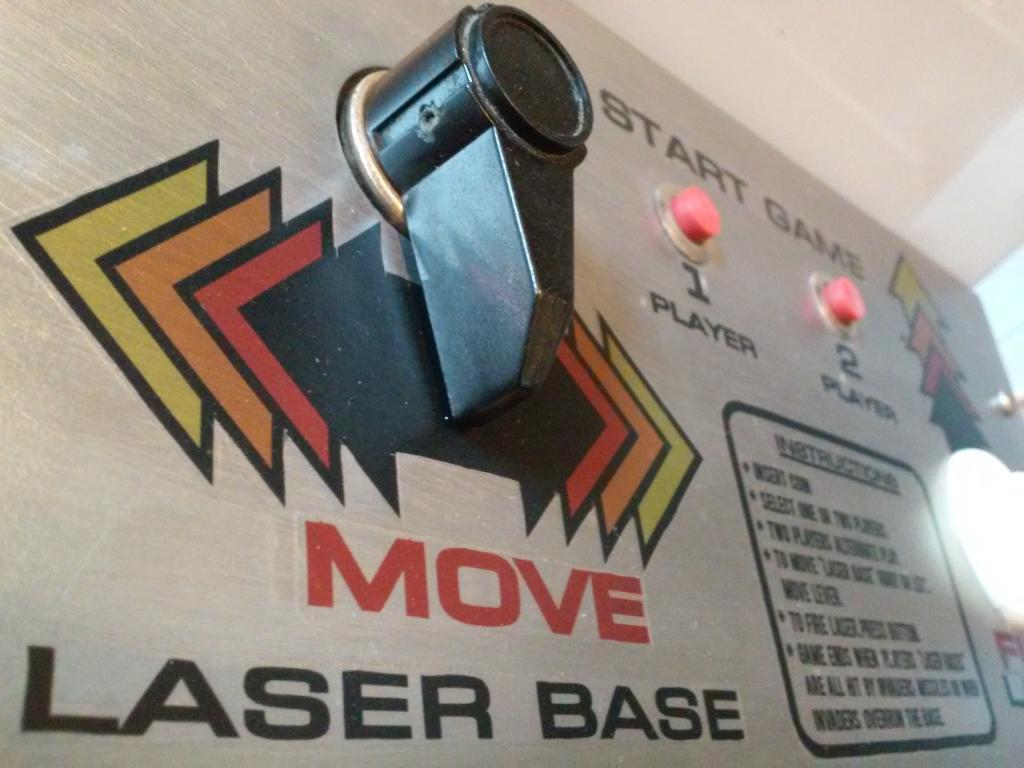
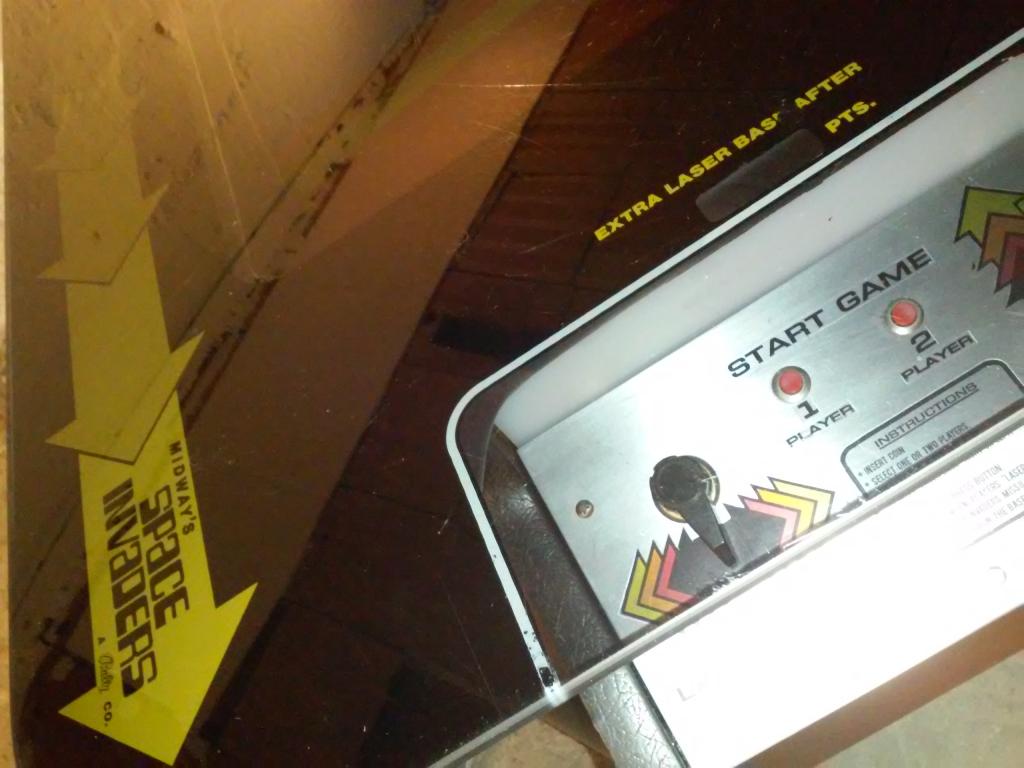
Control panels
18 September 2015
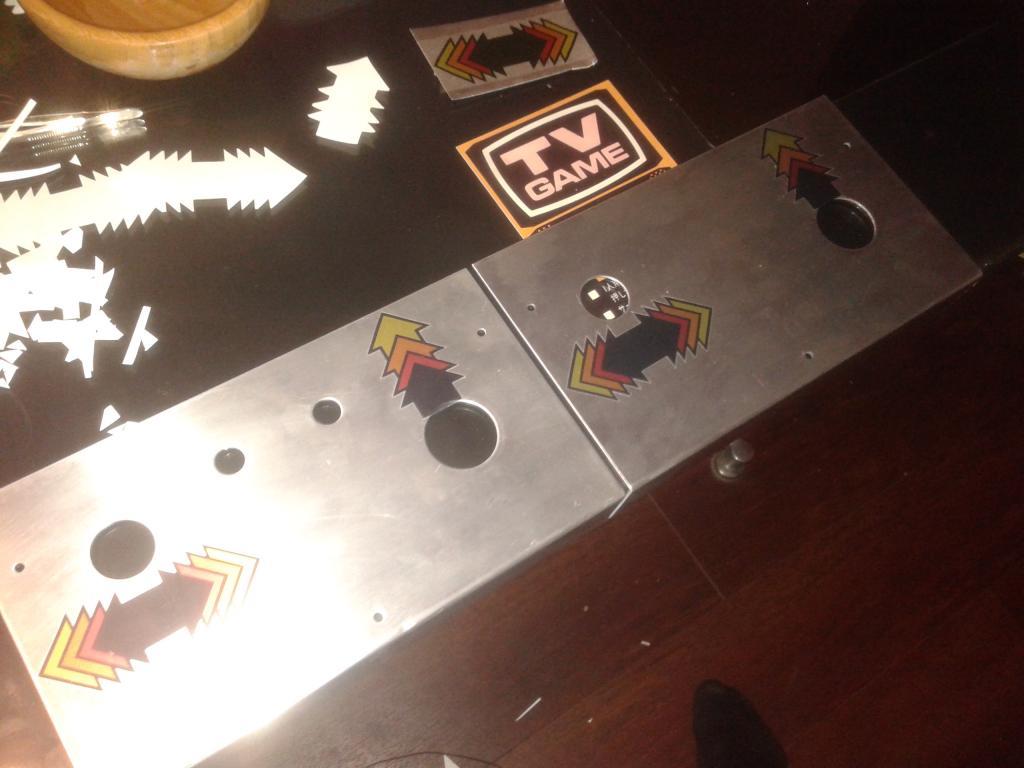
Control panels were not in so bad conditions but actually I wanted to understand if I could rebuild the arts not using an overlay. These are the initial conditions.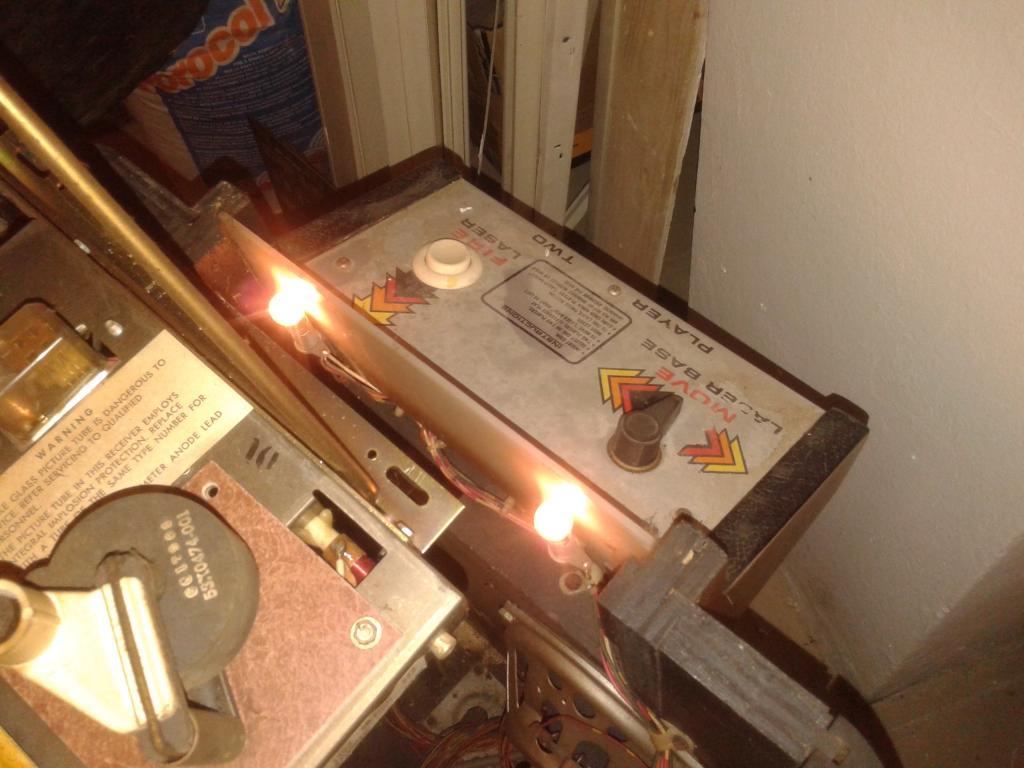
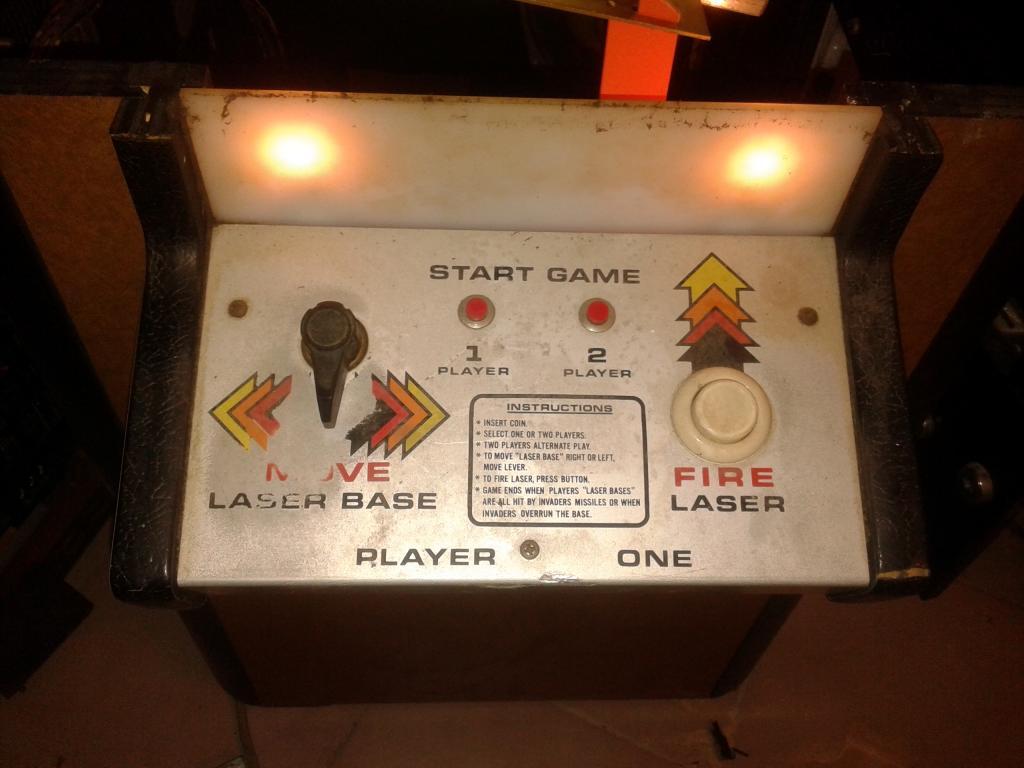
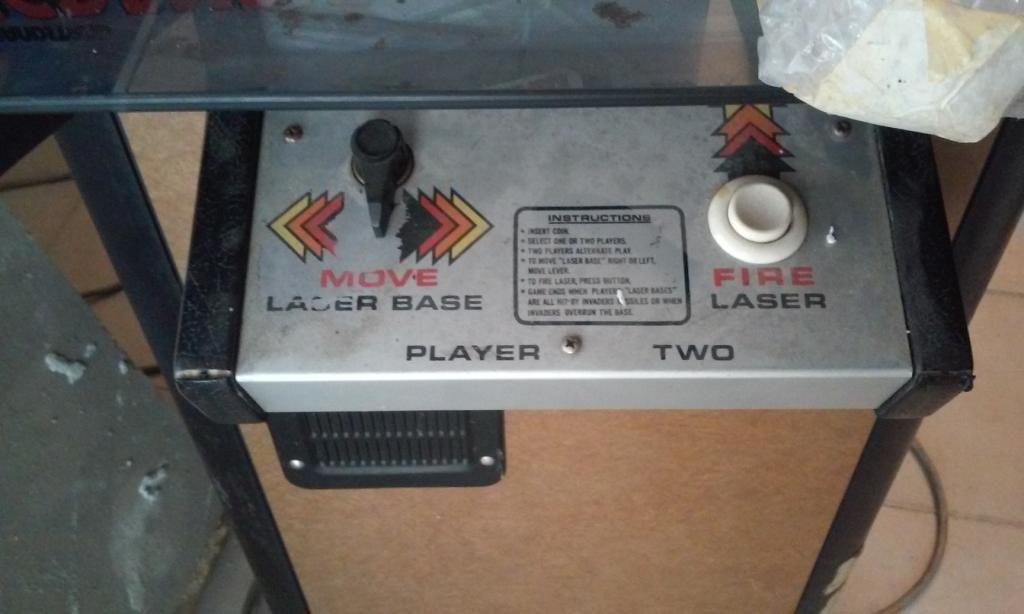
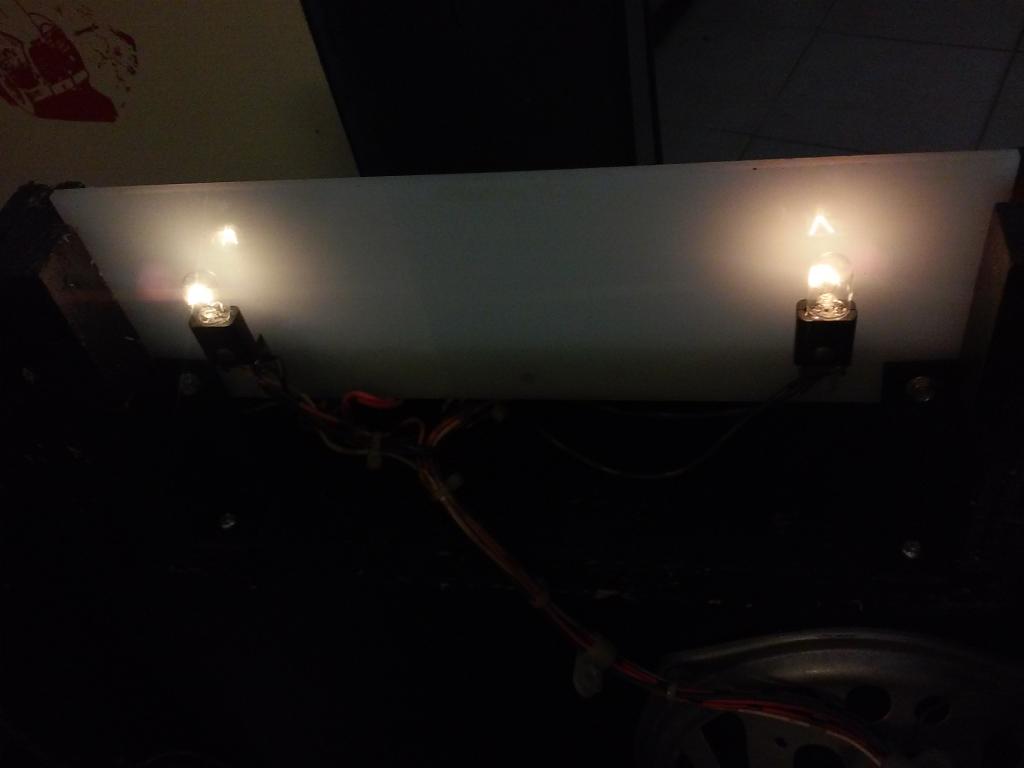
I LOVE the bulbs behind the white plexi!!!
I had to clean the alu surfaces completely. That’s a pity, I know…
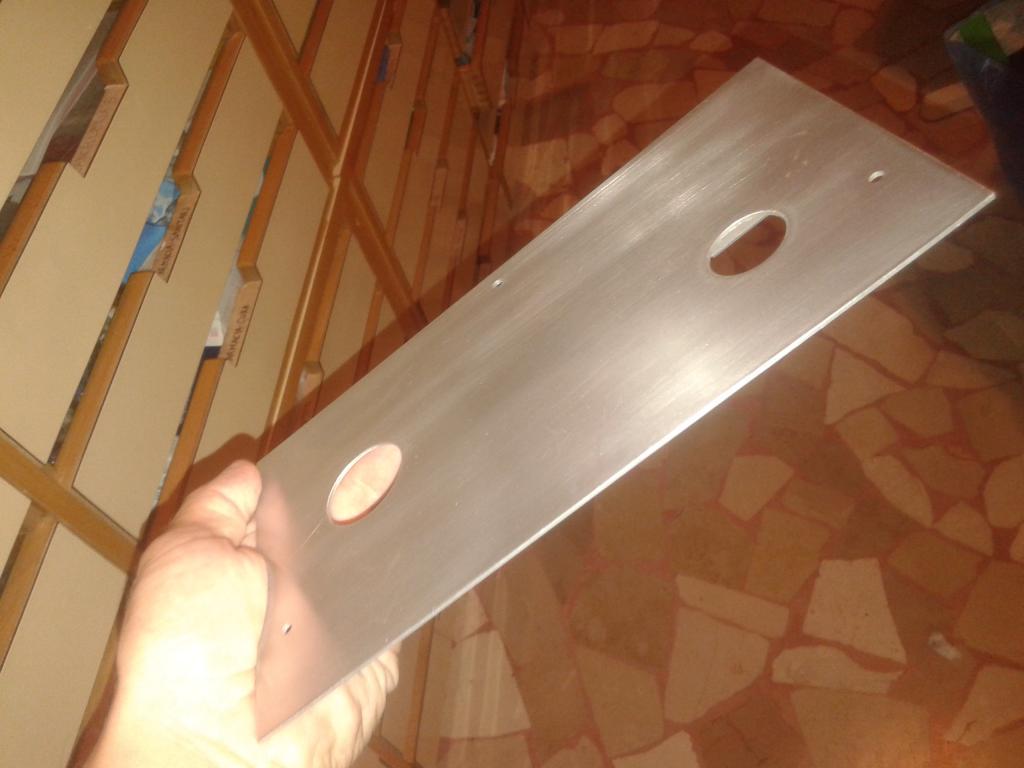
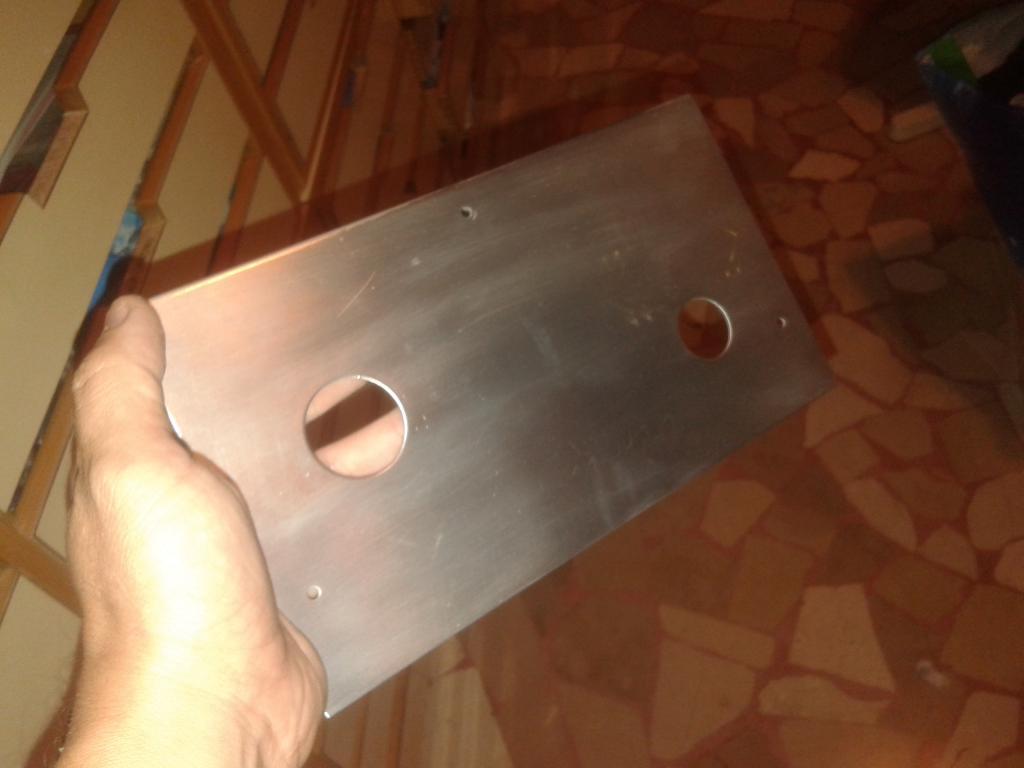
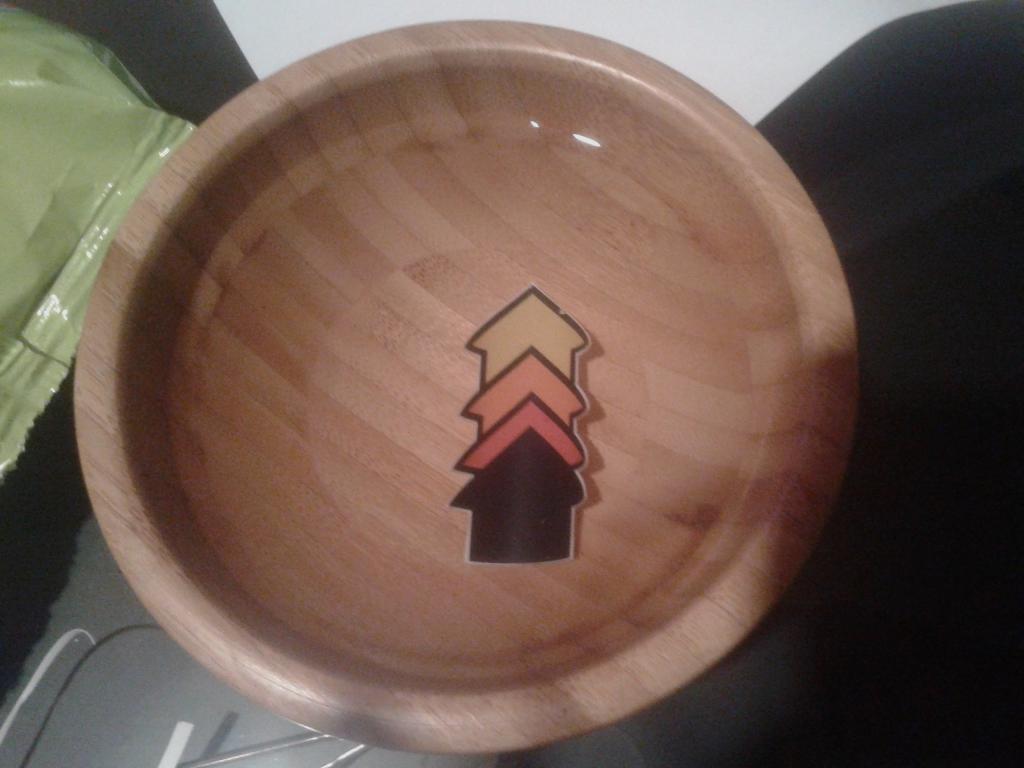
Before cleaning I scanned both CPs and I re built them with PSP.
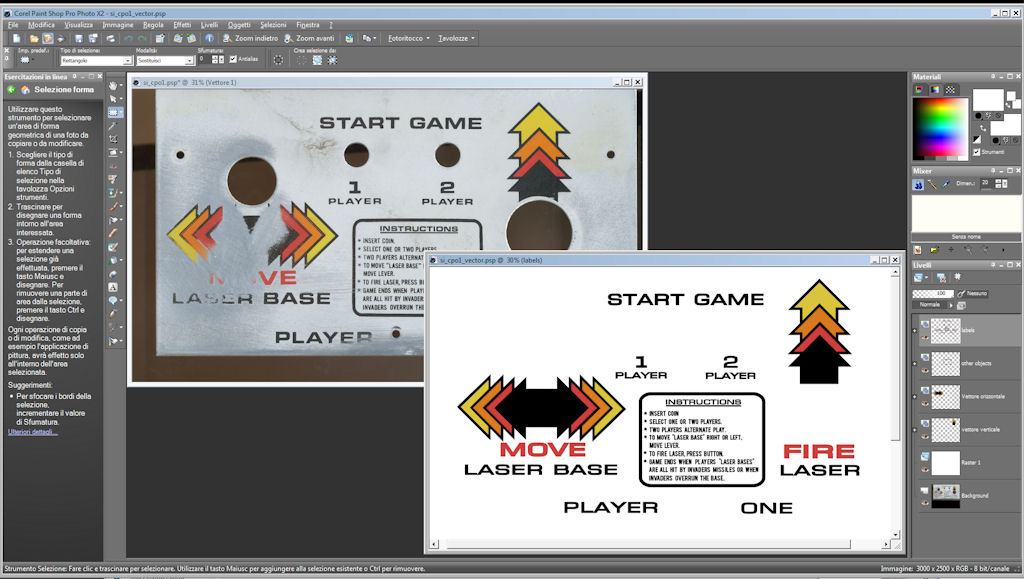
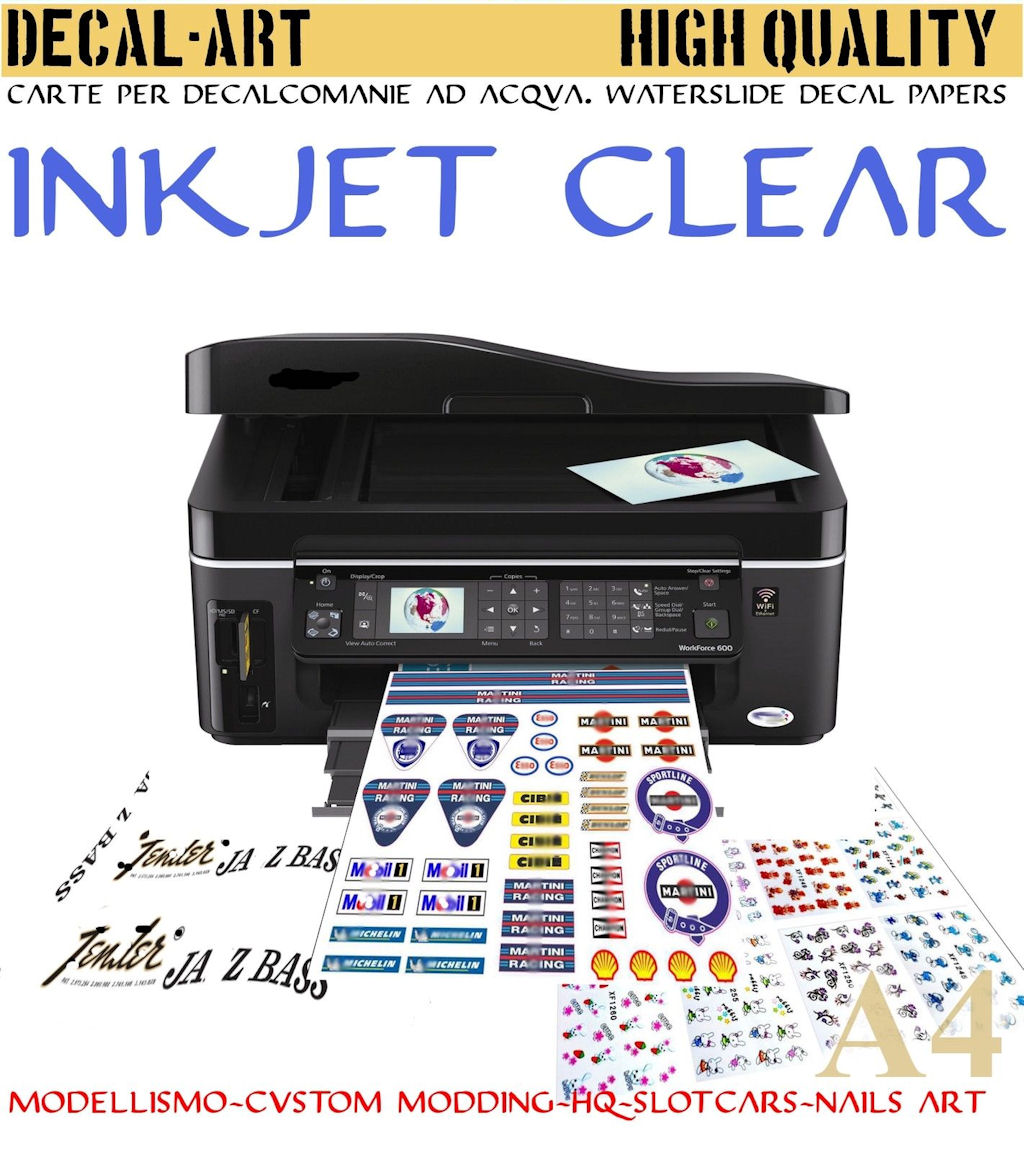
Then I printed all elements on a special paper for DECALS can be printed with an inkjet (waterslide decal paper). Something like this:
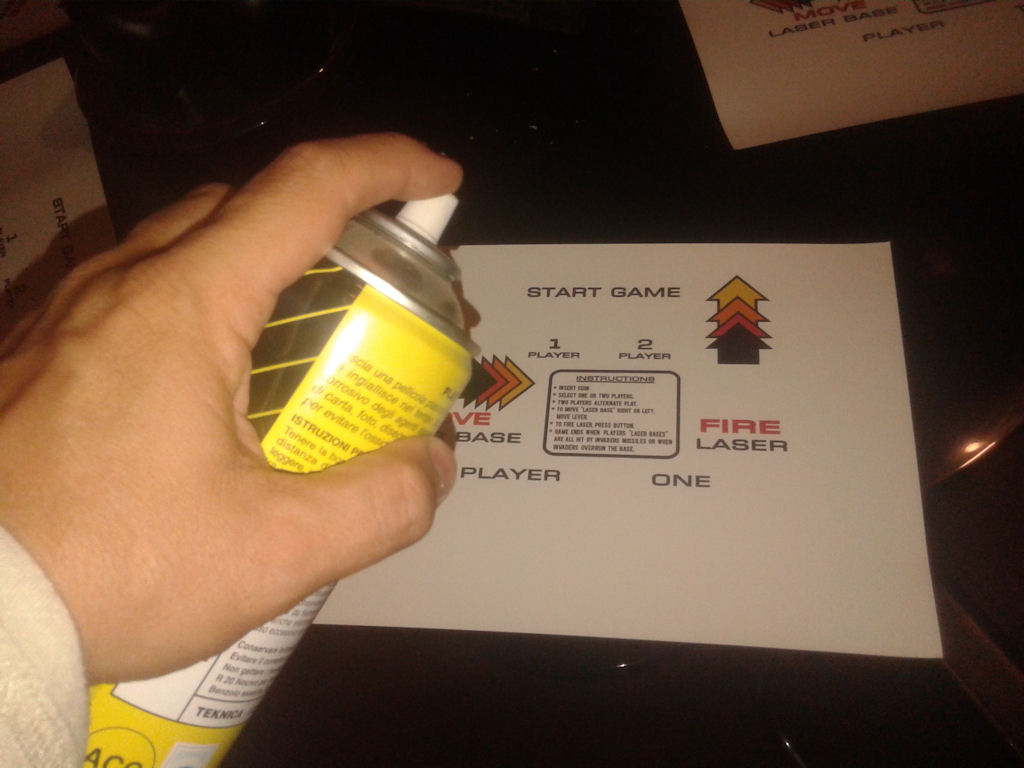
After that it’s necessary to spray a protective film in order to preserve the colors (consider that you printed the arts on the glue and you have to fix it). Here I’m spraying on a test.
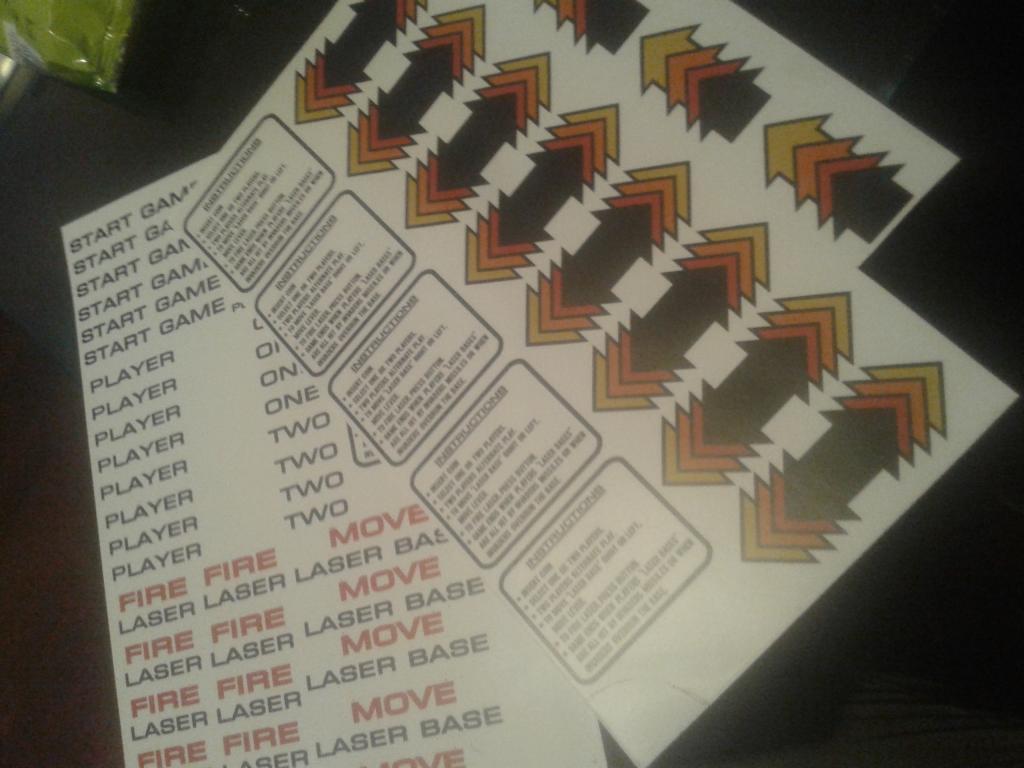
Once I was sure of the result I printed all parts in multiple instances because I haven’t so much attitude with decals 😀
I cut all parts and I put each single part into the water for 30 seconds and then on the final surface.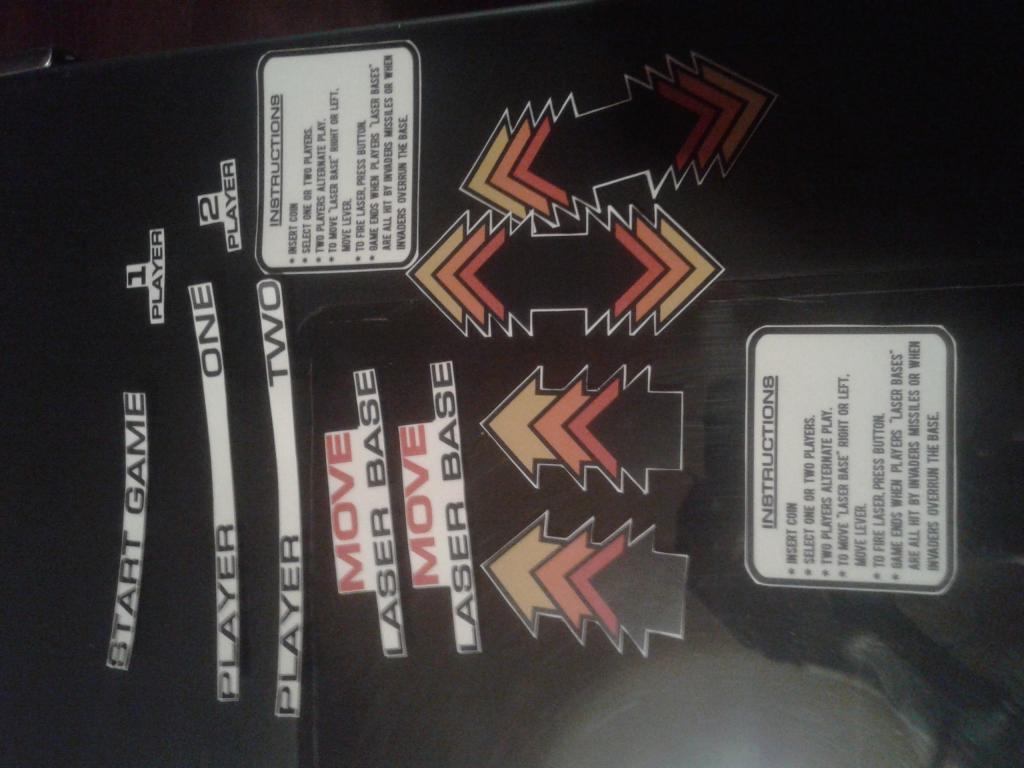
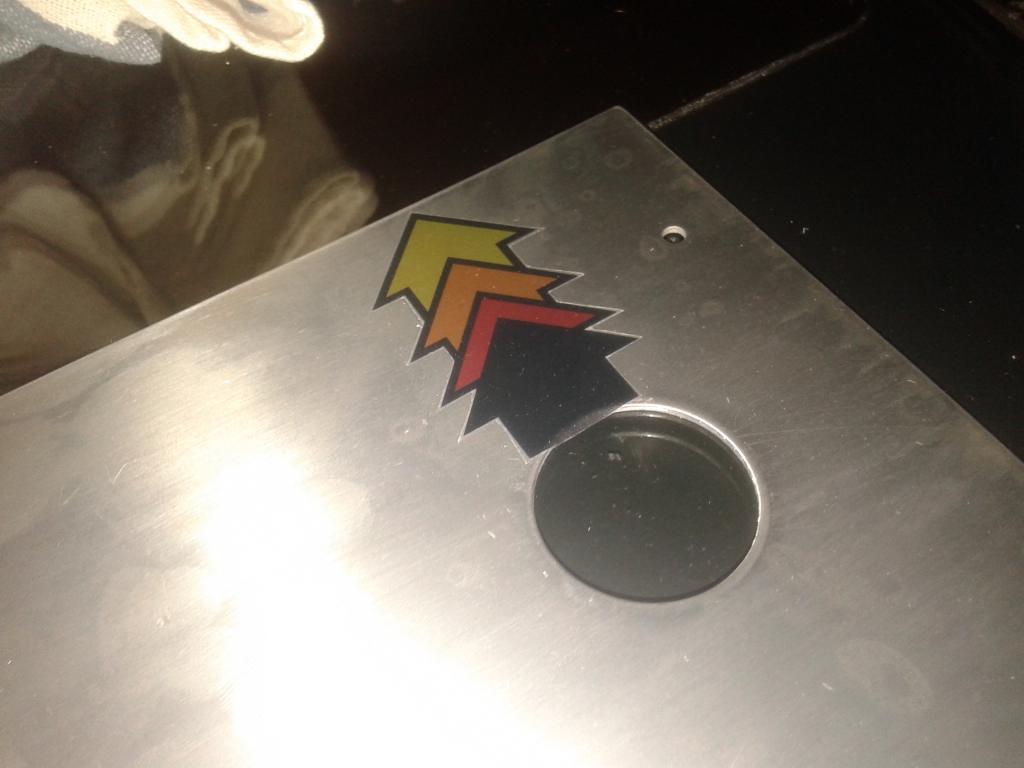
Once both surfaces dried completely I spayed again a protective matte transparent film and the surfaces became uniform.
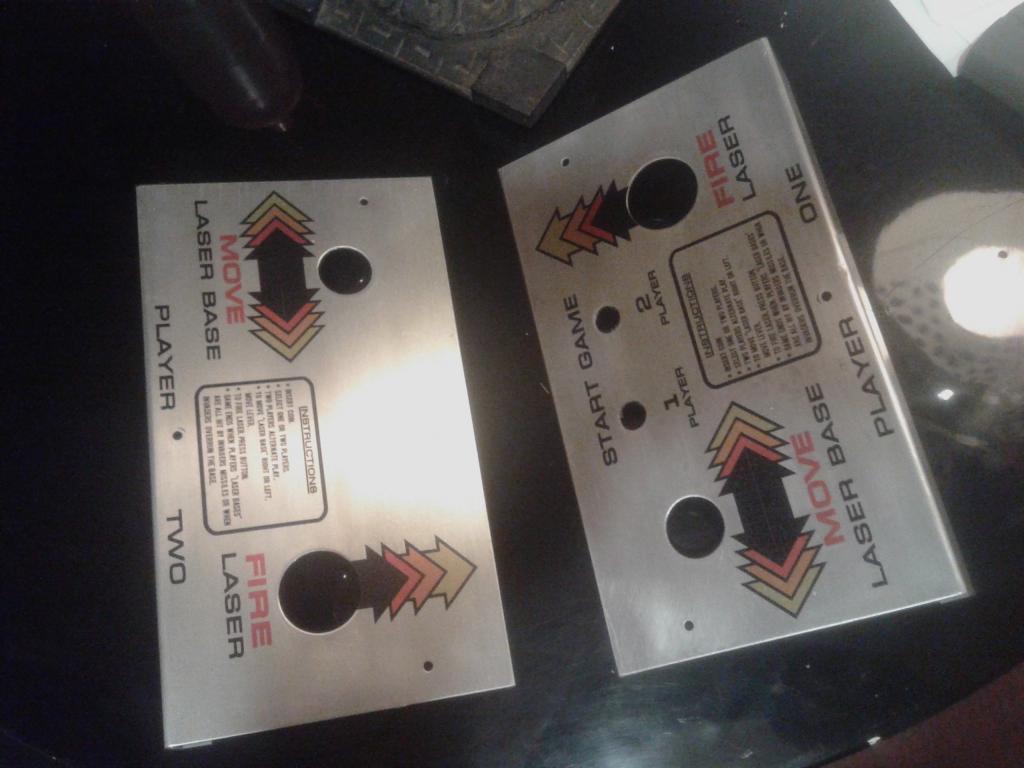
The last step: I reassembled all parts
The result is not perfect but I’m satisfied enough 😀
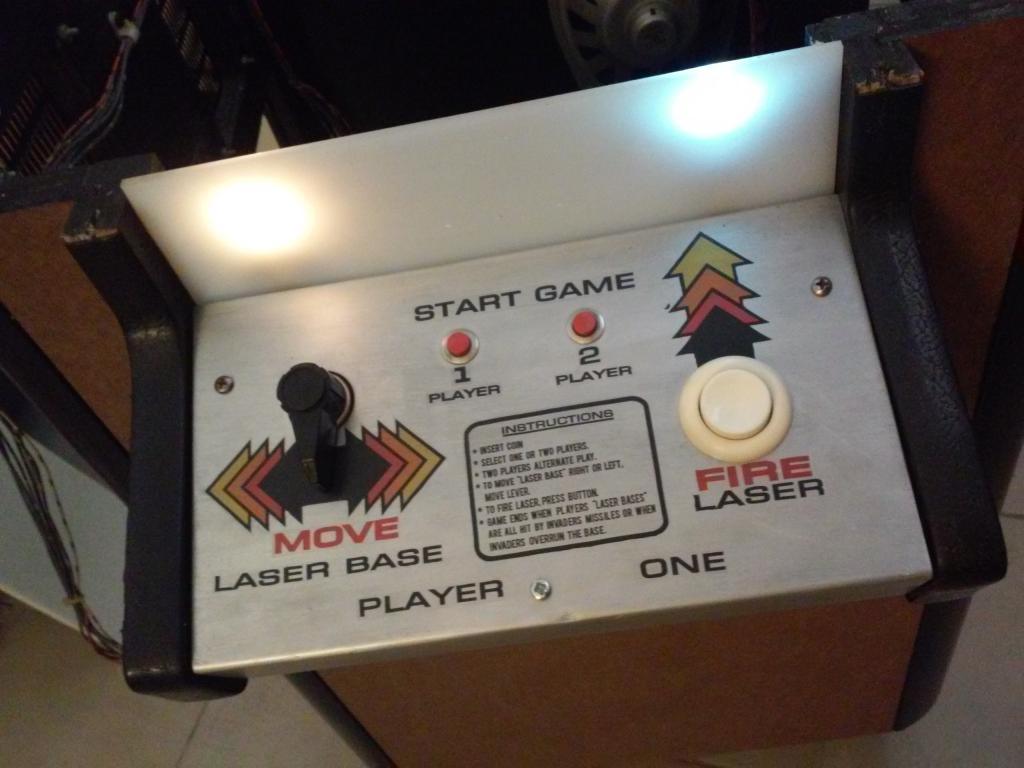
Control Panel Assembling
21 September 2015
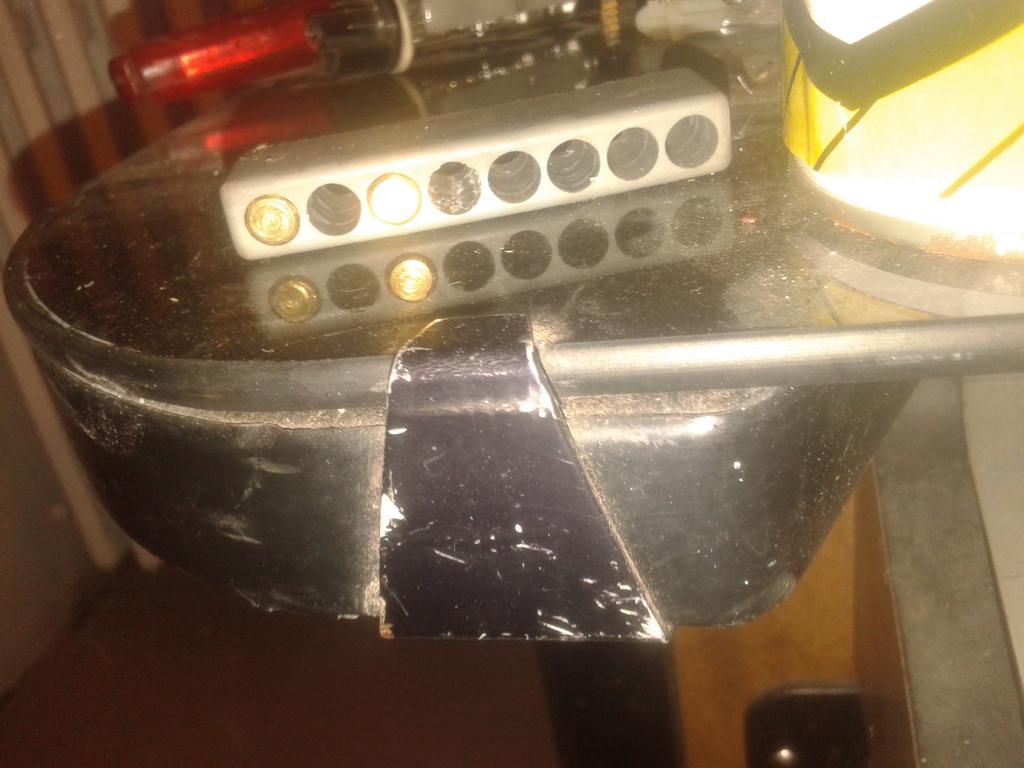
Once the overlay has been remade I reassembled both CPs. I changed all bulbs. At the first time I used LED bulbs as you can see here; on the right a LED bulb, on the left a filament one.
I decided to use new filament bulbs obviously but every time there are bulbs very close to plastic part I try to use LEDs because I’m scared that filament bulbs can deform those parts. We will see.
(as you can see I replaced the bulb types with the same described into the parts catalog list)
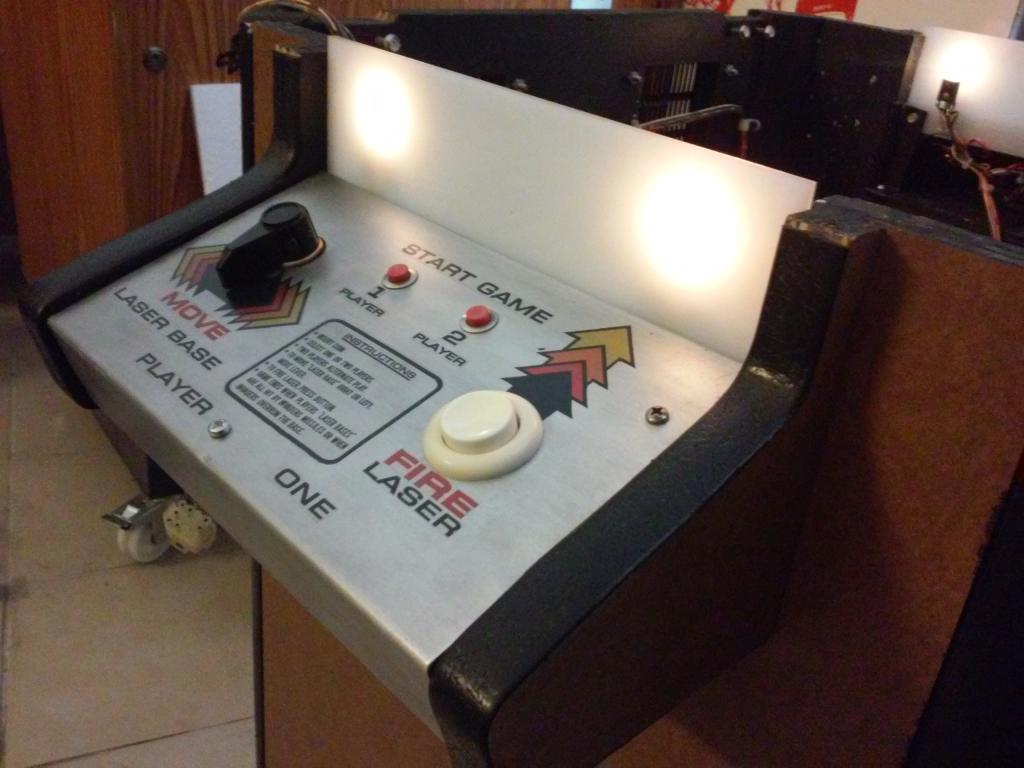
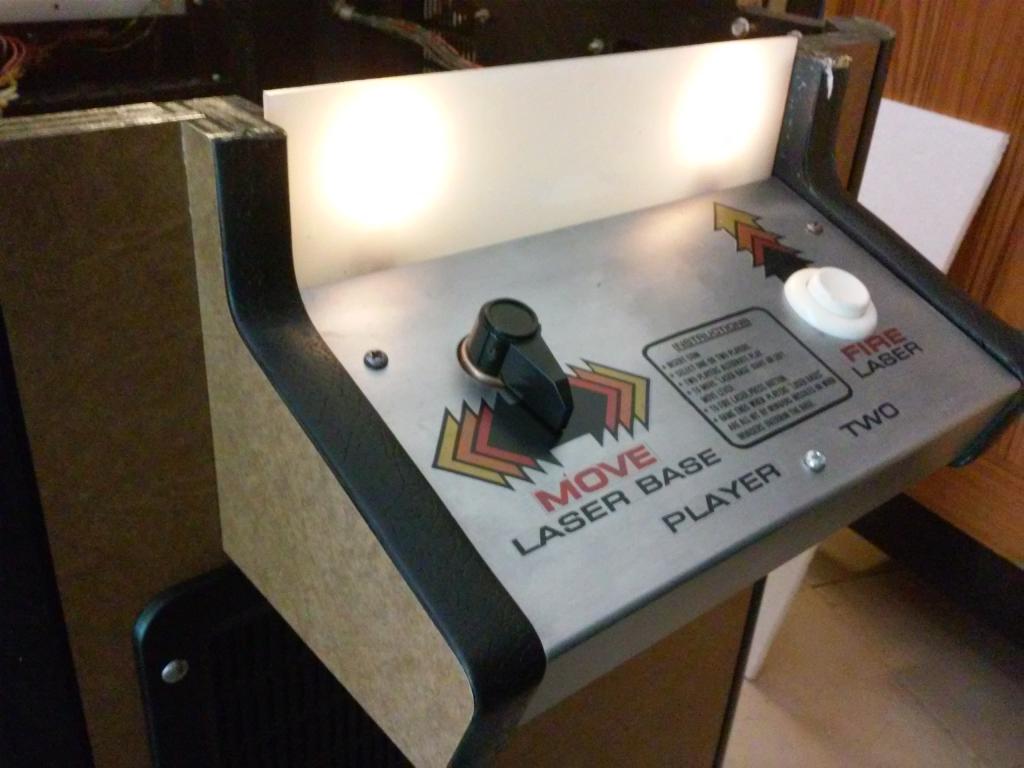
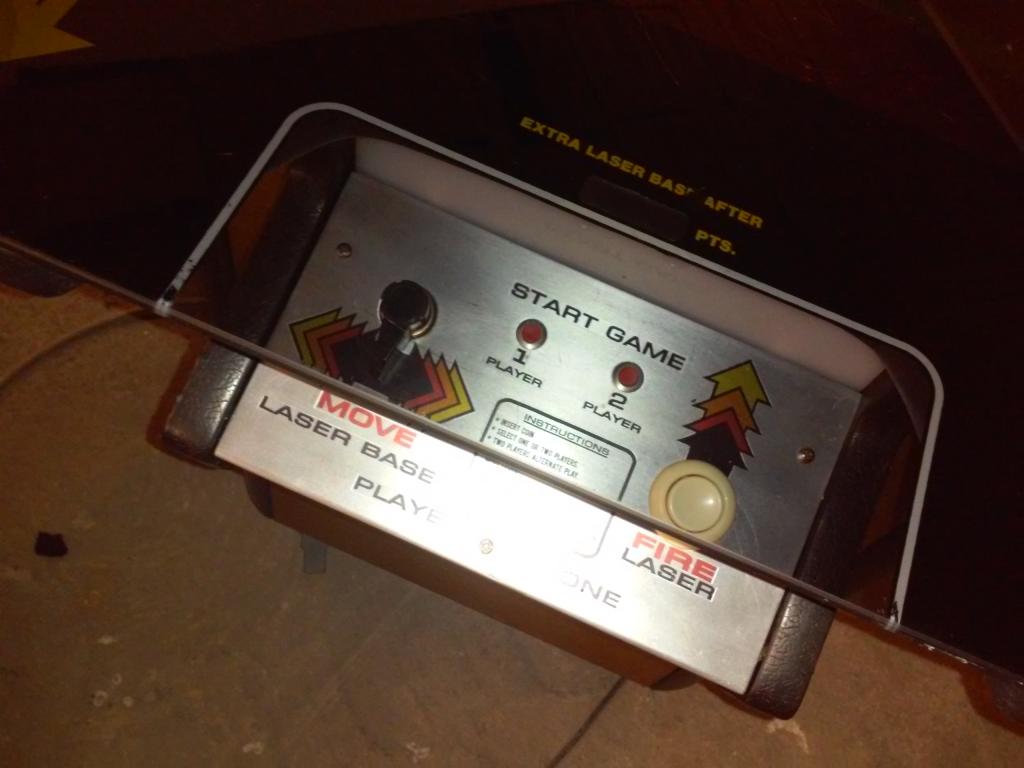
Ok, these are the mounted CPs as they look now
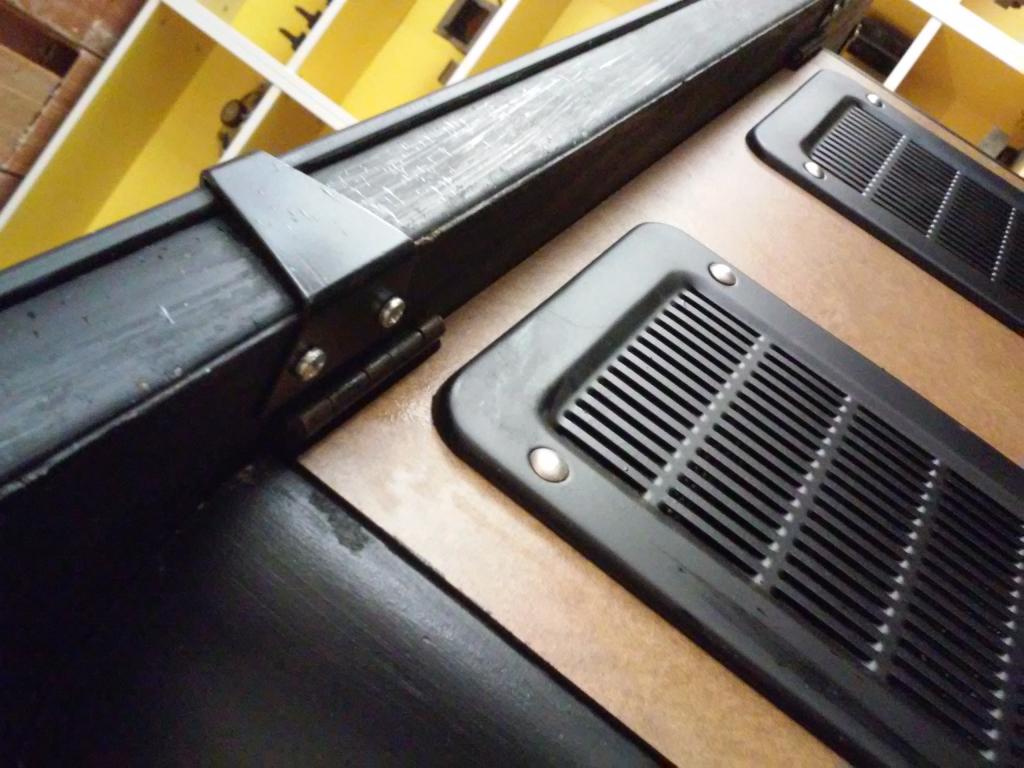
T-molding
21 September 2015
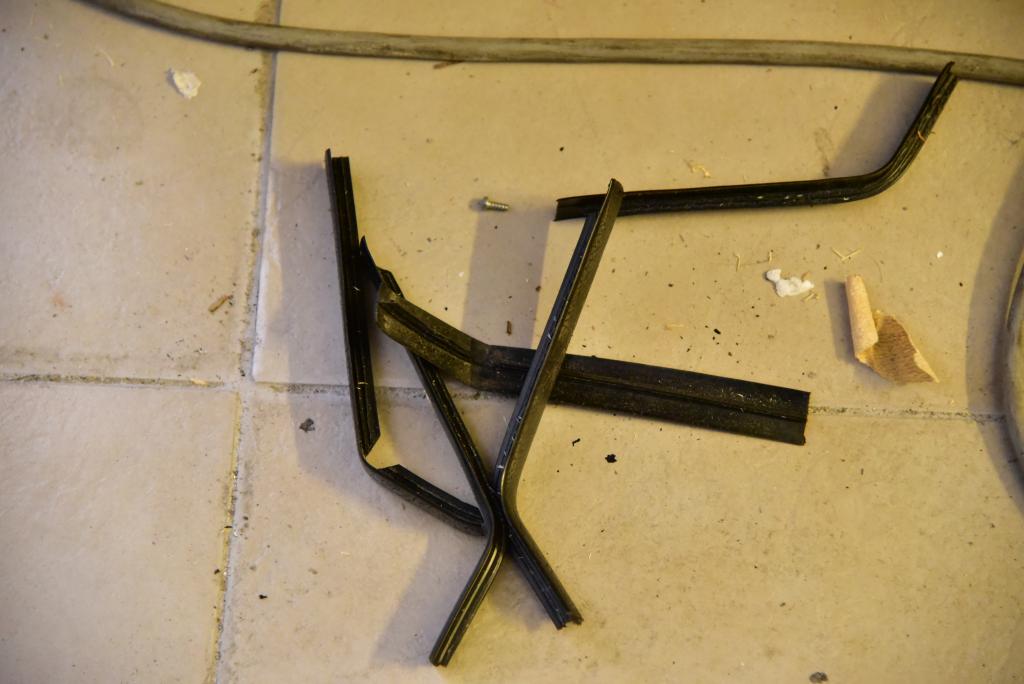
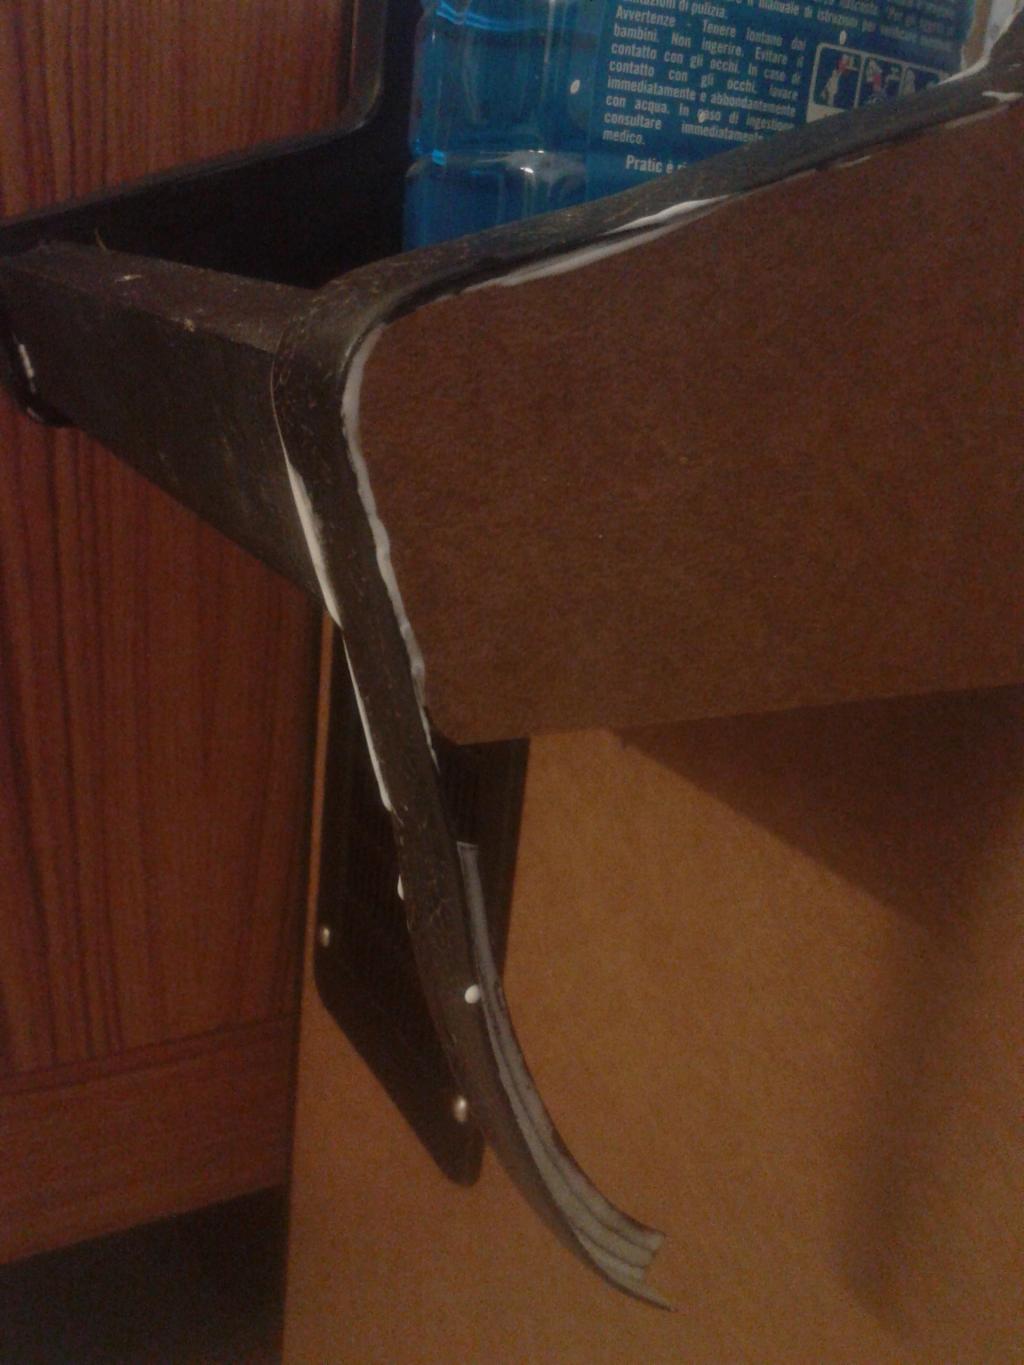
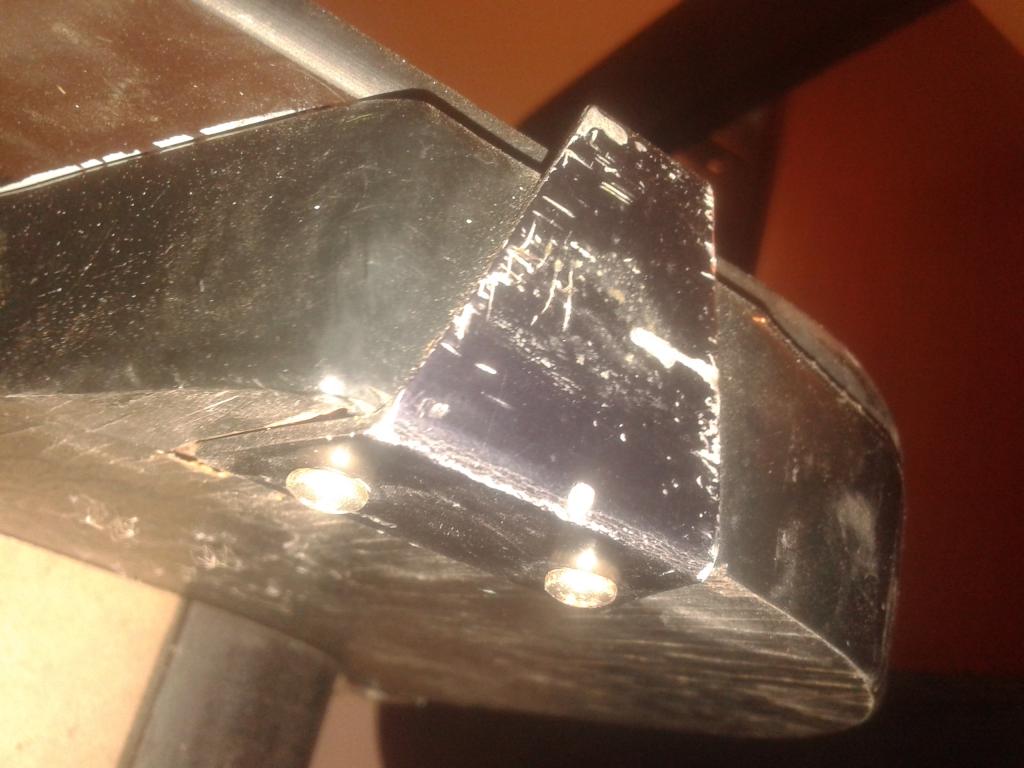
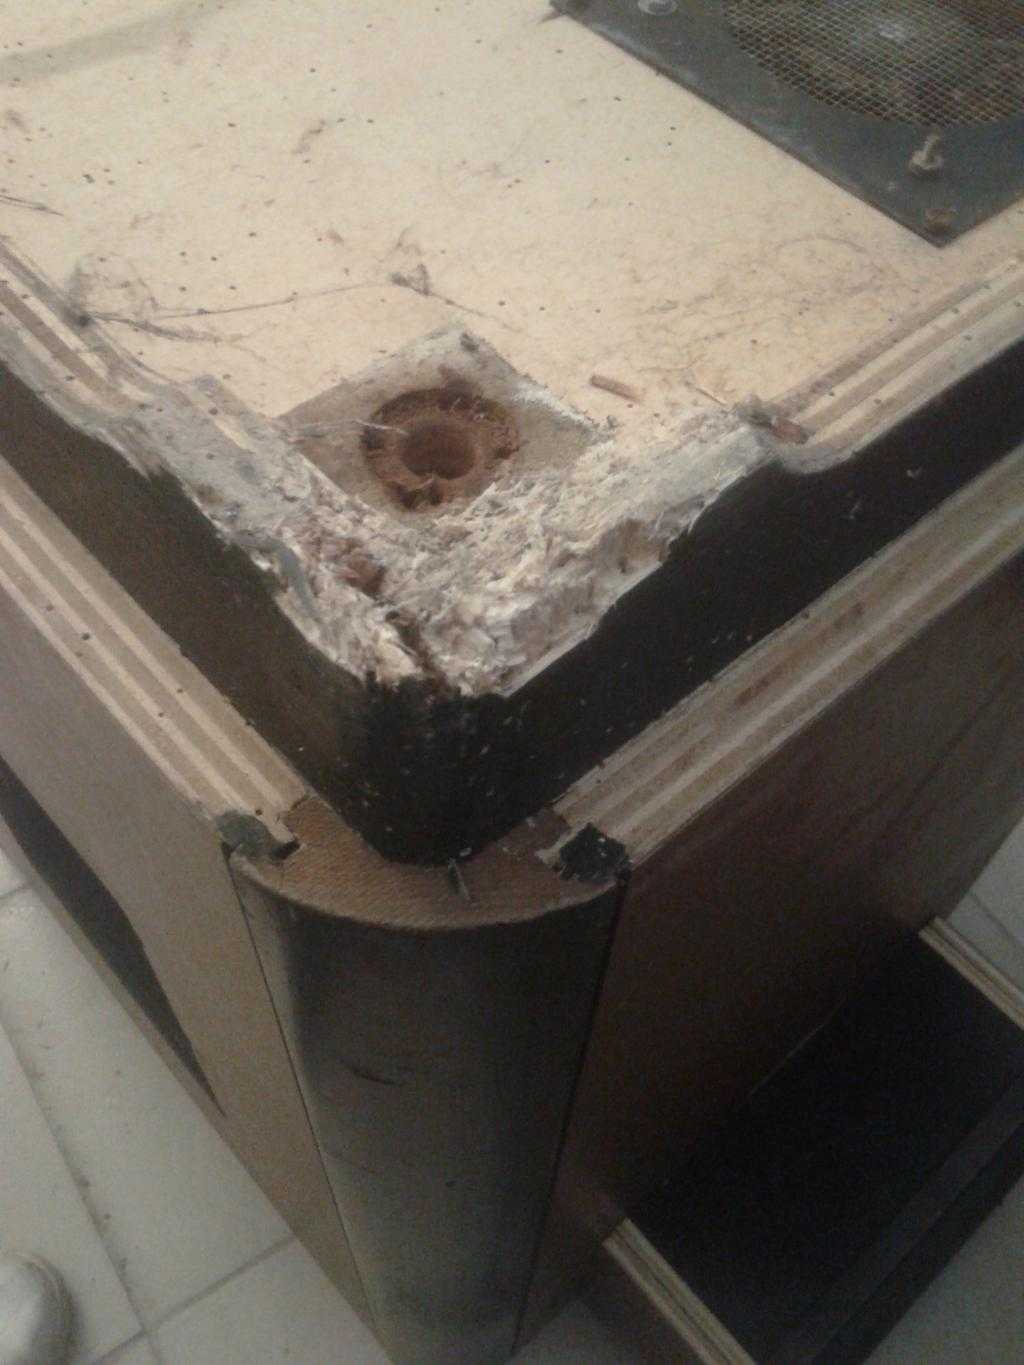
T-molding had significant breakdowns on the corners so I decided to use part of my Star Castle T-molding in order to replace the old one.
Don’t worry I’ve to restore my Star Castle and I have new T-molding stored somewhere 🙂
I cut the new parts and I installing them with some glue.
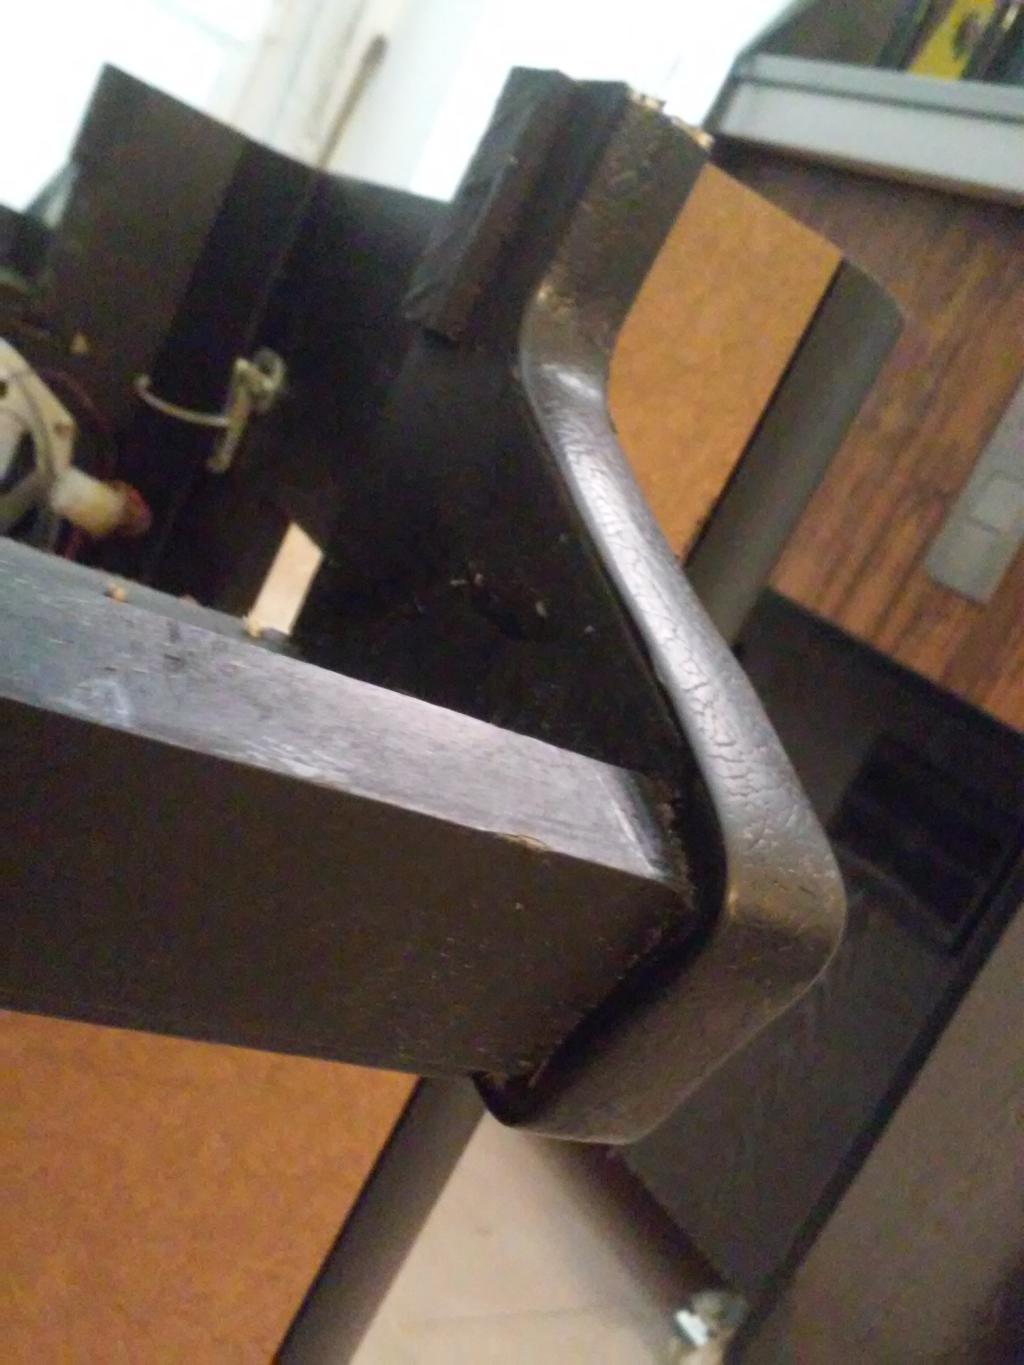
Then I cleaned removing the exceeding glue
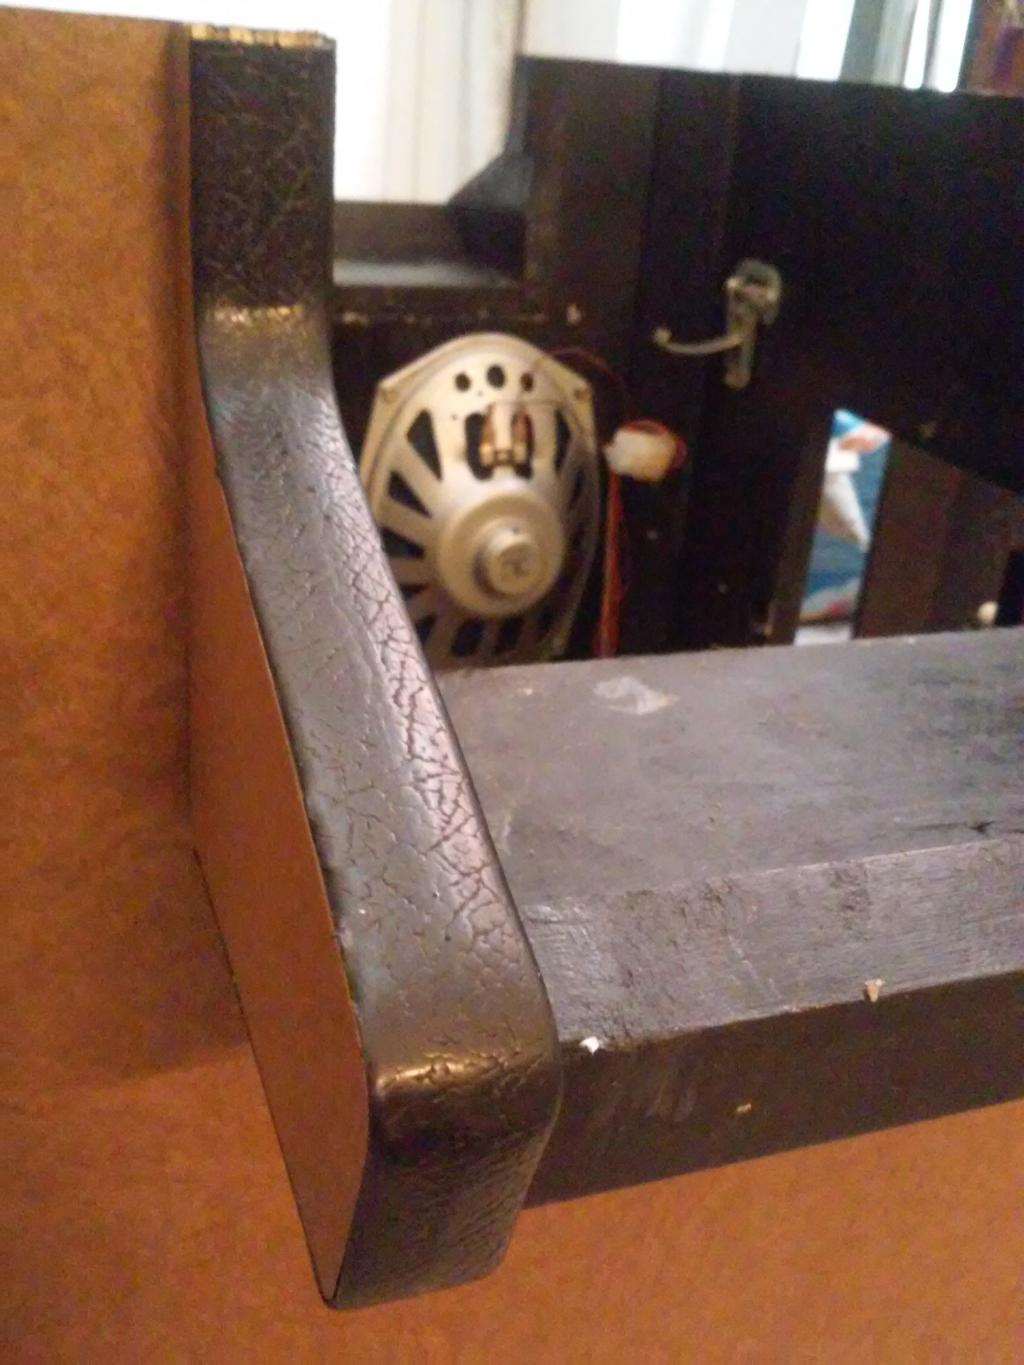
This is the result (you already saw it into the post regarding the CPs re assembling)
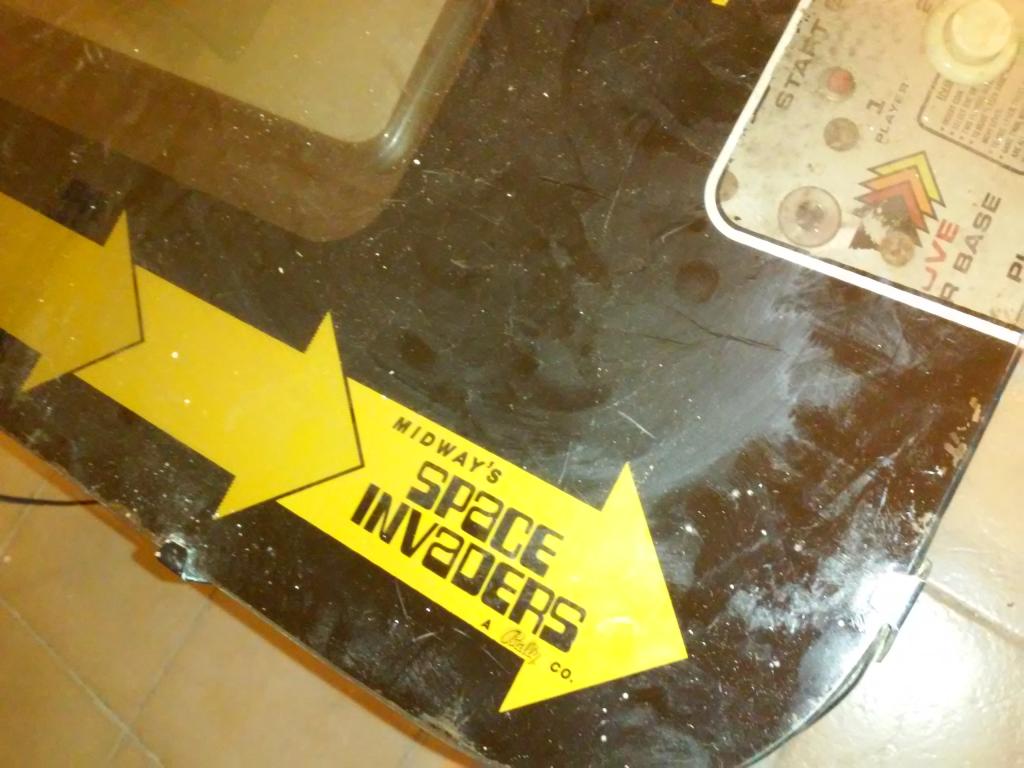
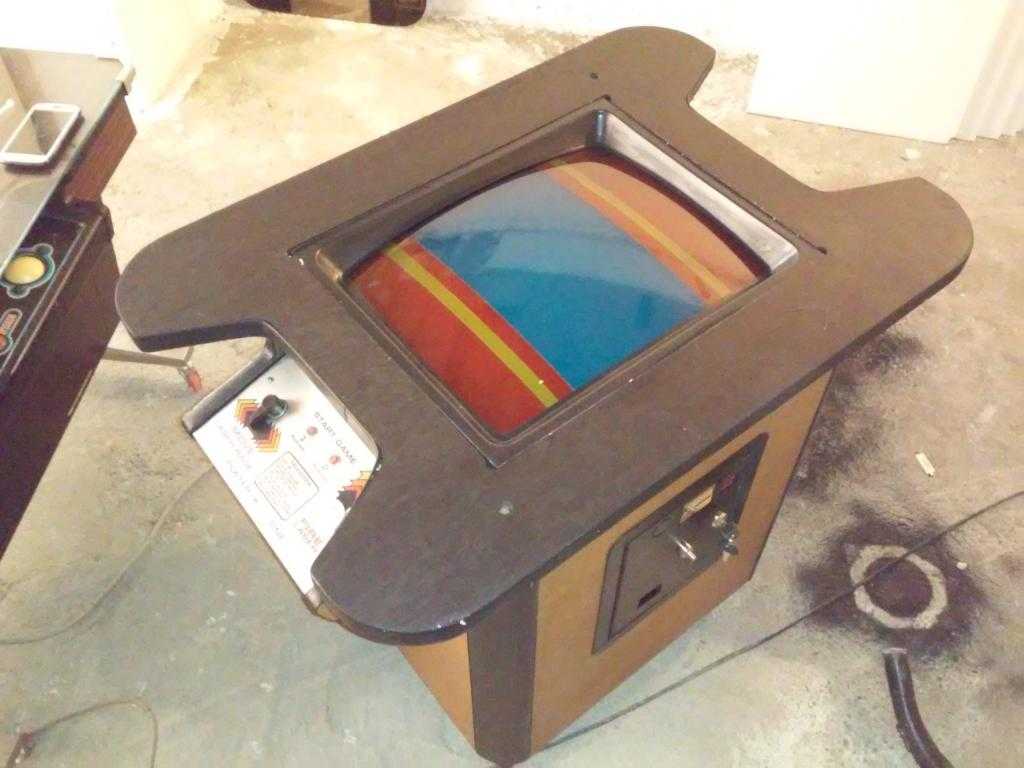
Glass
5 October 2015
Glass was very dirty but not so much damaged.
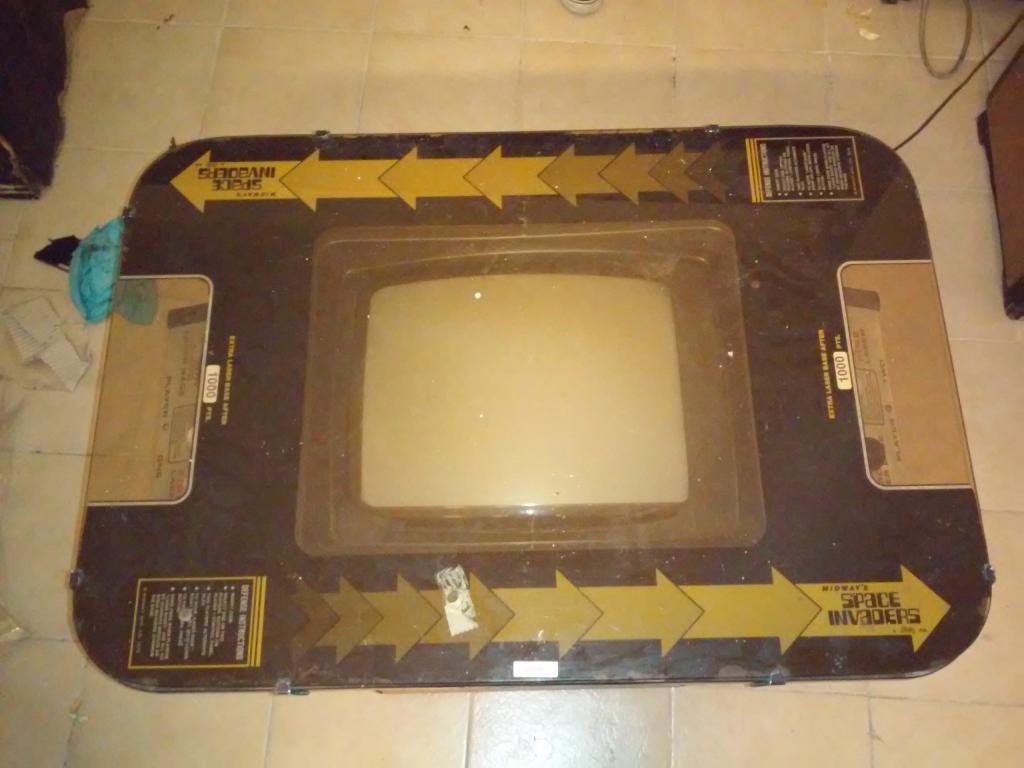
As you now the glass art is very delicate so I fixed it with a black paint and then I used a black between the glass and the wood
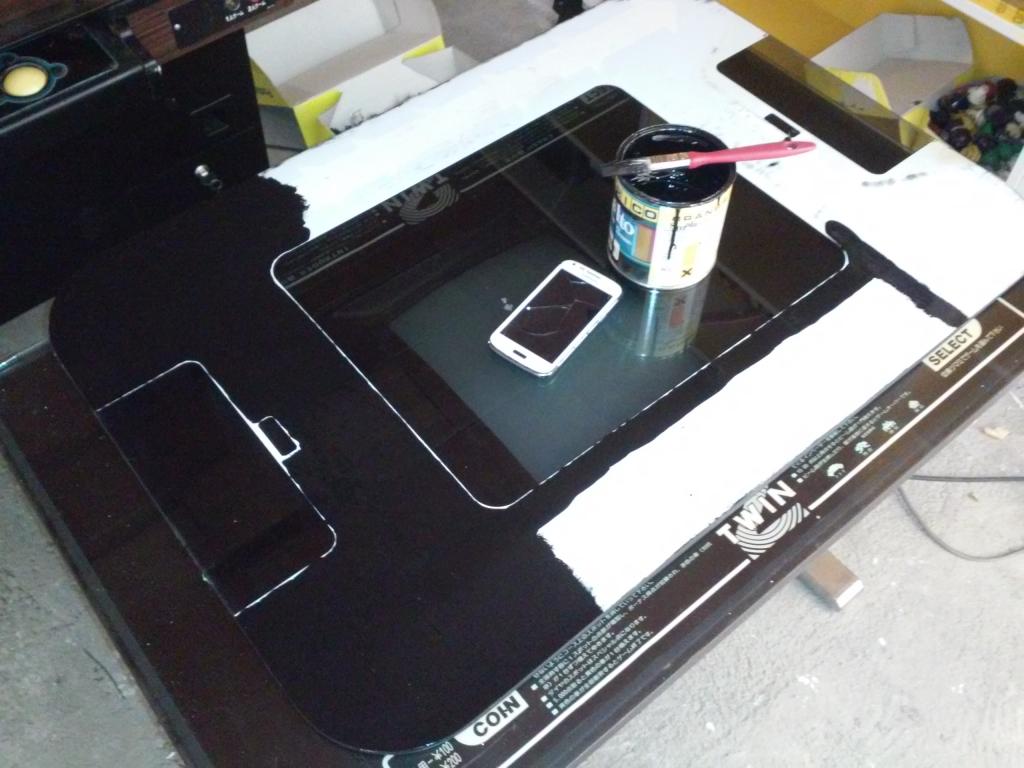
This is the result
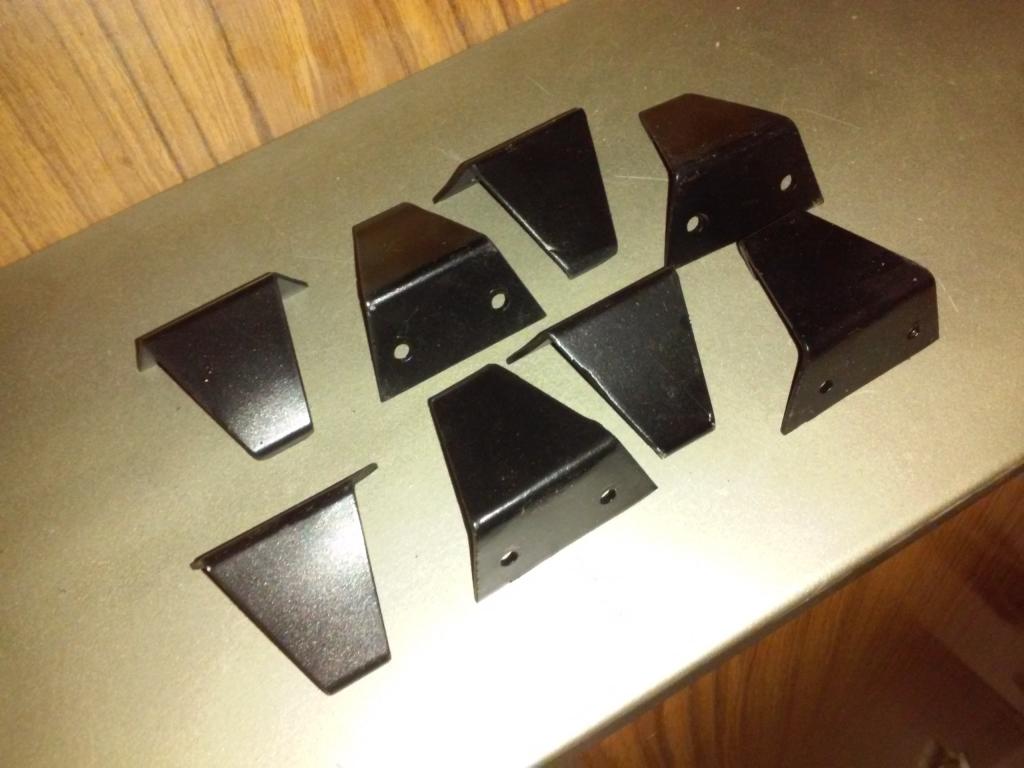
Glass supports
5 October 2015
I made a little bit of work to the glass supports.
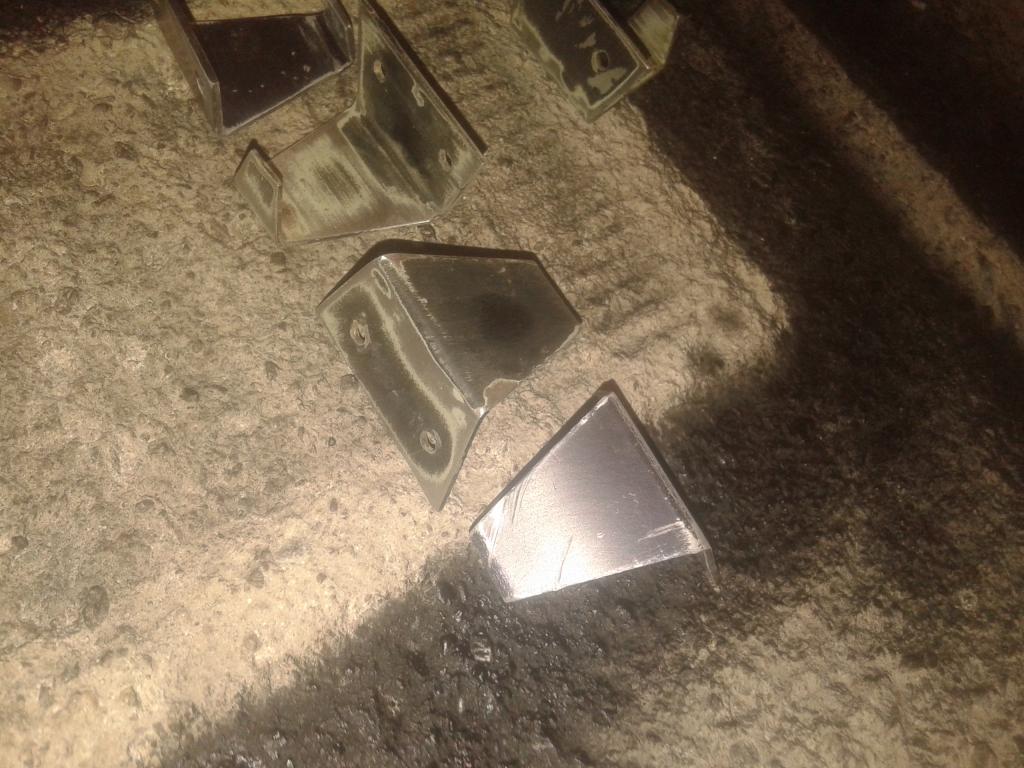
I cleaned sanded and repainted them with a protective matte black paint
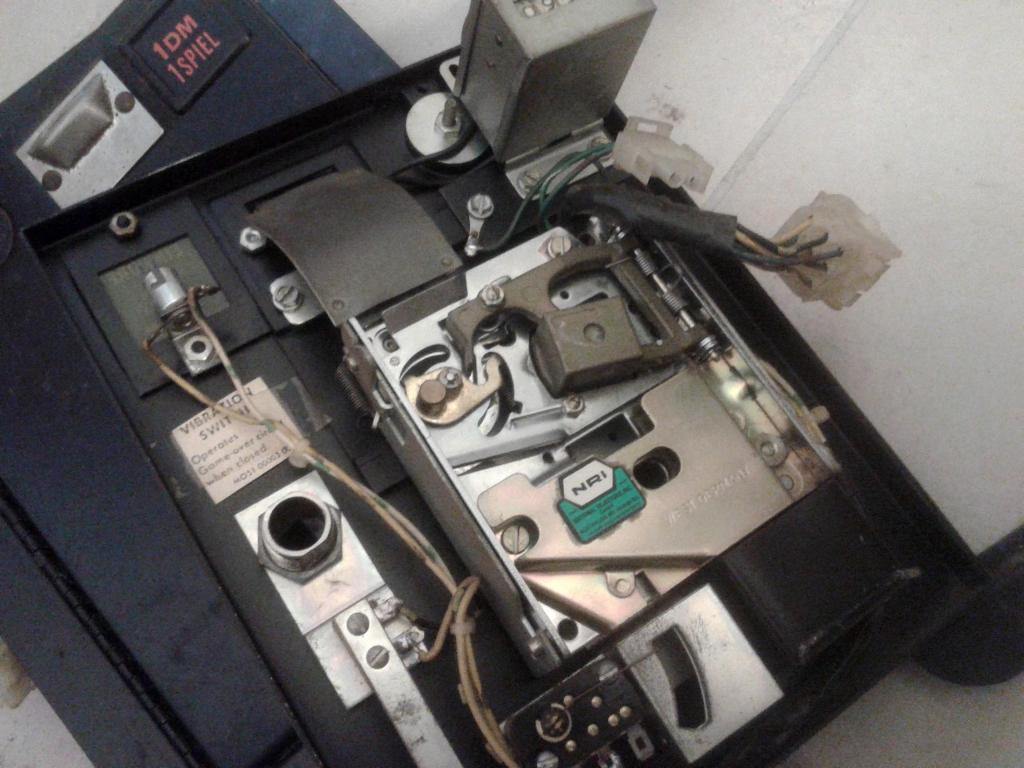
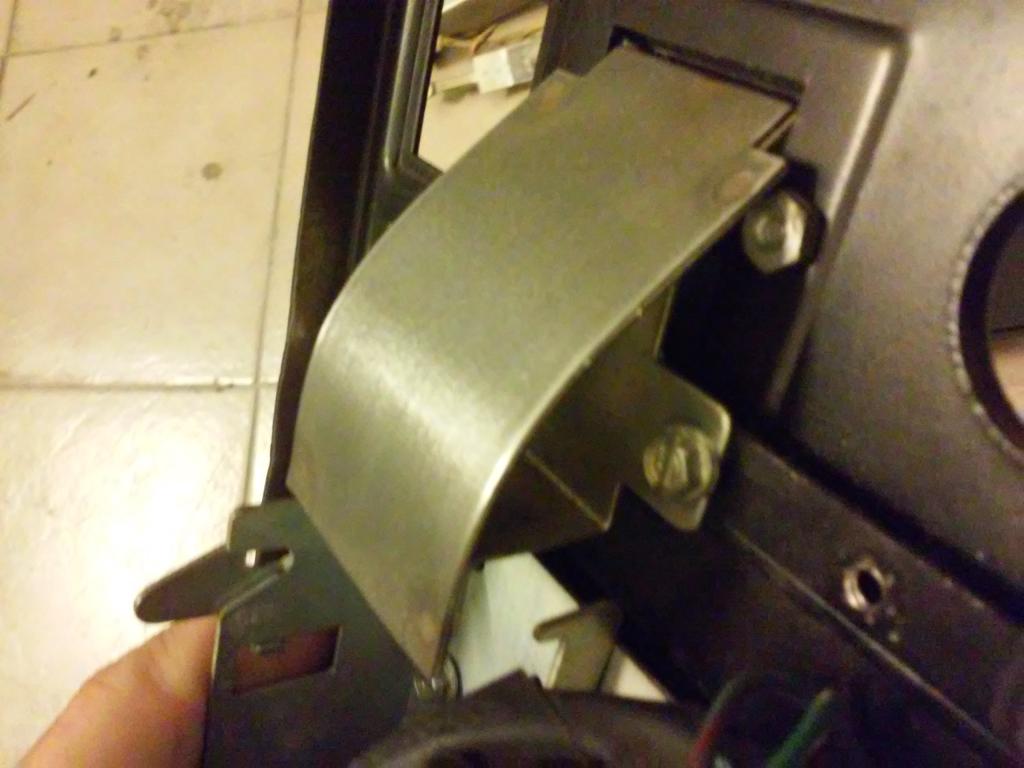
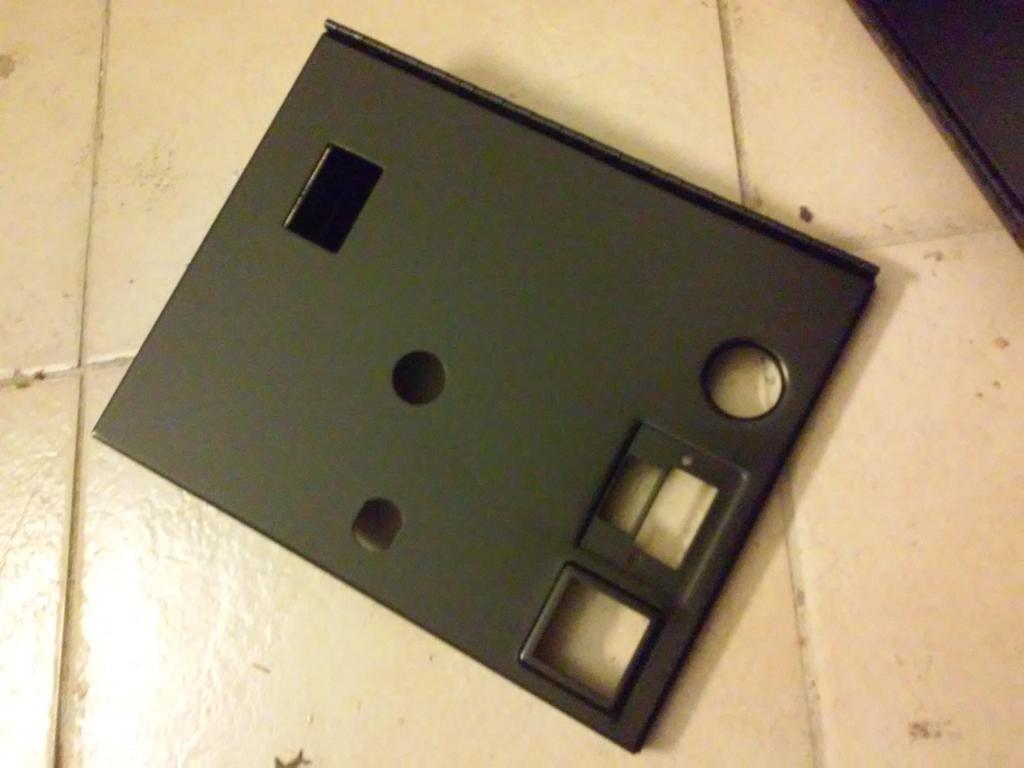
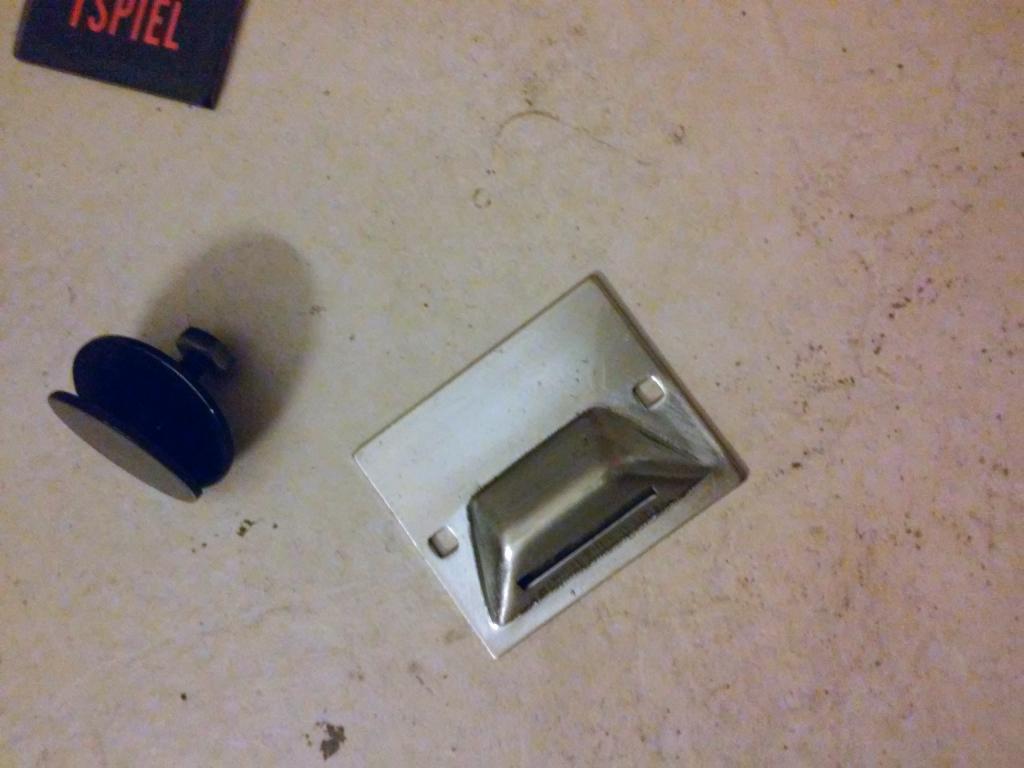
Coin door
6 October 2015
Here there are the 2 coin doors I worked on.
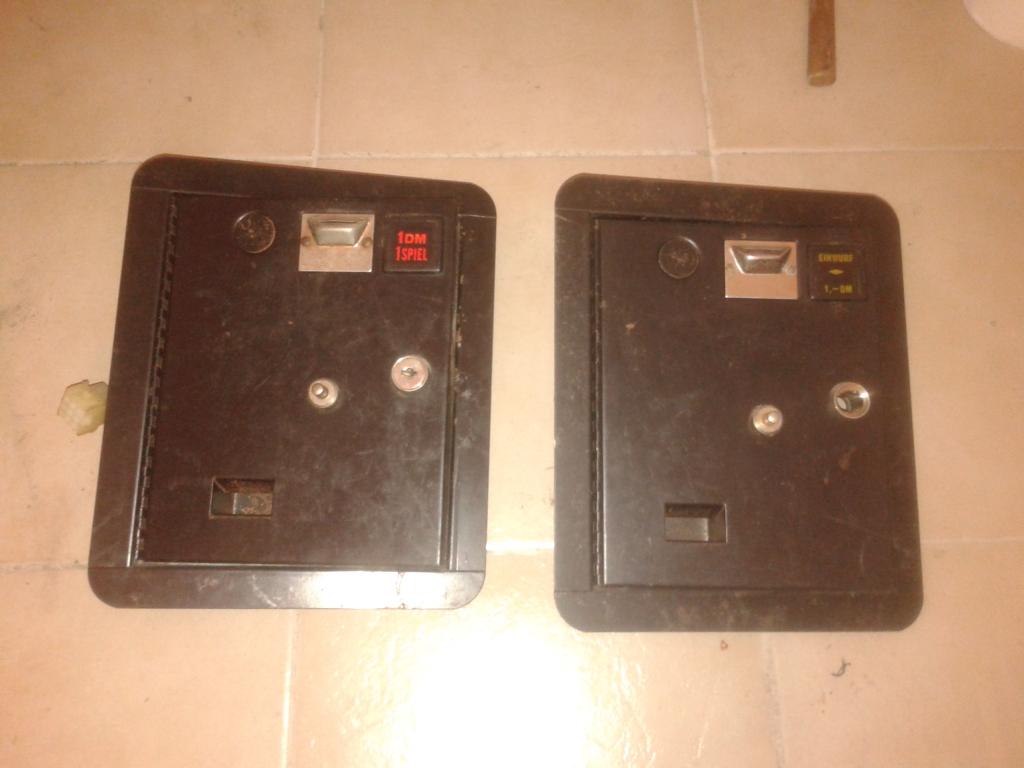
A bit of rust and scratches somewhere.
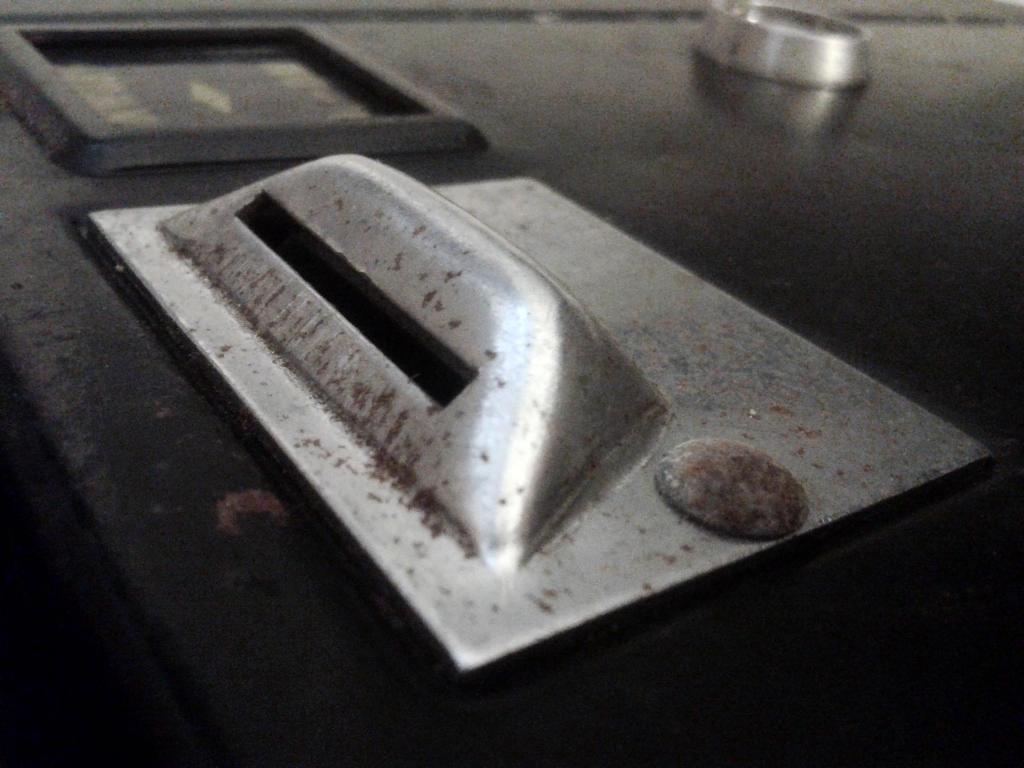
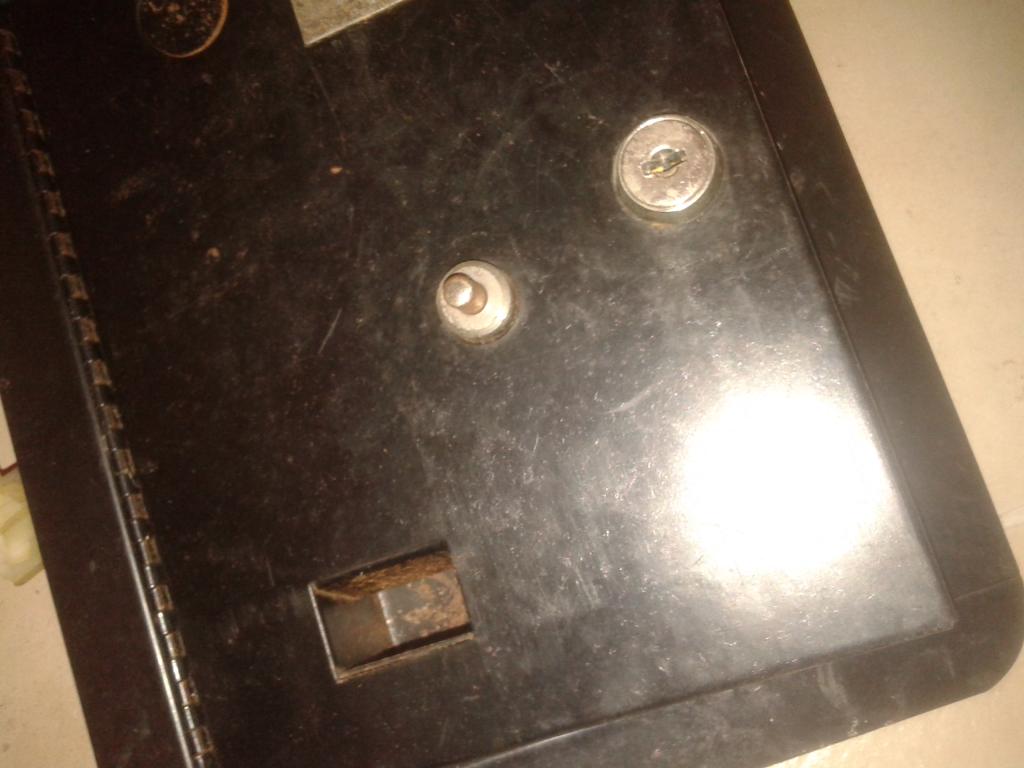
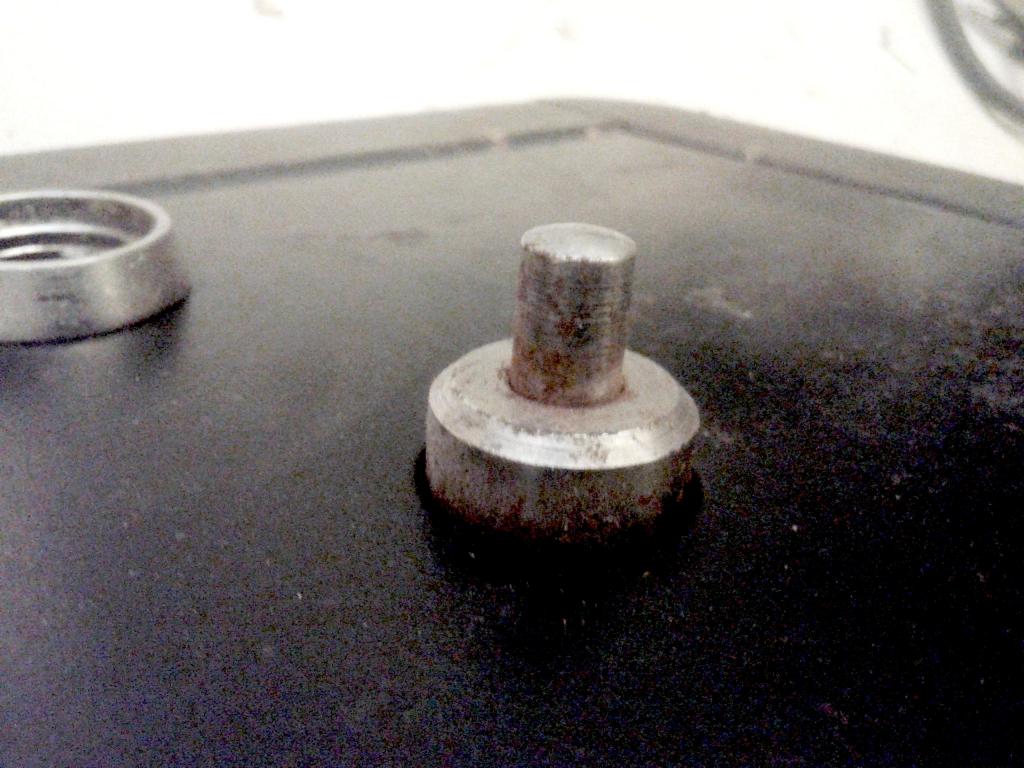
Internally everything seems to be ok.
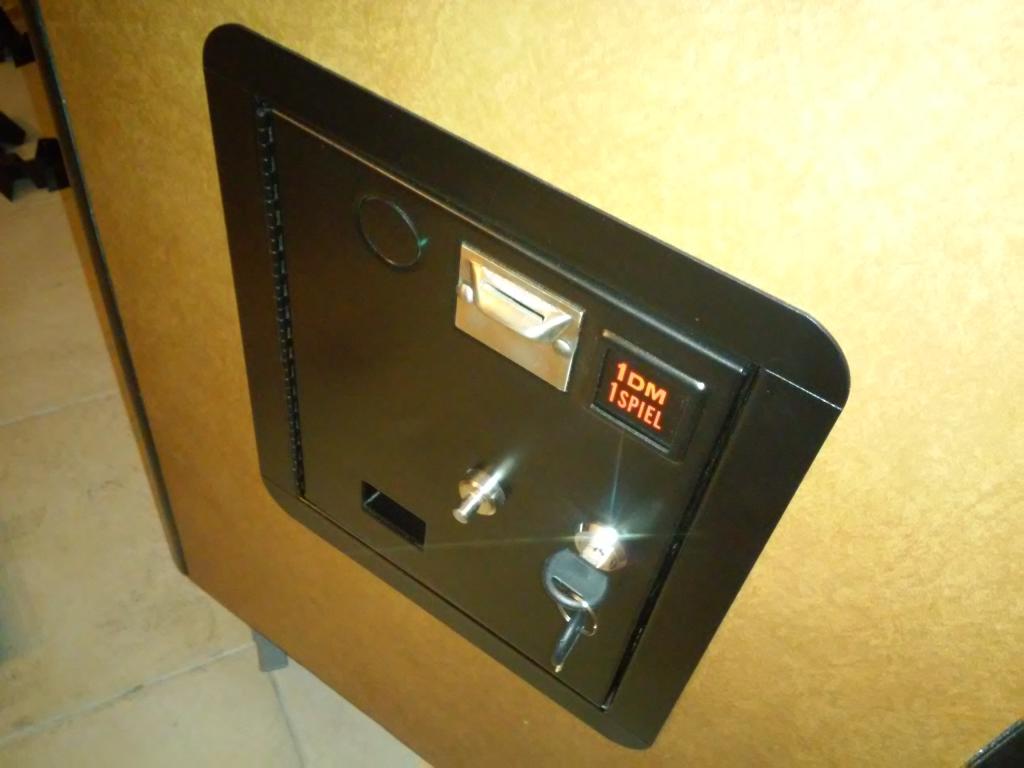
Then I sanded and painted all black parts with matte black protective paint
That’s all

The Table
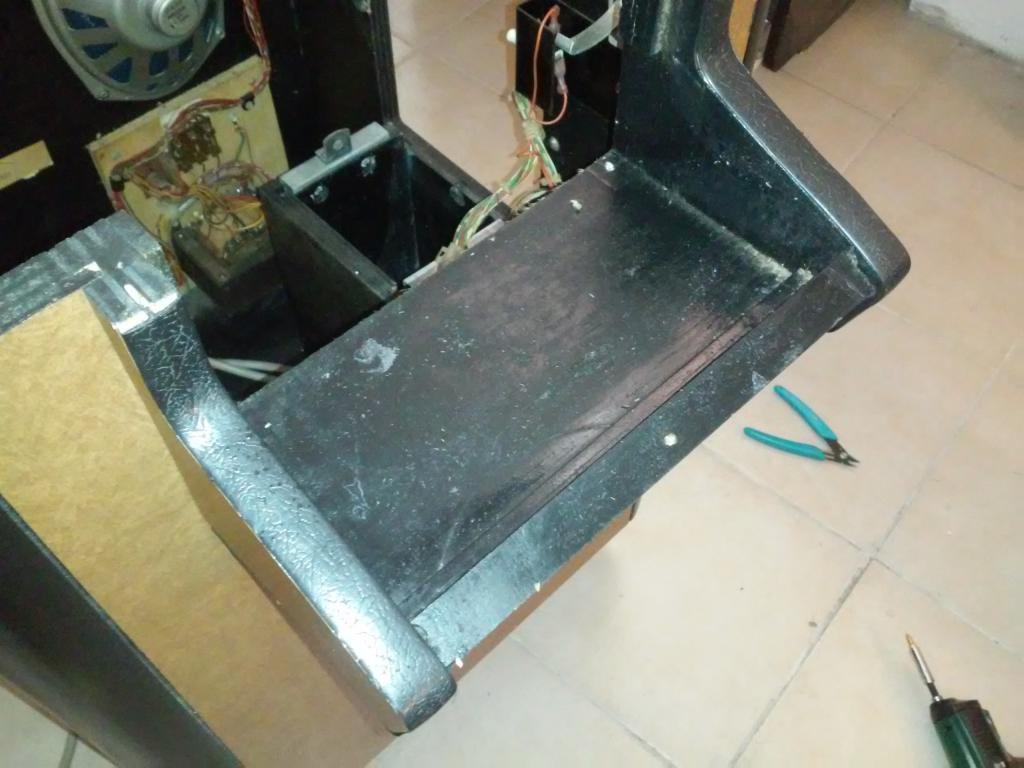
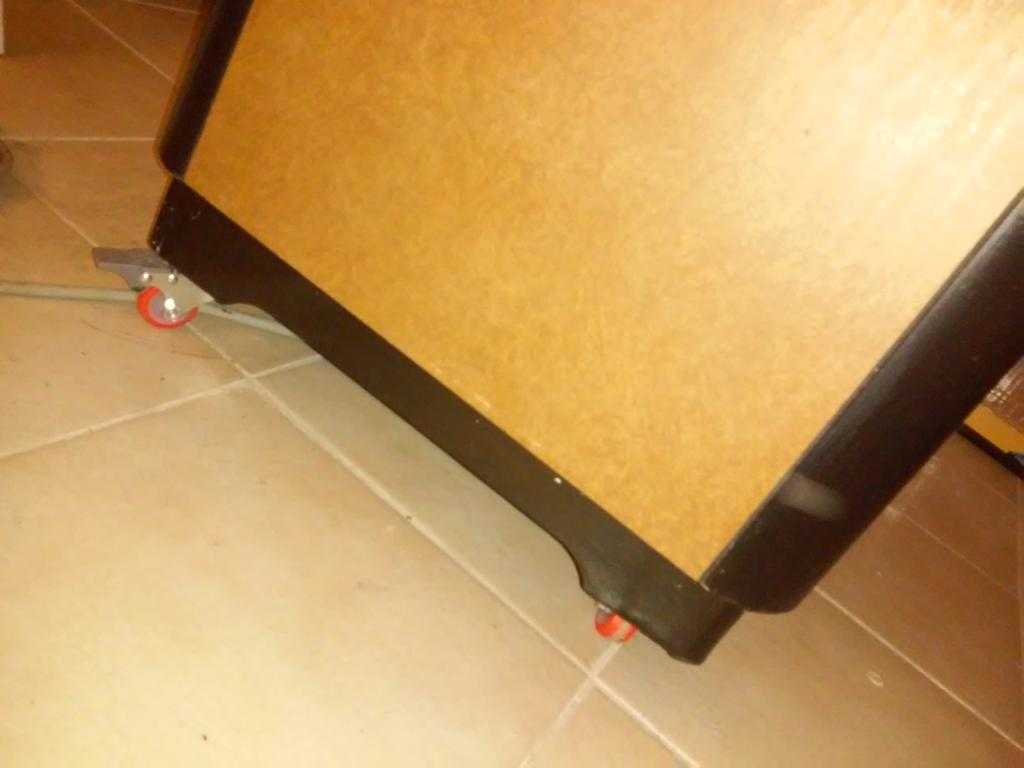
9 October 2015
I had to o some work on the foot but it was in good conditions

After cleaning I pained wood and metal parts removing rust where needed.
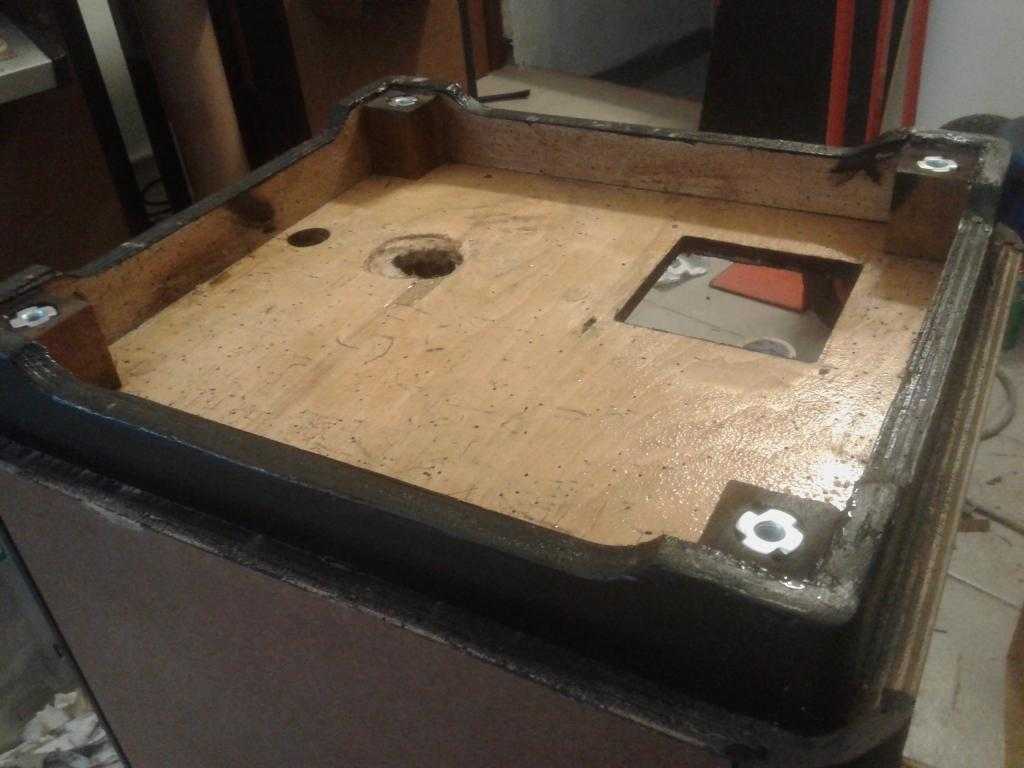
Serial number?

This is the result before remounting the glass


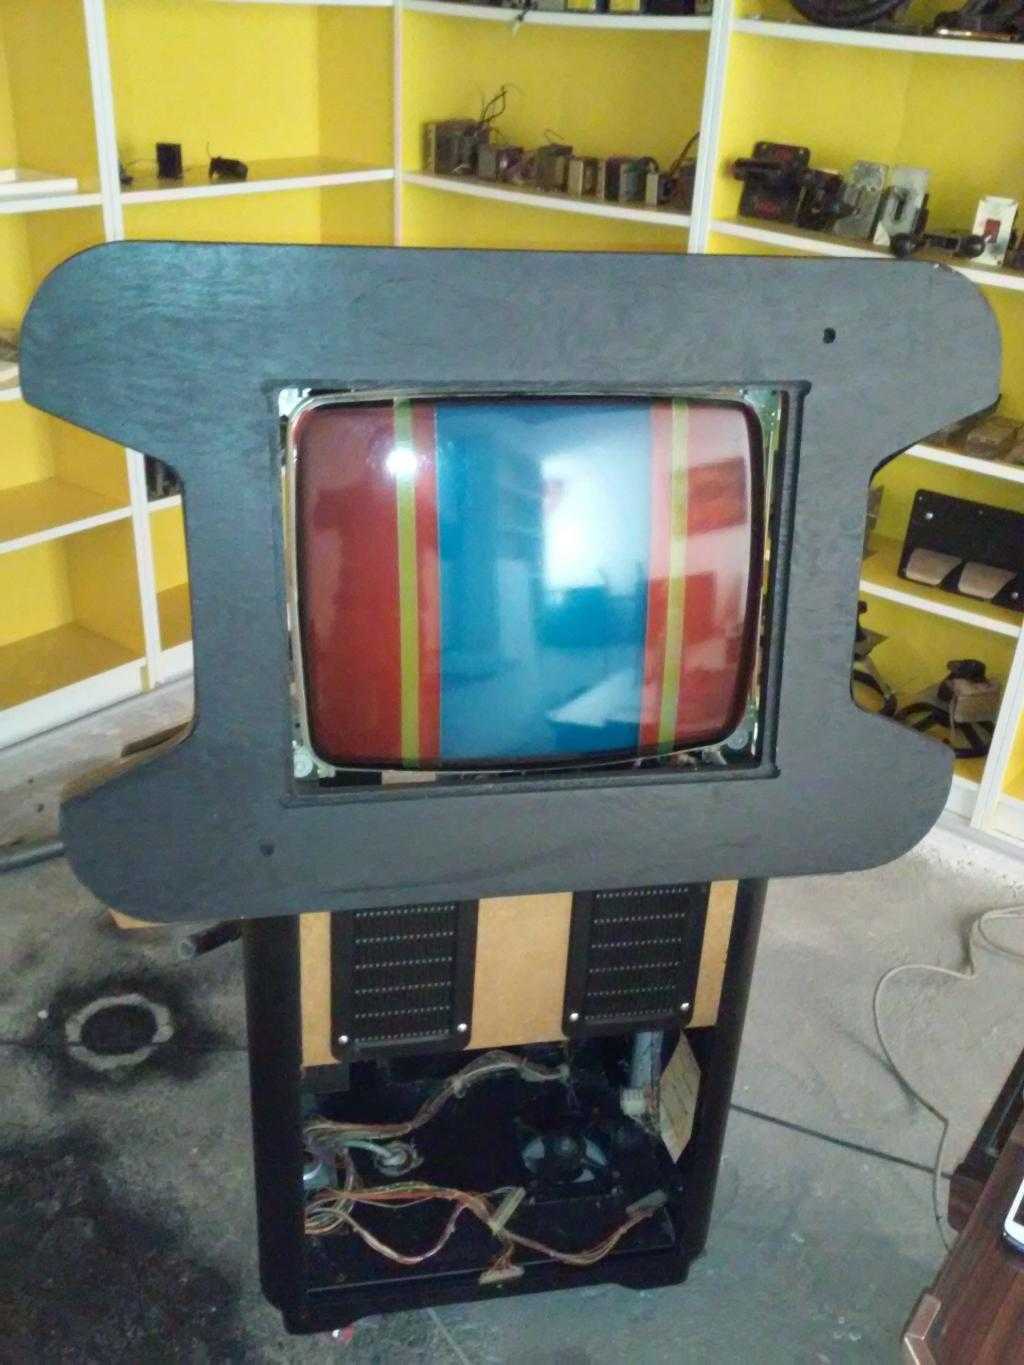
Last pics
17 February 2016
Here the last pics