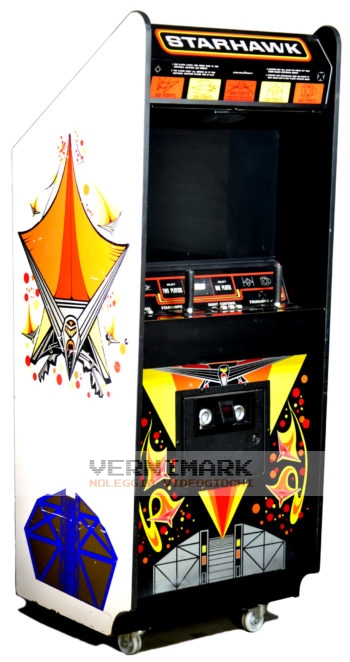
Starhawk

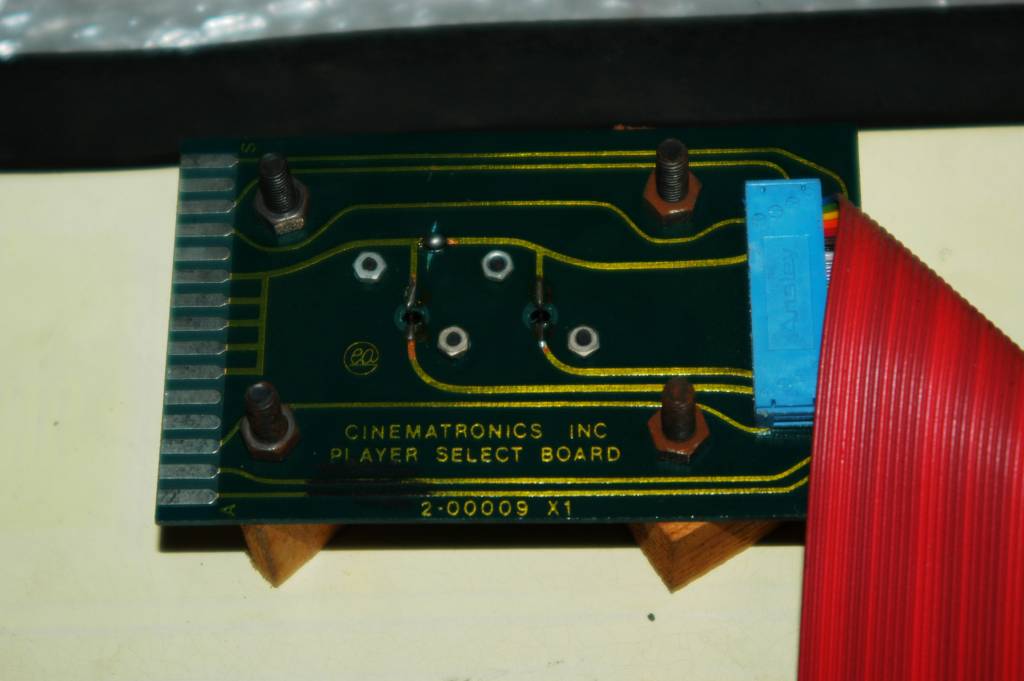
  • Manufacturer: Cinematronics
  • Year: 1977

Useful info

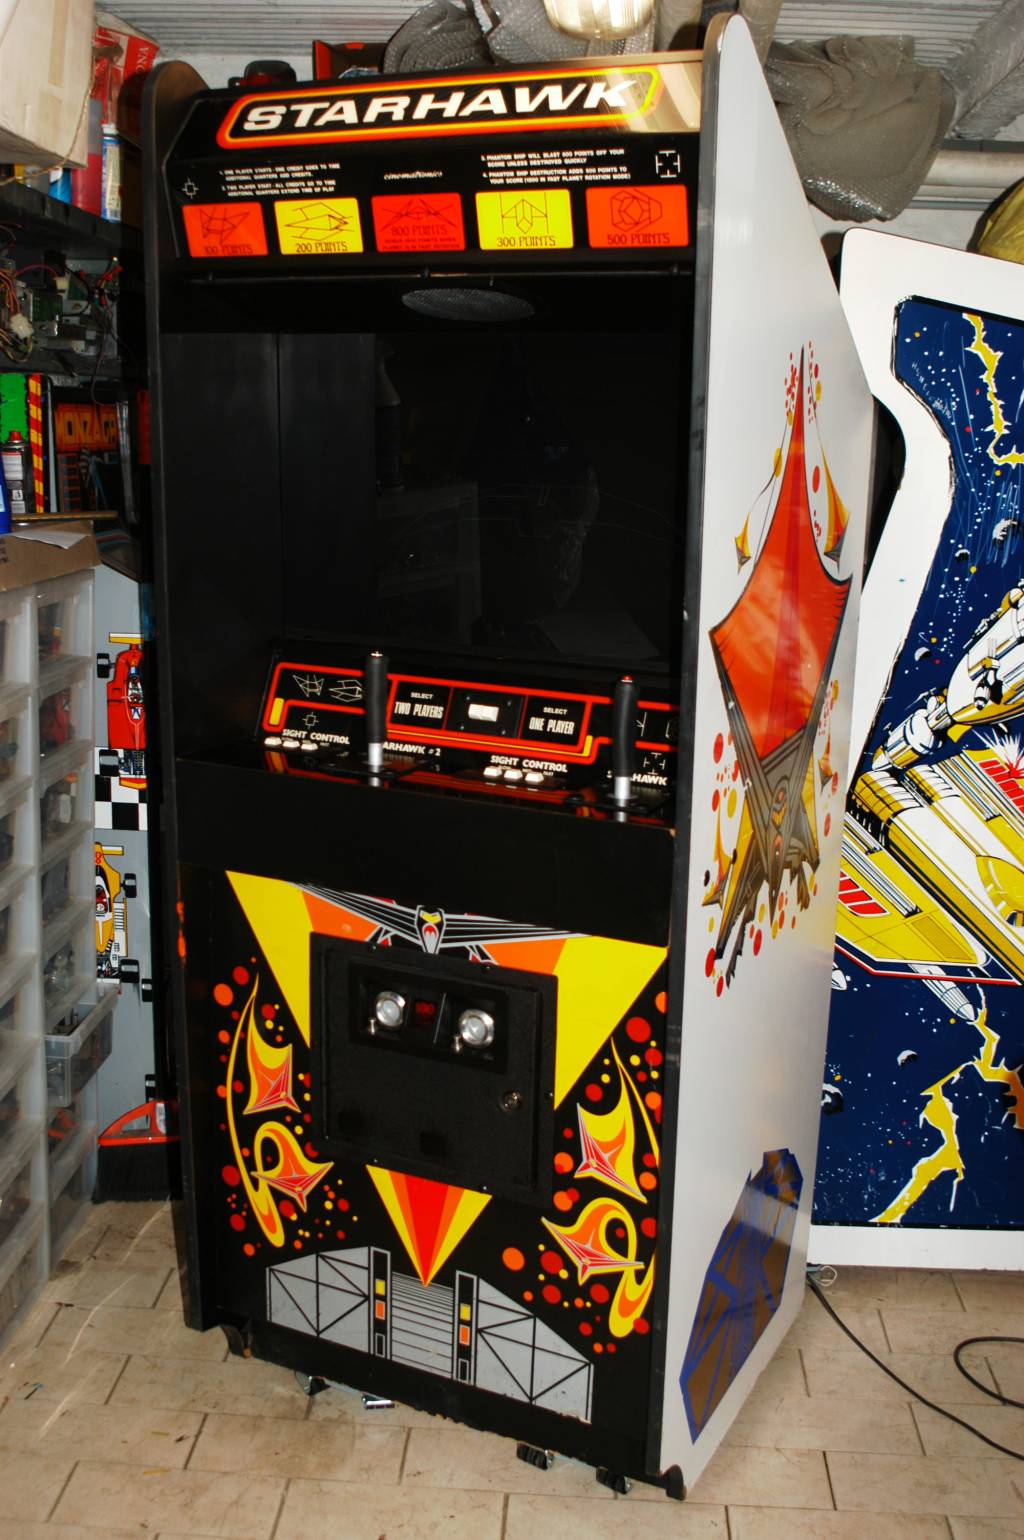
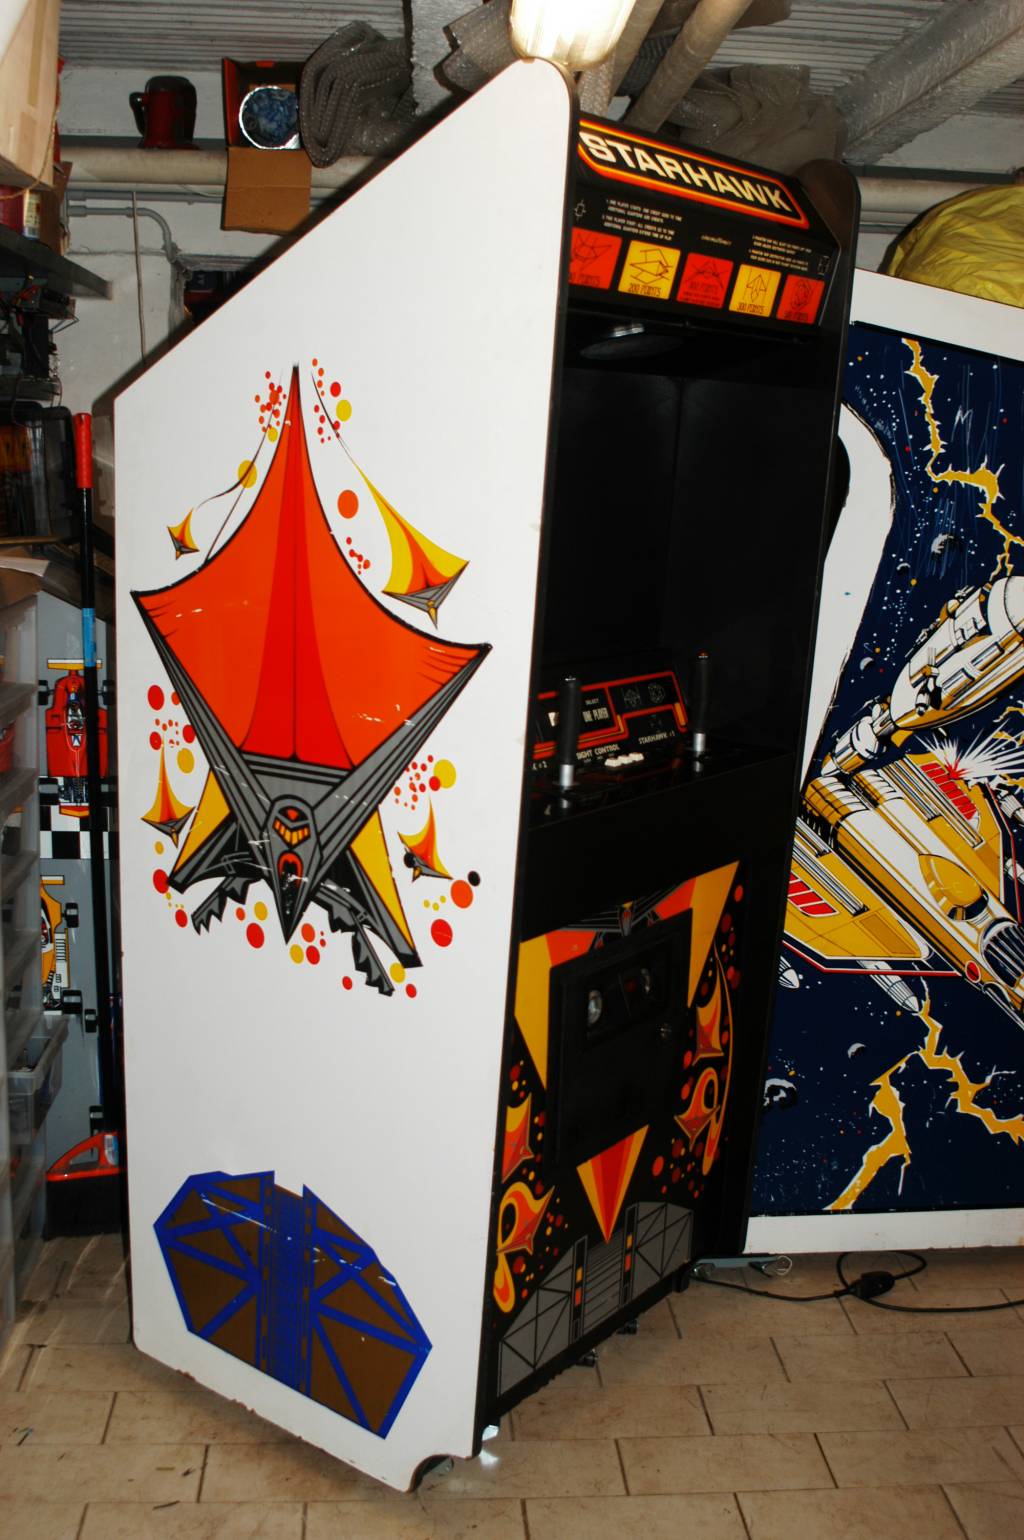
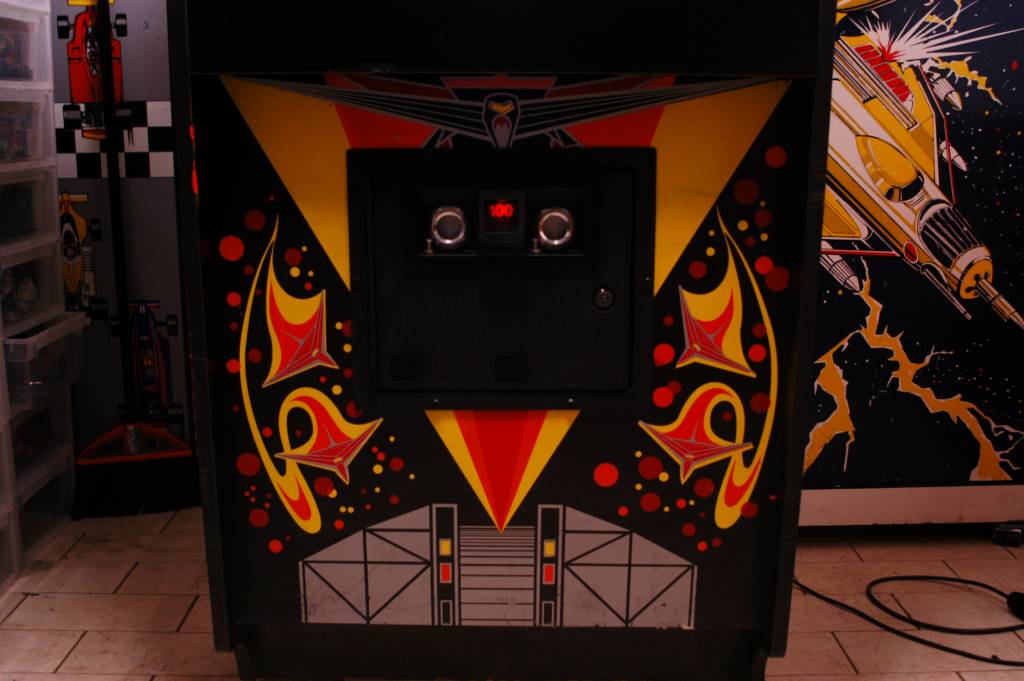
  • Cabinet type: Upright
  • Measures (WxHxD): 71,0 x 189,0 x 71,3 cm
  • Working voltage: 220V
  • Maximum consumption: 135,50W 0.850A
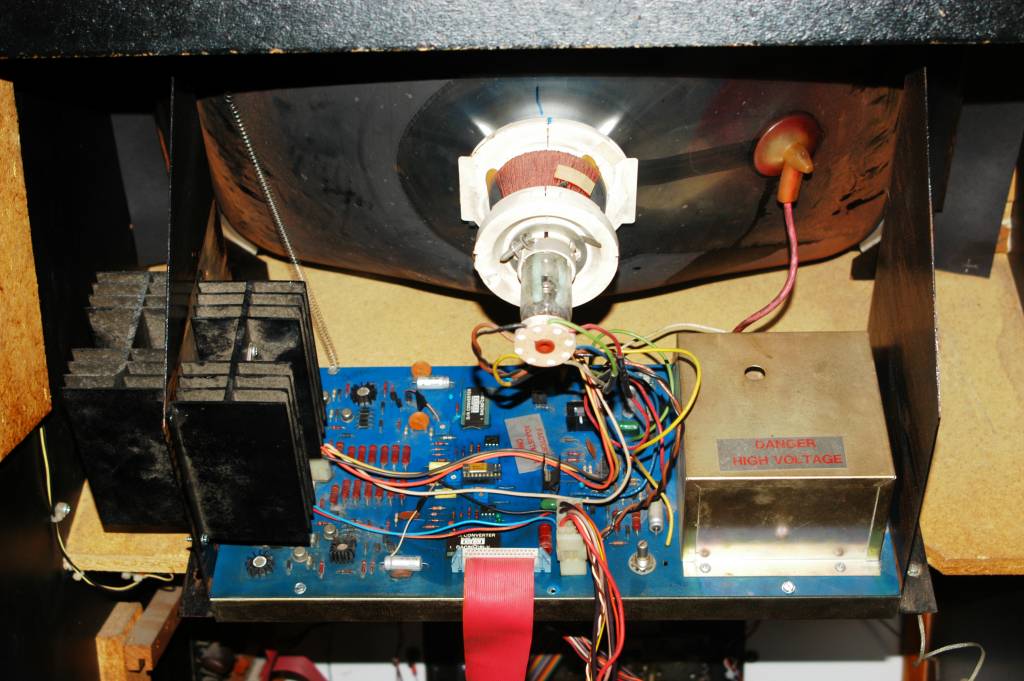
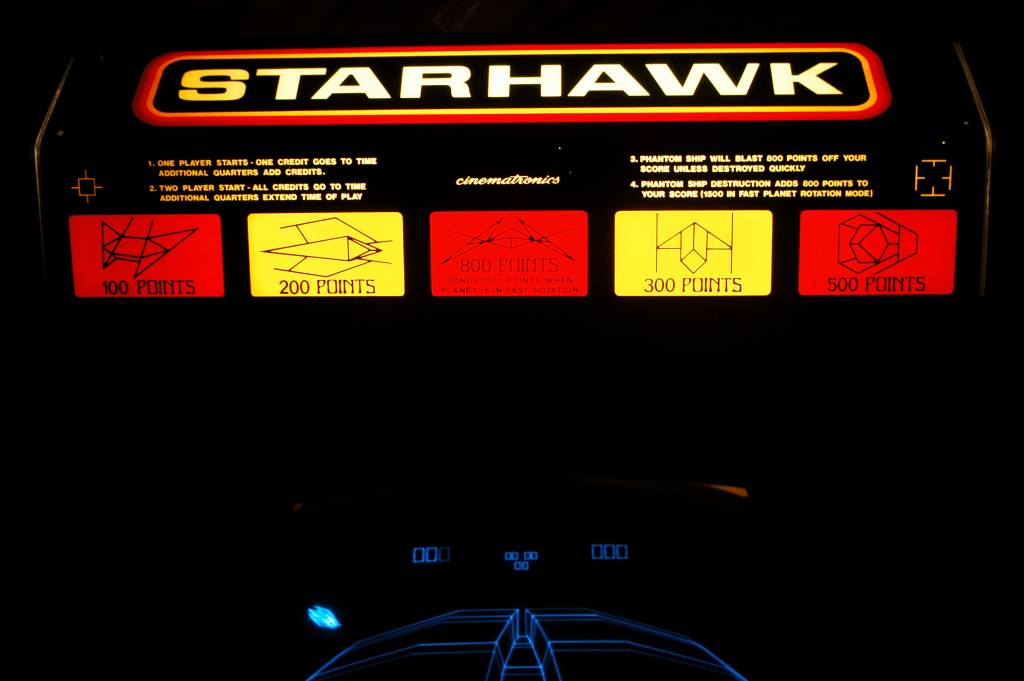
  • Technology: Horizontal B/W vector monitor

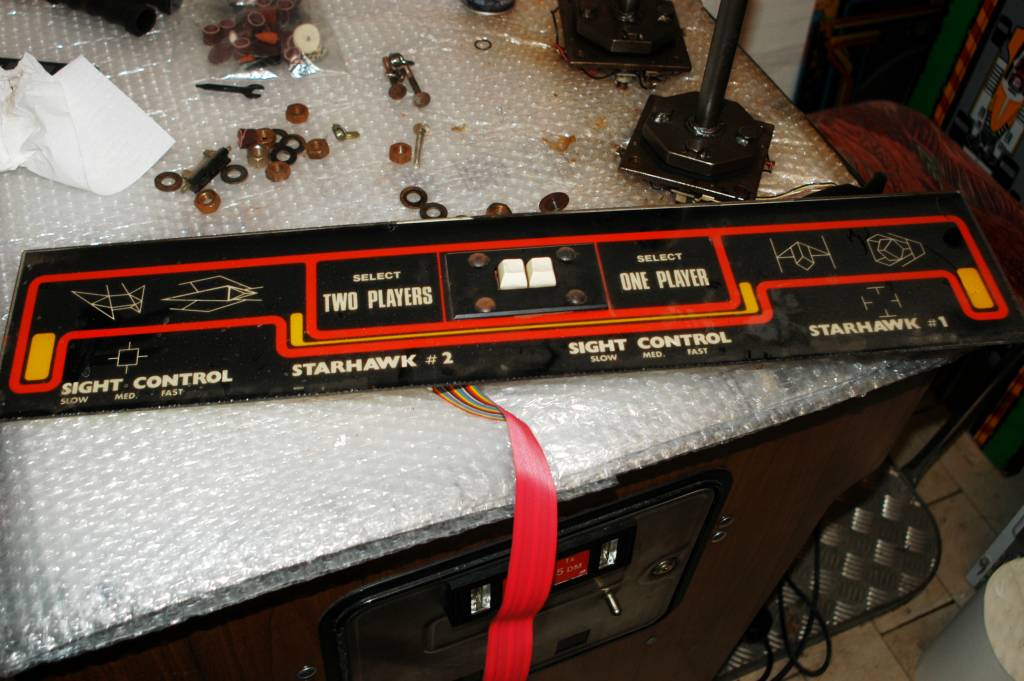
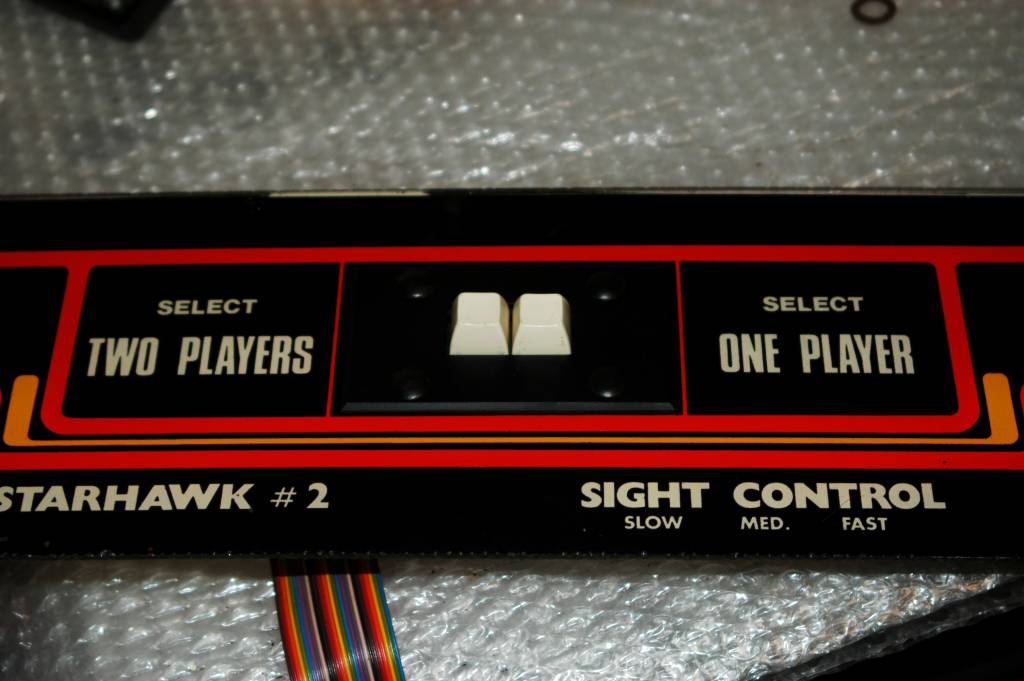
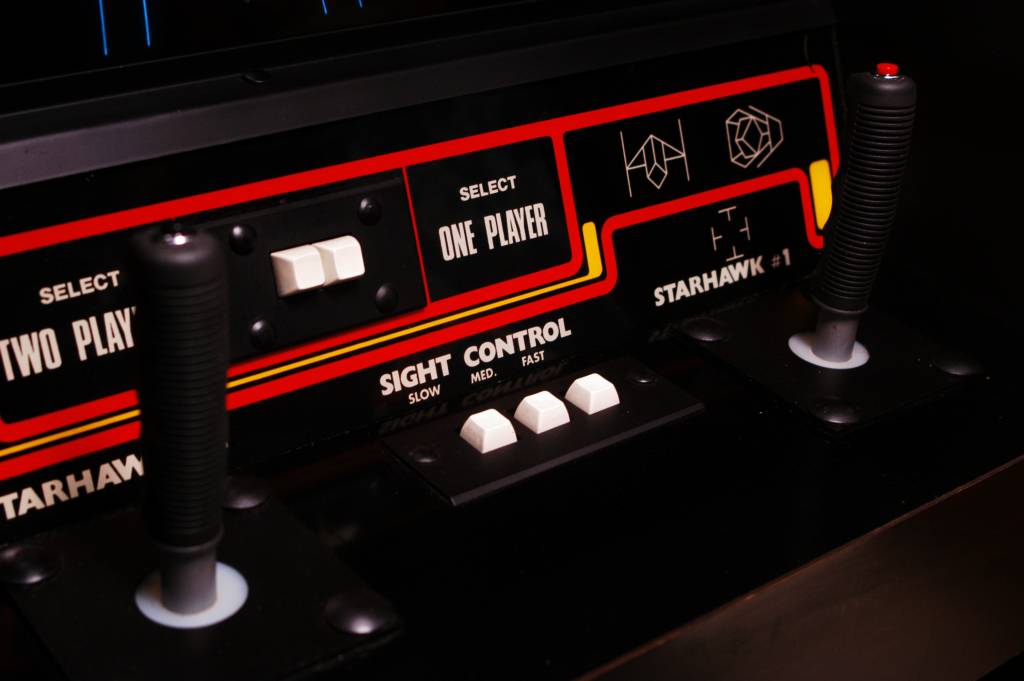
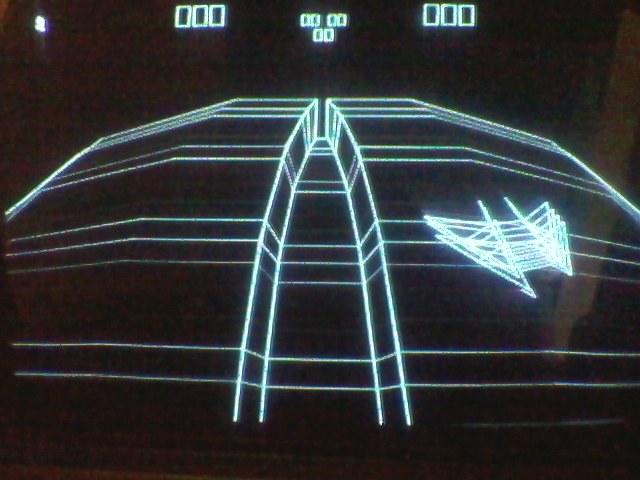
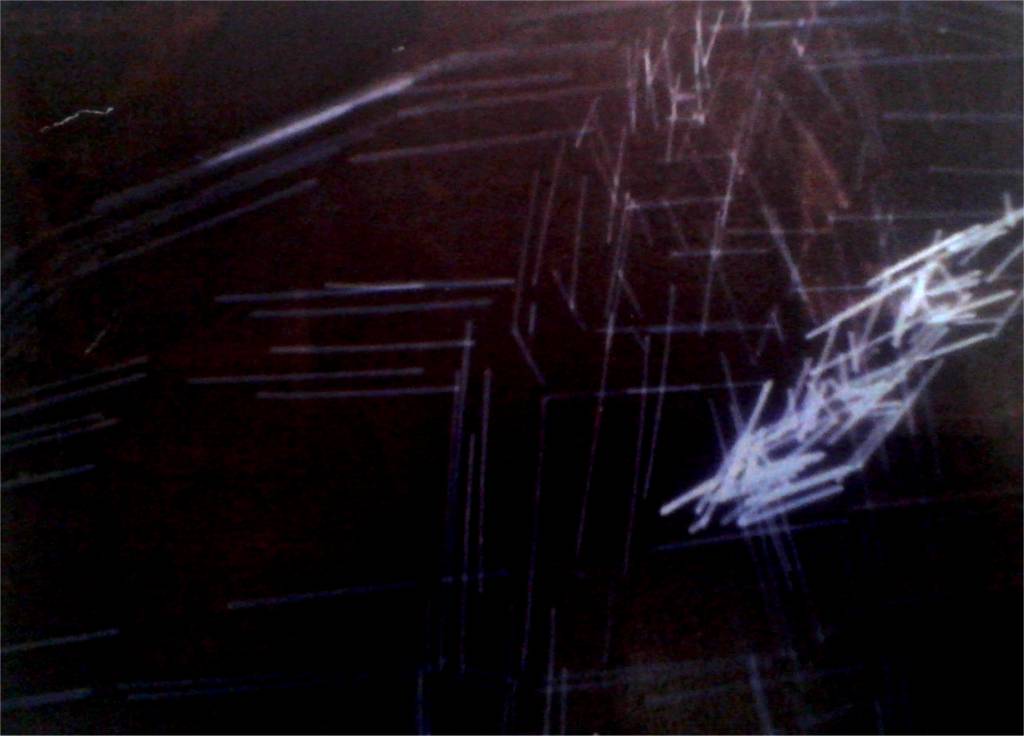
On the wave of Space Wars’ success, Cinematronics produced this game using the same vector technology. You can play this game as a single player or two in simultaneous competition (a paradigm common to many Cinematronics games of that period). The game is very simple: in the background plays a three-dimensional setting and the player’s hunt must hit the different spaceships that come to meet him, by moving the view with the joystick. In case of two players, the sights are two, as are the joysticks. You can select your speed and sometimes appears a faster and more aggressive enemy spacecraft that, of course, returns more points in case it’s hit.

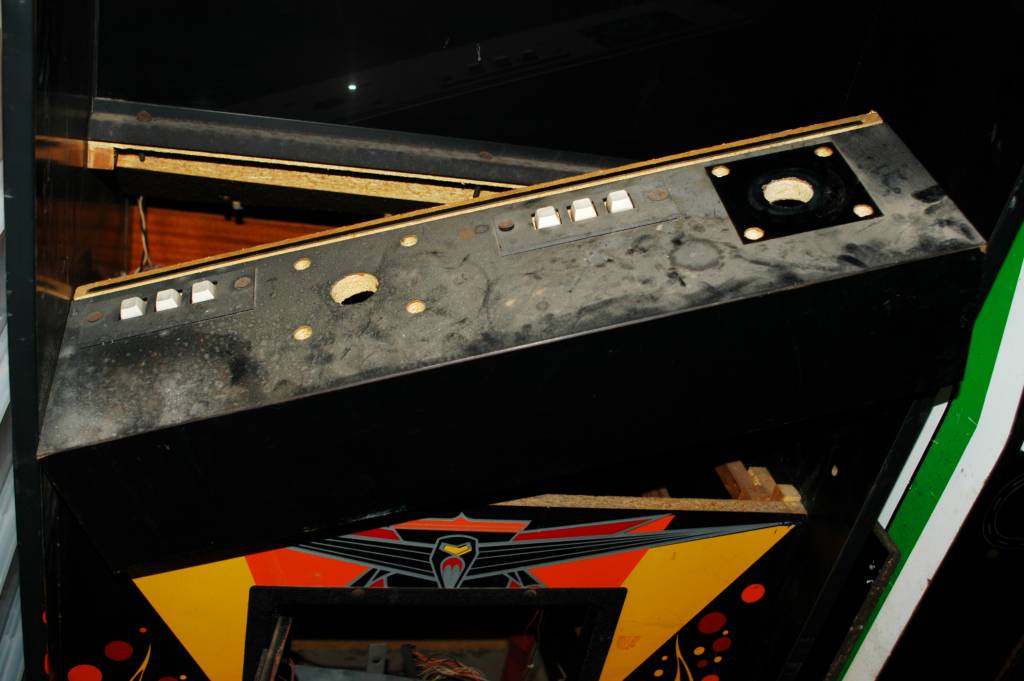
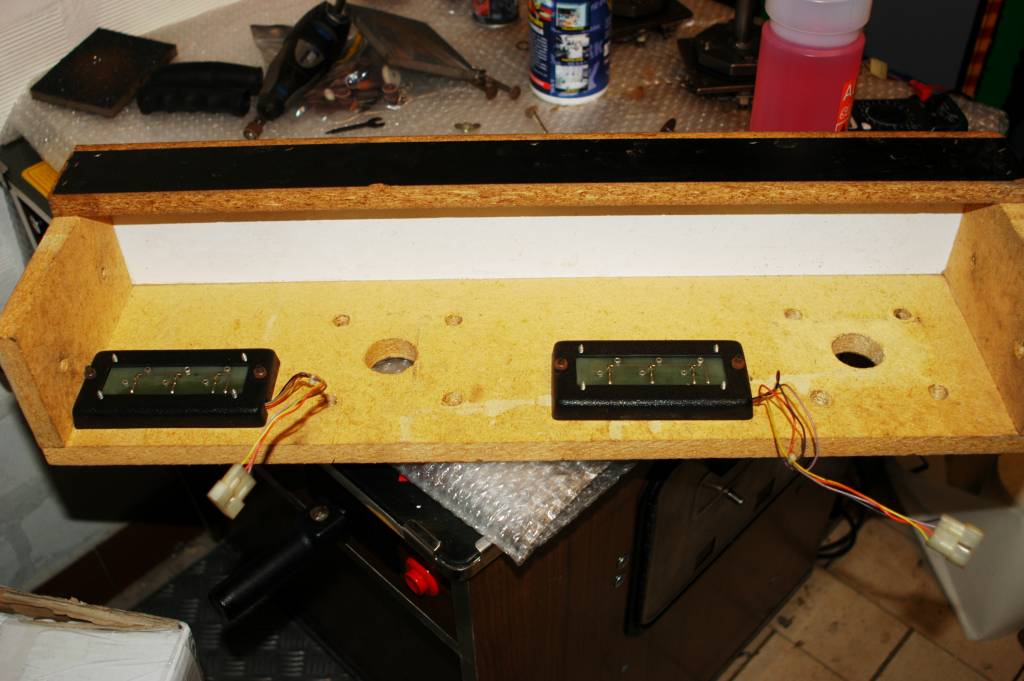
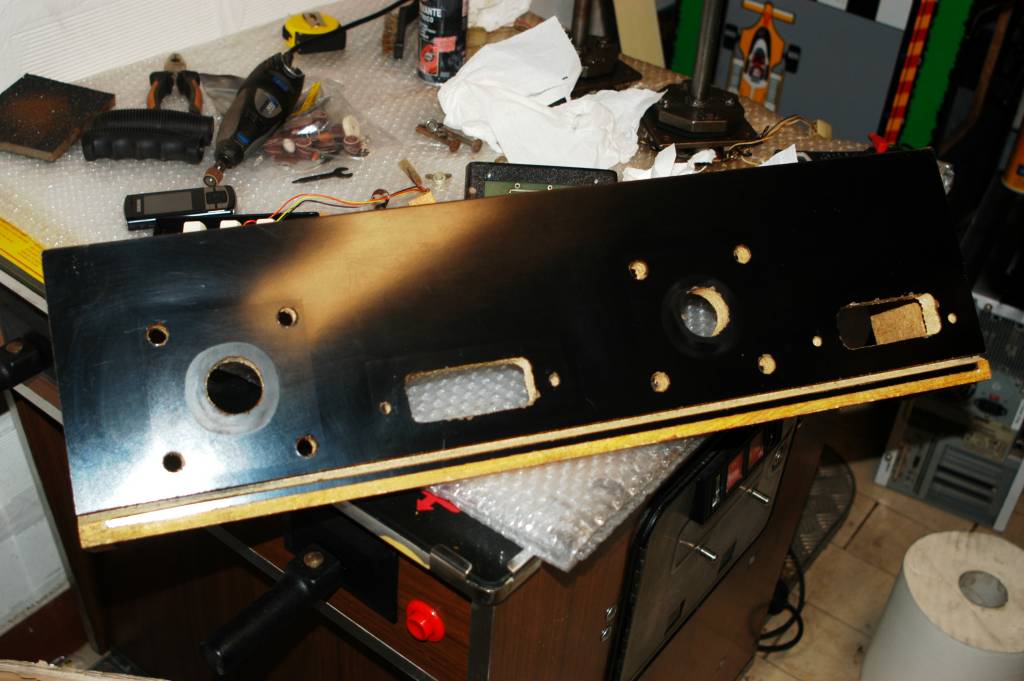
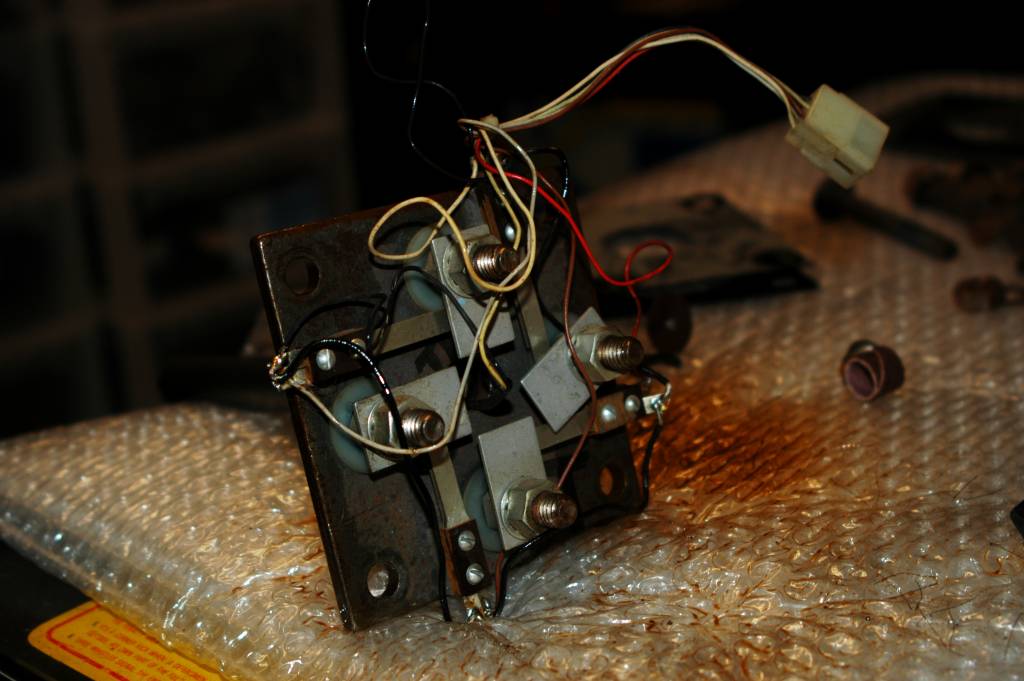
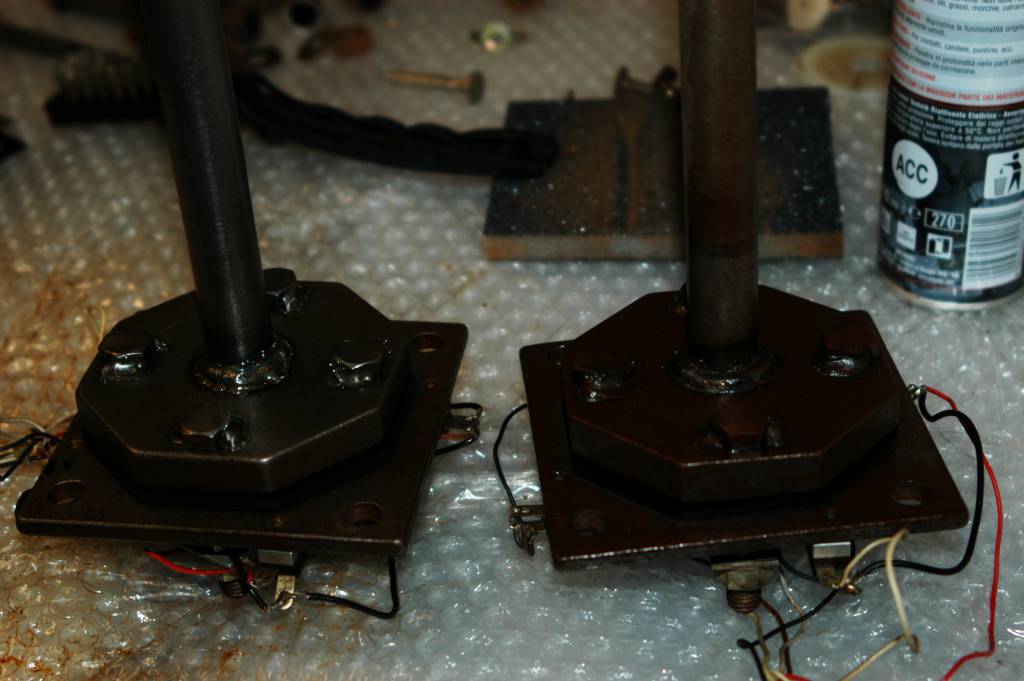
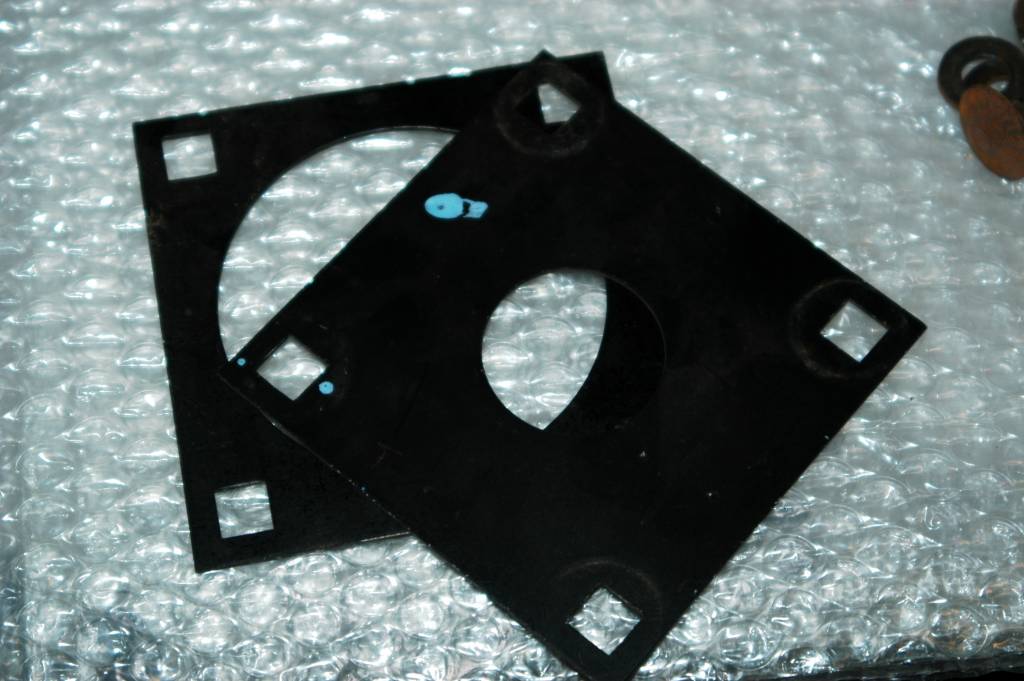
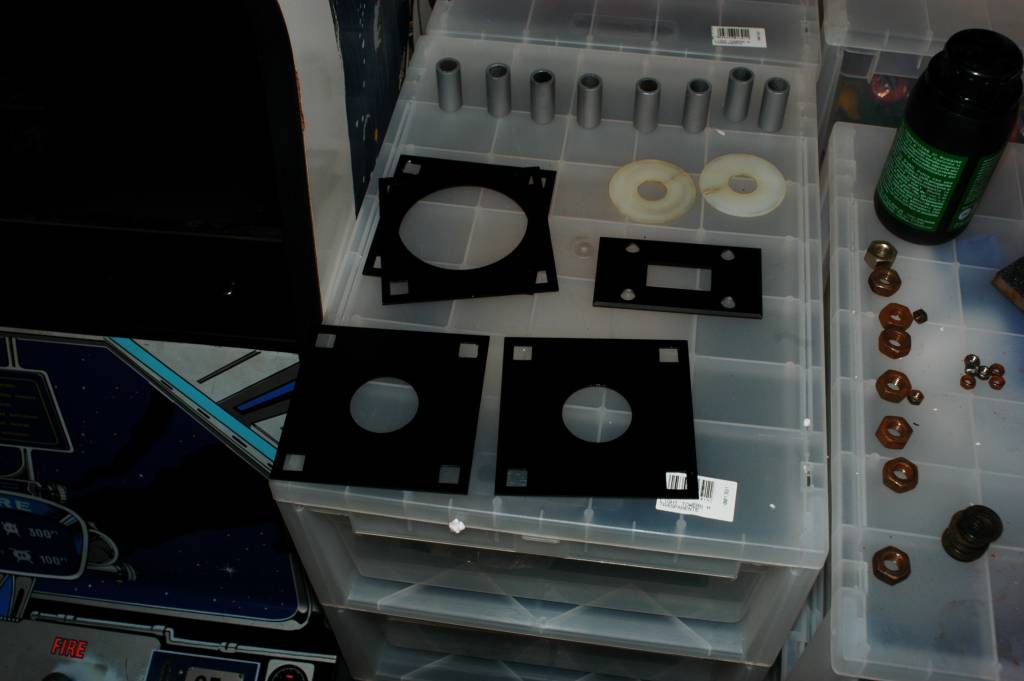
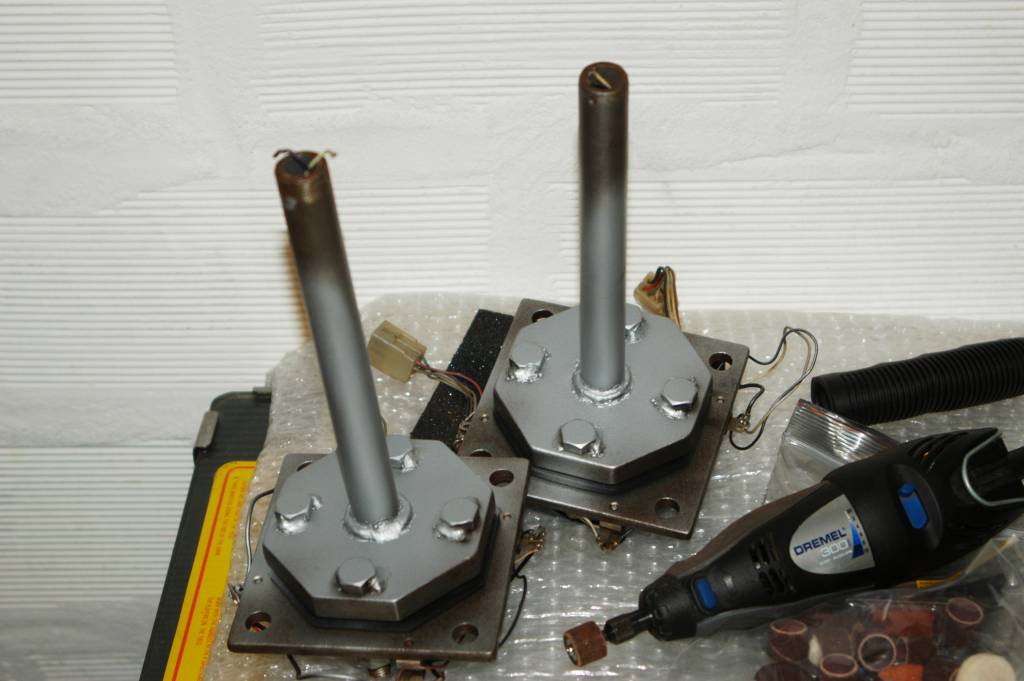
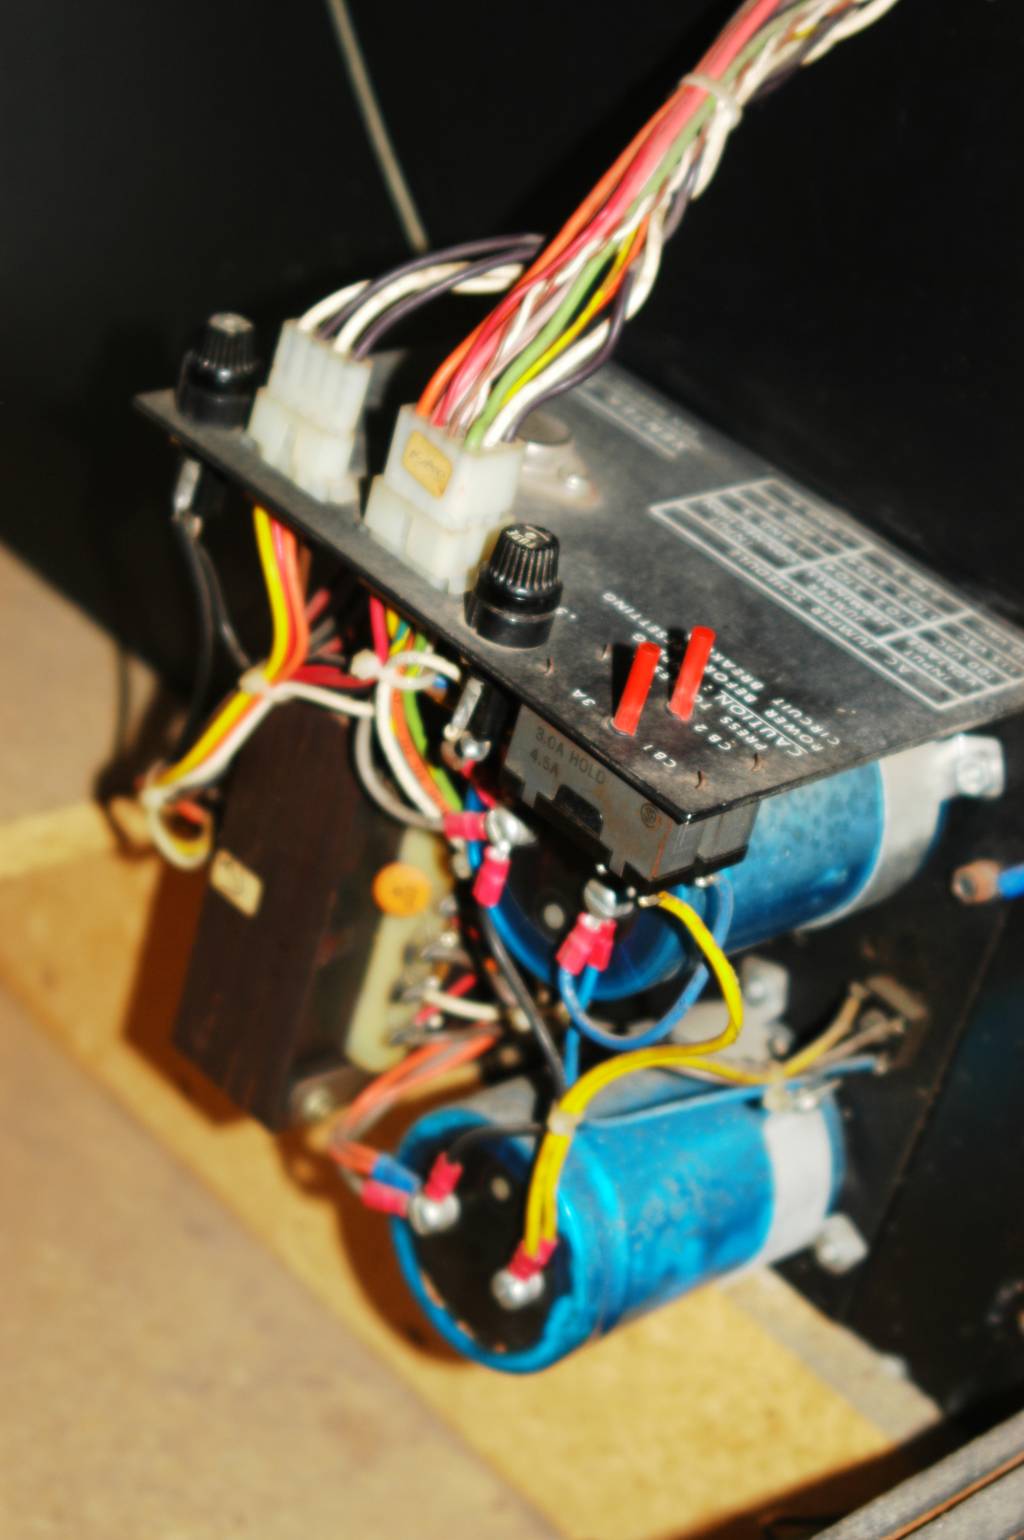
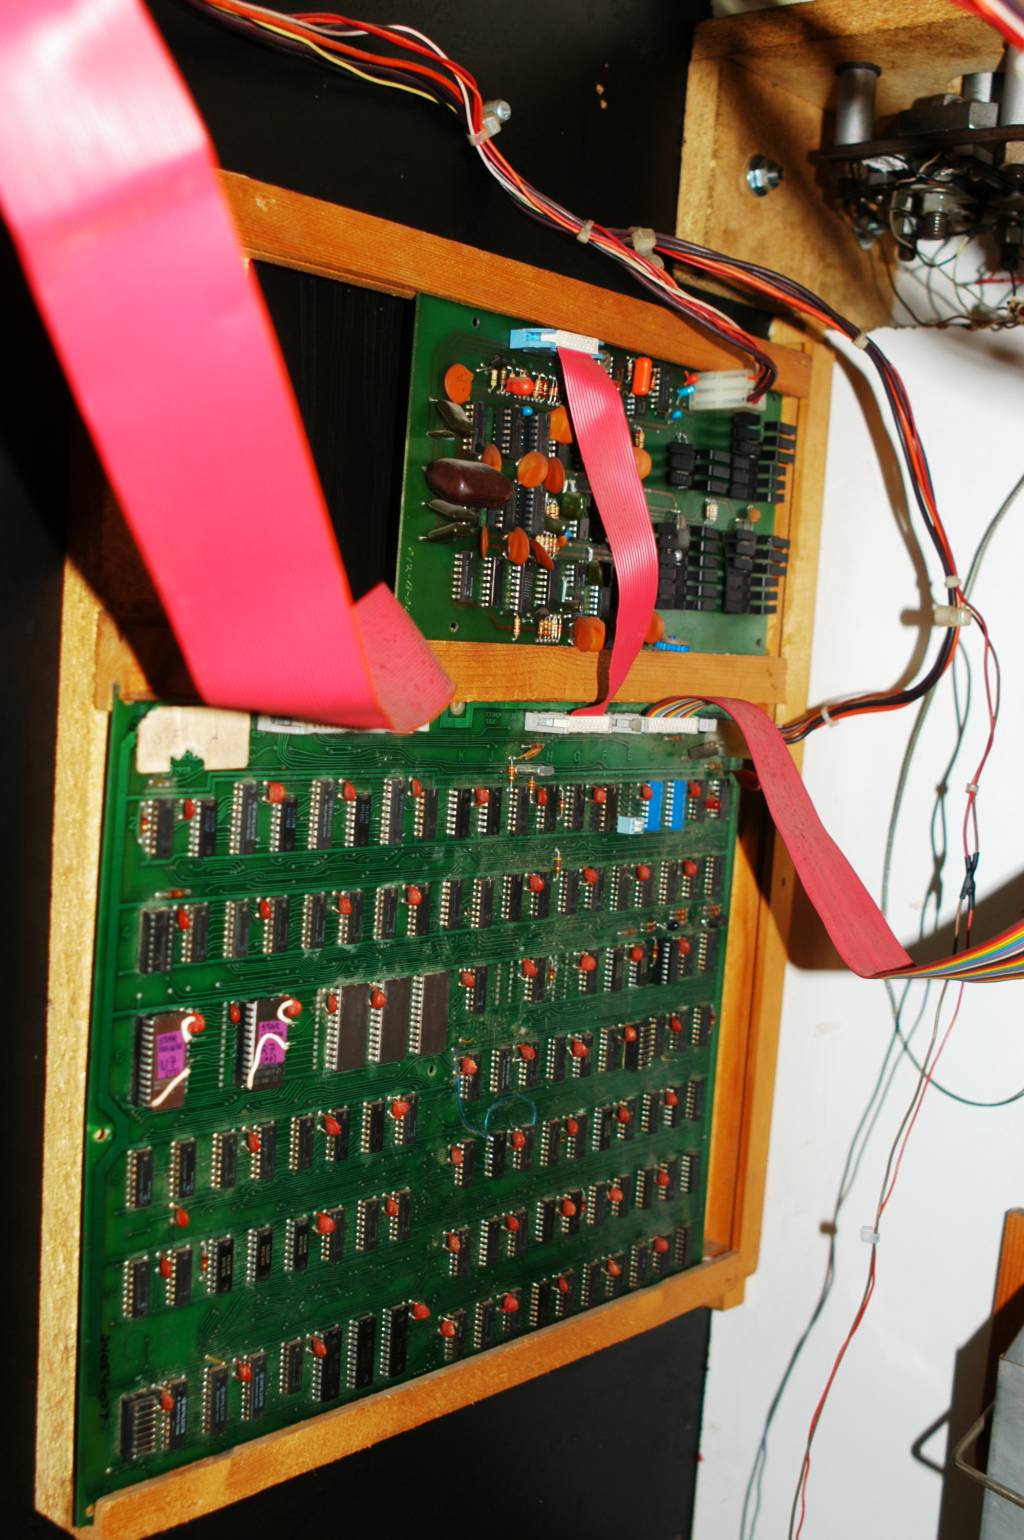
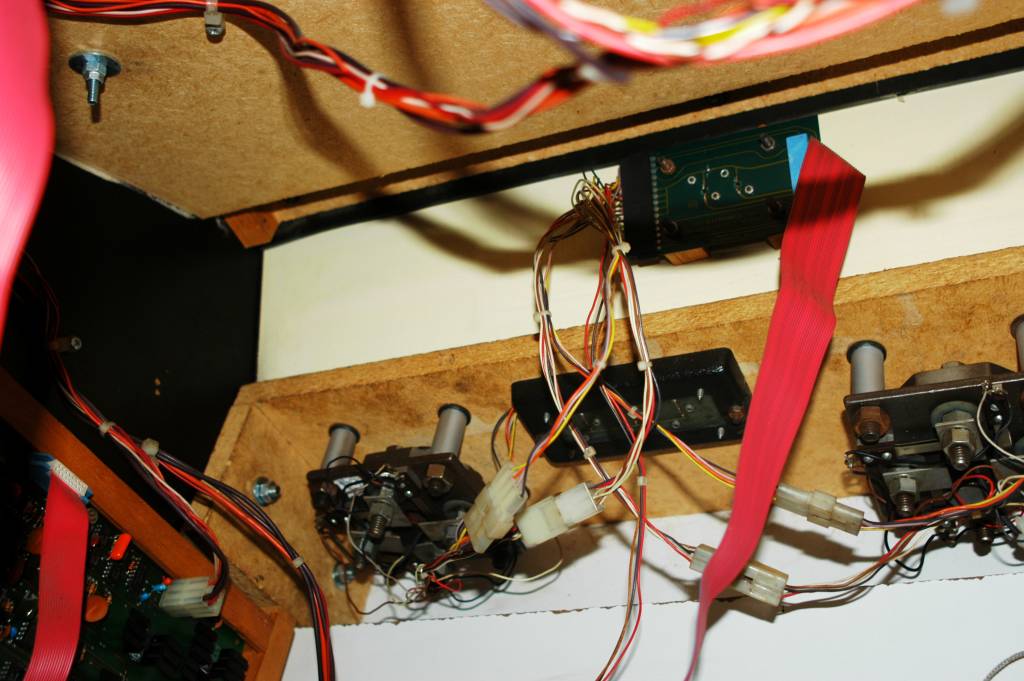
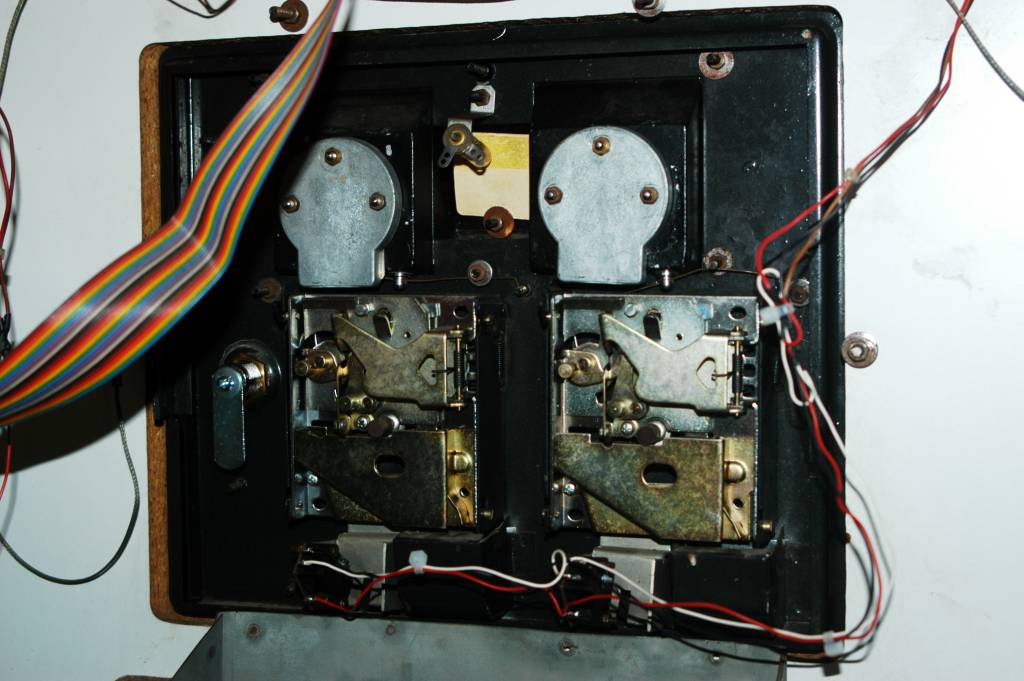
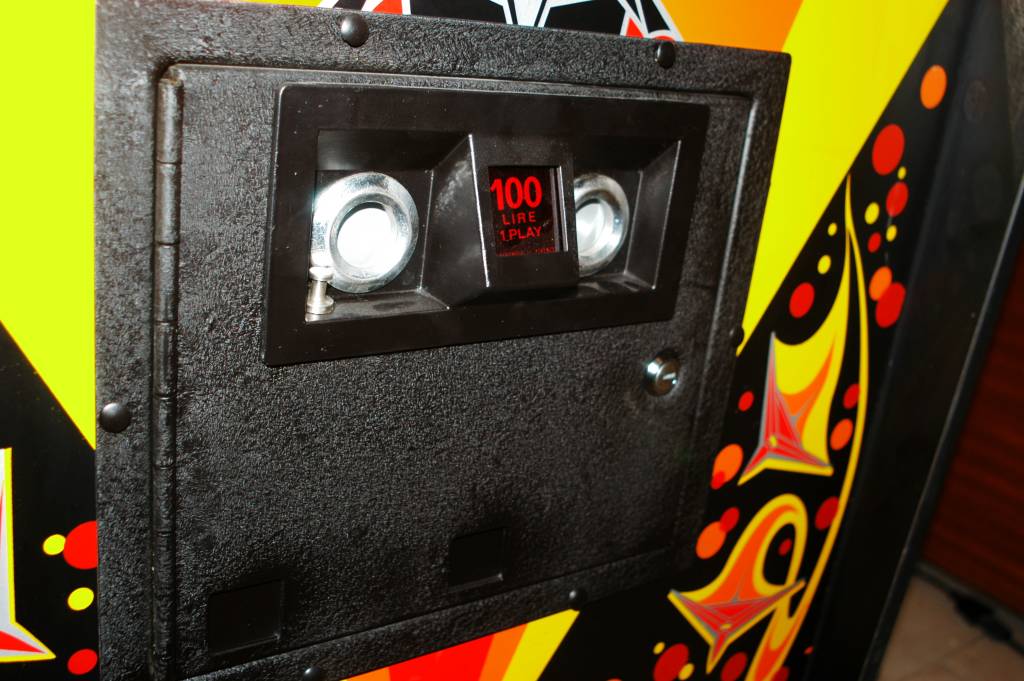
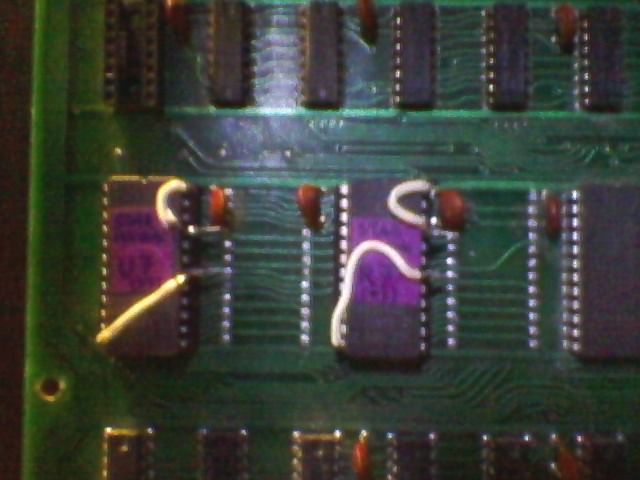
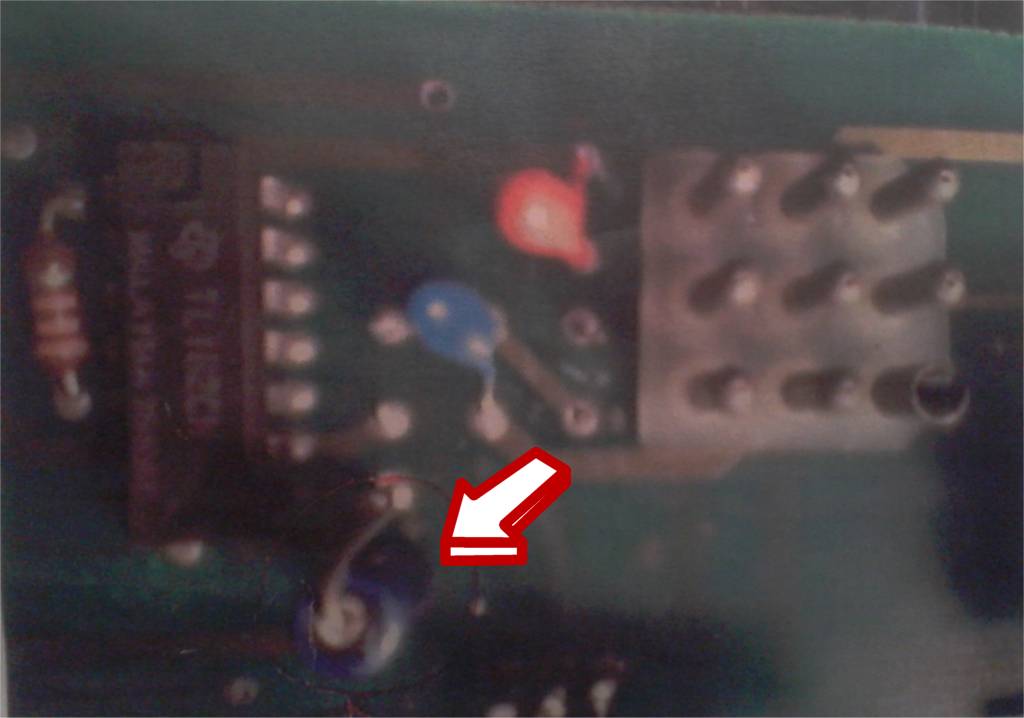
The game in the collection is in excellent condition. The restoration was limited to the cleaning and the arrangement of a couple of problems with the internal electronics components, while aesthetically the original joysticks were replaced (preserving them) with a more flexible pair. The coin mechanism has been replaced in the past with a typical Atari game coin door, we are thinking about restoring the original.

Cleaning the cab starting from CP

12 April 2014

This cabinet was in quite good conditions. This is the to do list.

  • general cleaning
  • monitor not working
  • pcb not working
  • a little rework to the coin door
  • joystick without grips
  • t molding damaged
  • some metal parts rusted

This is the CP cleaning procedure

Dsc_0868

Dsc_0872 Dsc_0873 Dsc_0875 Dsc_0879


Joysticks

12 April 2014

The cabinet hadn’t the original joysticks mounted, but both of them were stored inside the cabinet itself so, after some minutes of panic (where the hell can I find 2 star hawk joysticks???) I began the joysticks restoration 🙂 Here the sequence of disassembling, cleaning and remounting.

Dsc_0857 Dsc_0858 Dsc_0860 Dsc_0864 Dsc_0862 Dsc_0865 Dsc_0867 Dsc_0877 Dsc_0880

 I used 2 bicycle rubbers as final parts.

Inside

12 April 2014

This is what you can see inside the cabinet after cleaning.

starhawk_inside01 starhawk_inside02 starhawk_inside03 starhawk_inside04 starhawk_inside05 starhawk_inside07 starhawk_inside06

Cab completed

12 April 2014

This is the cabinet after cleaning.

starhawk01 starhawk02 starhawk03 starhawk04 starhawk06 starhawk08 starhawk09

Troubleshooting the PCB

12 April 2014

On Apr 21st 2011 I had this problem:

starhawk01


First of all I replaced 2 ROMs with 2716.

starhawk02


A couple of wires are enough to adapt 2716 to 9316 sockets

then, following the block diagram, I began to test the “line len.” Block and I could immediately see that one of 74193 had been replaced in the past. Removing it I found some broken circuit tracks, so with an easy fix now I can see this:

starhawk03

Troubleshooting the PCB (2)

12 April 2014

On Dec 2nd 2011 I had this problem (sorry for the low quality pics):

Image1

After some tests I understood the problem was into the power.

Image2


The problem was a faulty tantalum capacitor connected to 7815 on the sound board. I substituted it with a normal electrolytic capacitor.