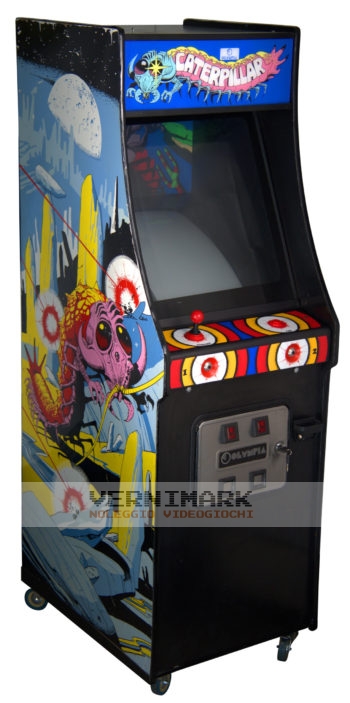
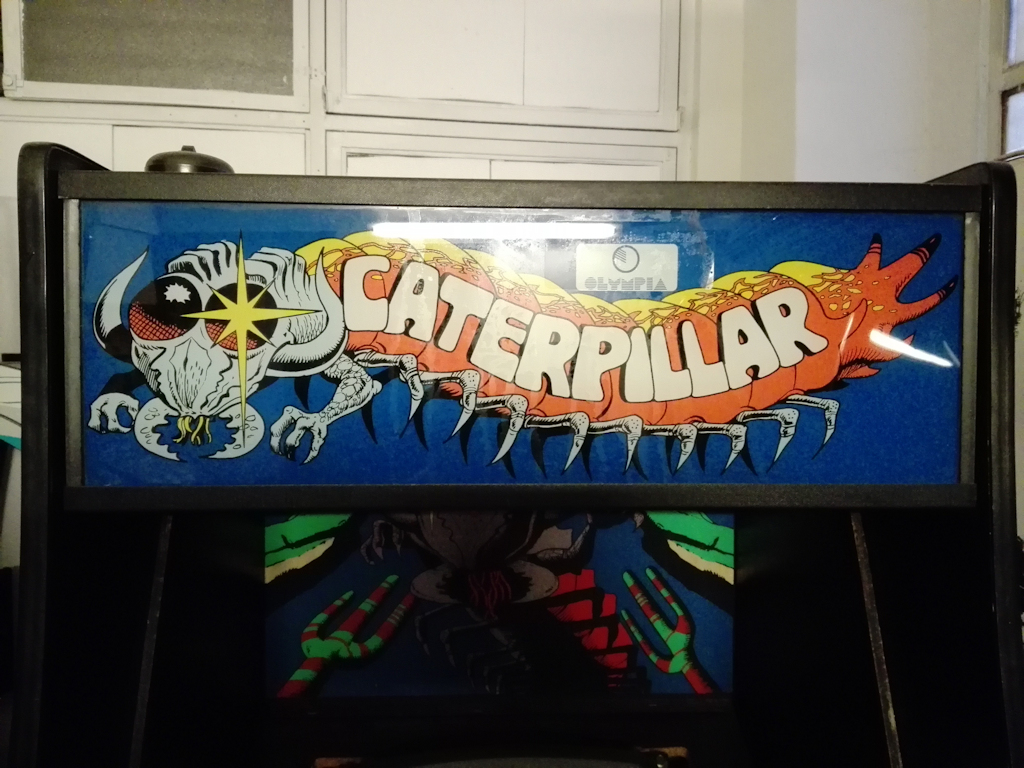
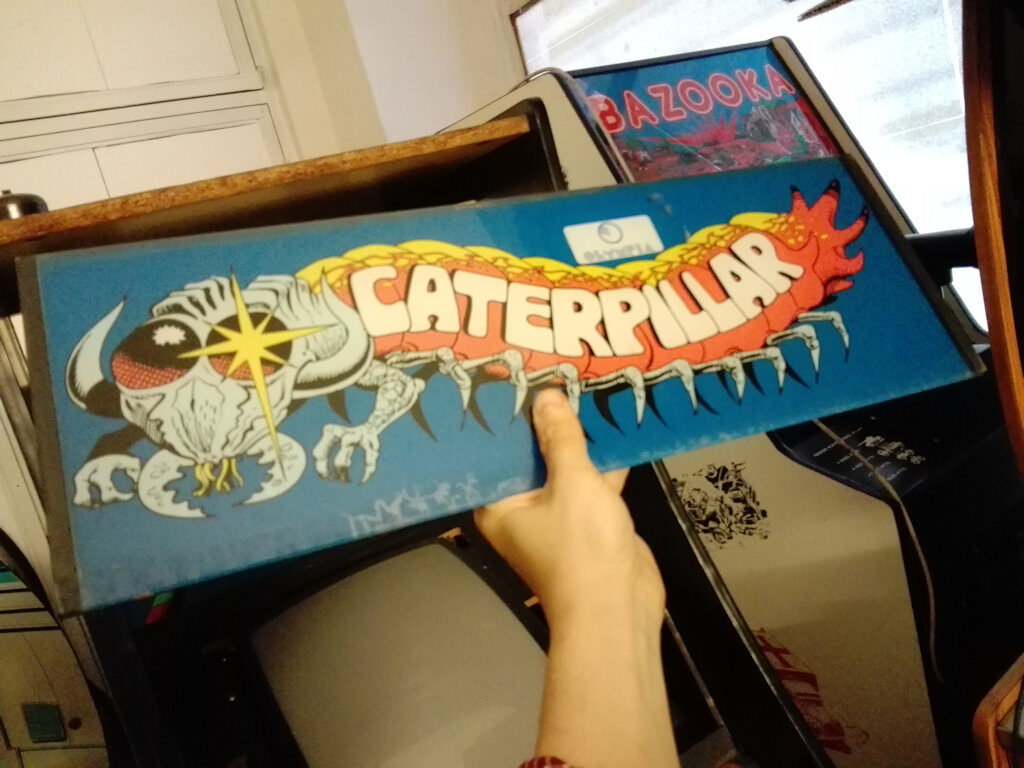
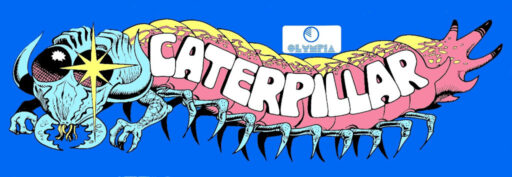
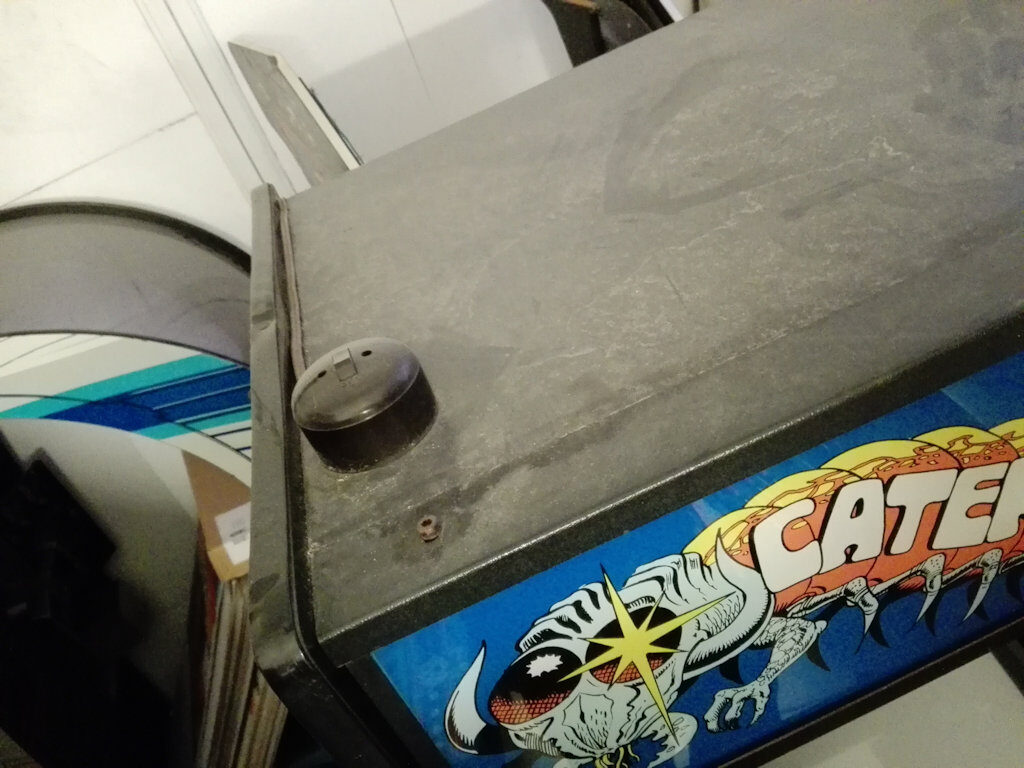
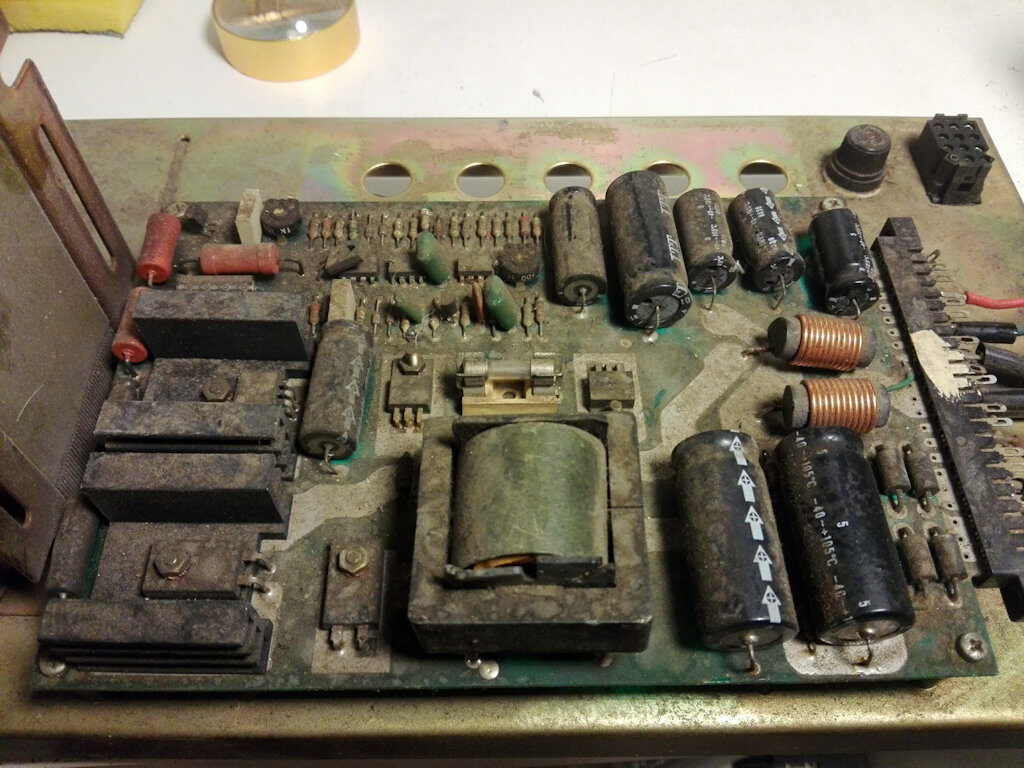
Caterpillar
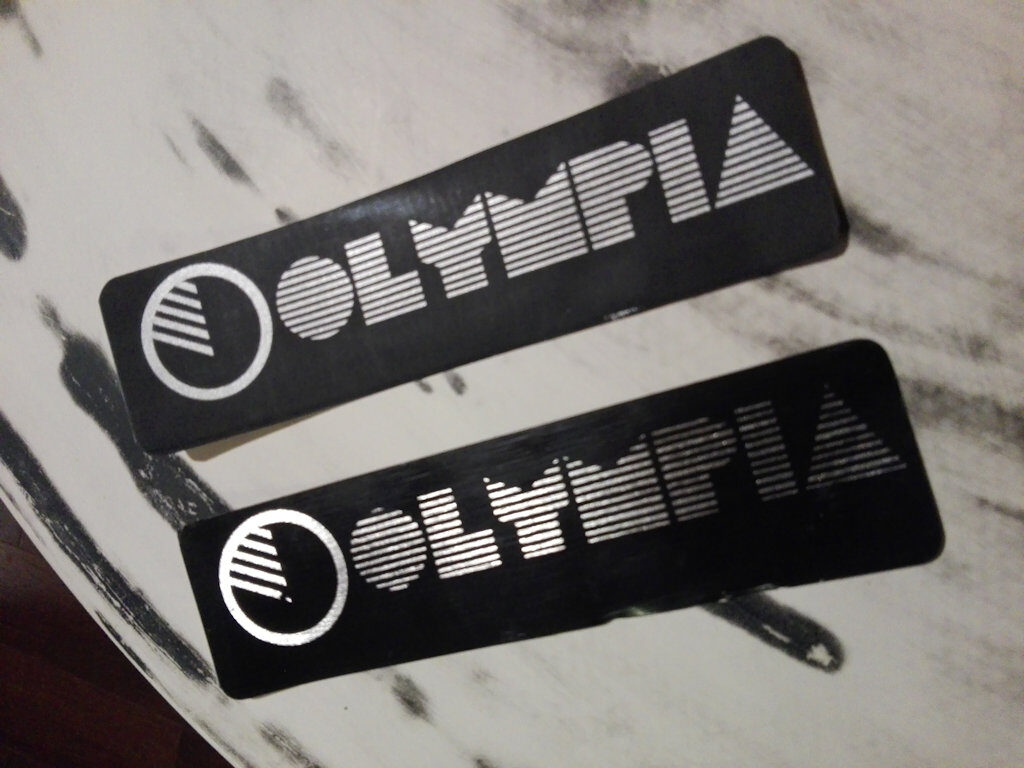
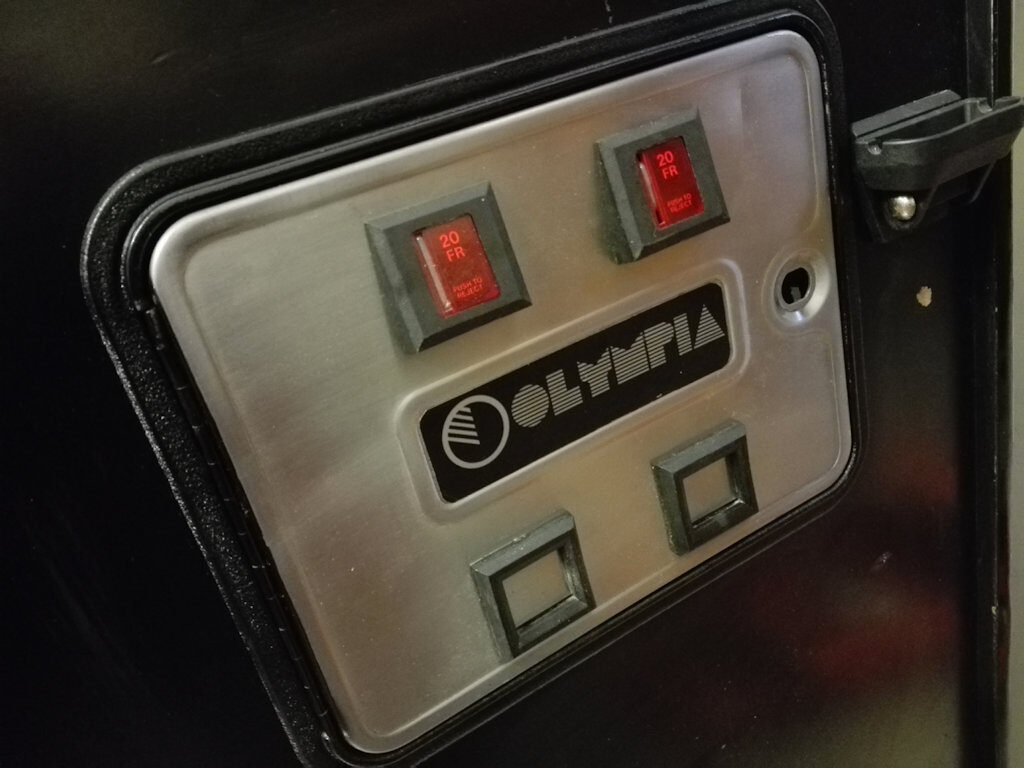
- Manufacturer: Olympia
- Year: 1982
Useful info
- Cabinet type: Upright
- Measures (WxHxD): 64,4 x 184,7 x 69,0 cm
- Working voltage: 220V
- Maximum consumption: 112,0W 0.635A
- Technology: Vertical color raster monitor
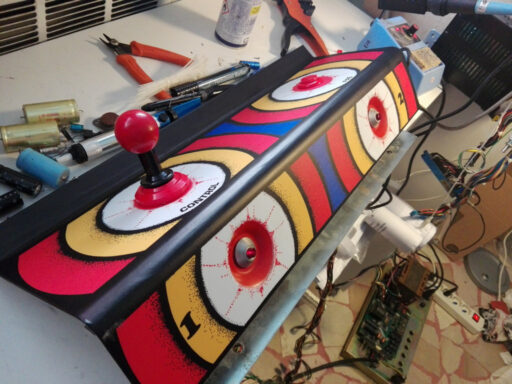
It is the Italian version of the well-known Atari Centipede. A long caterpillar run for the screen approaching dangerously close to the player (represented by a kind of small tank); it can move at the bottom of the screen firing to the caterpillar. The enemy, once hit, is divided into two shorter but both dangerous parts. The aim is to survive by killing these faster and faster caterpillars. In addition, the screen is filled with more and more obstacles and insidious spiders increase the difficulty. A very important difference with the original version is given by the absence of a trackball replaced by a cheaper joystick.
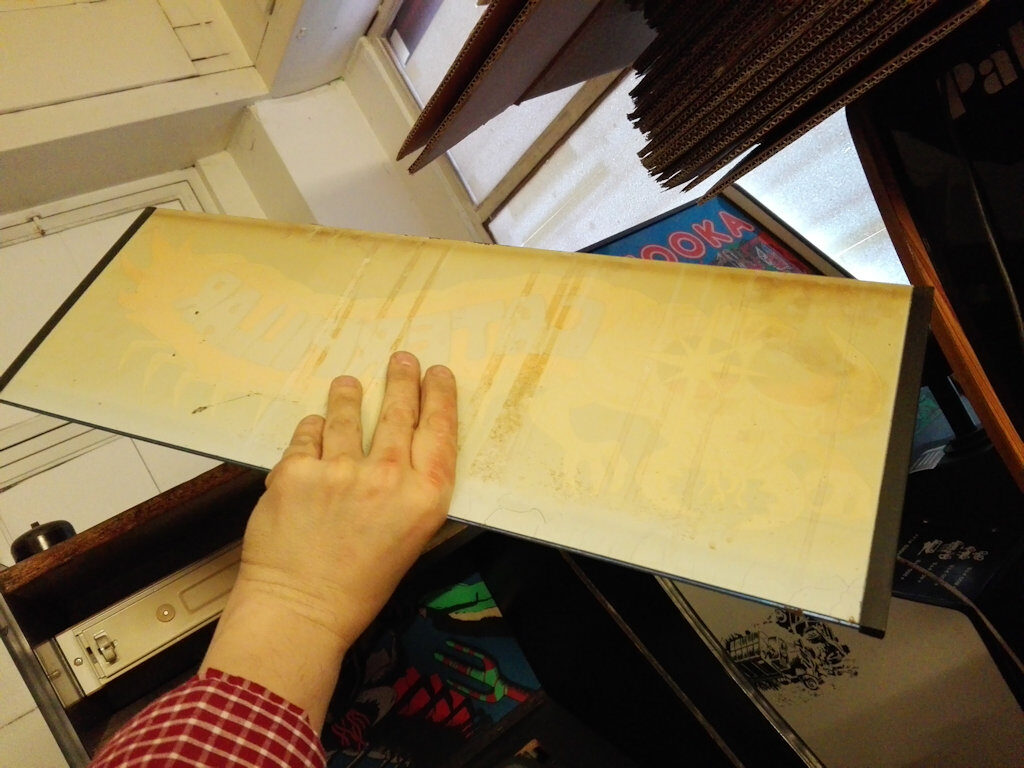
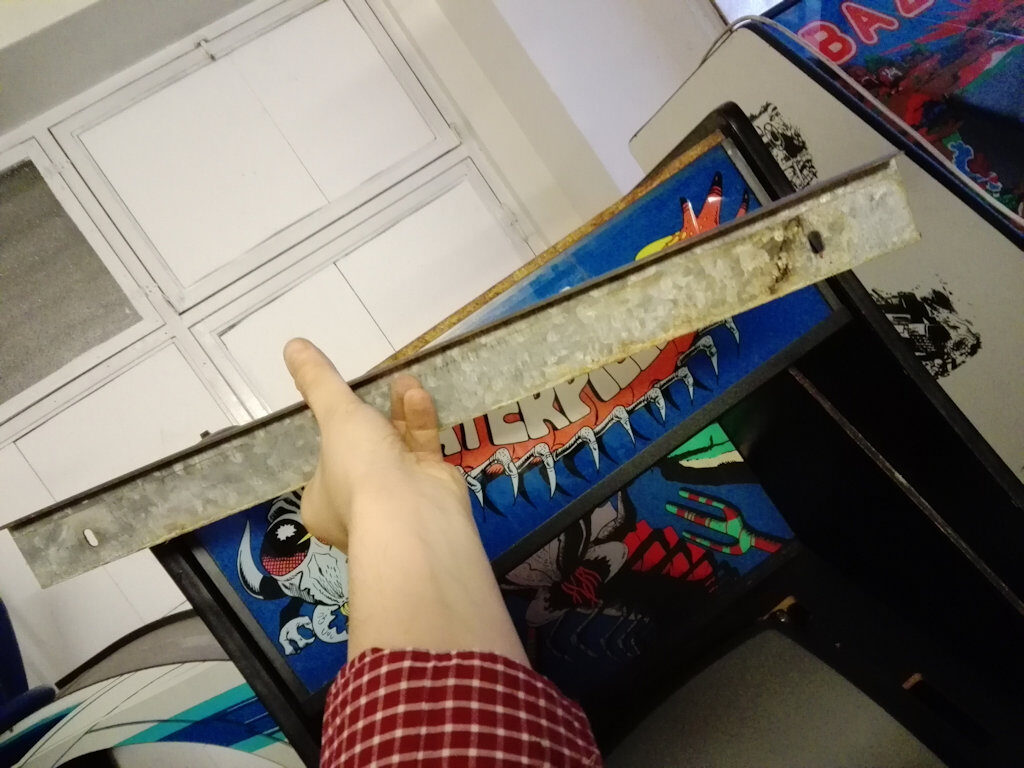
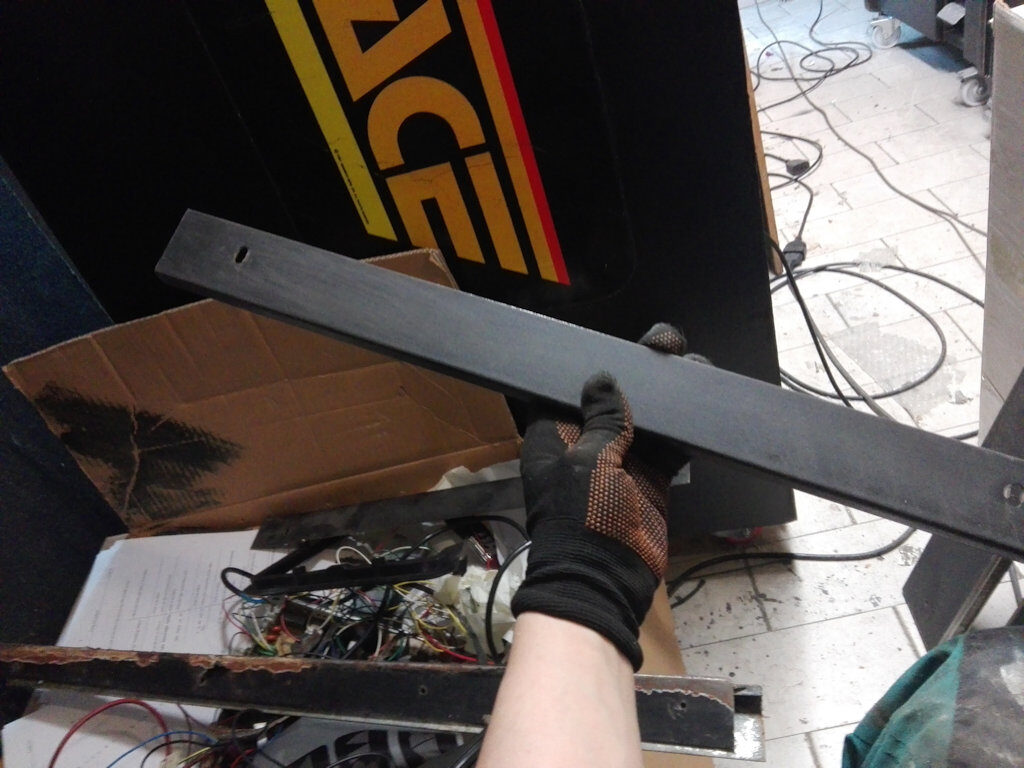
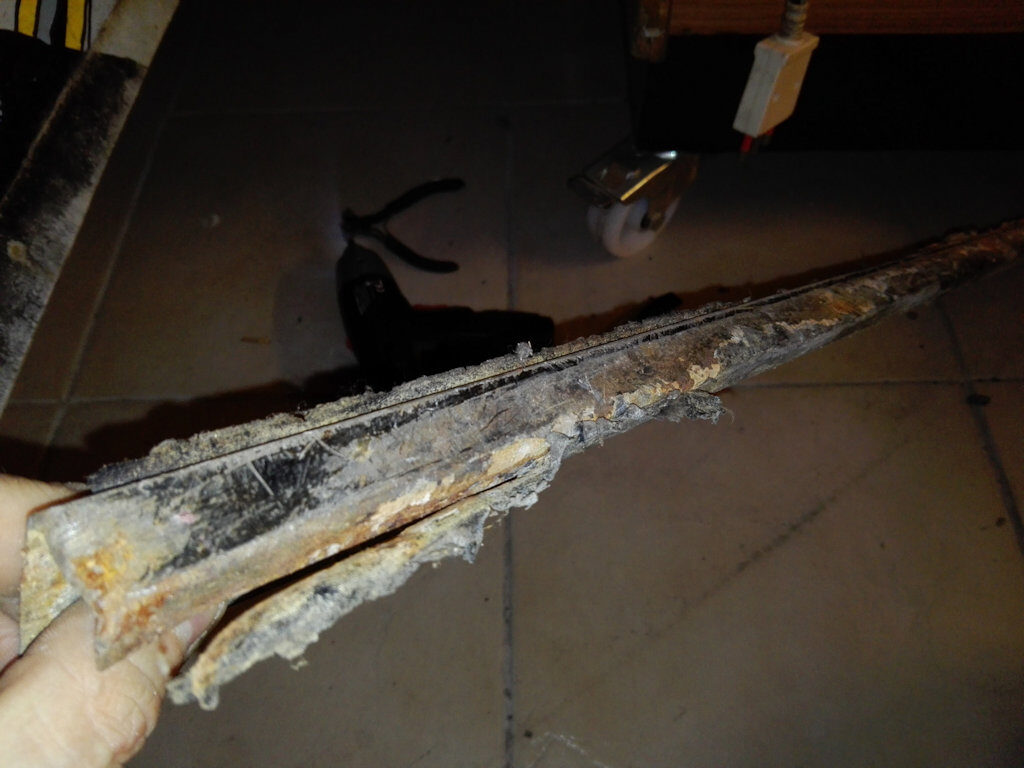
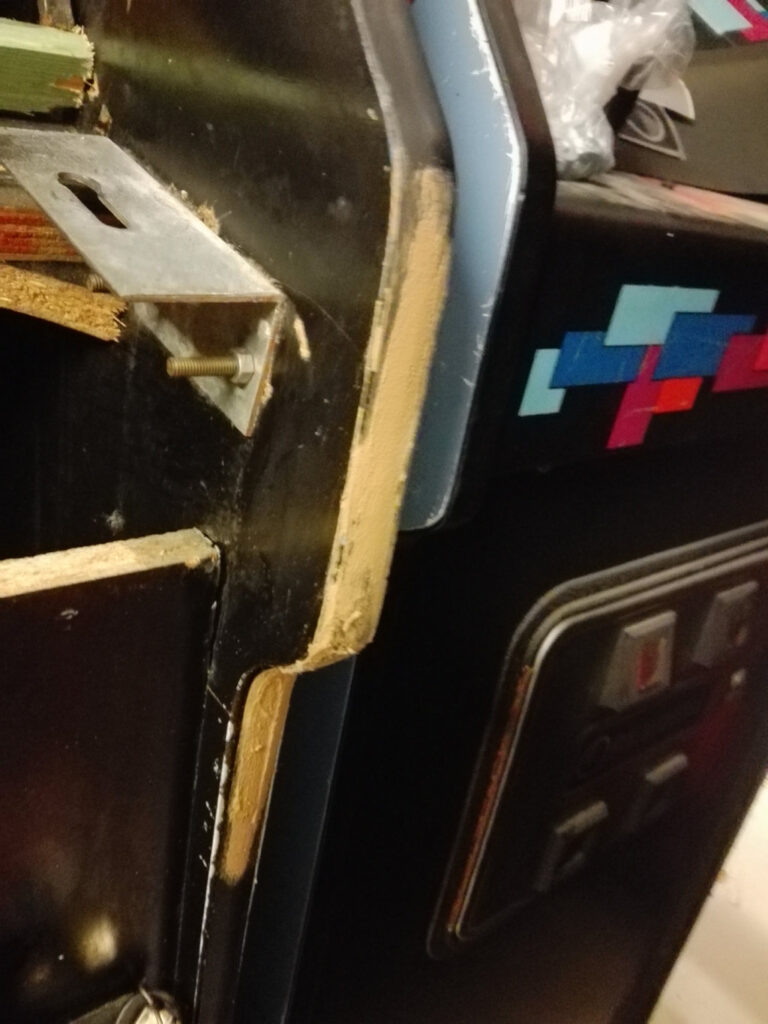
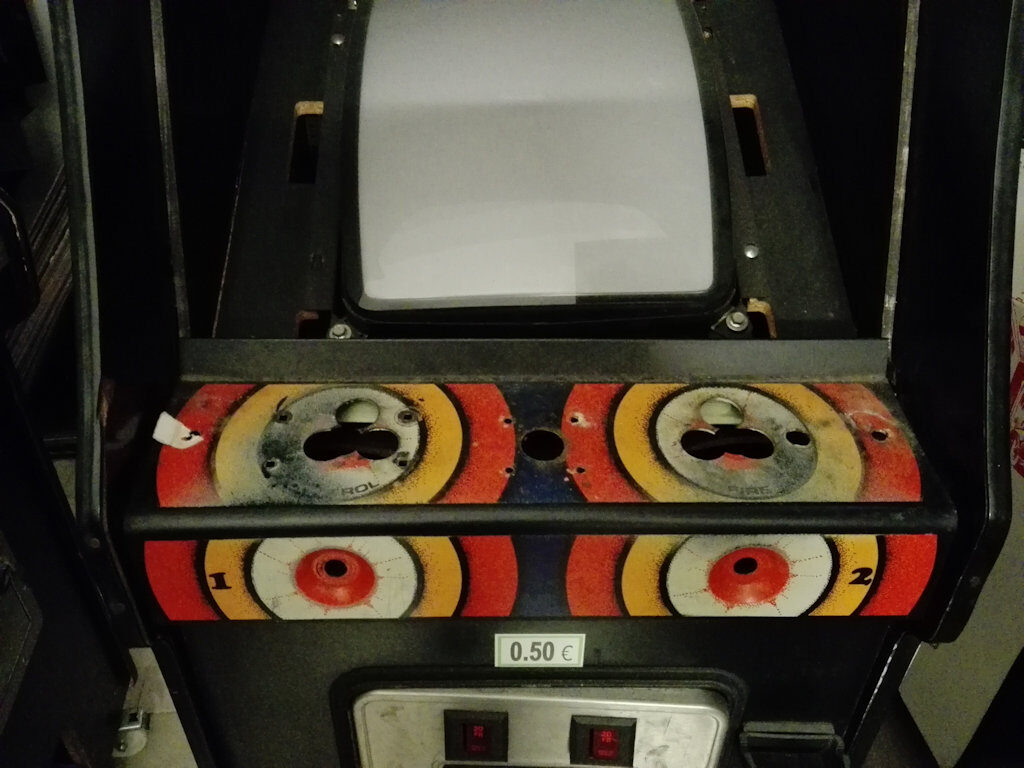
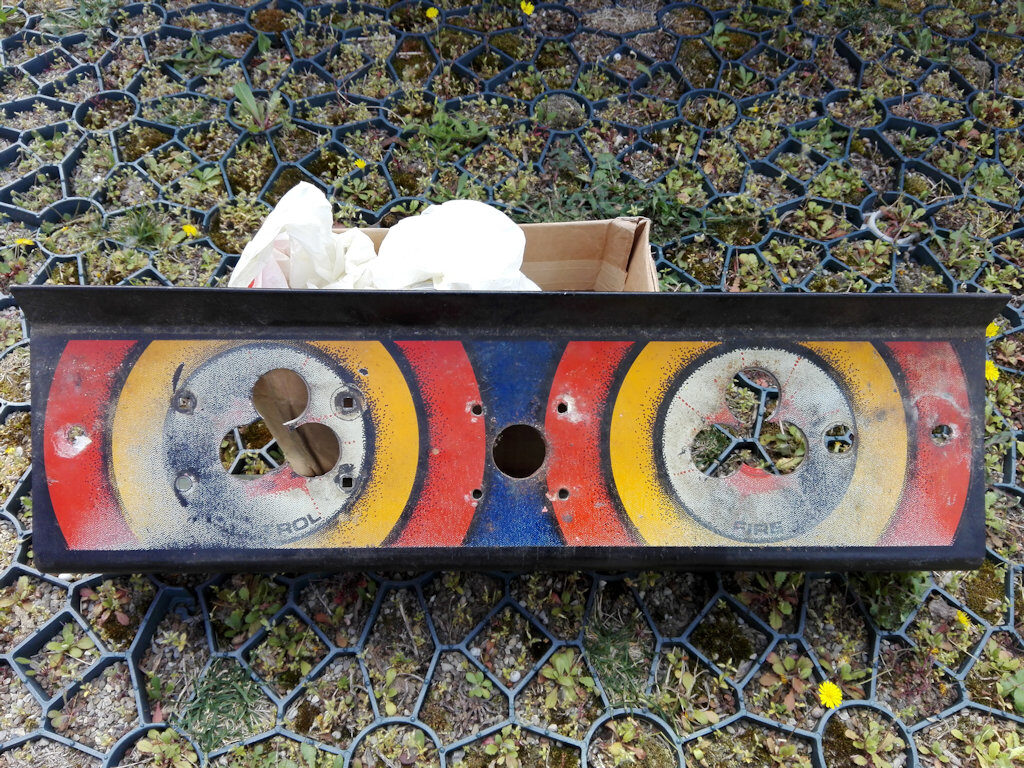
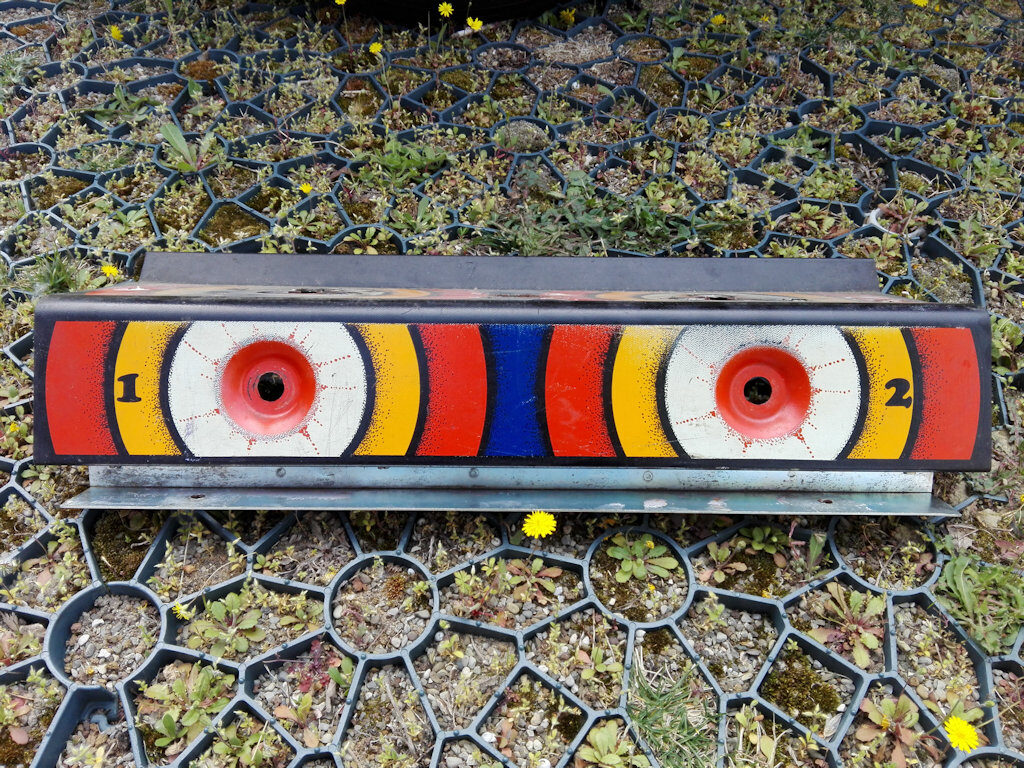
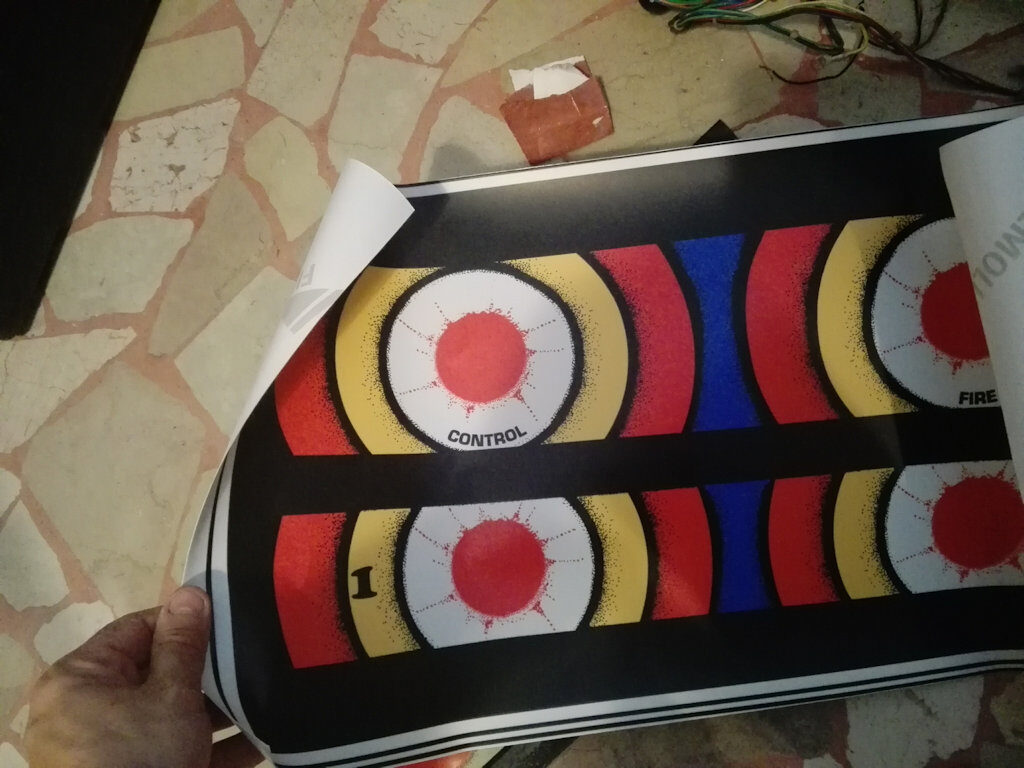
This Italian version was designed by Luigi Corteggi aka Cortez and represents a gorgeous example of Italian graphics from the early 80s. The cabinet in the collection is in exceptional condition even if the control panel has been replaced with a reproduction. The joystick is a common model of those years because we can not know how the original was; in fact it seems that this is the only one remained complete with its original game.