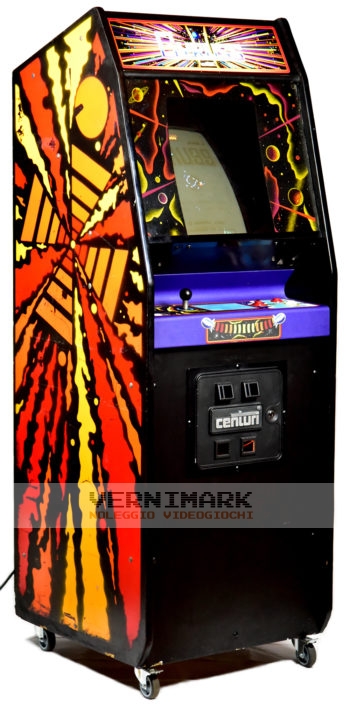
Gyruss

  • Manufacturer: Konami - Centuri
  • Year: 1983

Useful info

  • Cabinet type: Upright
  • Measures (WxHxD): 64,4 x 184,7 x 69,0 cm
  • Working voltage: 220V
  • Maximum consumption: 112,0W 0.635A
  • Technology: Vertical color raster monitor

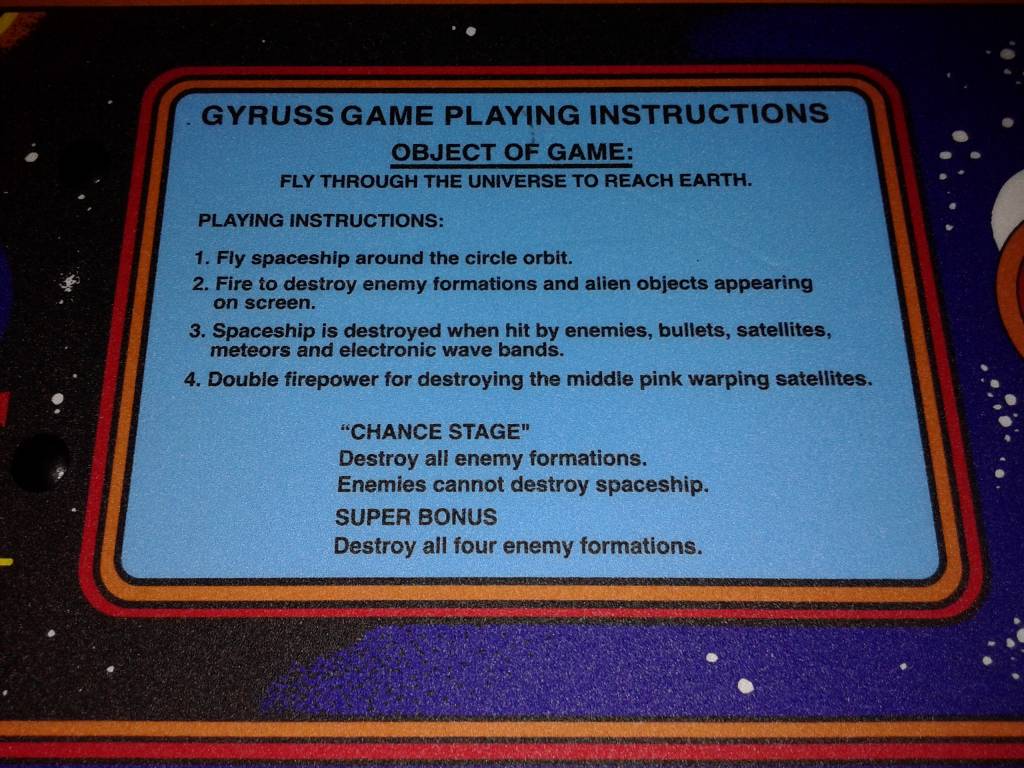
Beautiful game produced by Konami and distributed in the United States by Centuri. The plyer drives  a spaceship that can move circularly around the video. Animies come from the center in the form of different spaceships, space bases, meteorites and various traps. Each group of levels ends with a bonus stage and represents a step from Neptune to the Earth. Once you reach the final goal the game starts again with greater difficulty. The game is supported by stereo sound that reproduces the SKY version of Bach’s Toccata and Fugue D+.

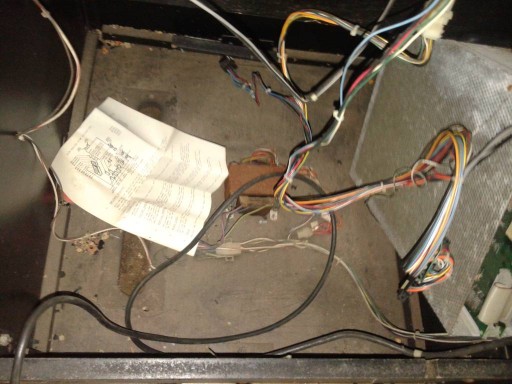
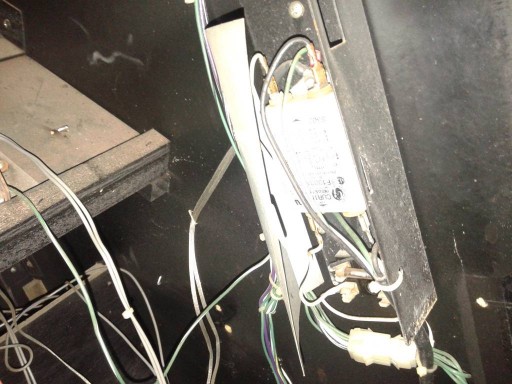
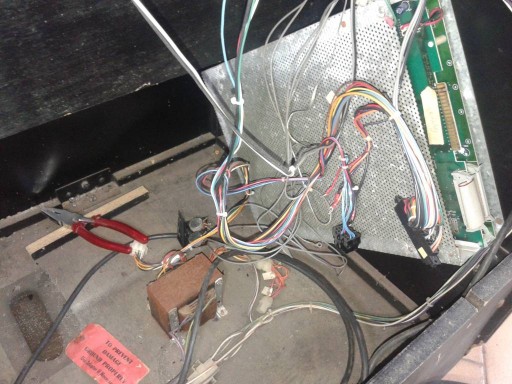
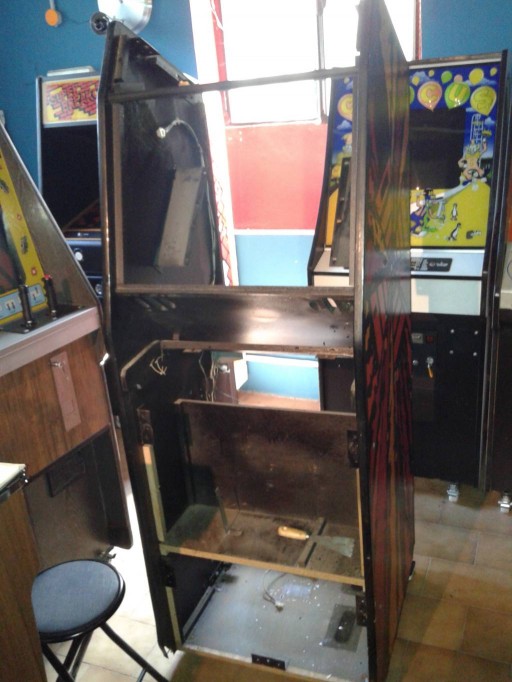
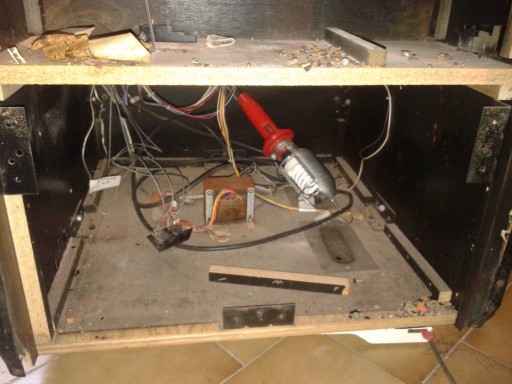
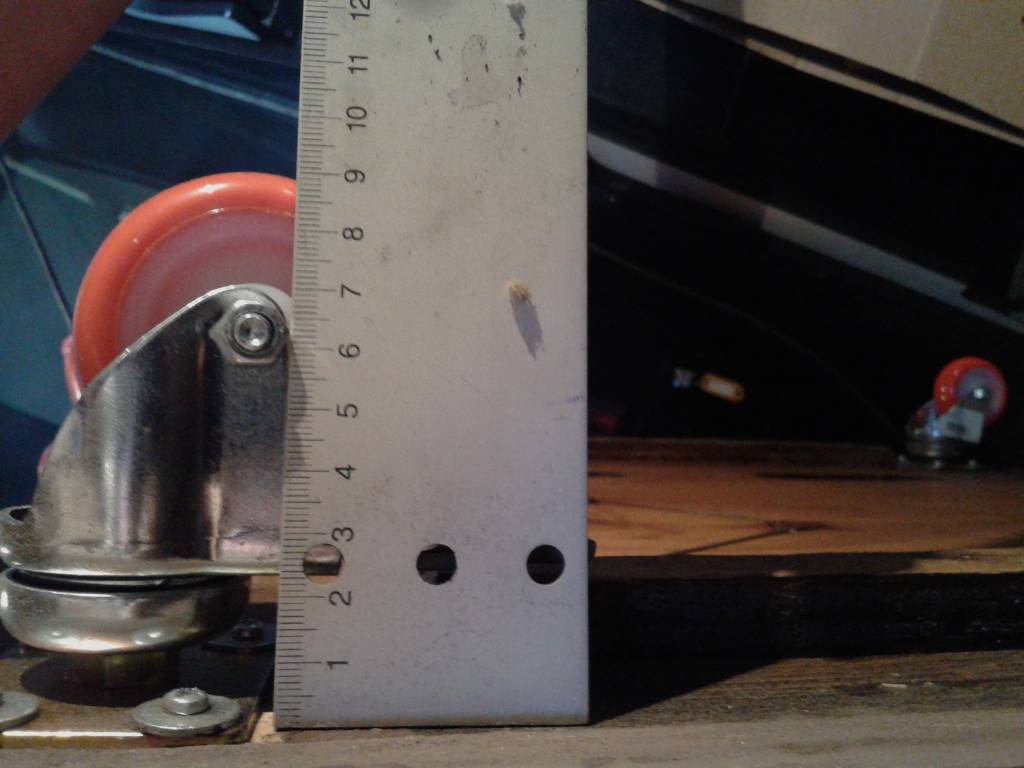
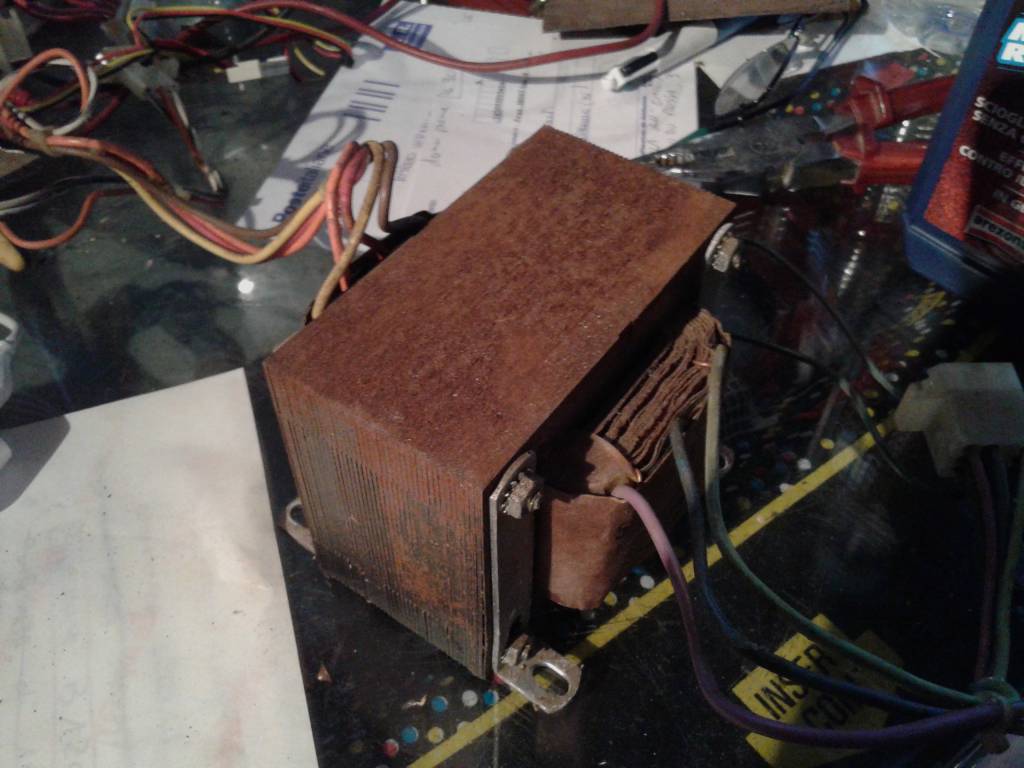
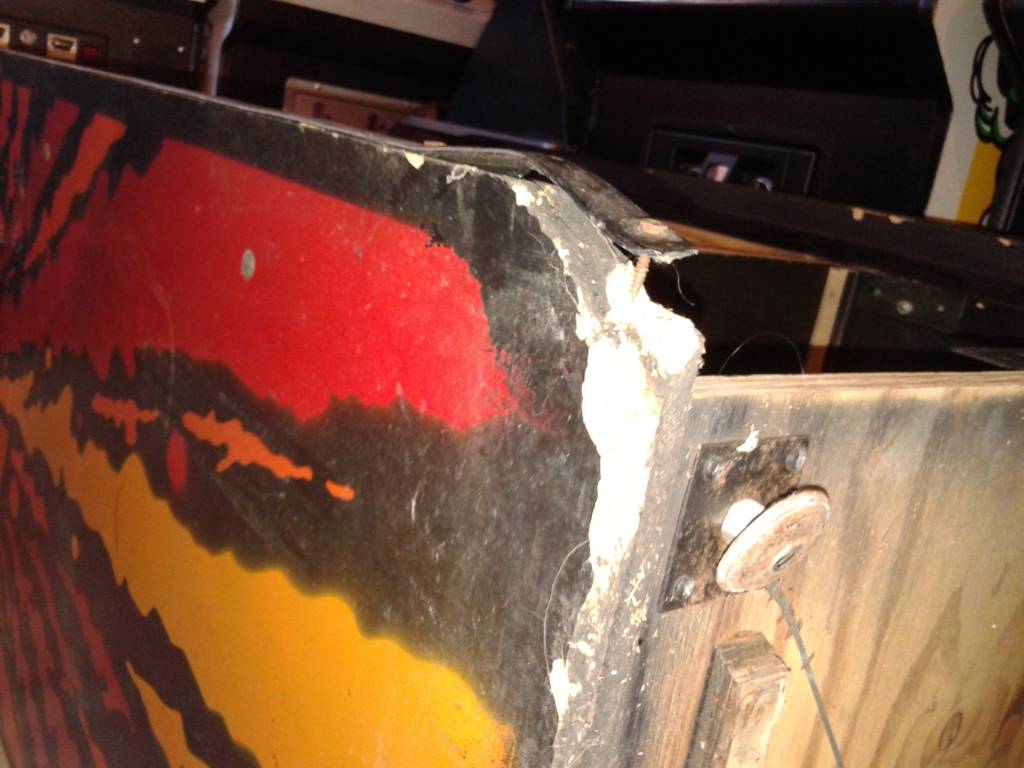
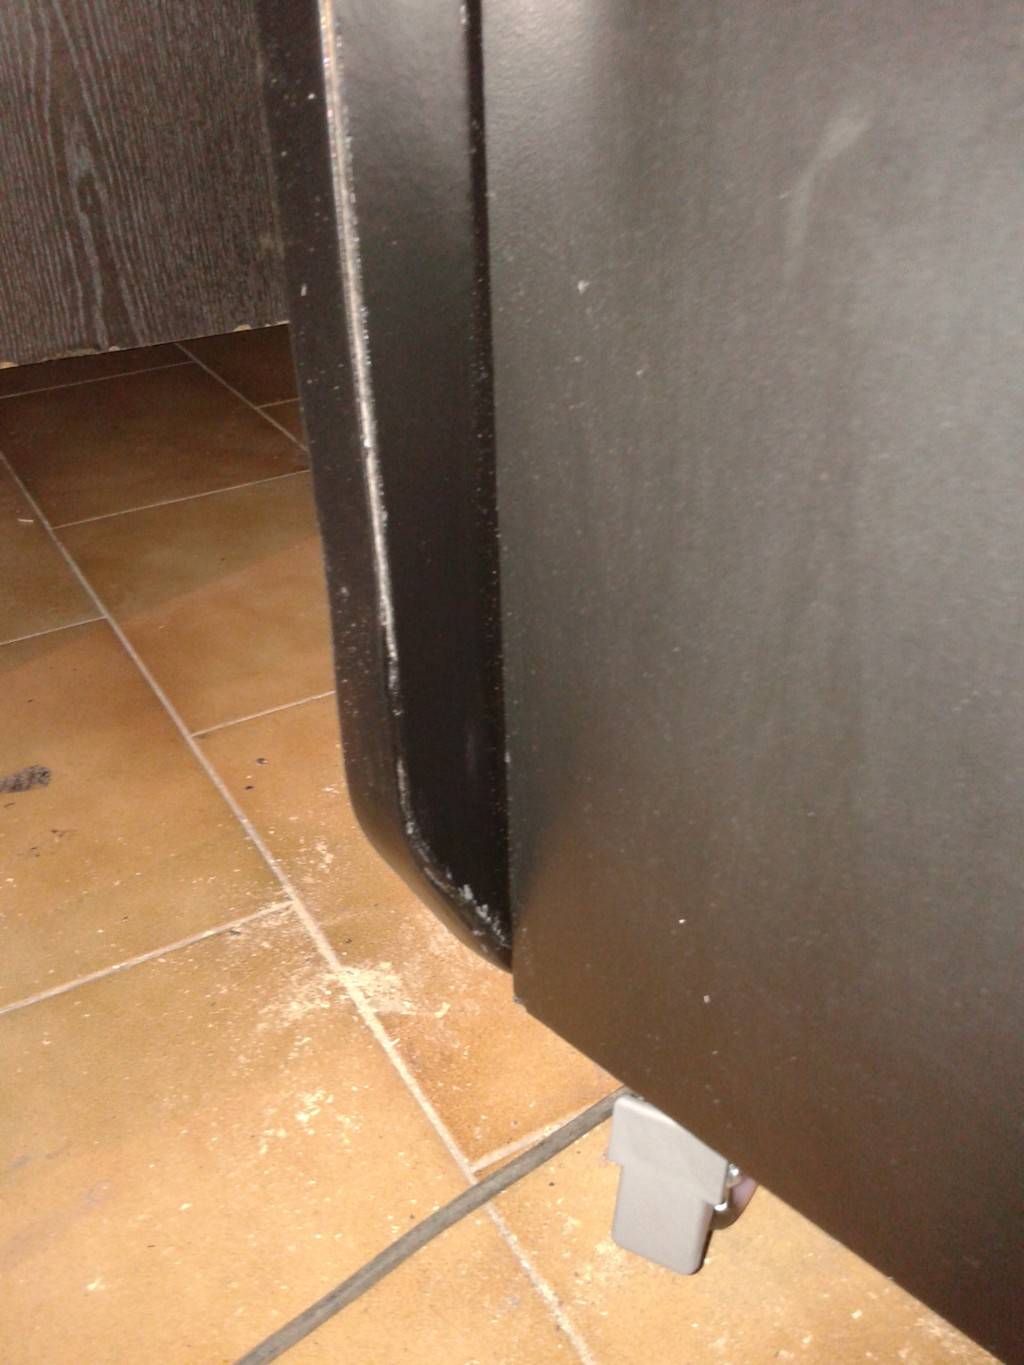
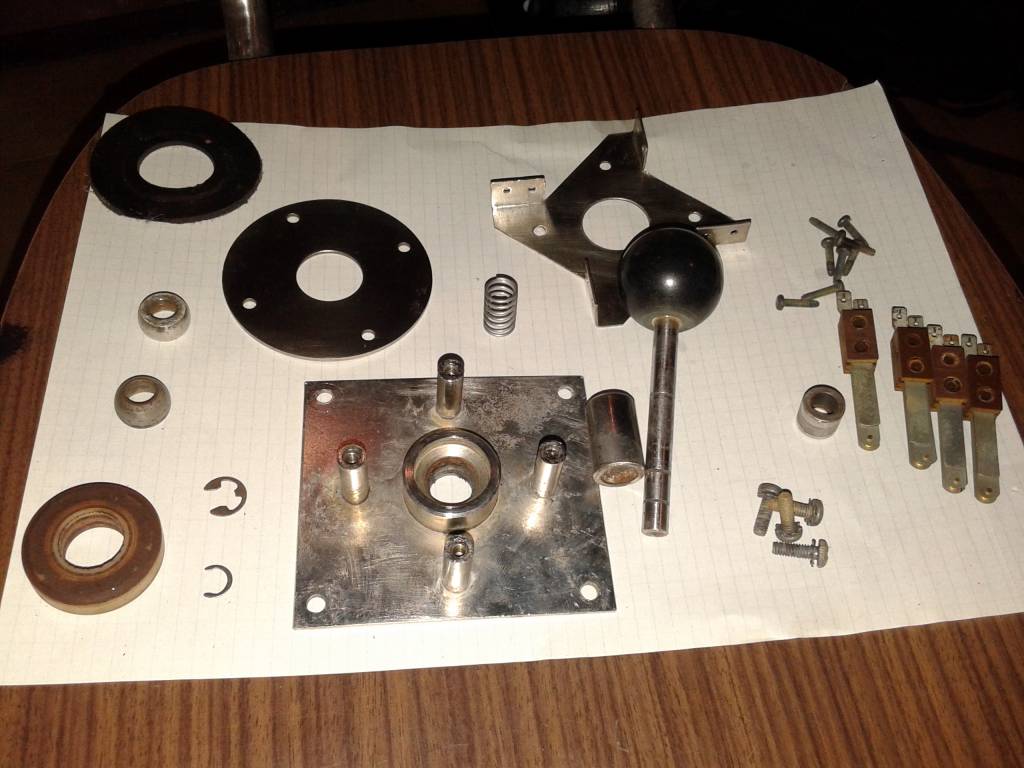
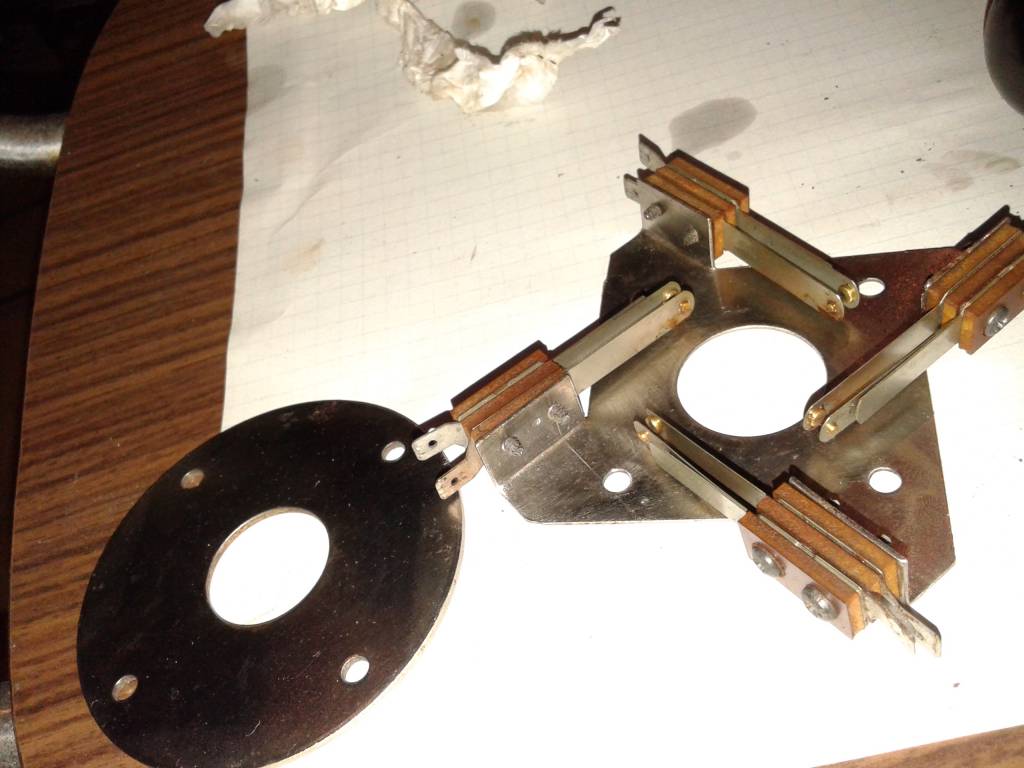
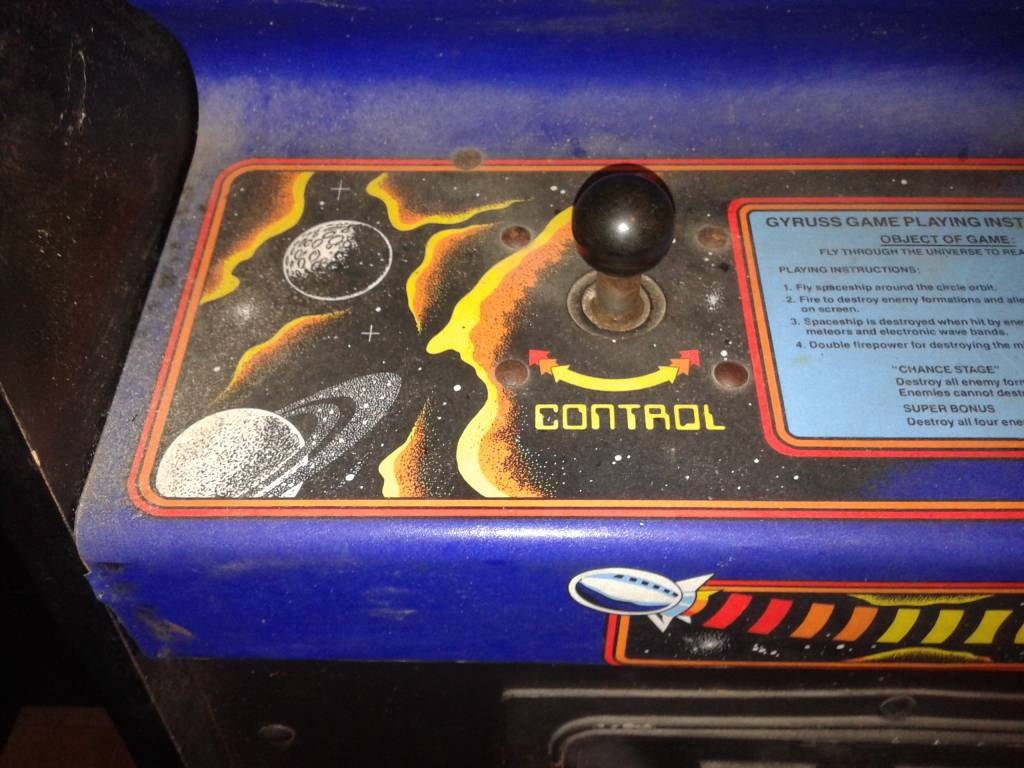
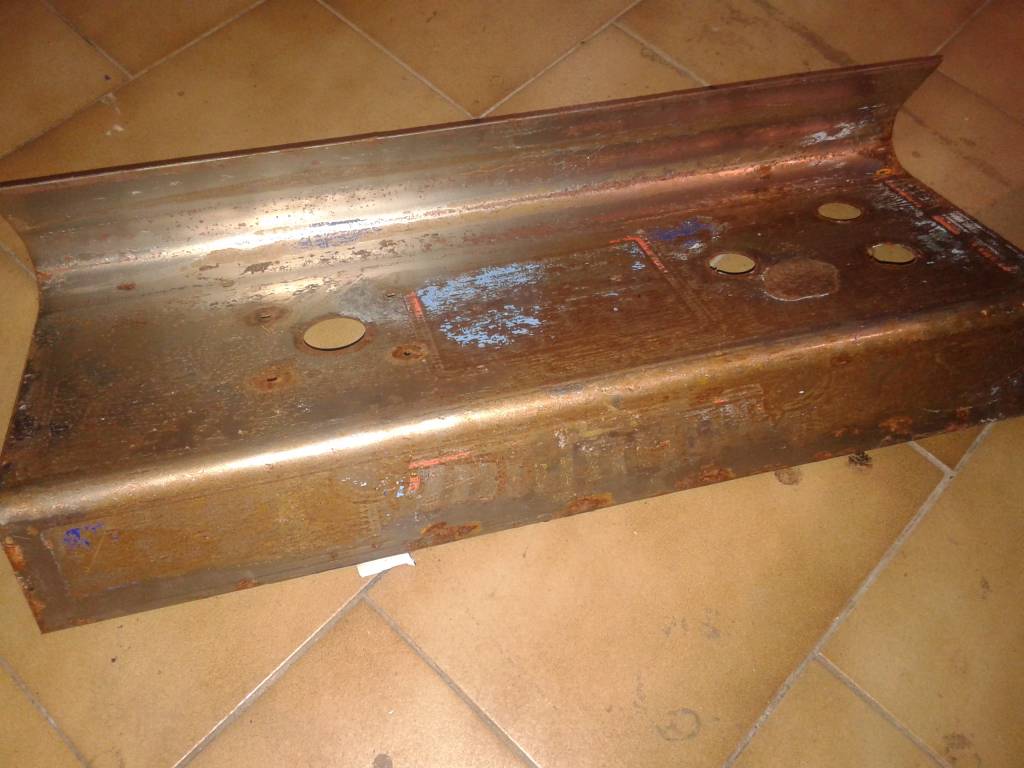
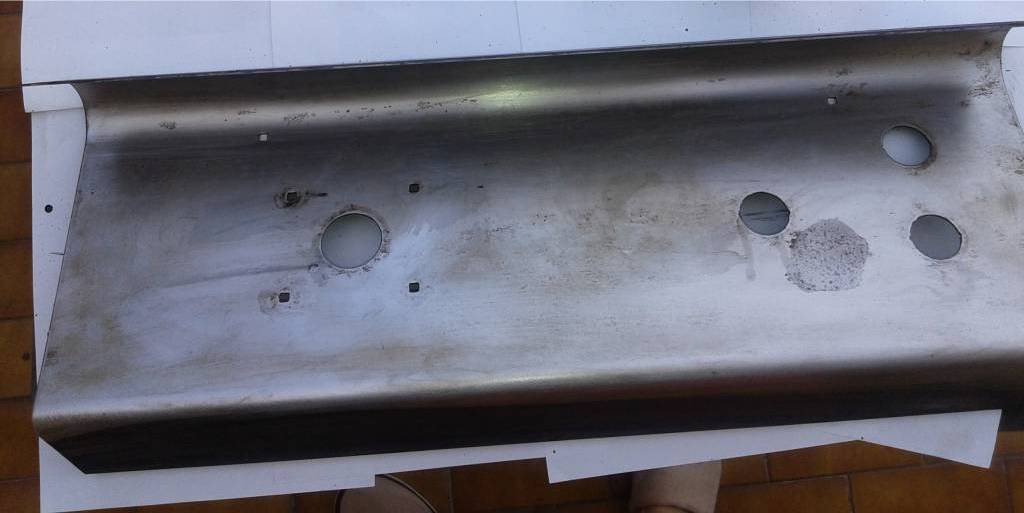
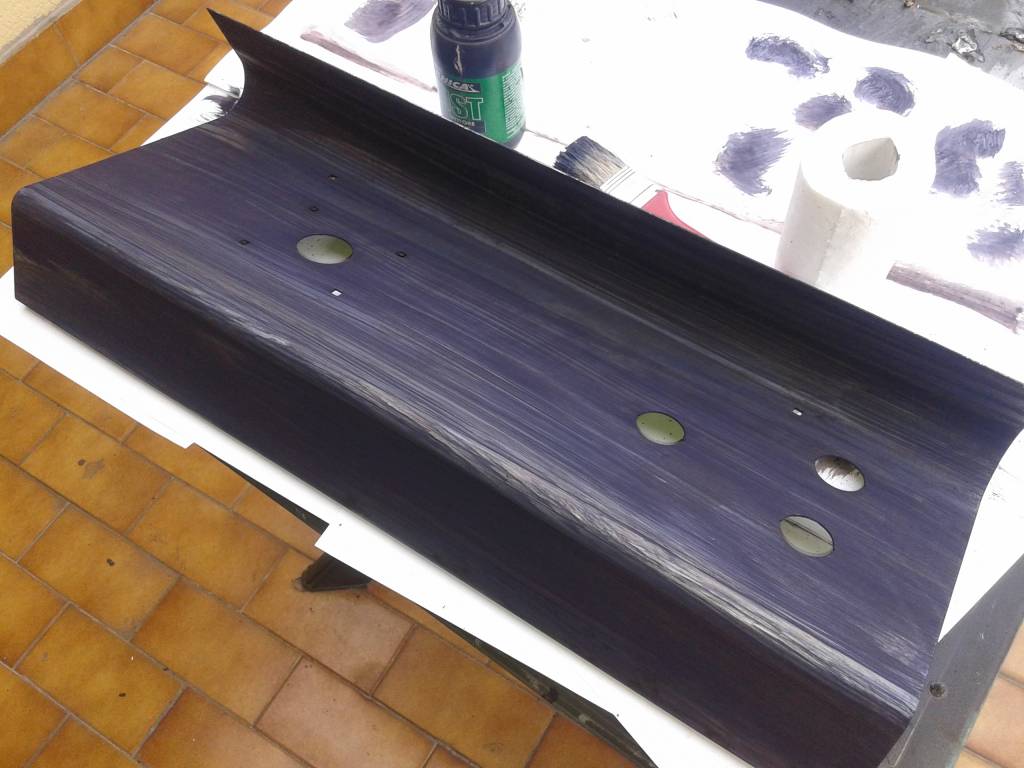
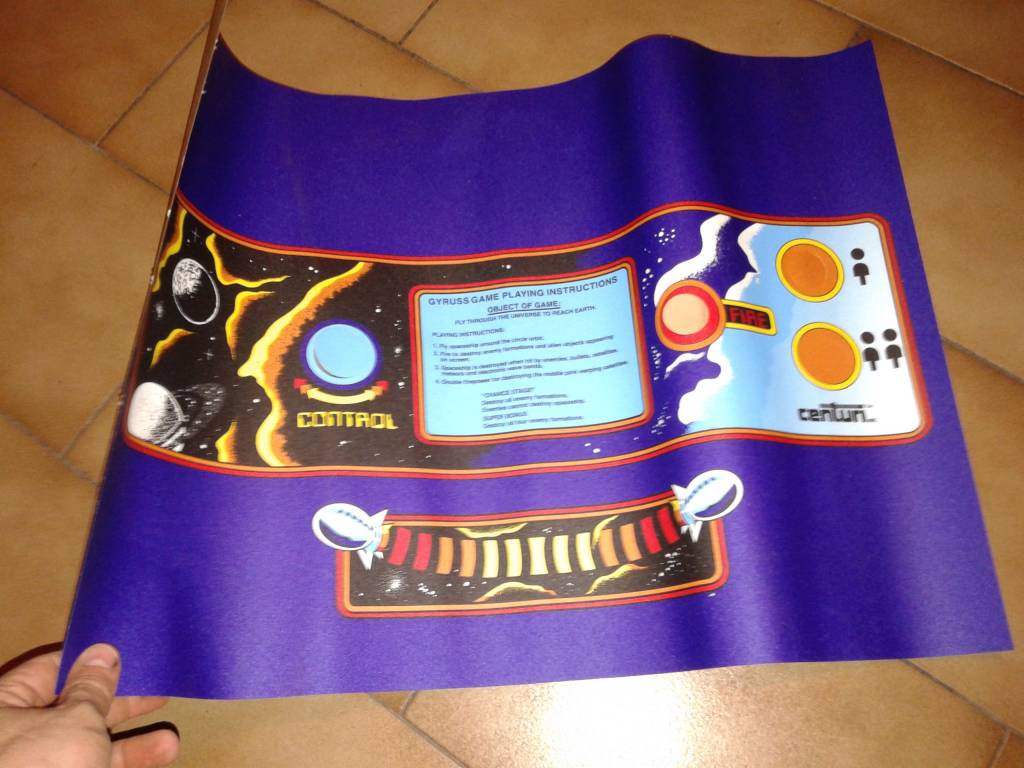
Our cabinet is the original version from the United States distributed by Centuri and is aesthetically excellent. The front part around the coin door has been completely rebuilt and the control panel has been reproduced. The side art is original and in very good condition (with some scratches actually…) as well as the front plexiglass and the marquee. Internally it has a modern power supply. The audio is excellent.

Picking up the cab and first inspection

28 May 2014

I picked up this cab in Bremen a couple of weeks ago.

gyruss_01    
At a first look it doesn’t seem to be in bad conditions…

gyruss_02
Coin door is not populated at all

gyruss_04
Probably a switch power supply is missing, that’s used for +5V -5V and +12V the rest seems to be there.

CRT is burned but I’m sure it is original 😀

gyruss_07
Speakers are in very good shape.

gyruss_08
I found some damages and I decided to disassemble the cabinet.

Restoring the bottom

28 May 2014

This was an easy issue although I could see all corners were damaged and needed some actions.

gyruss_012
metal parts were rusty

gyruss_013
These are the most similar replacements I could find

gyruss_014
Not perfect but good enough for me 😀 As usual the wood has been cleaned and coated with primer

gyruss_016 gyruss_017
I used 2 wheels with breaks on front and 2 without breaks on back.
Cab had 2 woody parts with a total height of 2 cm, wheels height is about 9 cm so the difference is more or less 7 cm

gyruss_20

T-molding

31 May 2014

I refurbished a little bit the T-molding. I used an “abrasive sponge” or “sanding sponge”. Here is a picture.

gyruss_21
Wow, I need a new one. This was the condition of the T-molding before sanding:

18
and this is the result.

gyruss_019

Removing rust

31 May 2014

All screws, bolts and washers were quite rusty so I had 2 possibilities:

  1. change all rusty parts
  2. try to remove rust


I found this product:

mangiaruggine
  I don’t know the international name but this is miraculous… This is an example of the results without sanding:

gyruss_022   gyruss_023 gyruss_024
In this case washers have been changed.

Transformer

14 June 2014

I removed rust:

gyruss_25 gyruss_26
once cleaned I took a couple of pictures  of both sides

gyruss_28 gyruss_27
Checking the voltages around the cab I can see the couple 5-7 (115V) goes to the TV, and the couple 6-7 (100V) goes to the (missing) Power Switch .

Corners

14 June 2014

All 4 low corner were damaged. Here  you can see what I did with the front left corner.

step 1: removing the damaged parts
step 2: using putty for wood
step 3: giving the right shape …

This was the initial situation

gyruss_30 gyruss_29    
this is the “putty”. Yes, wrong color, I had to use a black one.

gyruss_31  
Using rasp and sandpaper I could give back the right shape. I used DREMEL to reproduce the t-molding groove.

gyruss_32 gyruss_33
Considering the t-molding was quite damaged and I hadn’t any replacement I decided to use the same putty to cover the t-molding damages.

gyruss_38  

Right-Front corner

14 June 2014

I applied the same procedure for the right-front corner

gyruss_34 gyruss_35 gyruss_36 gyruss_37
… and the same for the back corners… once I had an acceptable result for all 4 corners I had to think how to give the original colors to all parts.

Painting T-molding

19 June 2014

Once I re built the missing parts of the T-molding with the putty I sprayed the entire part with a black glossy paint.

gyruss_44 gyruss_45
This is the result for both corners.

gyruss_46 gyruss_47 gyruss_48 gyruss_49

Completing the corners

19 June 2014

Once T-molding was completed I sprayed with matte black all the bottom part. Left side (a little bit dirty, sorry):

gyruss_38 gyruss_39 gyruss_40
Right side:

gyruss_41 gyruss_42 gyruss_43

Front panel

22 June 2014

I could see that a black metal plate had been screwed on the front panel.

gyruss_50
once removed all screws and the coin door the metal plate could be removed.

gyruss_51
This is the back side of the metal plate once removed.

gyruss_52
and this is the front panel. Obviously coin door has been ripped from the panel.

gyruss_53
I bought a chipboard with the same sizes of the original front panel

gyruss_54
I painted it in black satin and made all wholes needed, including the space for the coin door. Here old and new panels are compared.

gyruss_55
And this is the panel mounted in the final position.

gyruss_56
Before black satin I used a primer and sandpaper 350

Back panel

23 June 2014

Back panel was damaged too.

gyruss_57 gyruss_58 gyruss_59 gyruss_60

Joystick

25 June 2014

These were the joystick starting conditions

gyruss_61 gyruss_62
Then I disassembled it completely

gyruss_63 gyruss_64 gyruss_65 gyruss_66 gyruss_67
So I could clean part by part. After that I assembled it again.

gyruss_68 gyruss_69 gyruss_70 gyruss_71

Control Panel

3 July 2014

Control Panel was in strange conditions… 90% was quite good but the rest was missing showing a lot of rust.

gyruss_72 gyruss_73 gyruss_77 gyruss_74

One of the three buttons had been substituted with another one based on switch. Fortunately I had a replacement.

gyruss_75   gyruss_76

First of all I removed the original CPO

gyruss_78

Then I cleaned it

gyruss_79

Then I fixed the rust with my usual de-rust product.

gyruss_80

Once arrived the new CPO from arcadeshop I could proceed

gyruss_81

Here is my Gyruss with the new CP 🙂

gyruss_82   gyruss_83

I need only coin door mechanisms to close this project!!