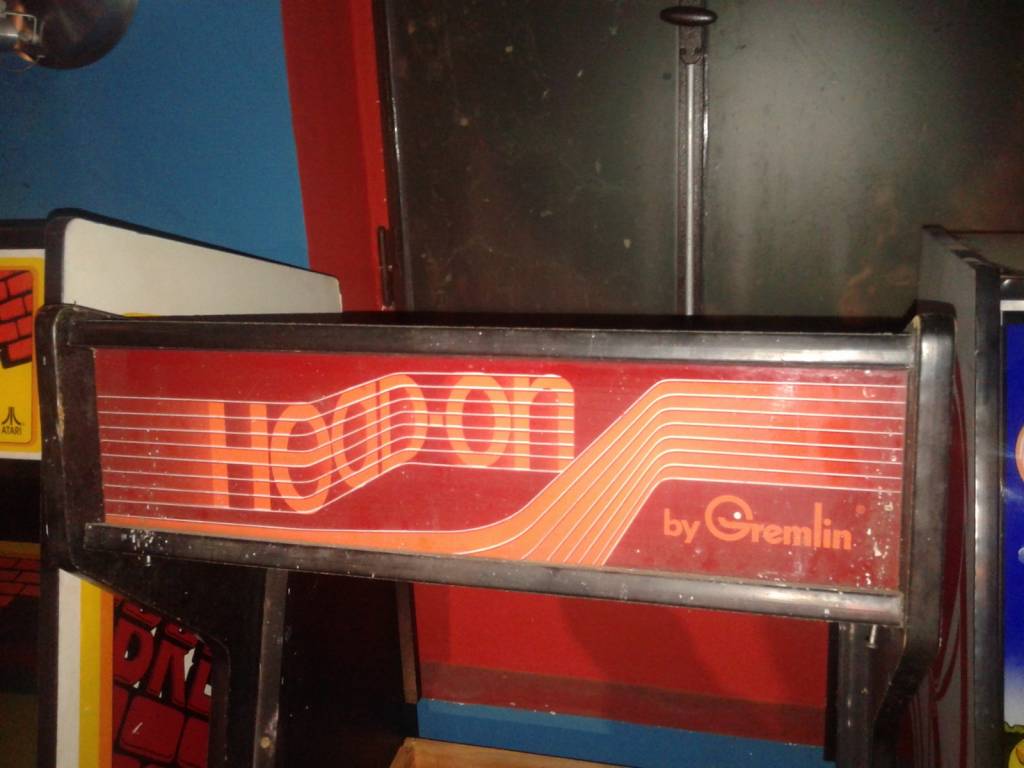
Head On

  • Manufacturer: Sega - Gremlin
  • Year: 1979

Useful info

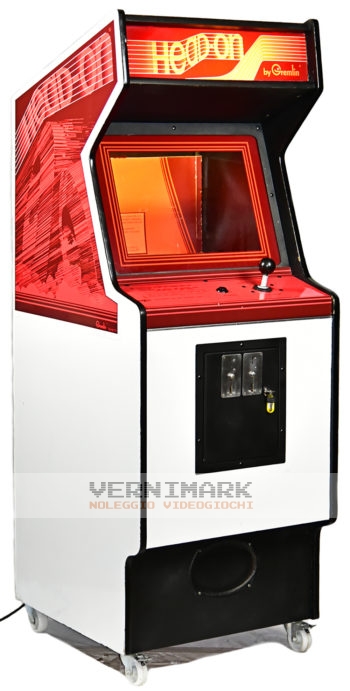
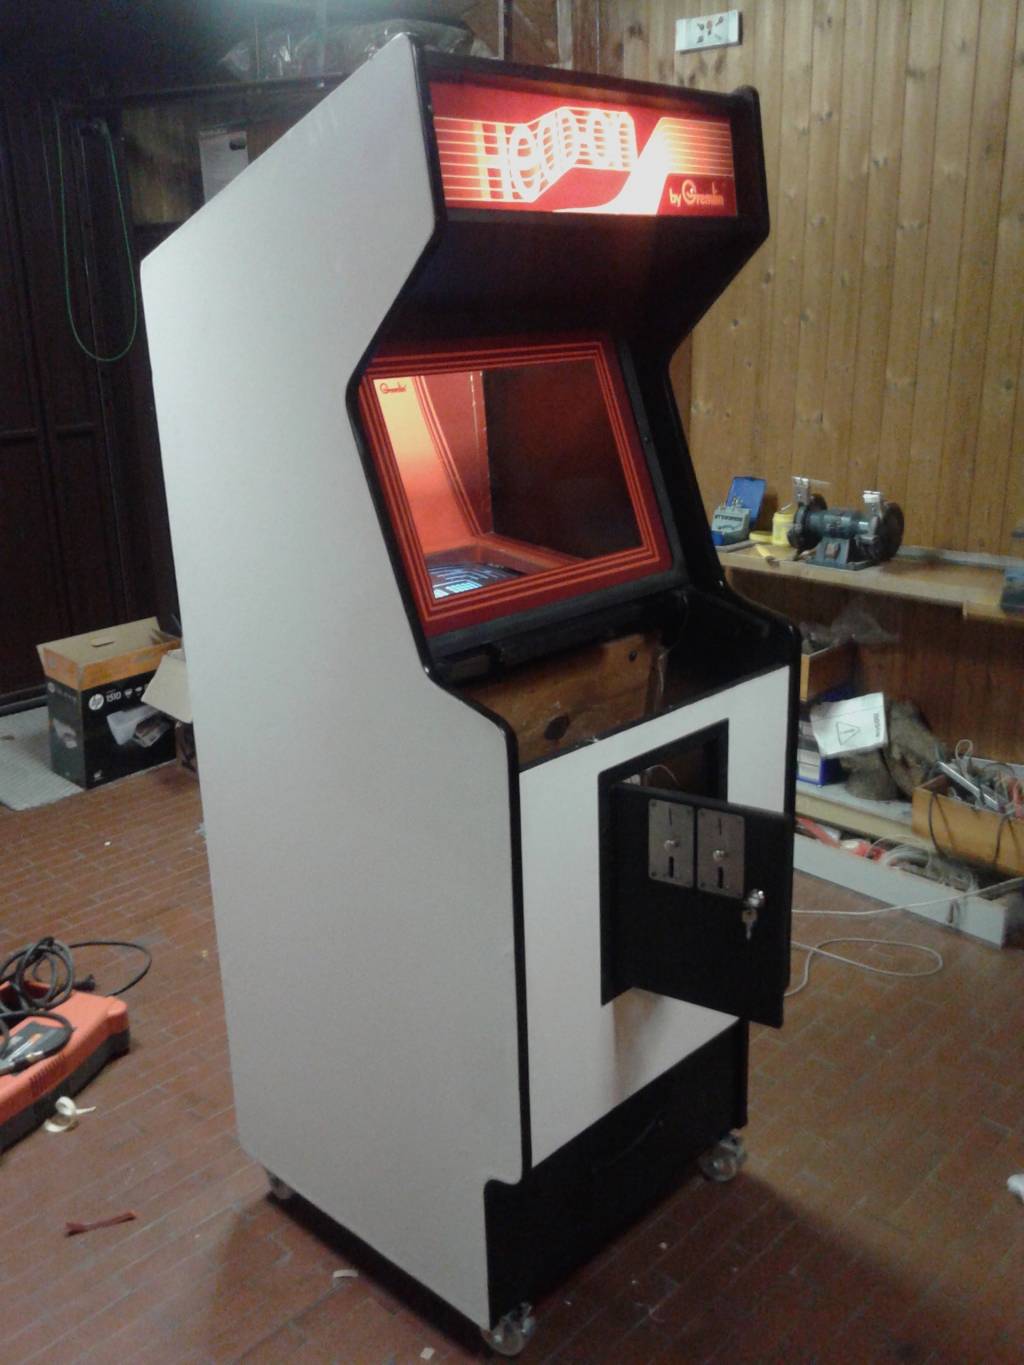
  • Cabinet type: Upright
  • Measures (WxHxD): 64,8 x 179,0 x 70,0 cm
  • Working voltage: 220V
  • Maximum consumption: 93,0W 0,490A
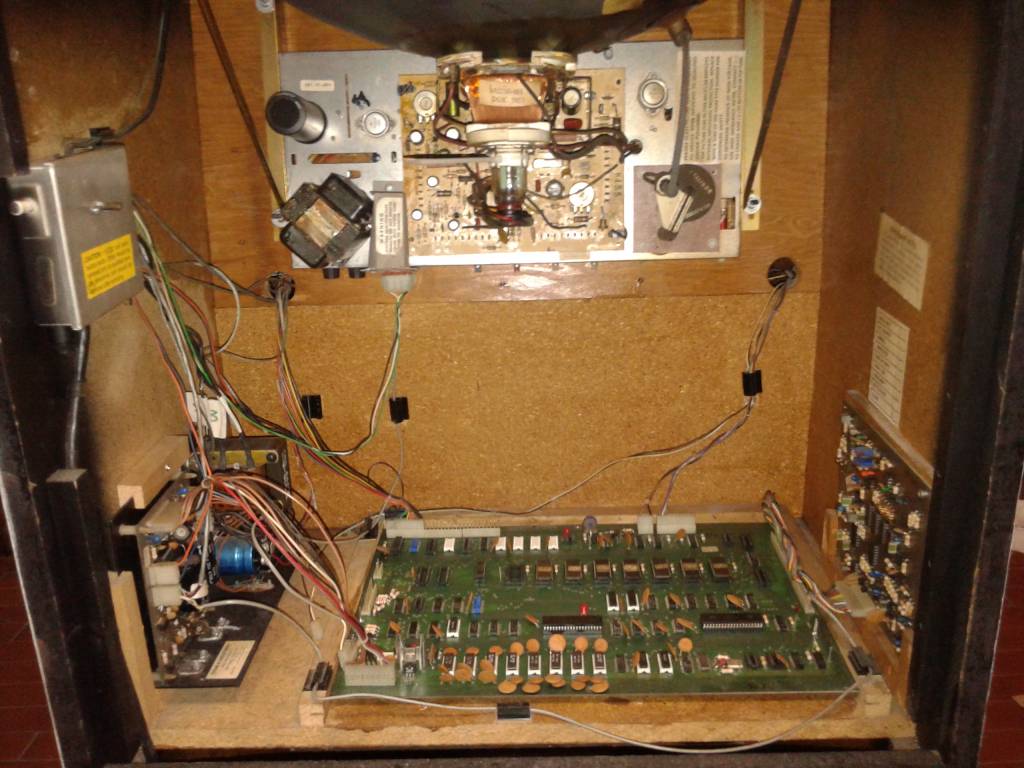
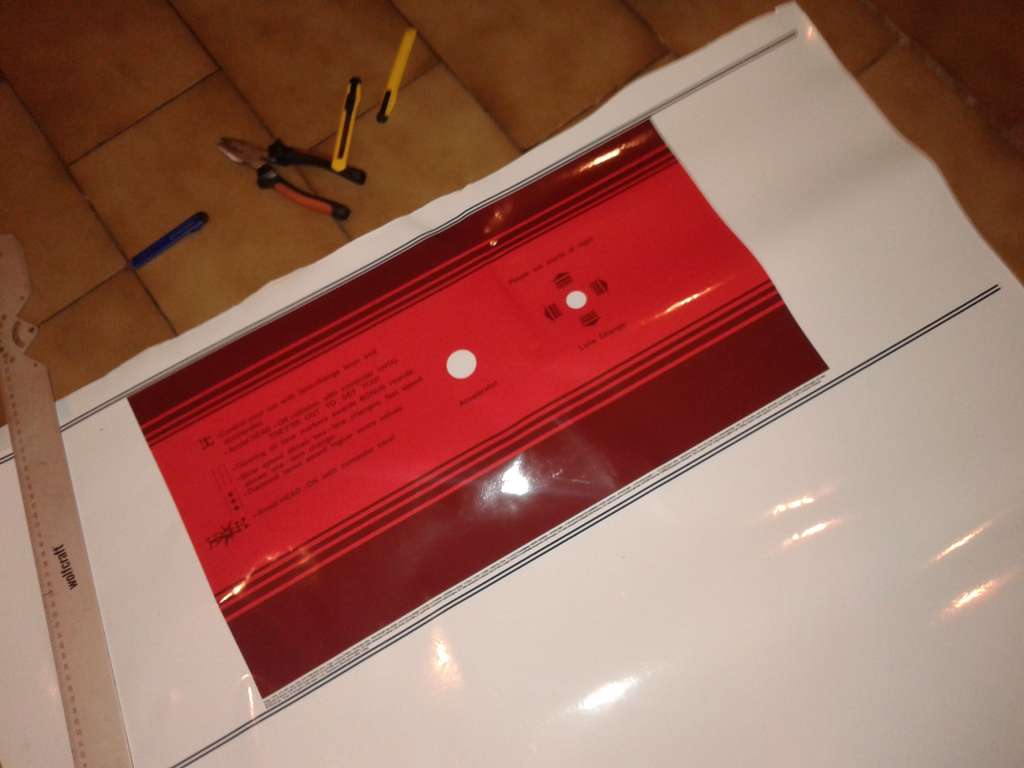
  • Technology: Horizontal B/W raster monitor with colored overlay

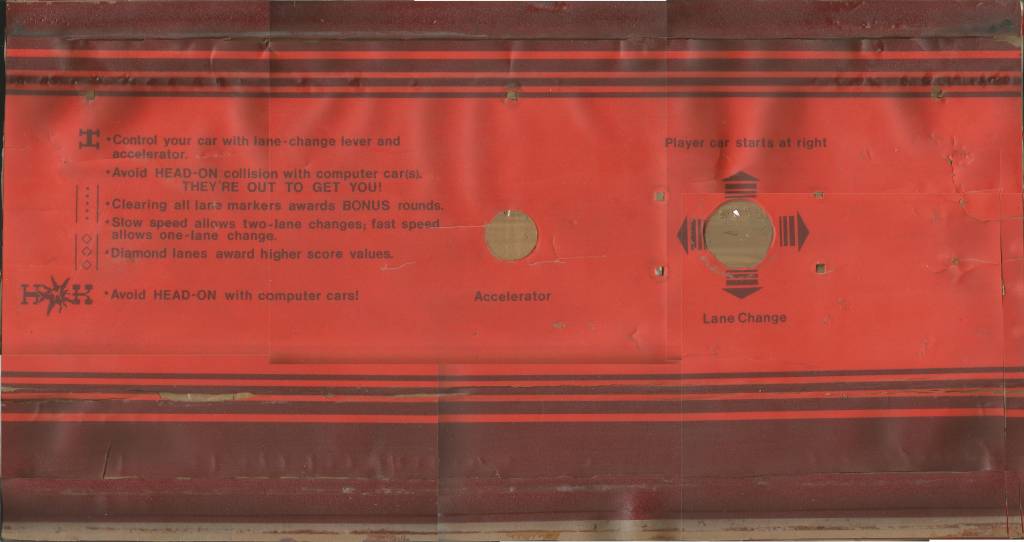
This black and white game is very simple but very funny. The player drives a small car moves inside a maze full of “dots”. Each time it passes on a dot, it disappears crediting points. The level ends when all the dots are made to disappear and the maze is completely clean. The game would be simple if there was not an “enemy” machine to turn in the opposite direction whose purpose is to stop player’s car trying in every way a frontal collision. Also this bad machine sometimes “dirty” the path and the player has to clean the path again.

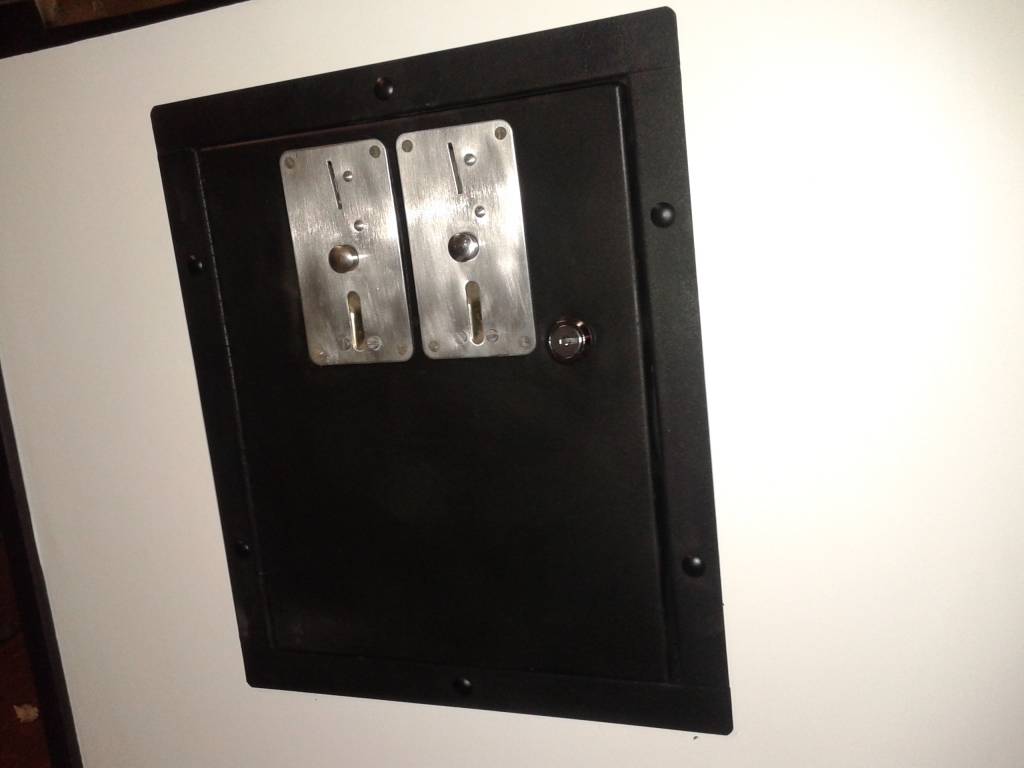
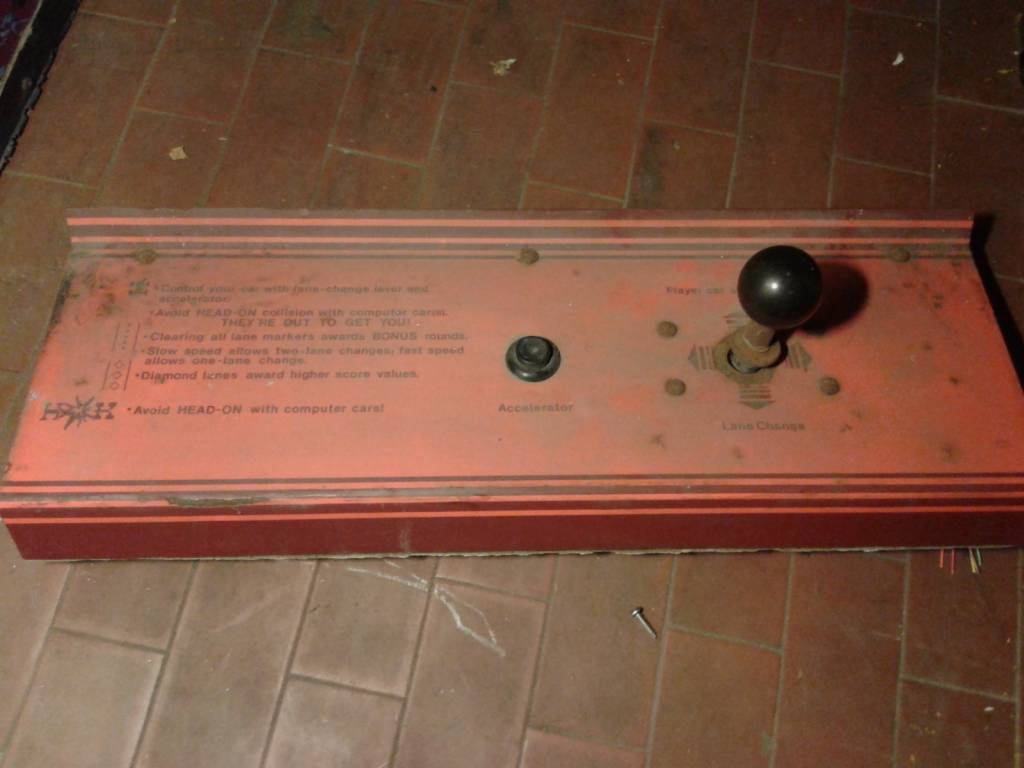
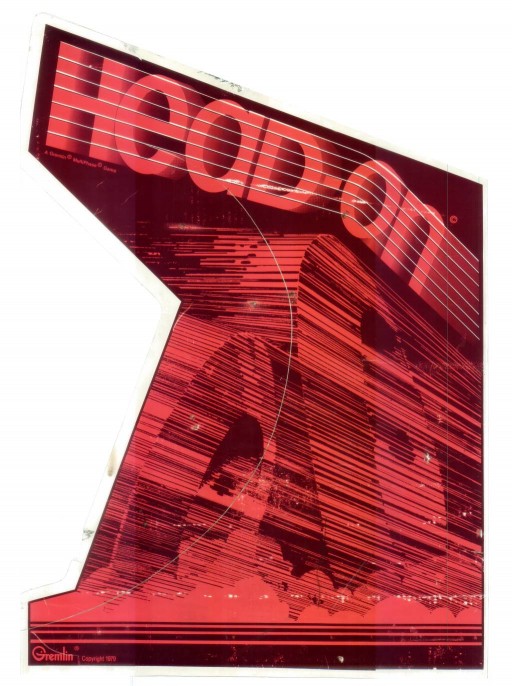
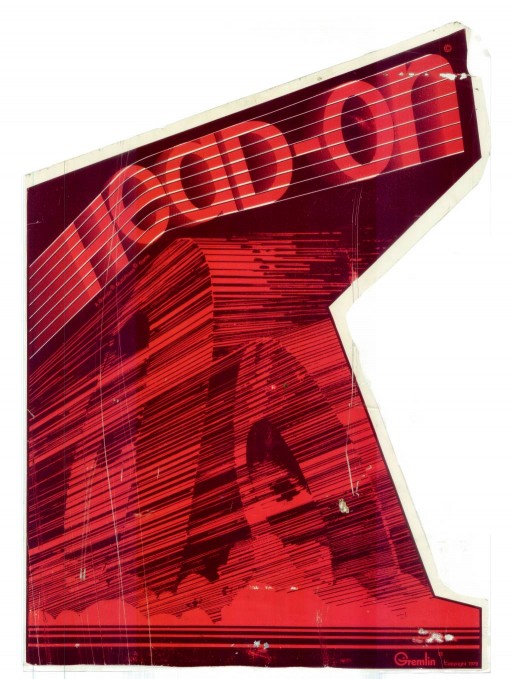
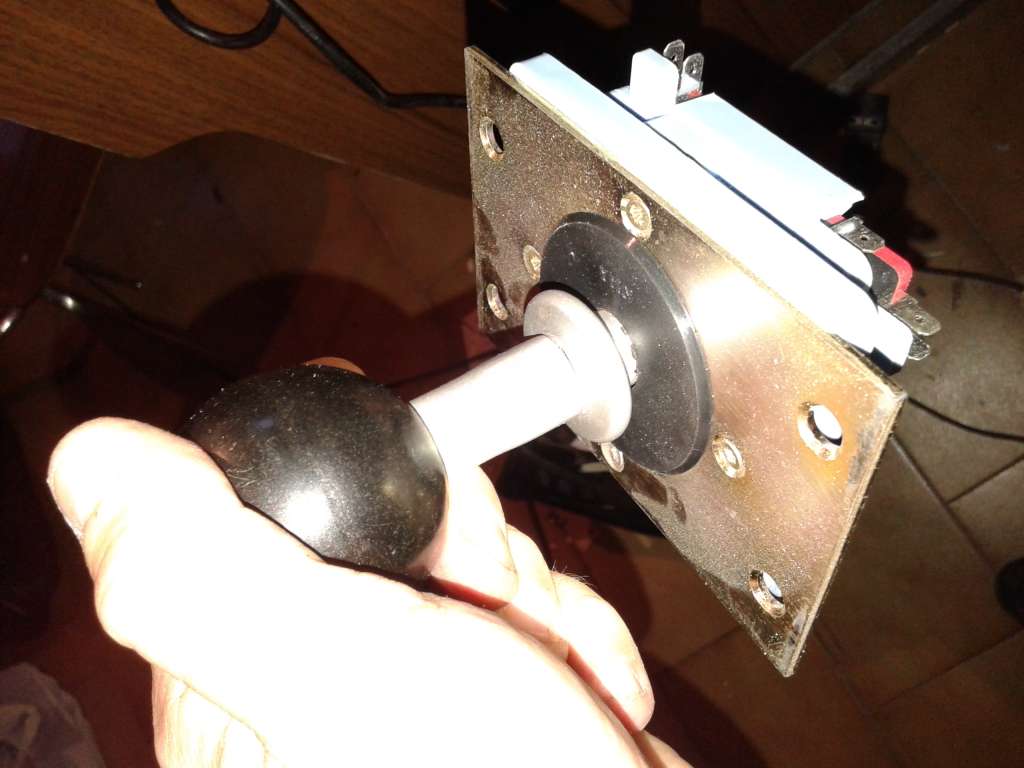
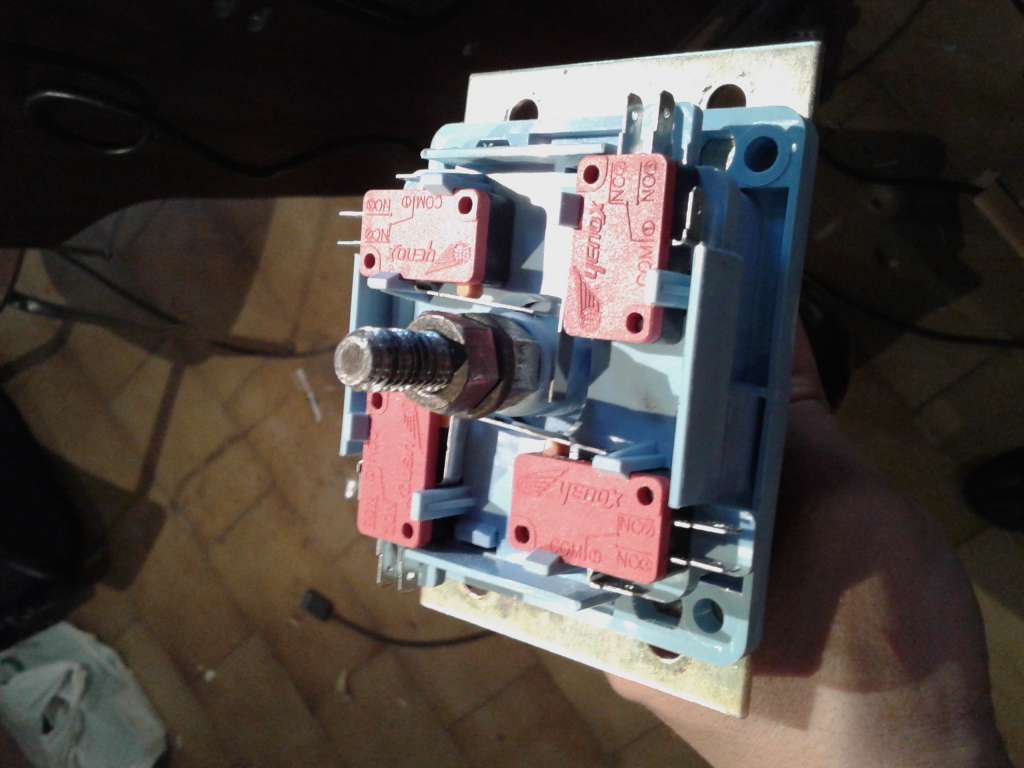
The cabinet in our collection is the original Sega / Gremlin game. Both side art have been replaced with some reproductions due to the wear of the previous ones. The general conditions of the cabinet are very good and the joystick has been replaced with a “softer” one to increase its playability. Obviously the original has been kept and can be reassembled at any time. This game is available both in color and black and white. We have the black and white version.

Not so good, not so bad

11 July 2014

This is my Head On from Gremlin, 1979 I picked up it last year in Germany. Cabinet is complete (with the exception of the back panel) and general conditions are not so bad…

headon03 headon04 headon05 headon01 headon02

  • CPO: small damages and very dirty
  • SIDE ARTS: damaged
  • PLEXI: some scratches, no burns
  • CARD BOARD: german sticker with the instructions
  • WOOD: not so bad…
  • MARQUEE: good conditions, minor scratches
  • TV: very dirty
  • PCB: good conditions
  • PS and WIRING: good conditions

Cardboard

11 July 2014

Cardboard had a big sticker with German instructions

headon06
I used some water to soften the sticker but I had the result to damage the card board only. Then I used the flux and the glue dissolved.

headon07
I used a couple of cardboard centimeters to cover the damages

headon09
Result is not so good but at the moment I consider it acceptable.

headon08

Coin door

11 July 2014

Usual treatment for the coin door… more or less… These were the starting conditions

headon10 headon11 headon12 headon13
One of the holes has been forced

headon14
First of all I used pliers and hammer

headon15
then epoxy

headon16
last step: black paint

headon17
This is the final result of the rest of the coin door. Just abrasive sponge and black paint

headon18 headon19

CP

12 July 2014

These were the conditions of the Control Panel as I found it.

headon23 headon20 headon21 headon22
It was very dirty so I decided to clean it before deciding to keep it or not.

headon24headon25
CP was rusted under the overlay so I decided to remove it.

headon26headon27
Joystick and buttons were in good conditions, only some rust on the external parts

headon28
Once I removed the CP I proceeded to scan it.

headon_cpo_1024

Front

13 July 2014

White part of the front panel was not so damaged but replacing both sides with a new vinyl I decided to do the same here. On the contrary black part was damaged.

headon29 headon30
so first of all I removed both black and white parts

headon31
then I replaced white part with a thin vinyl and black part with a rigid layer

headon33 headon34

Head On: Marquee

14 July 2014

Marquee was quite dirty and had some scratches. This picture has been taken before cleaning.

20140701_032140
and these are some scratches

20140706_045347
so I used sandpaper 300 and 400

20140706_045819
this is the result

20140706_050425
and then I used NOVUS 3, 2 1nd 1

20140706_051520

Plexi

14 July 2014

Same situation for the plexi. some scratches and nothing else. Same treatment of plexi.

hedon40 headon41

Side art

14 July 2014

Side art were really corrupted and I decided to remove and, if I can, to reproduce them.

headon41 headon42 headon43 headon44
I had to remove the white vinyl too and the first thing I had to do was to replace both sides with a new white surface

headon45
this is the new cab 🙂

headon46 headon47
I scanned both sides with a professional scanner /300 dpi) but the lamp was defective so I have a couple of “violet” strips.


Inside

14 July 2014

Inside the cabinet I found everything in good conditions. Just some dust. I needed to wash and clean the PCB, that’s all.

headon48 headon49 headon50 headon51 headon52 headon53

Troubleshooting PCB: Garbage on screen

10 October 2014

On July, after the VASP 2014 Head On dead. Switching on the game I had these results:  

After some inspections I found a faulty 7408. more in detail: U38, Pin 8. This pin controls Address5 from CPU

Joystick

10 October 2014

Joystick wasn’t so flexible and sometimes player car couldn’t be driven in the right direction. Disassembling it I could see the rubber was damaged (by the time… by the use..)

headon58 headon59


And I replaced it remaking the surface using a new rubber sheet

headon60 headon61 headon62 headon63

NEW Joystick

10 October 2014

After some games I understood that I didn’t like that joystick at all… I had a very performing joystick, actually new.

headon64
I removed the original stick and the mounting plate, then I screwed the mounting plate directly on the new joystick and substituted its stick with the original one. This is the result.

headon65 headon66
The new joystick is aesthetically identical to the original one but it is much better!   Obviously the original parts have been saved into the cab 😀

New artworks

13 October 2014

Yes, new side arts and new CPO these are the new side art stickers

headon69
and this is the new CPO

headon68
actually I couldn’t find someone could print the CPO on a plastic surface similar to the original, so at the moment I printed it on glossy vinyl… This is the cam as it is now:

headon74 headon71 headon72 headon70 headon73