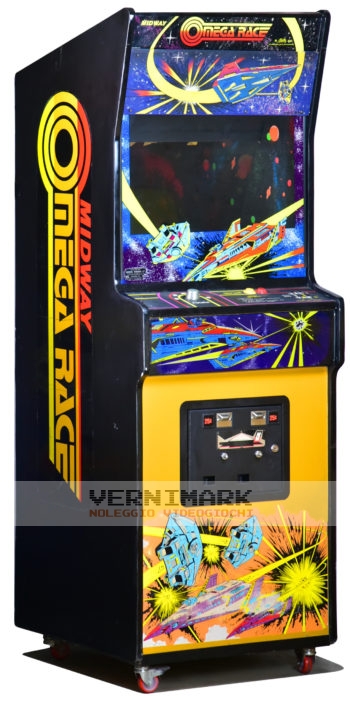
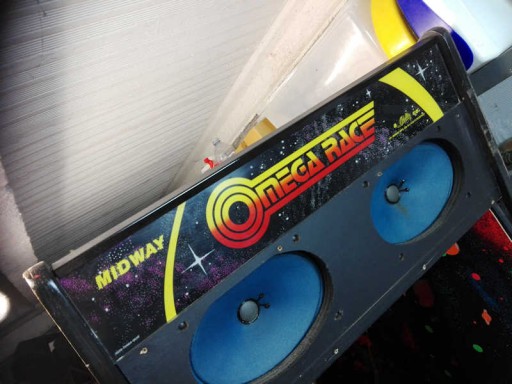
Omega Race (2)
- Manufacturer: Midway
- Year: 1981
Useful info
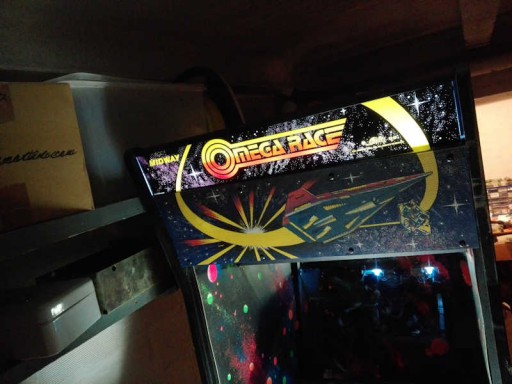
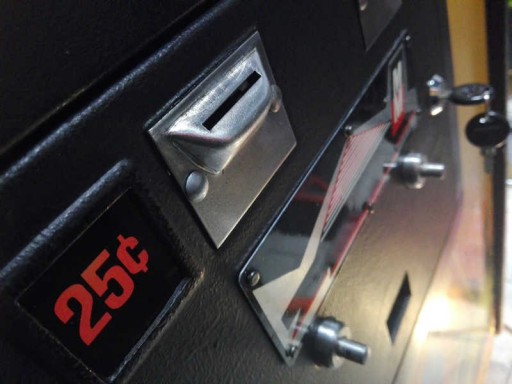
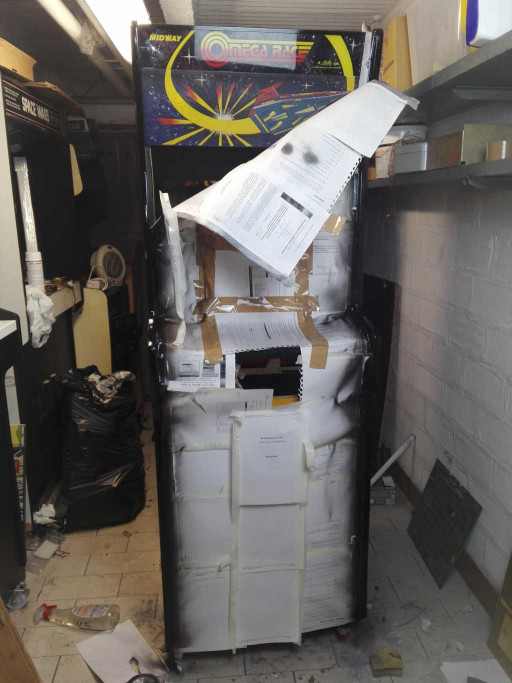
- Cabinet type: Upright
- Measures (WxHxD): 65,3 x 190,0 x 74,6 cm
- Working voltage: 220V
- Maximum consumption: 112,0W 0.635A
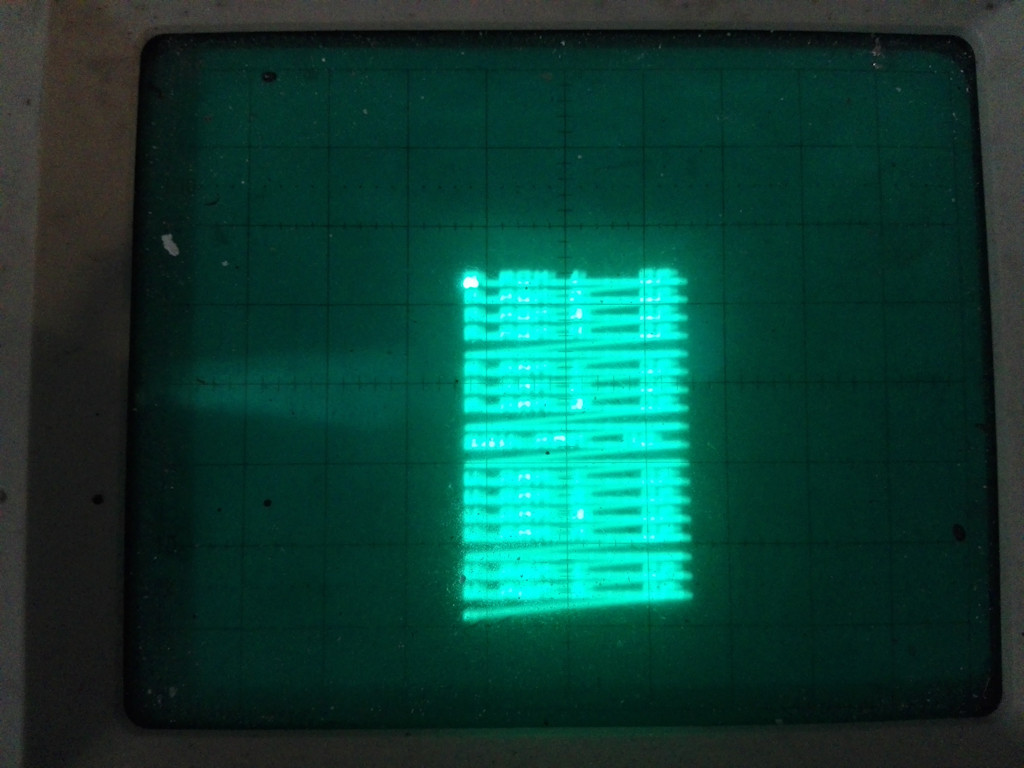
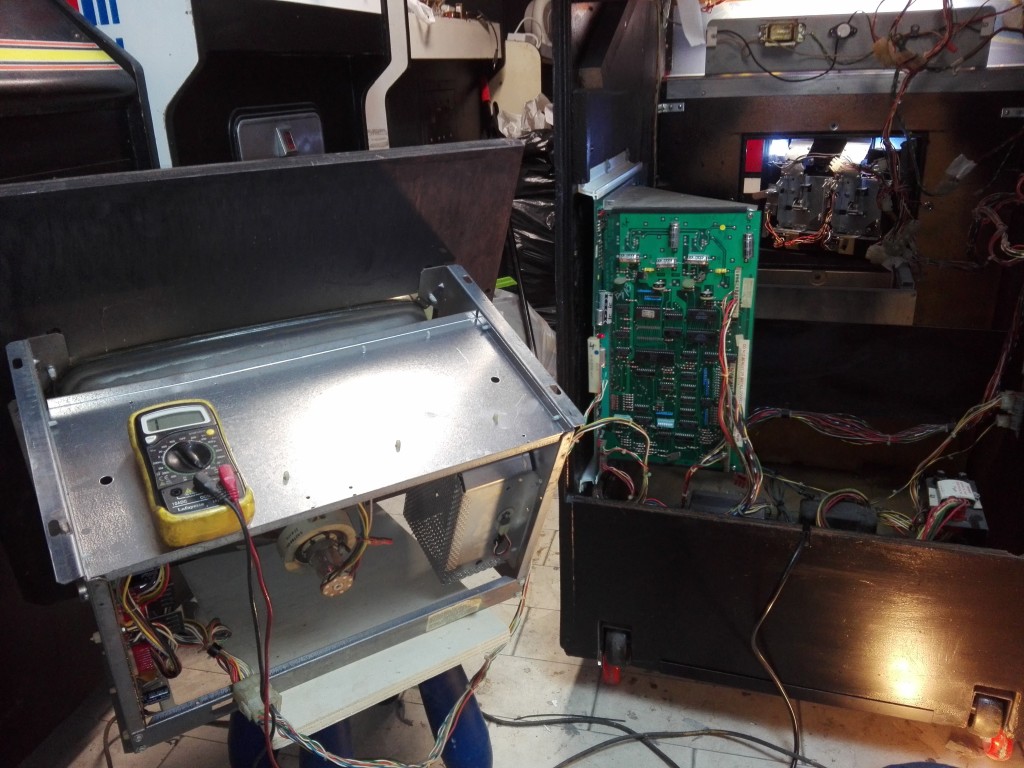
- Technology: Horizontal B/W vector monitor
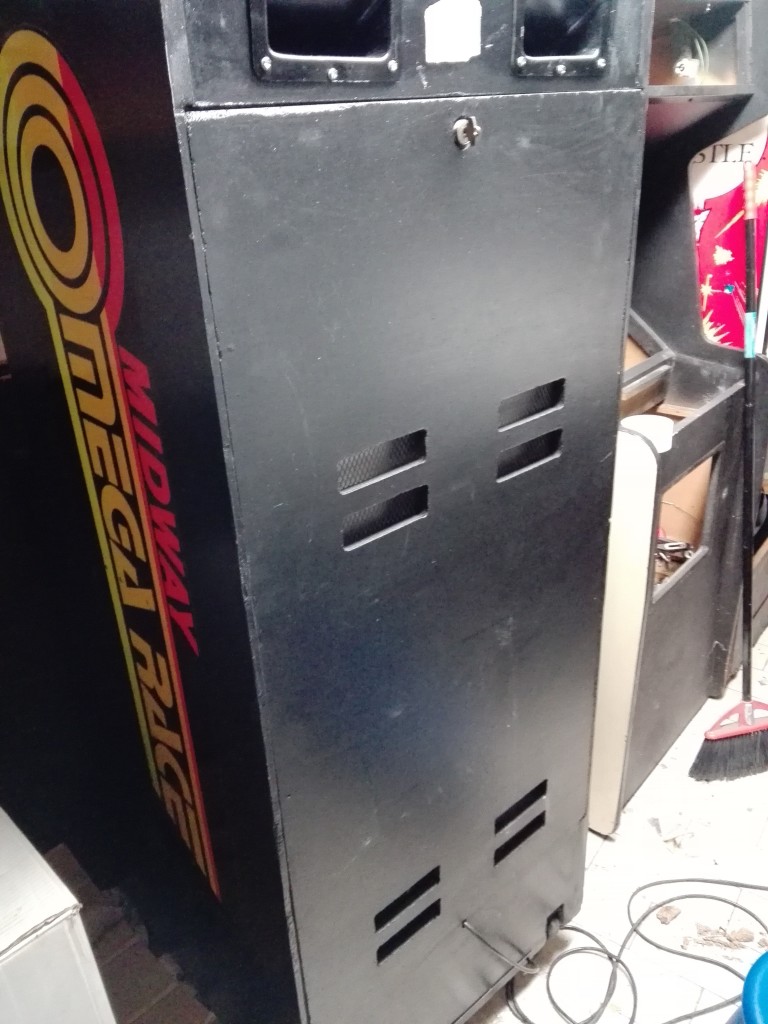
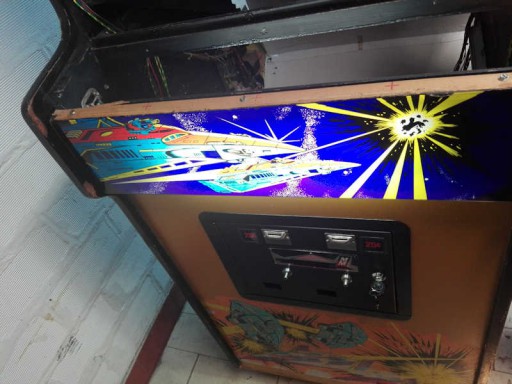
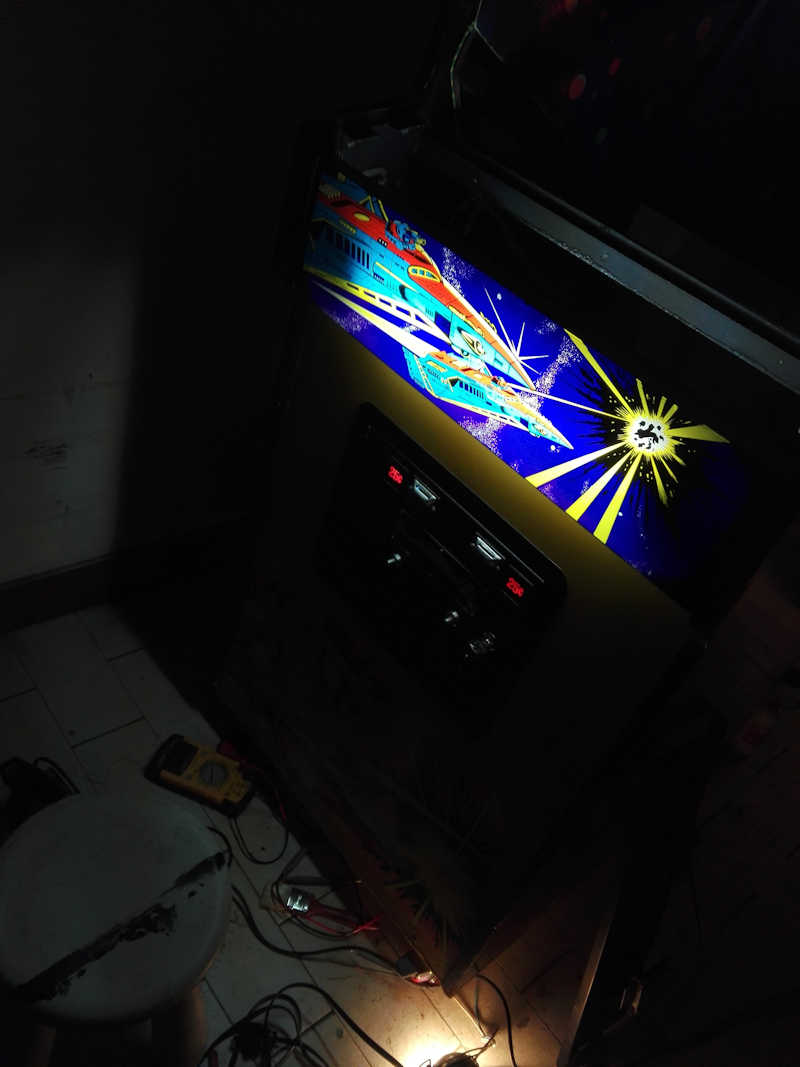
This is the second Omega Race I restore.
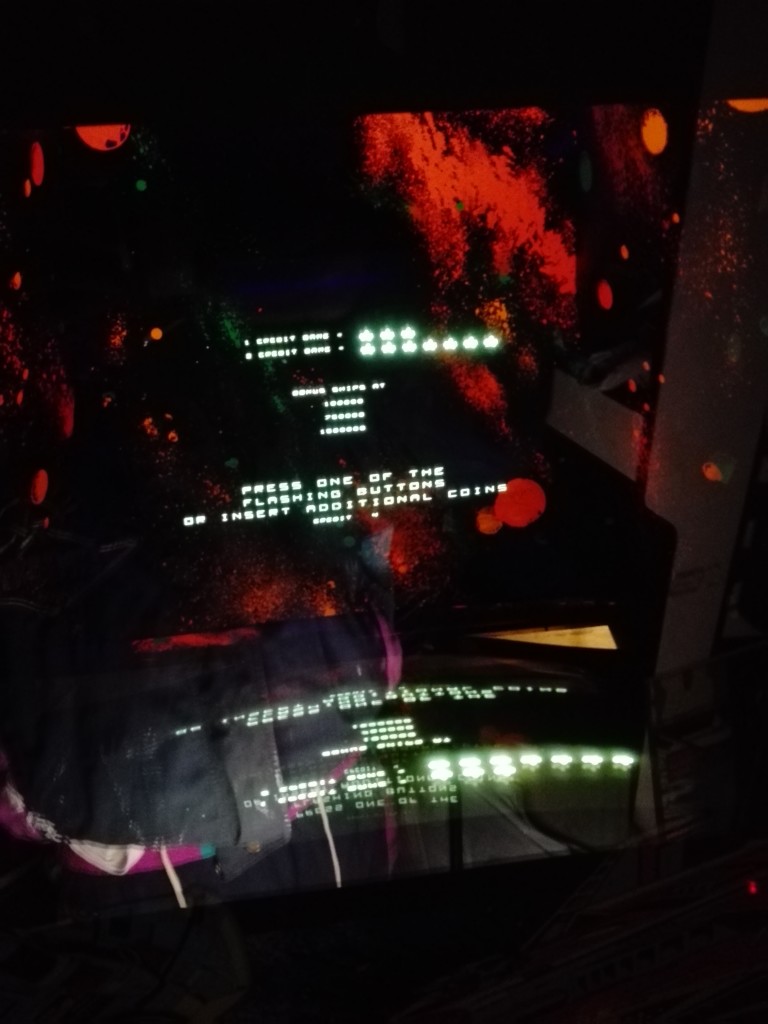
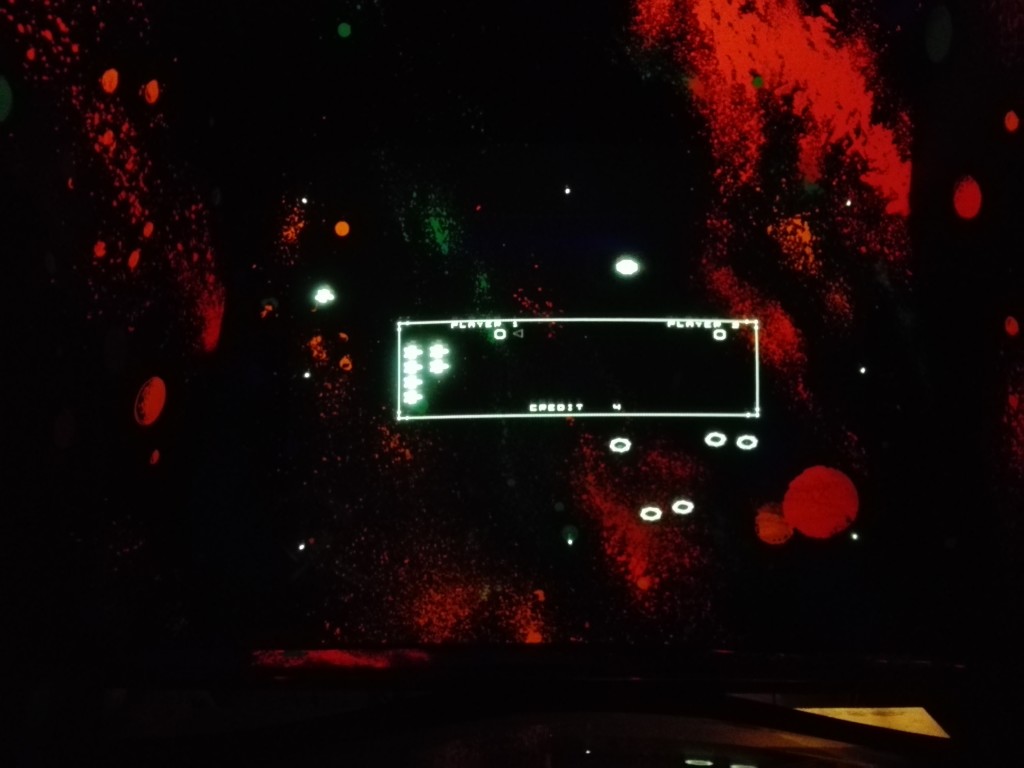
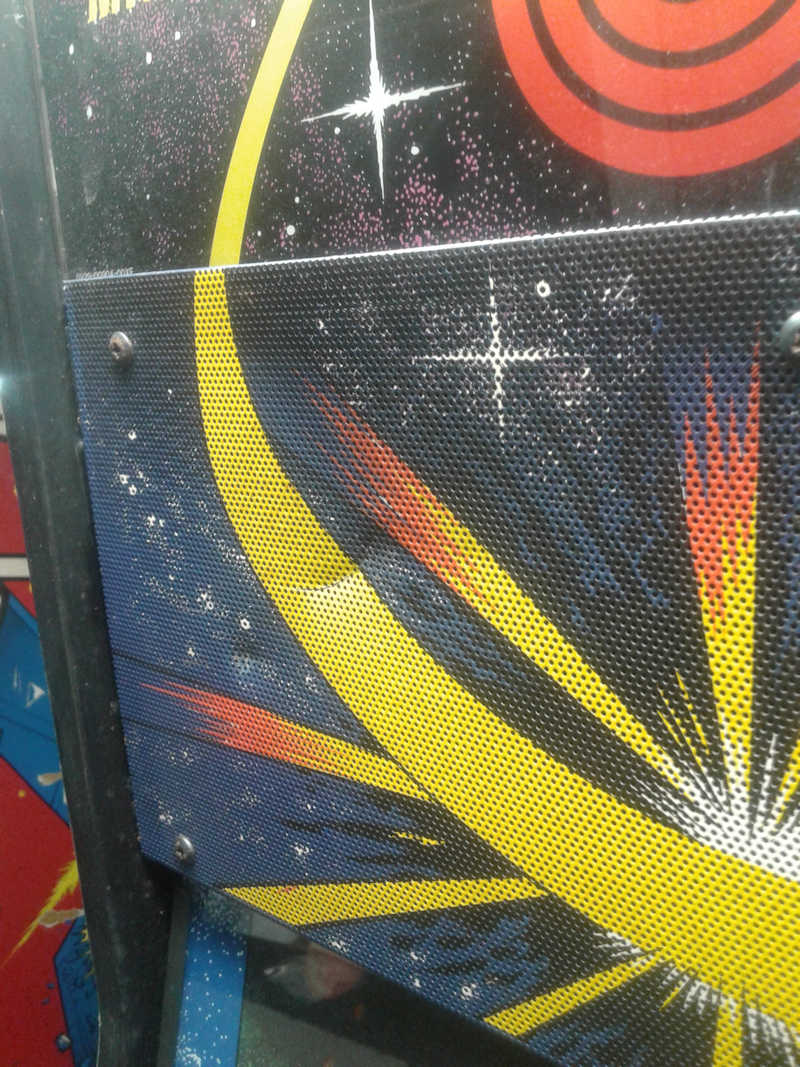
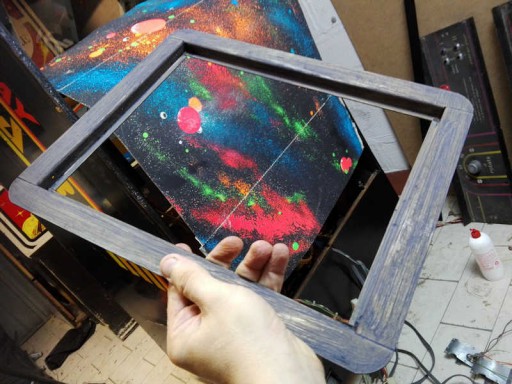
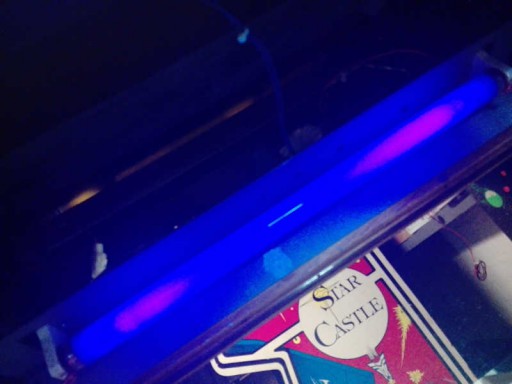
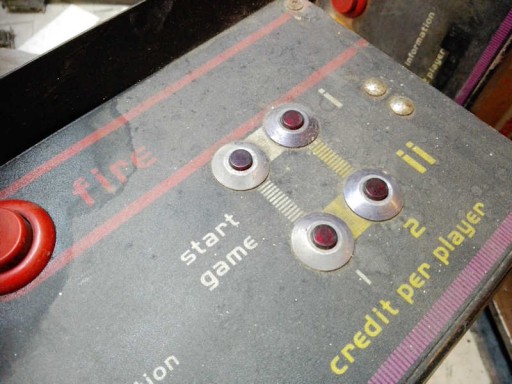
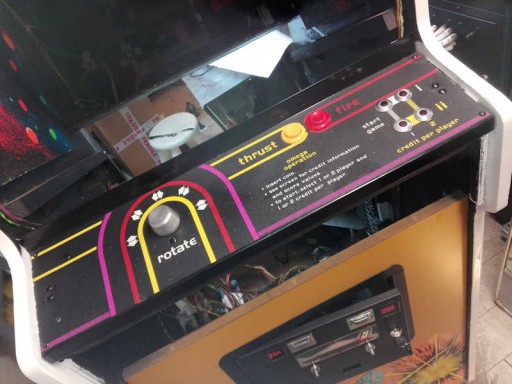
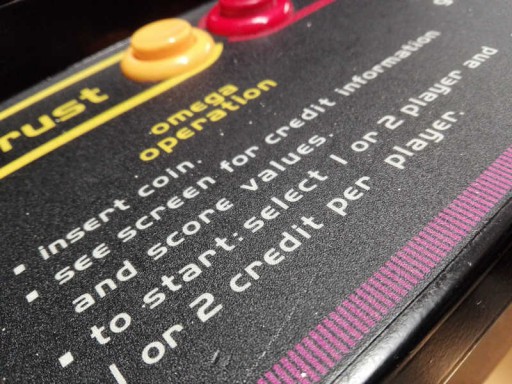
In 1981, Midway decided to produce a game with vector technology. The rules are very simple: the player turns in a rectangular field and must defeat all the enemies that with different modes (fire capacity, agility, speed, …) try to destroy it. Sound is stereo, the screen is B/W reflected on a “space” background highlighted by an ultraviolet light. It is a particular game that in Italy has been more successful on consoles than in arcades.
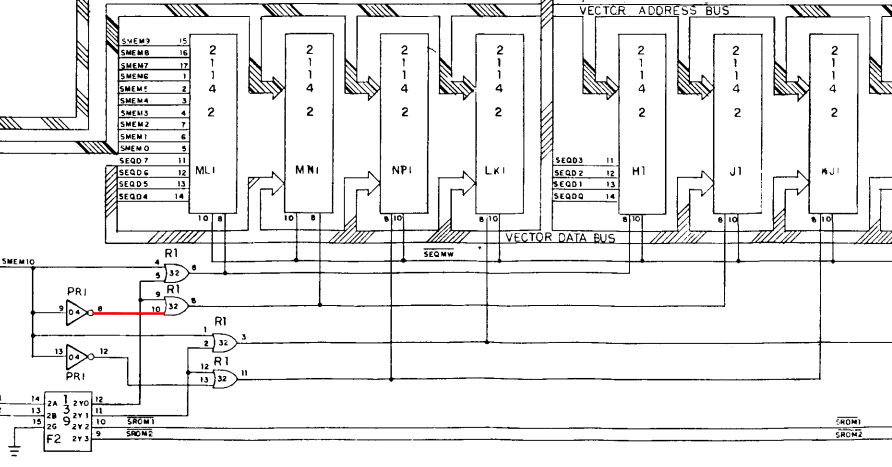
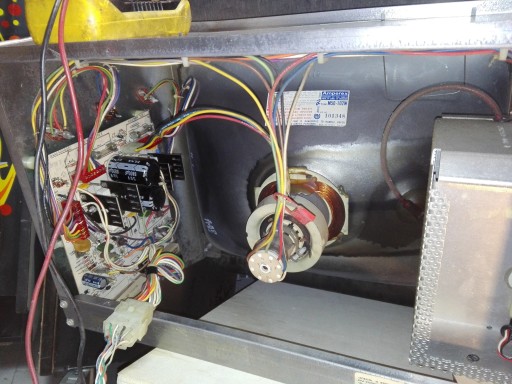
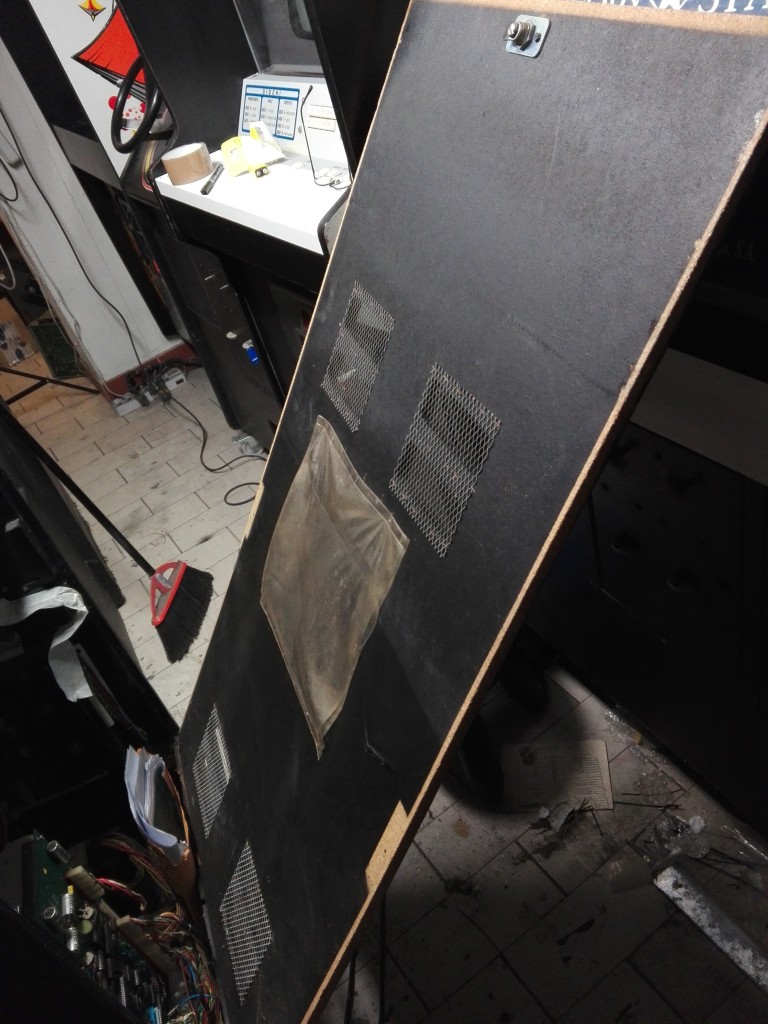
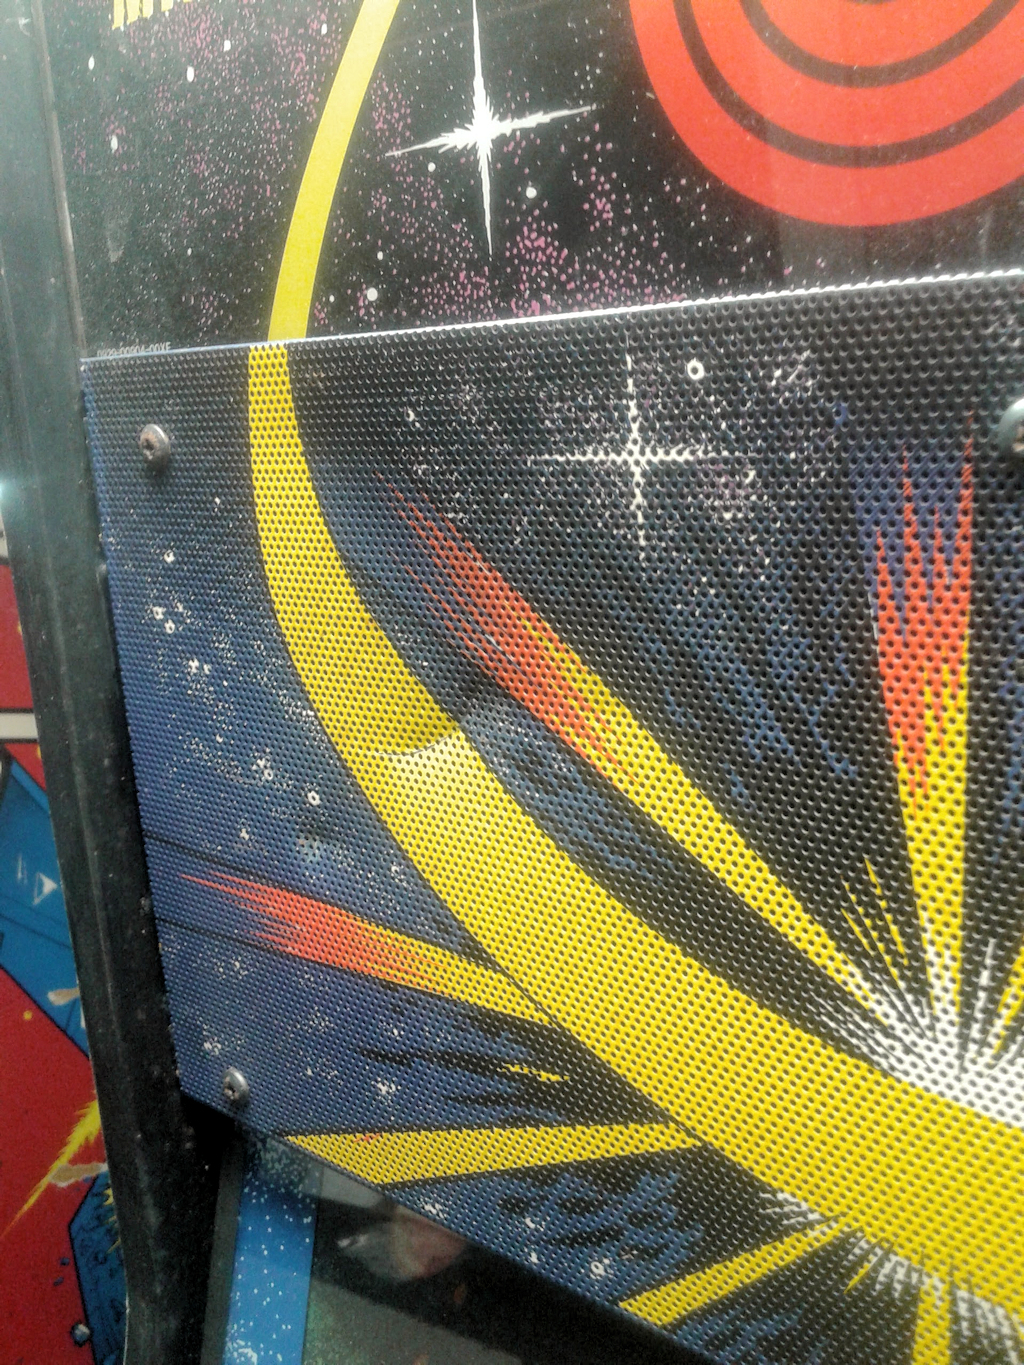
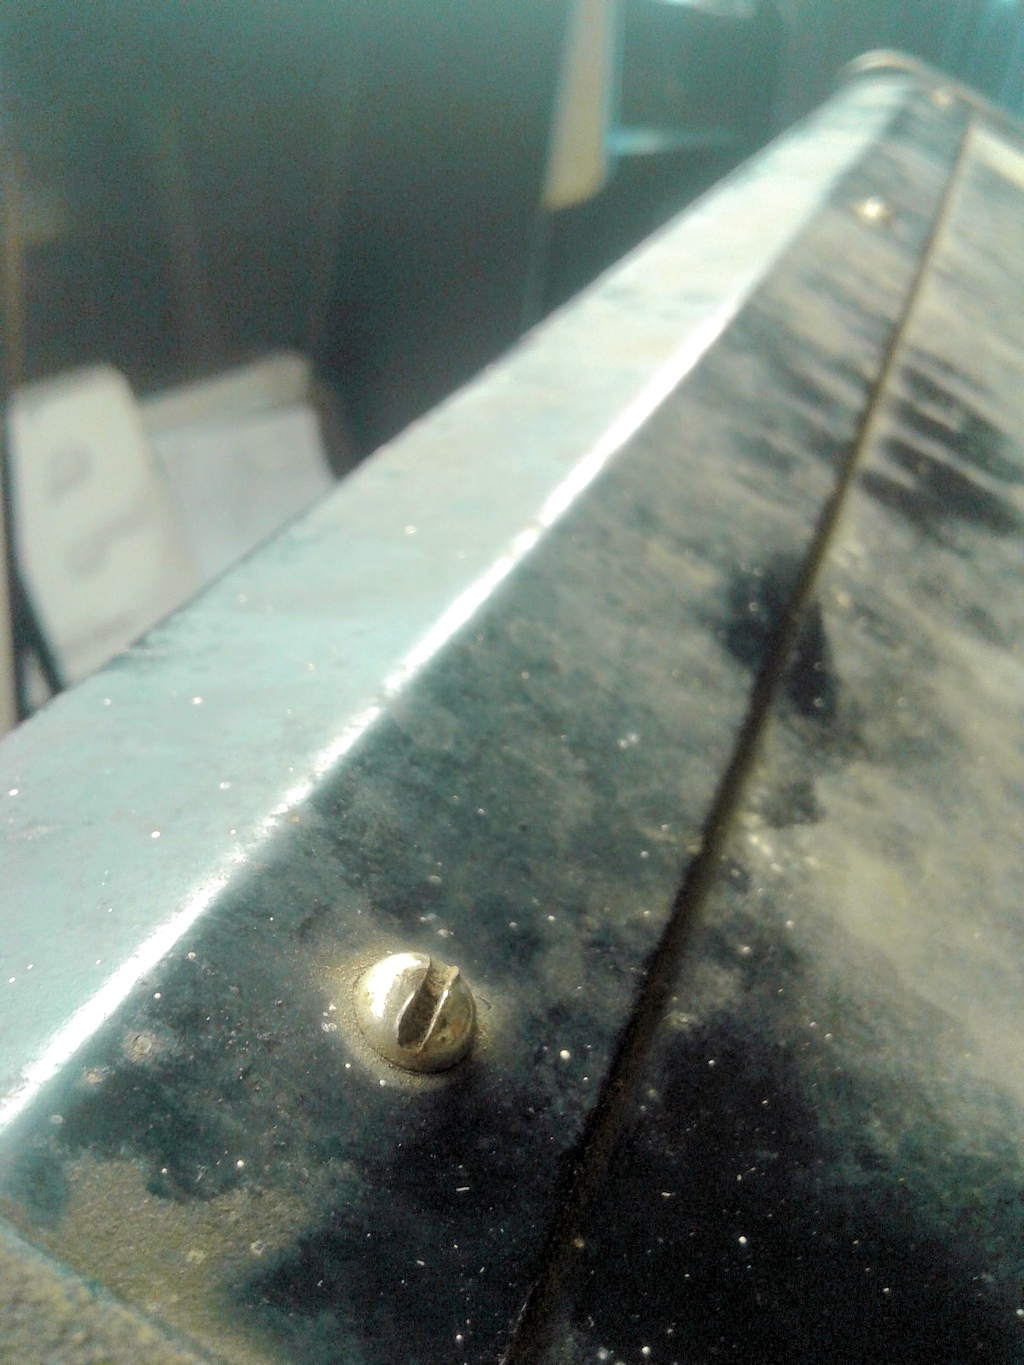
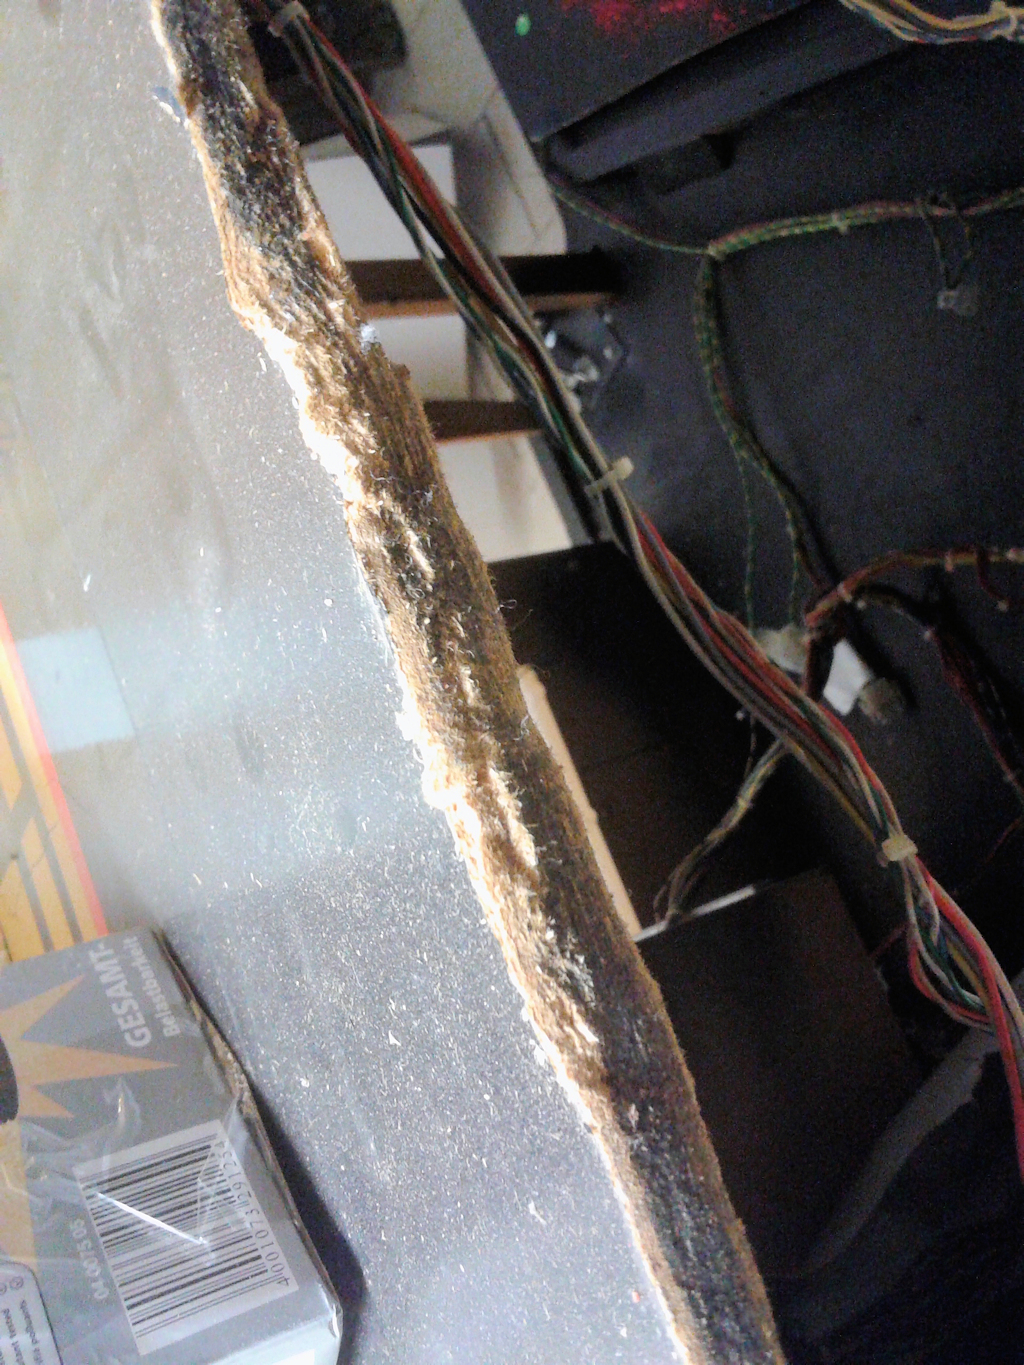
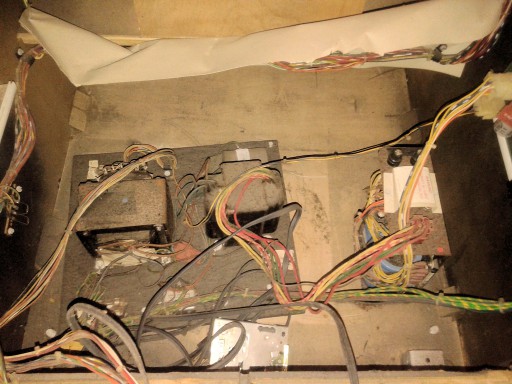
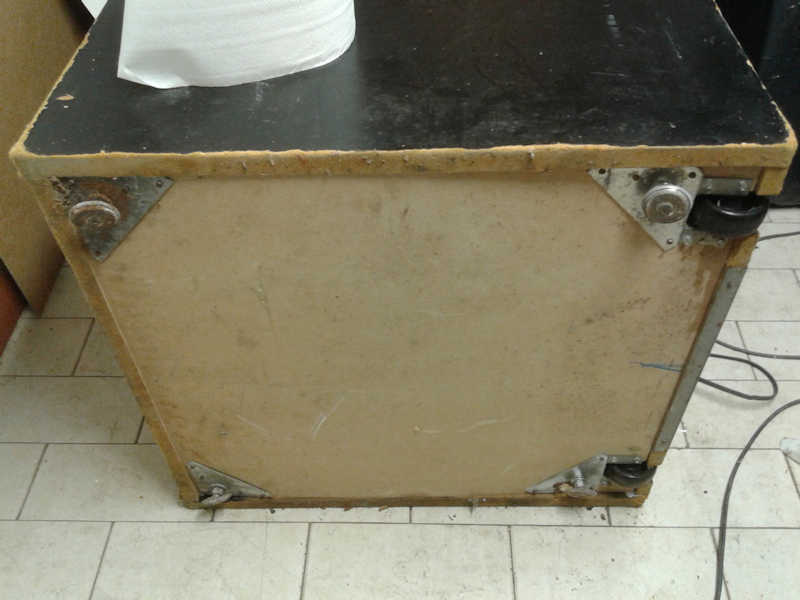
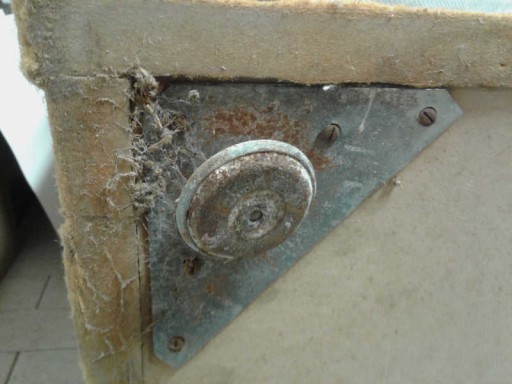
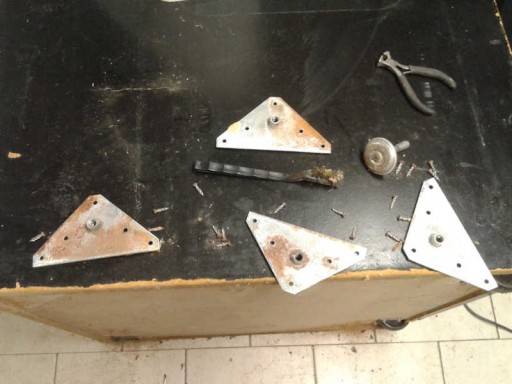
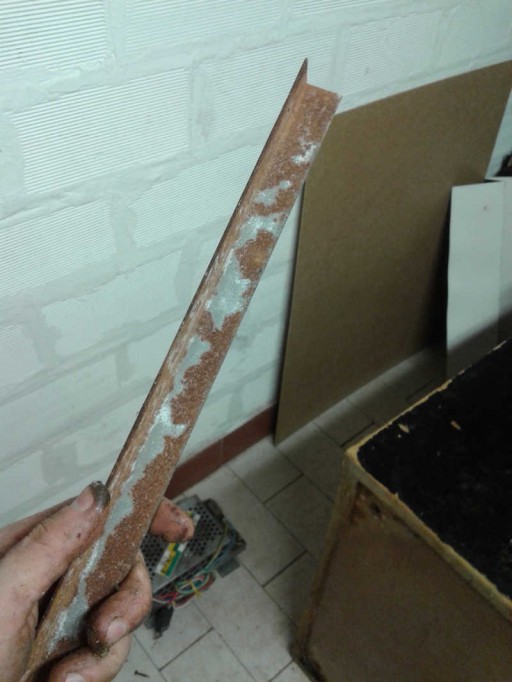
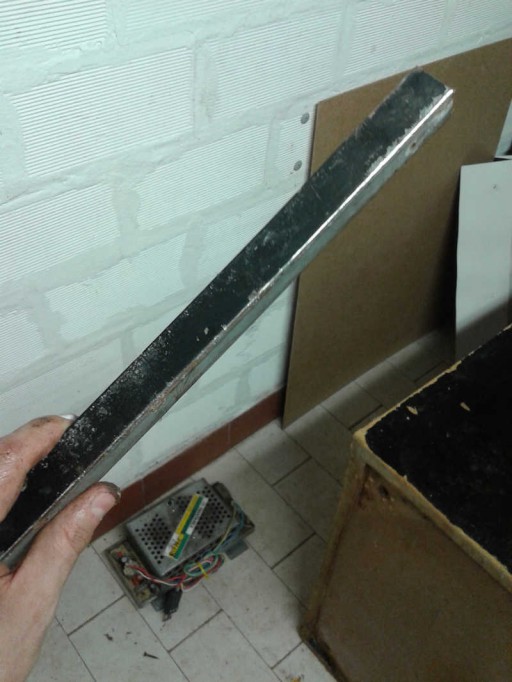
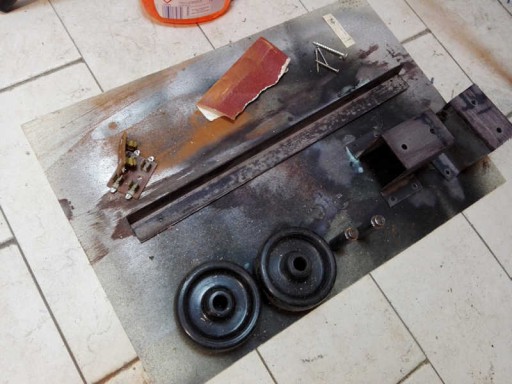
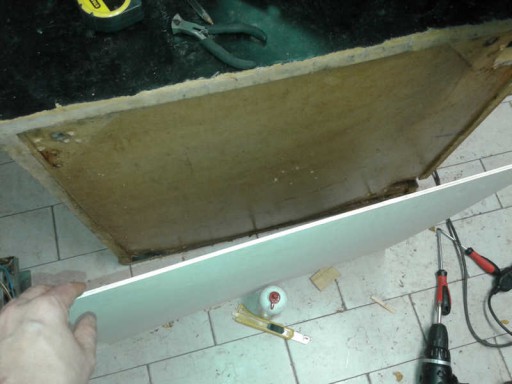
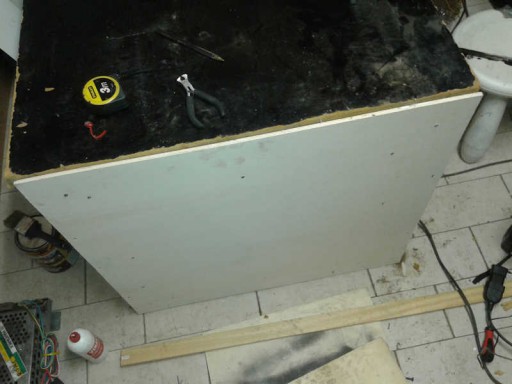
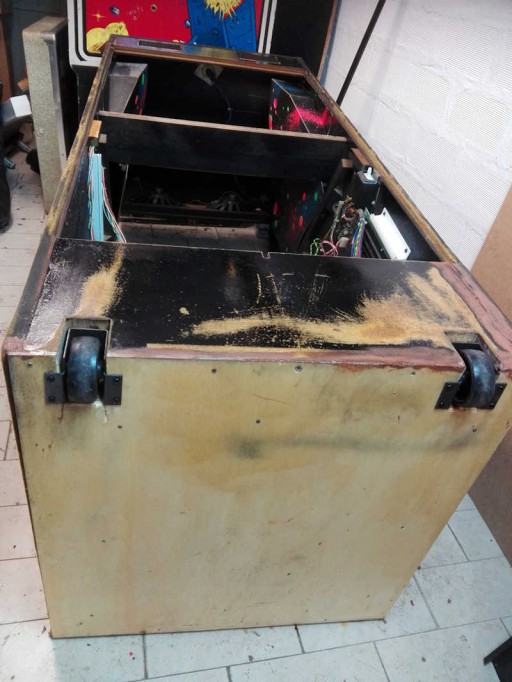
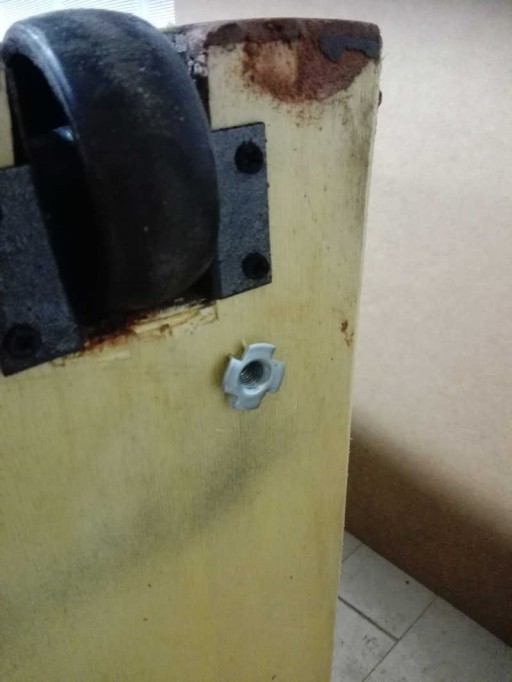
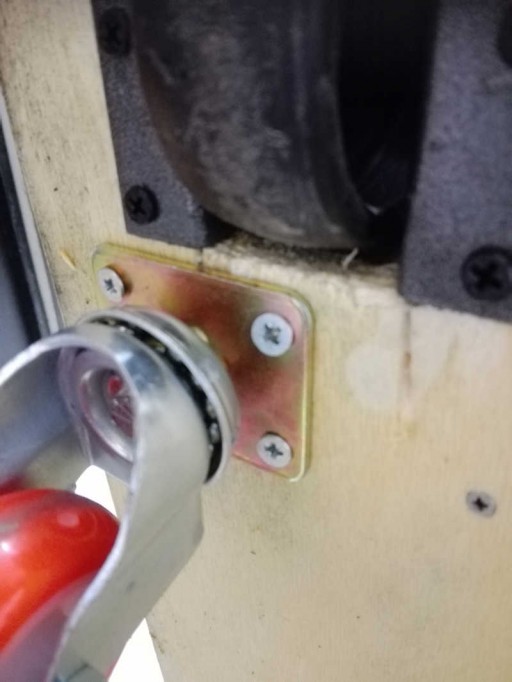
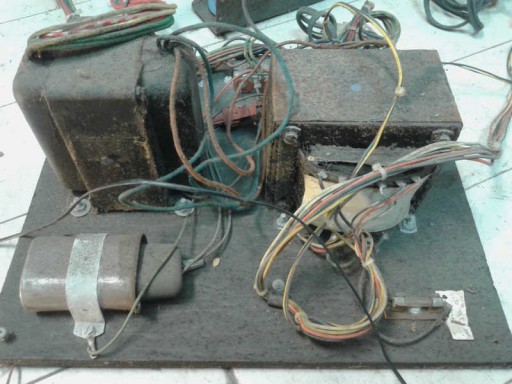
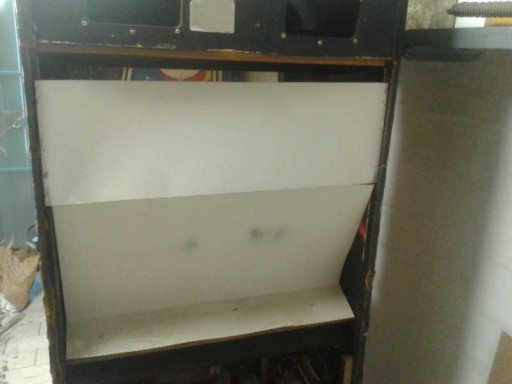
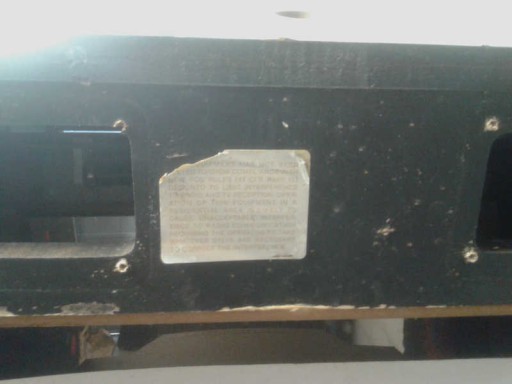
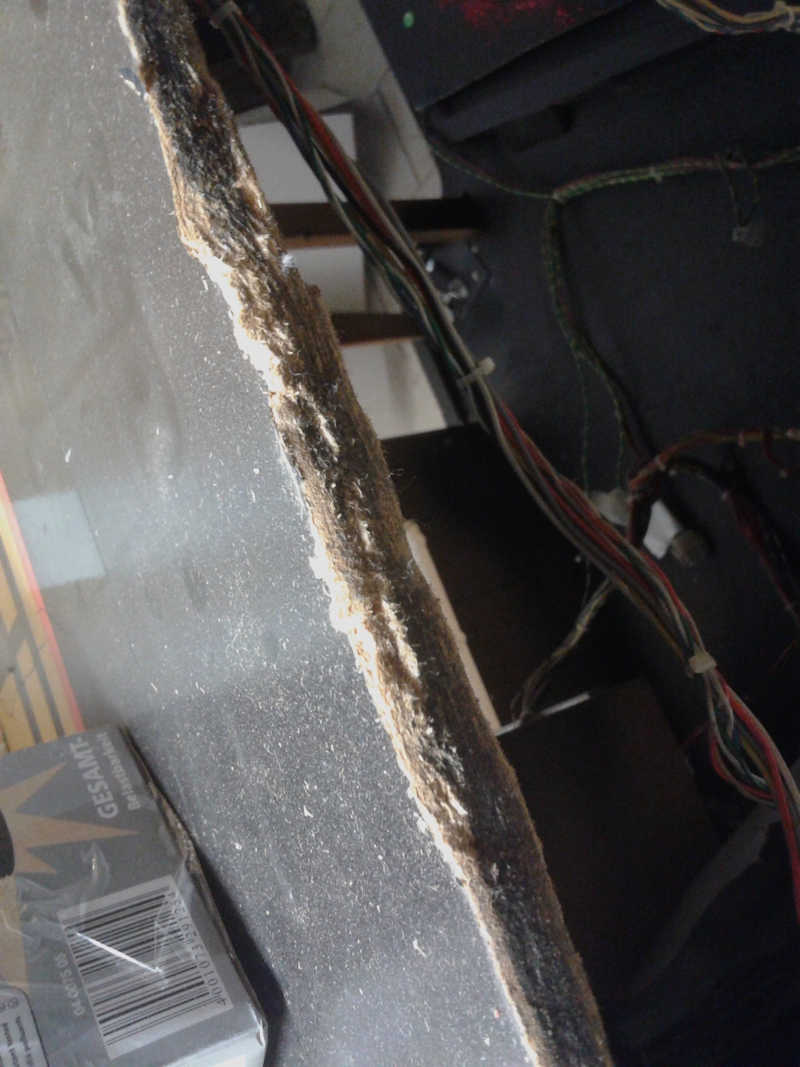
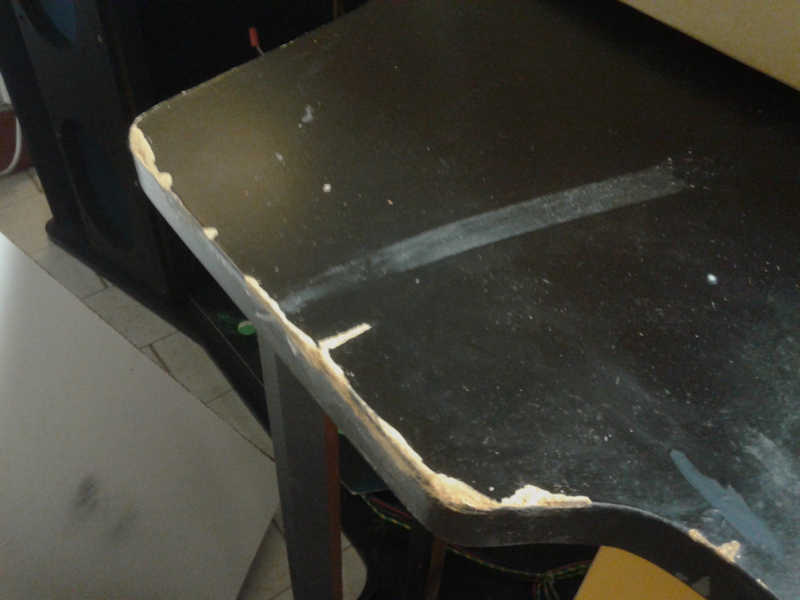
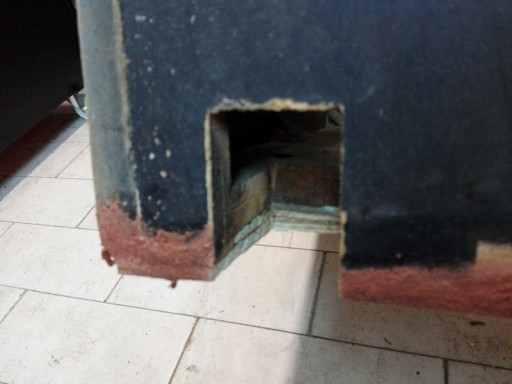
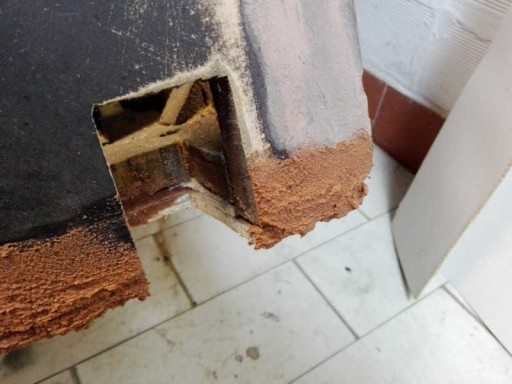
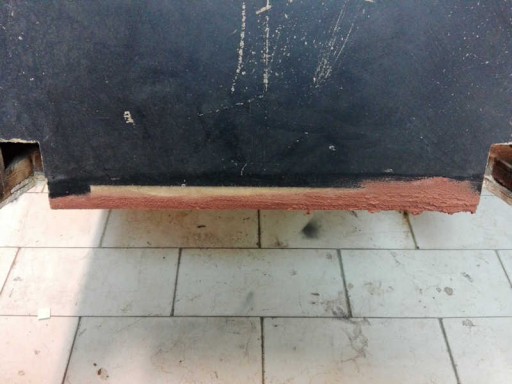
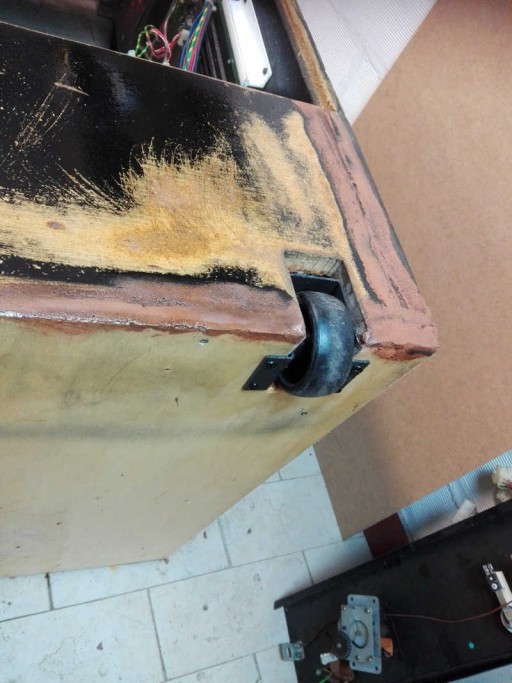
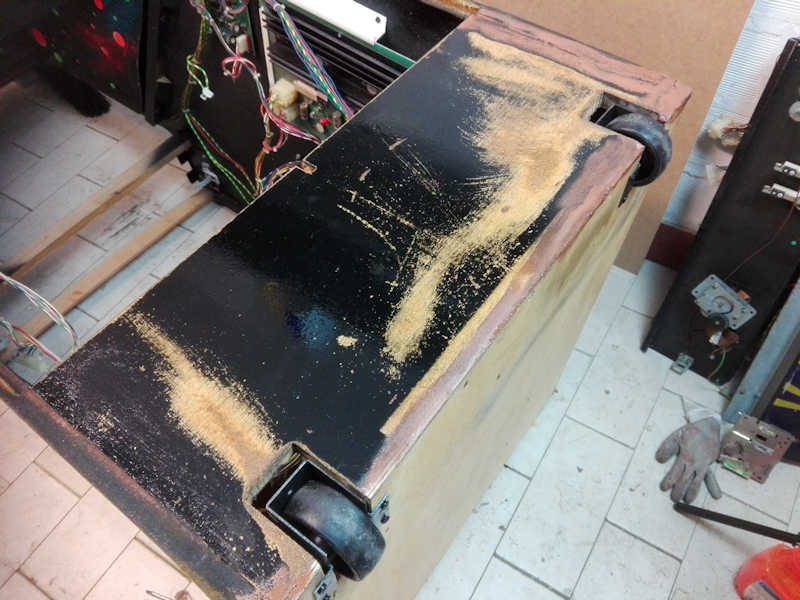
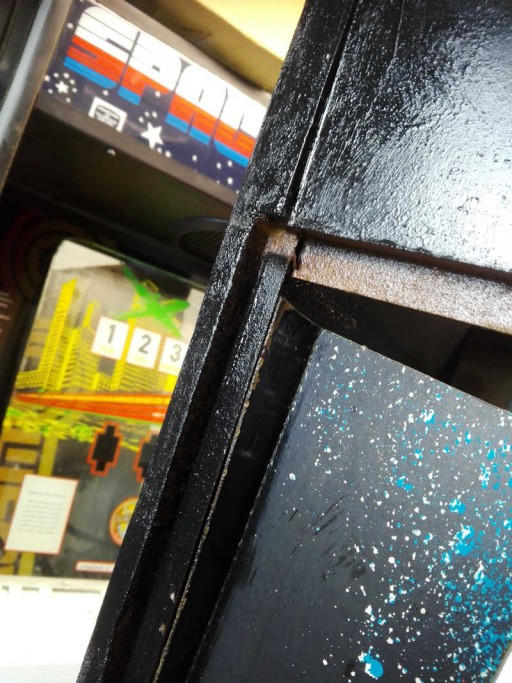
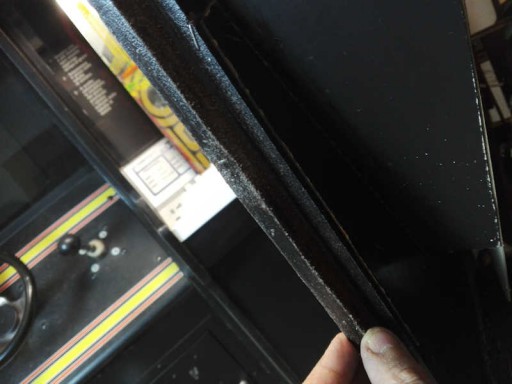
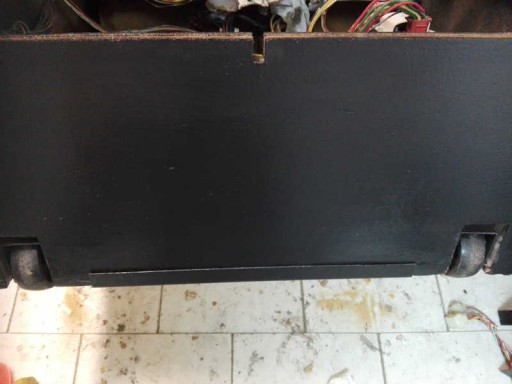
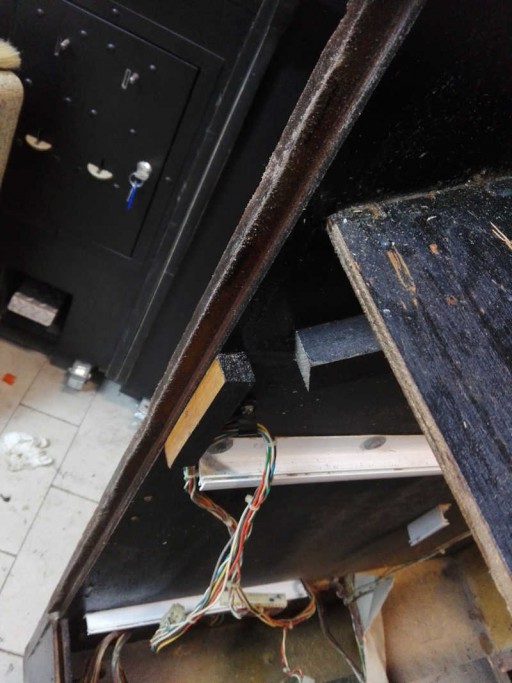
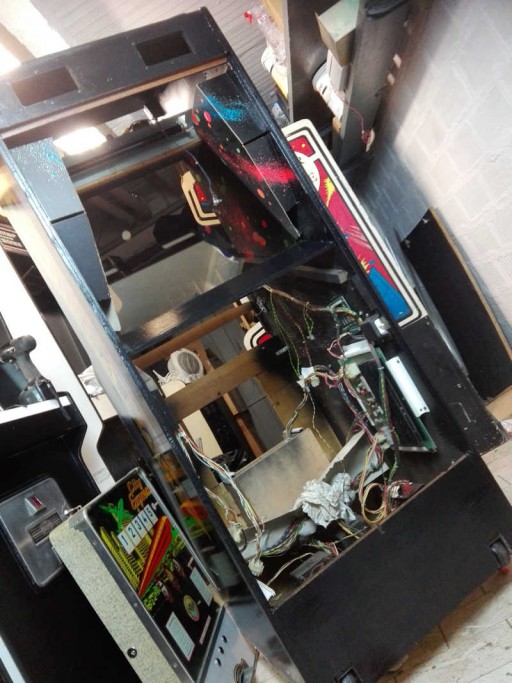
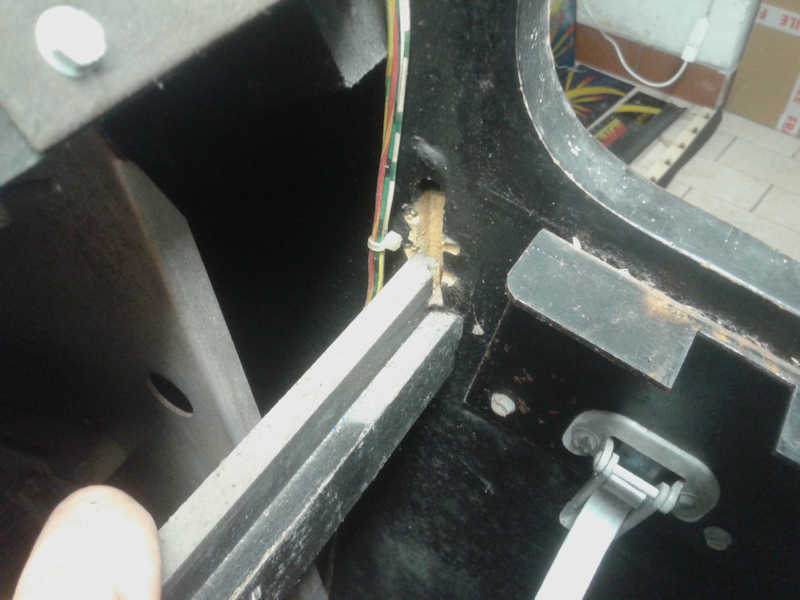
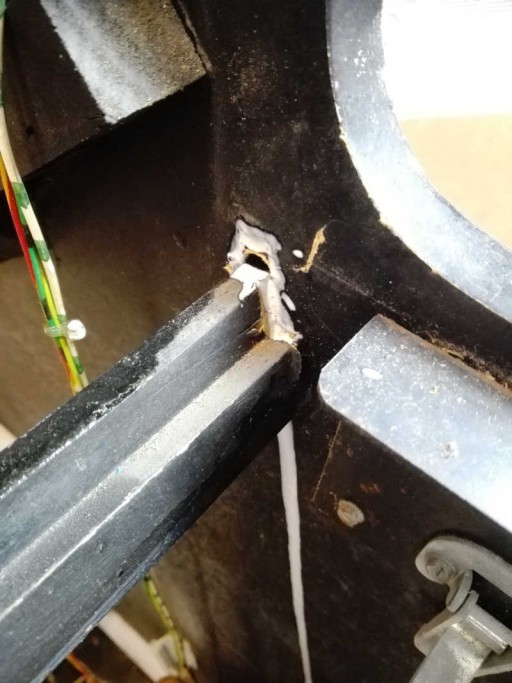
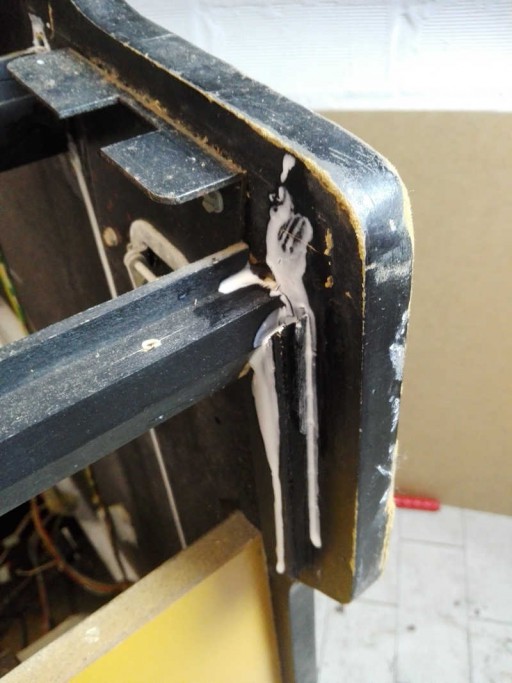
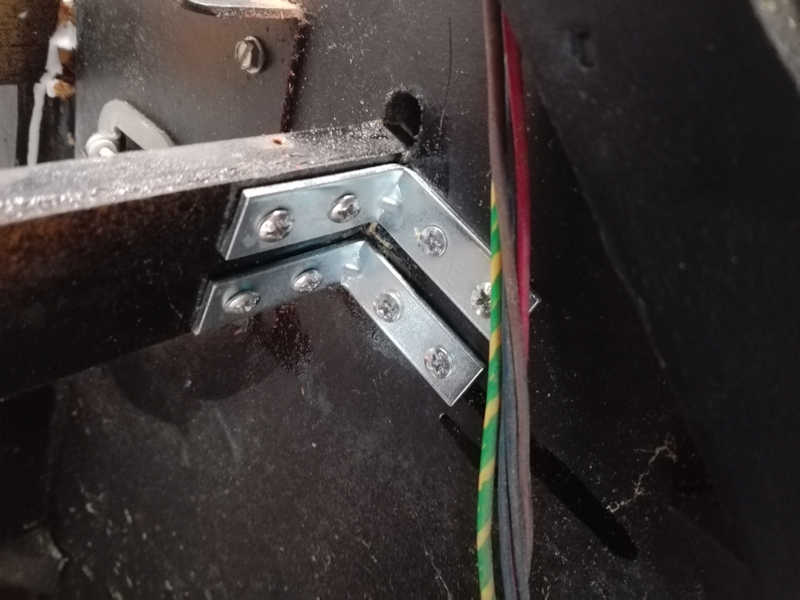
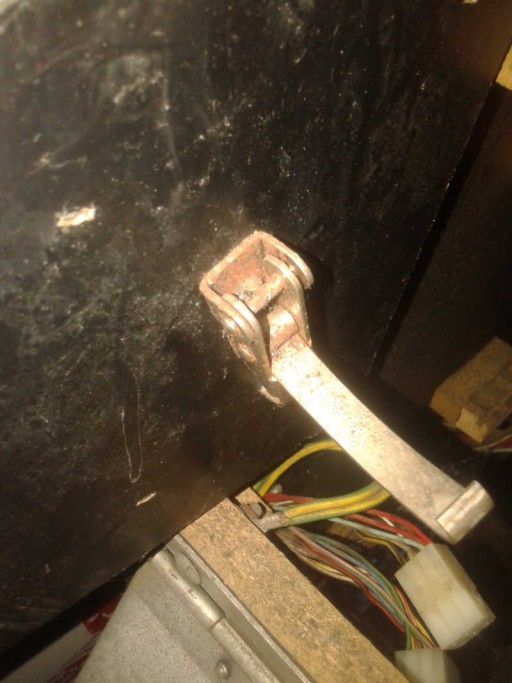
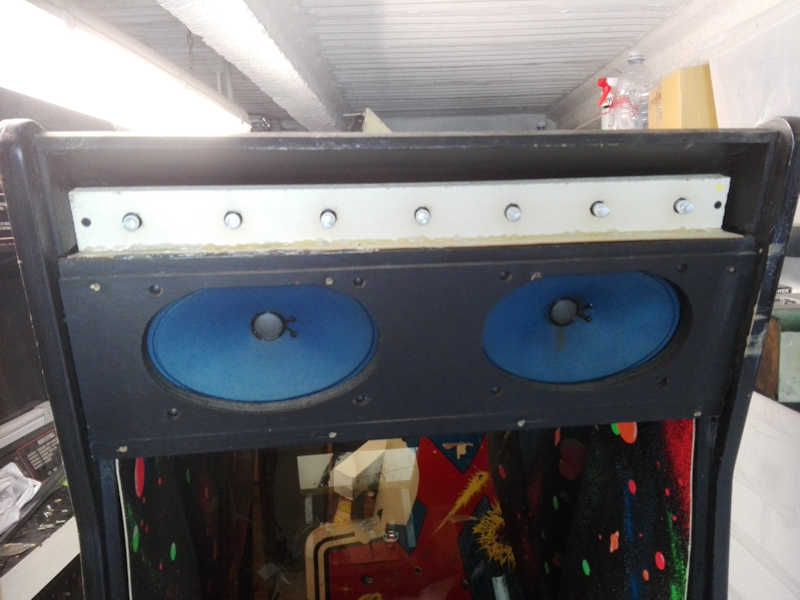
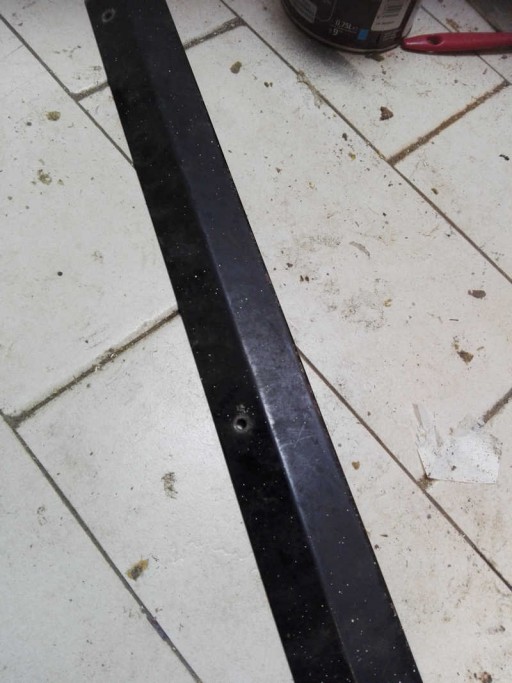
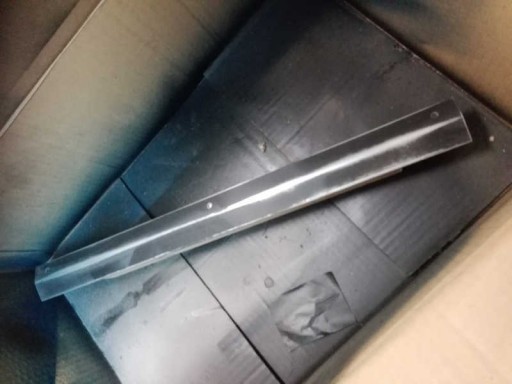
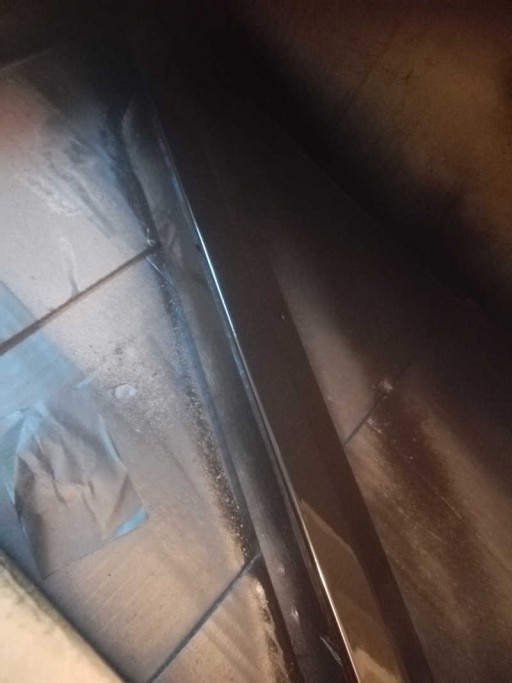
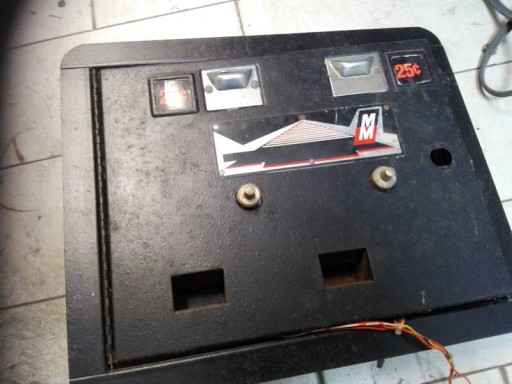
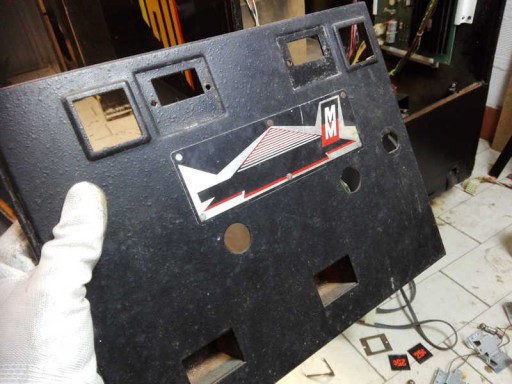
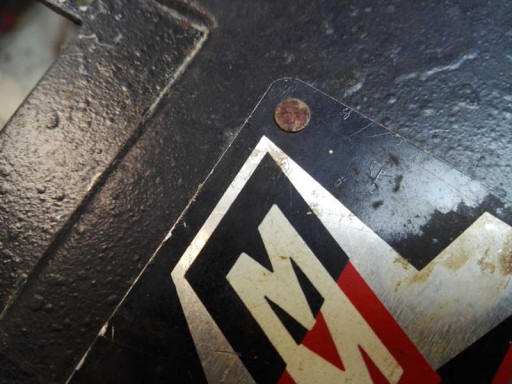
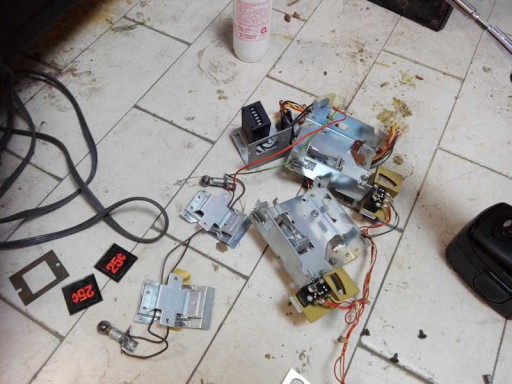
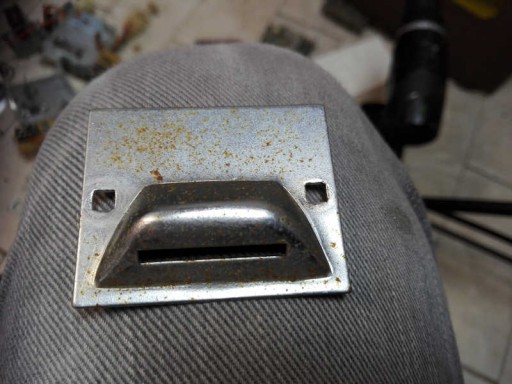
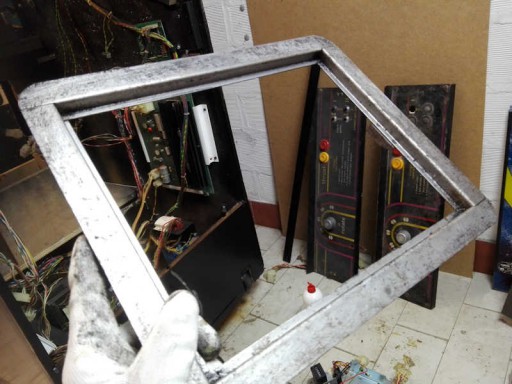
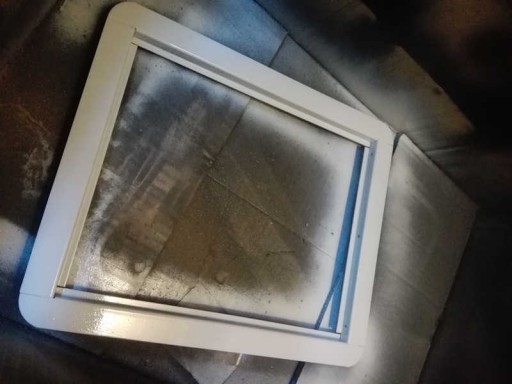
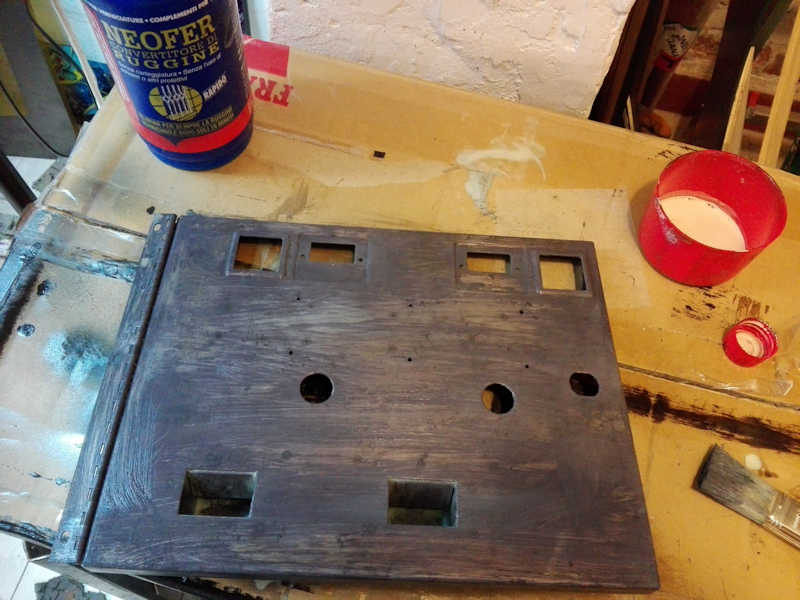
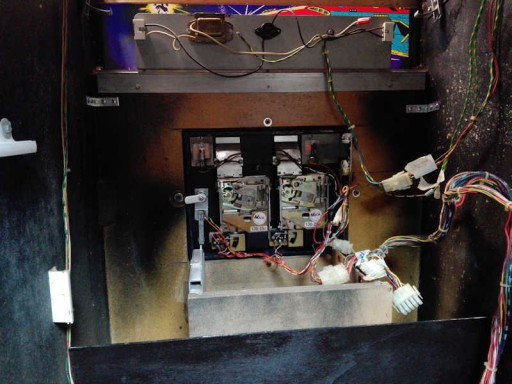
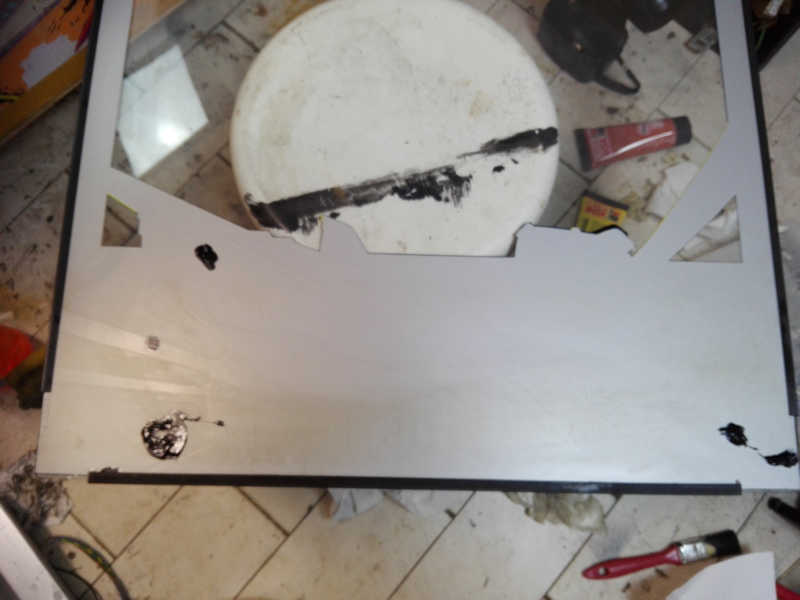
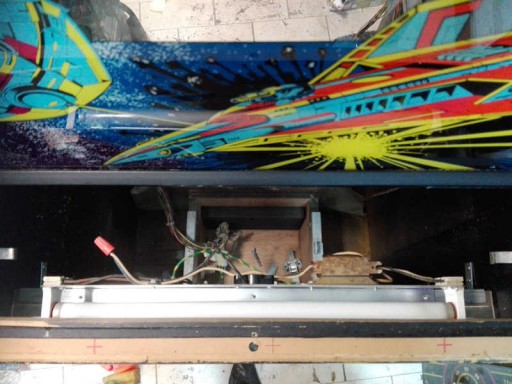
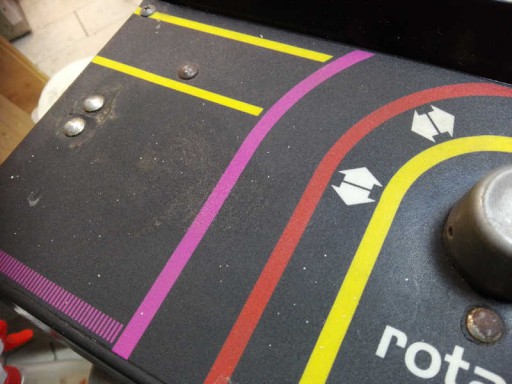
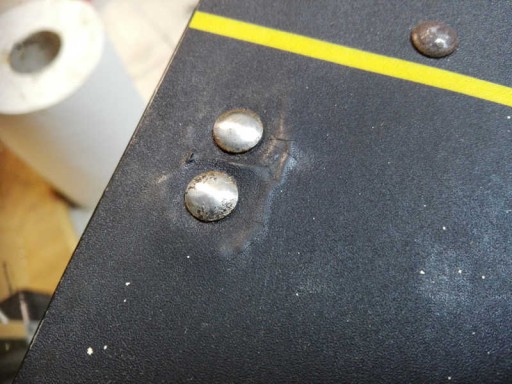
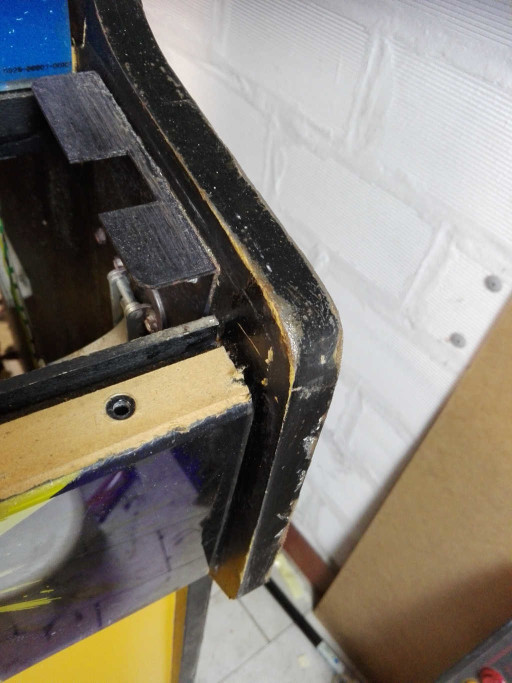
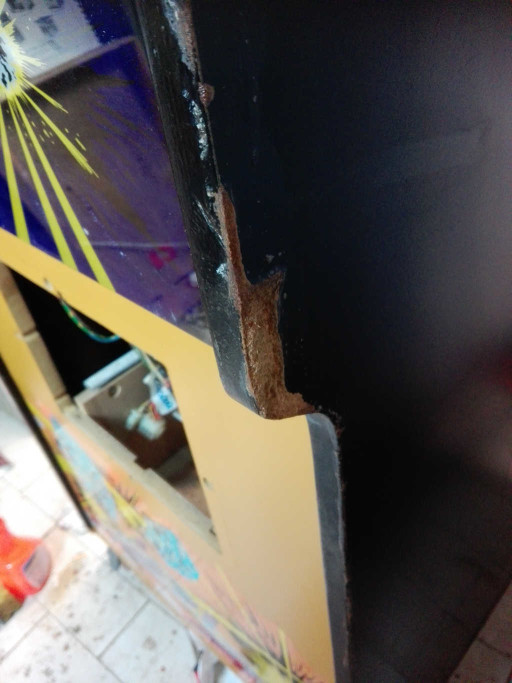
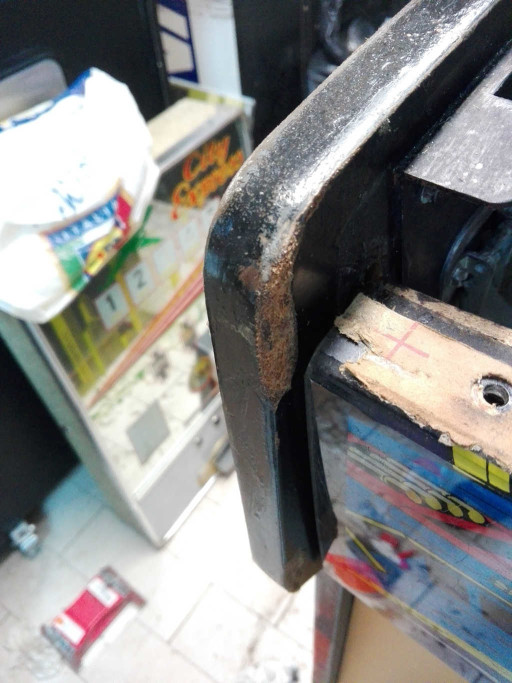
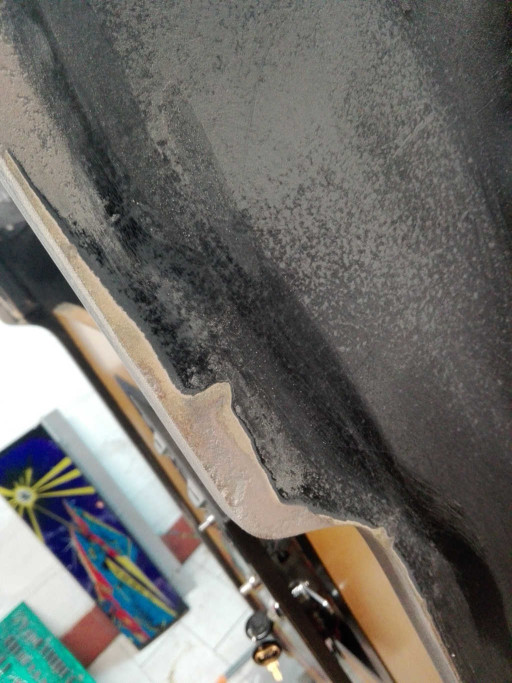
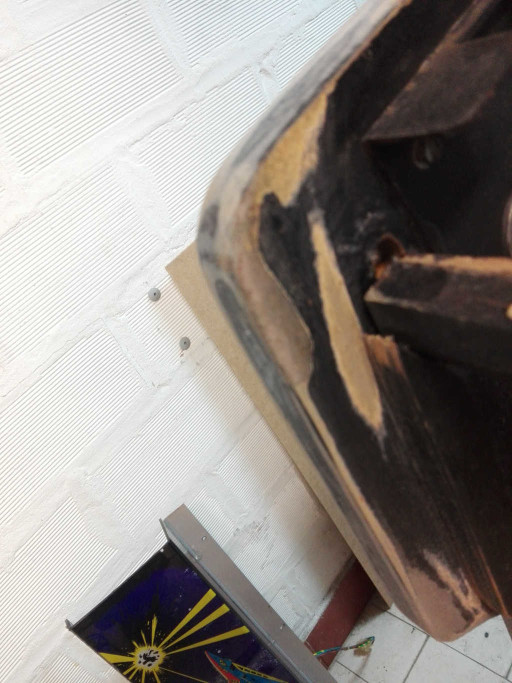
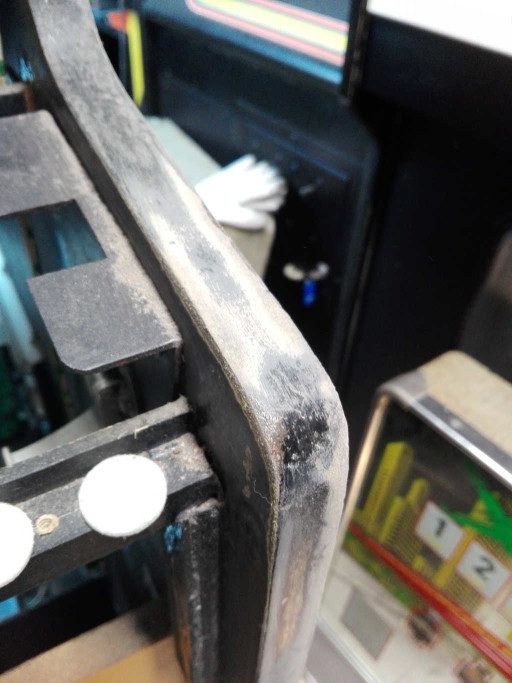
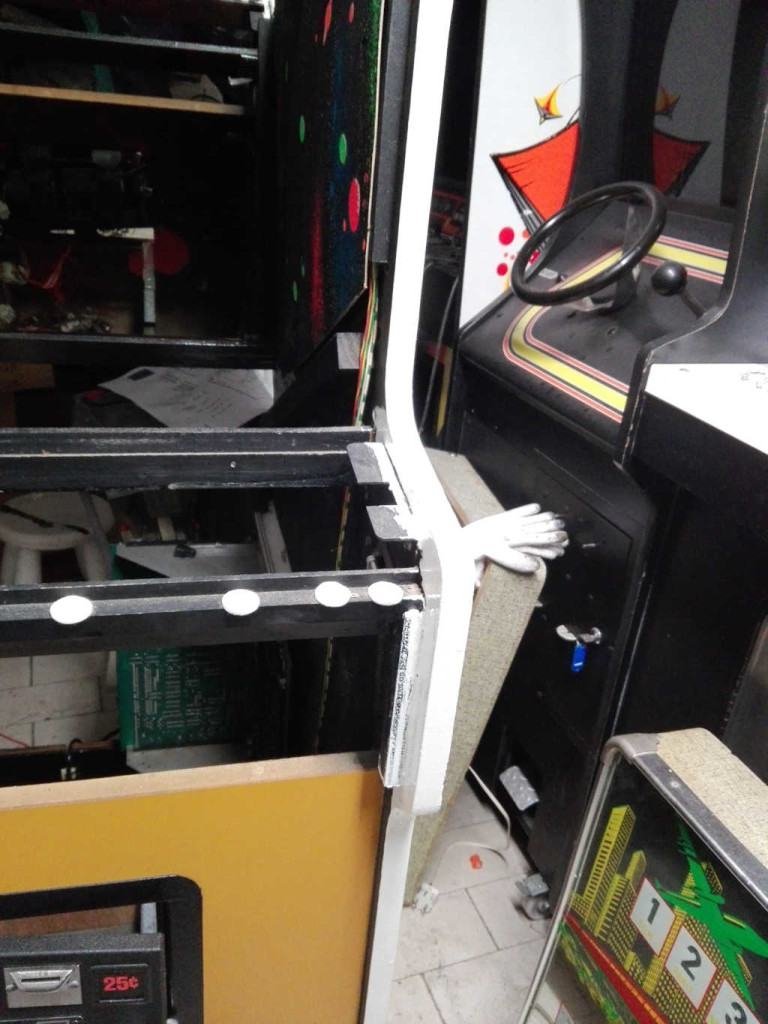
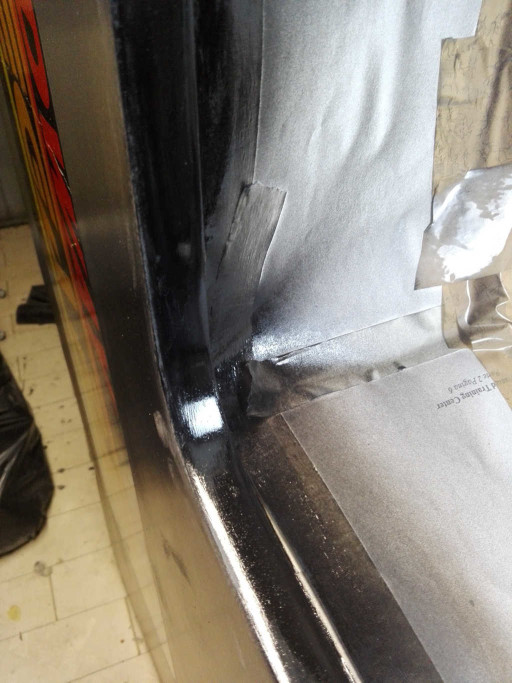
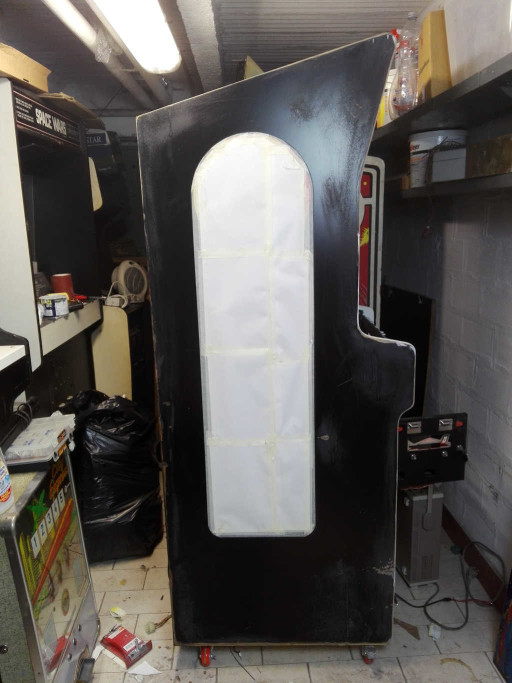
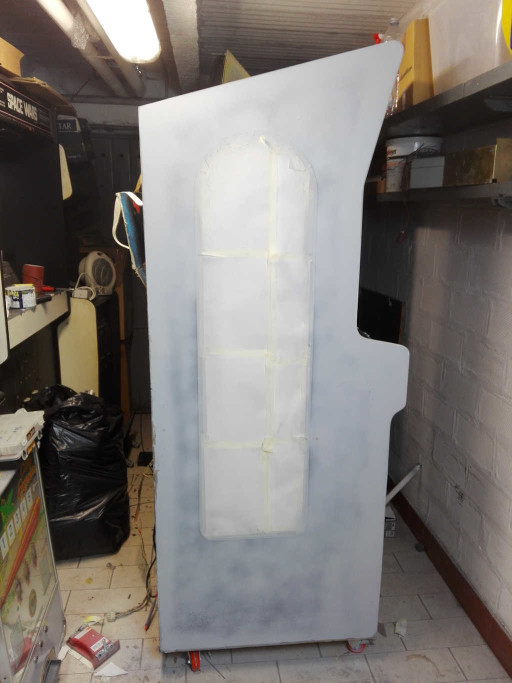
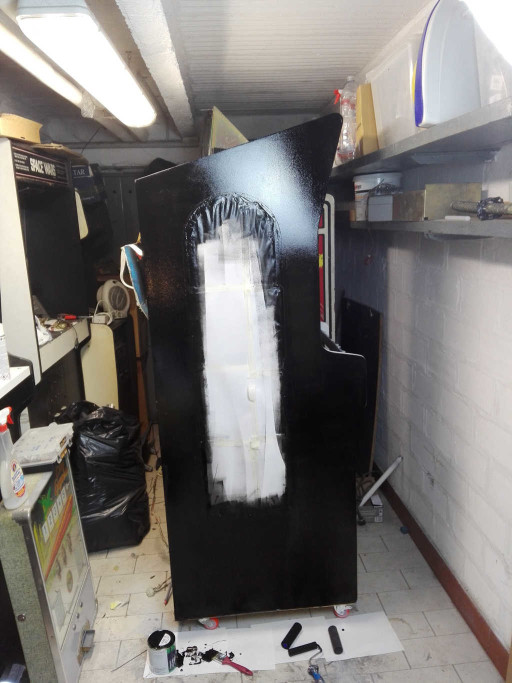
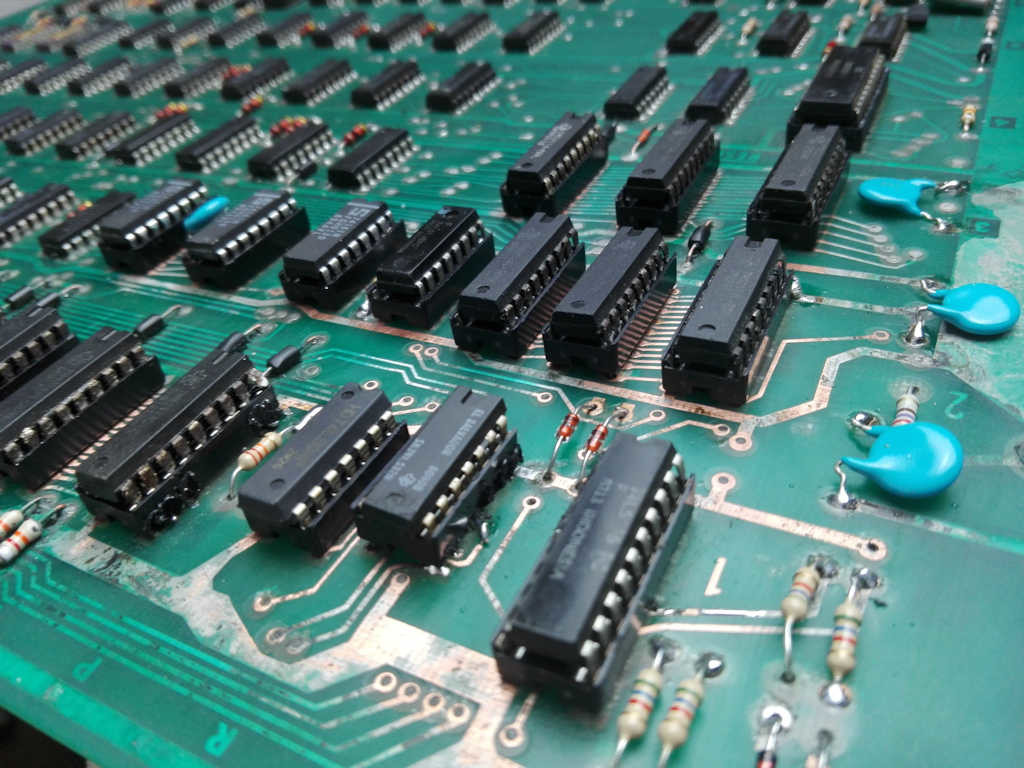
The game in the collection is in excellent condition. Built in MDF it is particularly delicate and sensitive to humidity. In fact I found some difficulties to restore the correct shape deformed by water and humidity. The black background with fluorescent colors is in excellent condition and illuminated by ultraviolet light wonderfully makes the purpose it was designed for: transport the player in the sidereal space. Almost all of the boards of this game have been damaged by the battery acid installed to save the records and this is no exception. Entire parts of the circuit have been rebuilt track by track in order to bring back to life this very particular game.

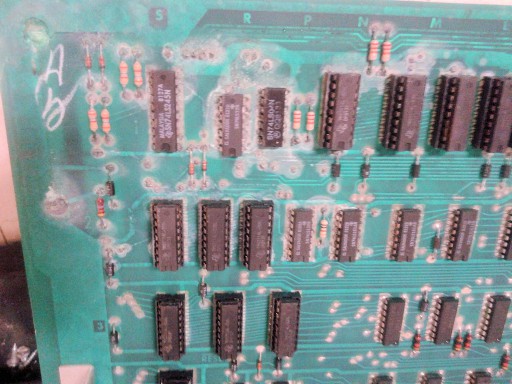
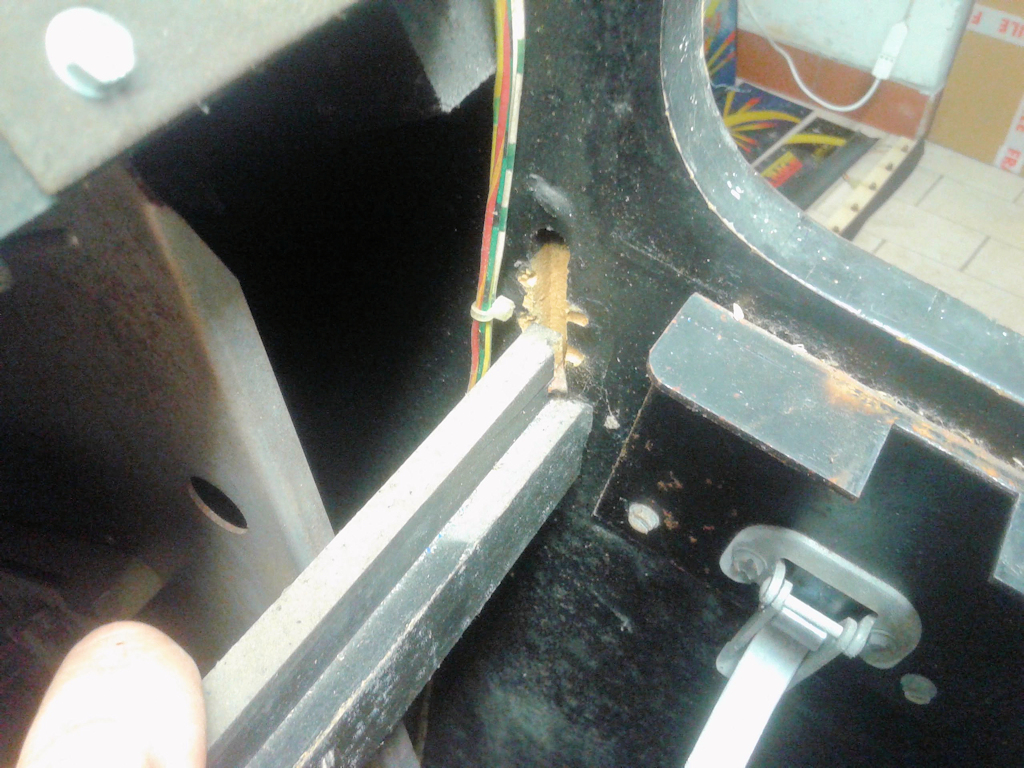
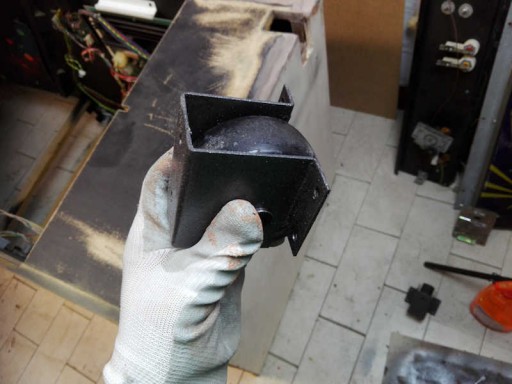
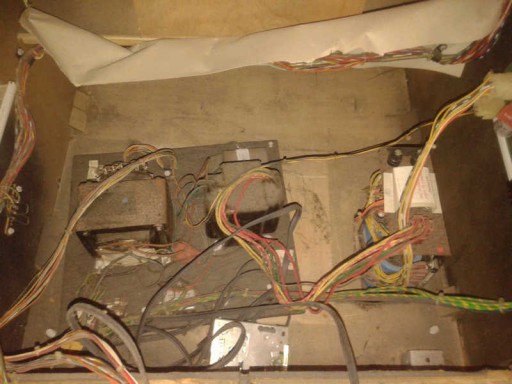
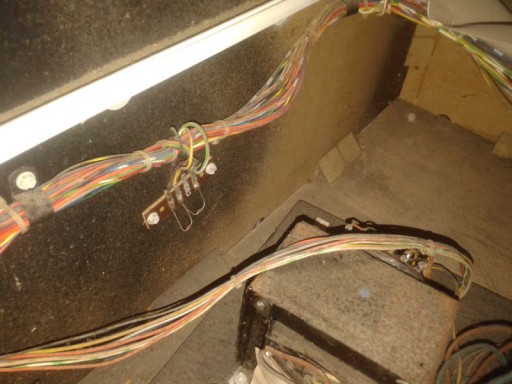


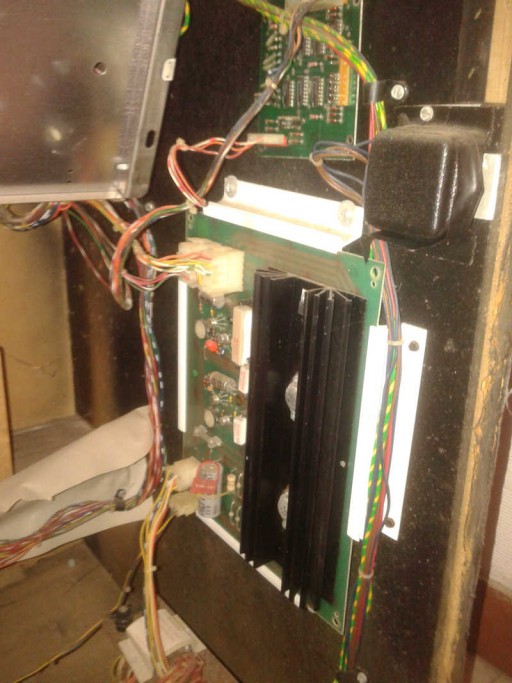


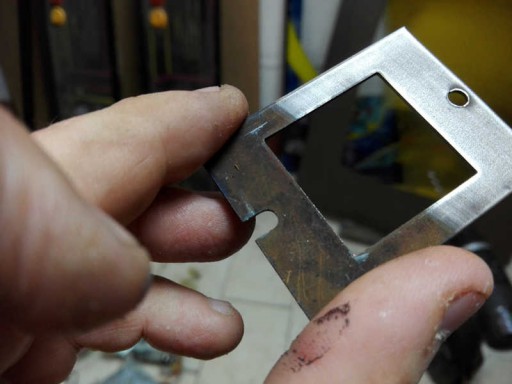


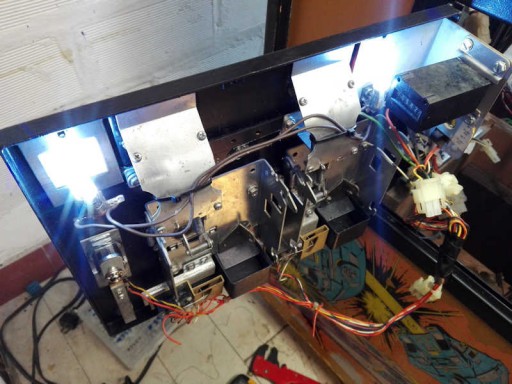


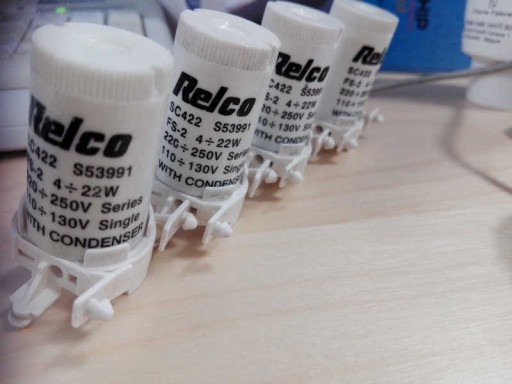
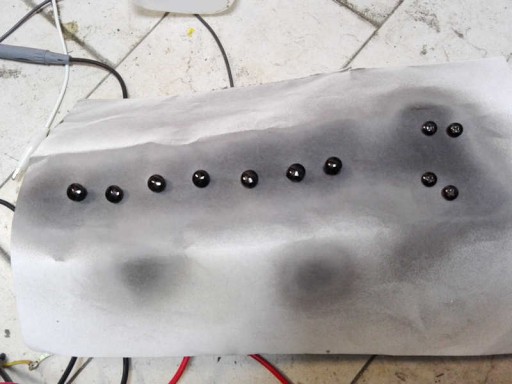
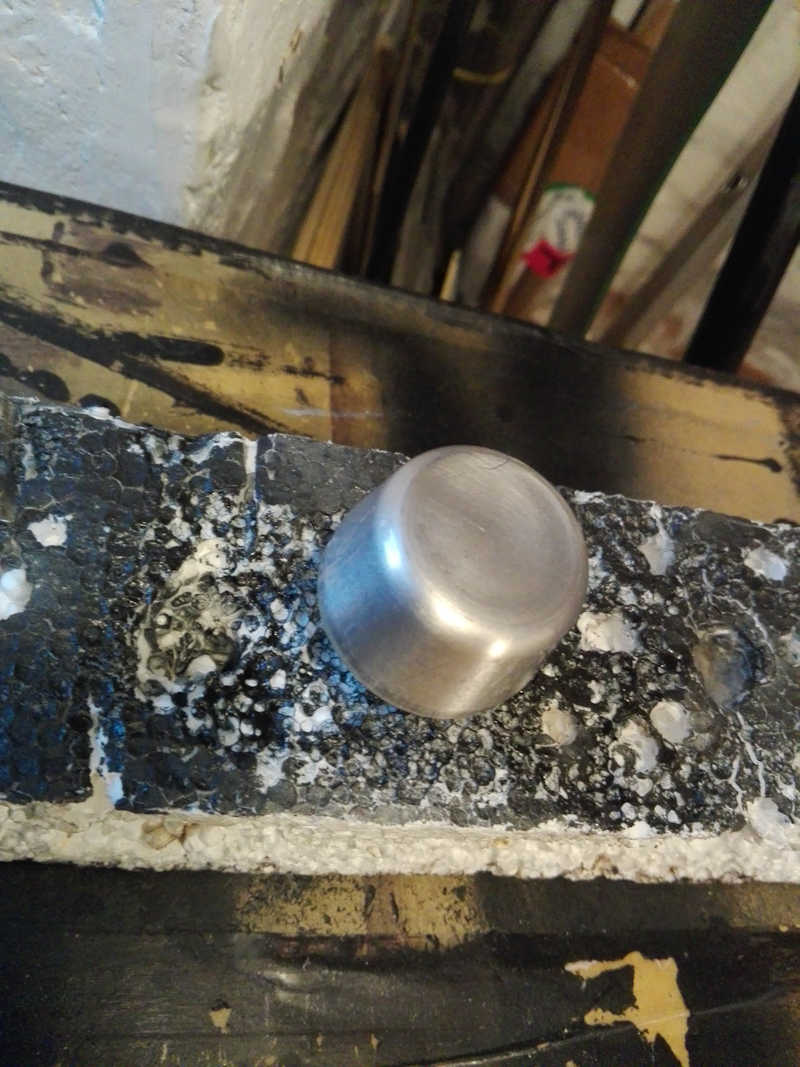


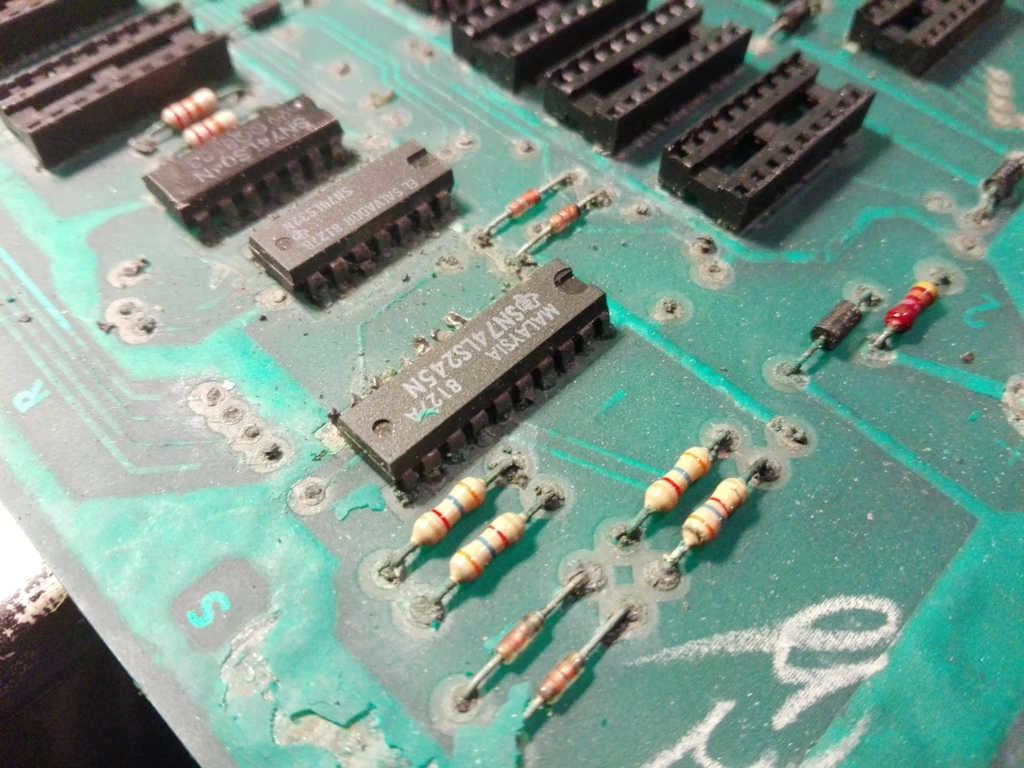
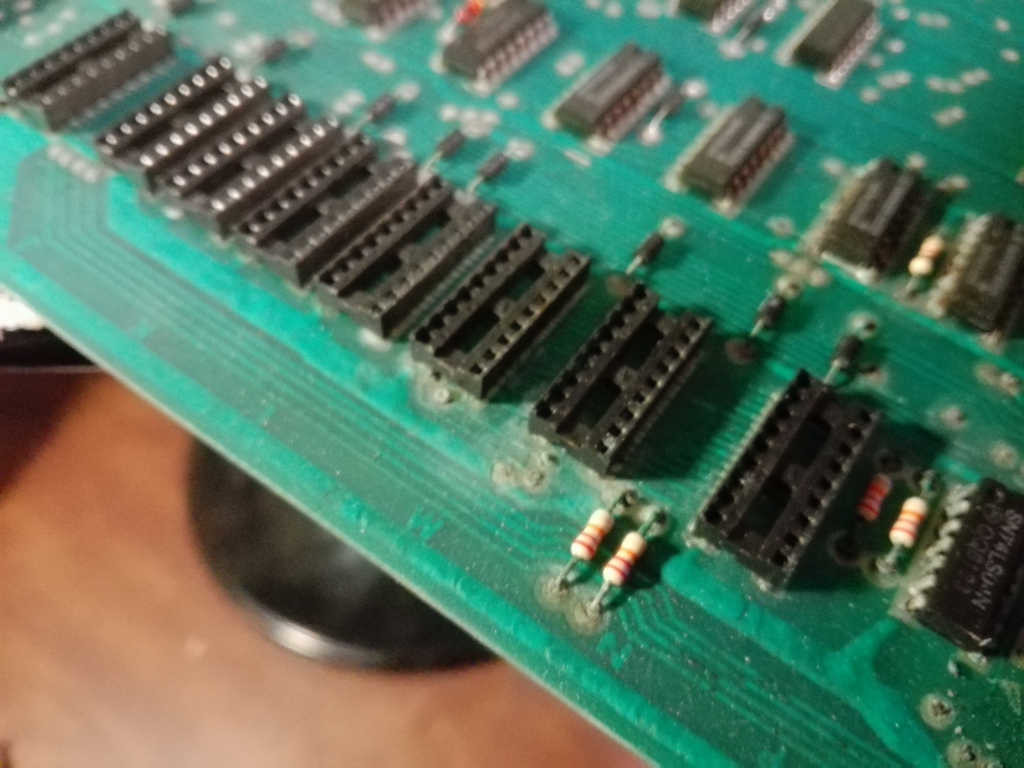
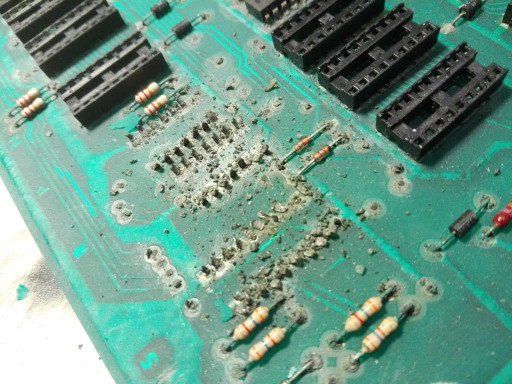
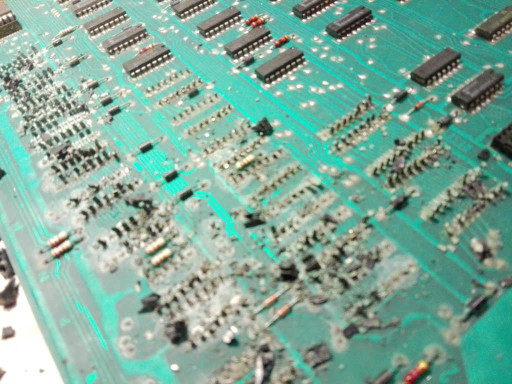
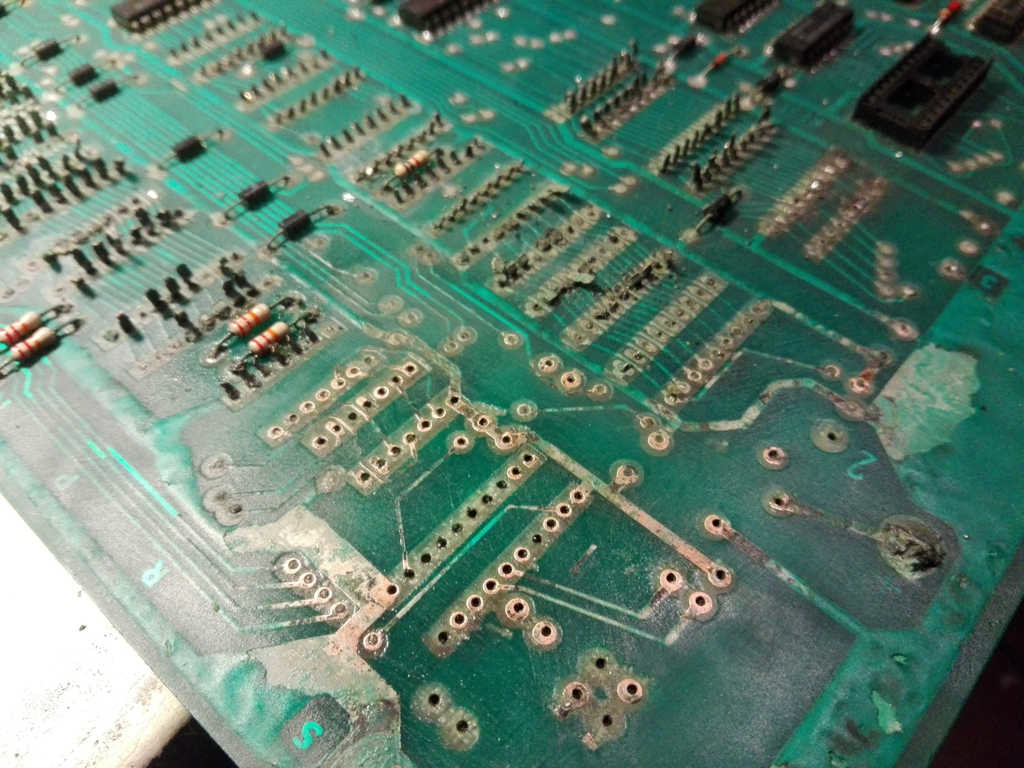
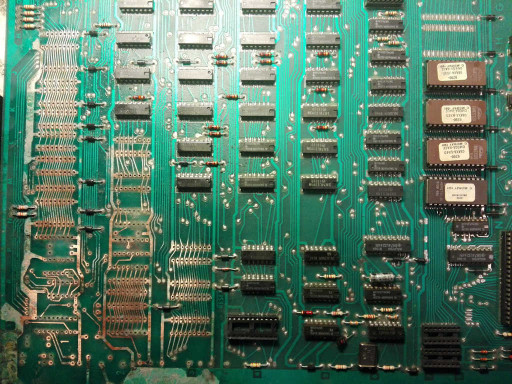

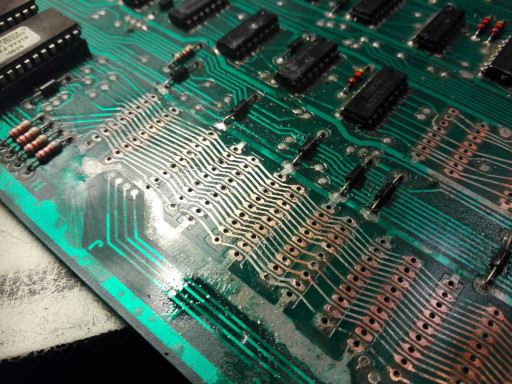
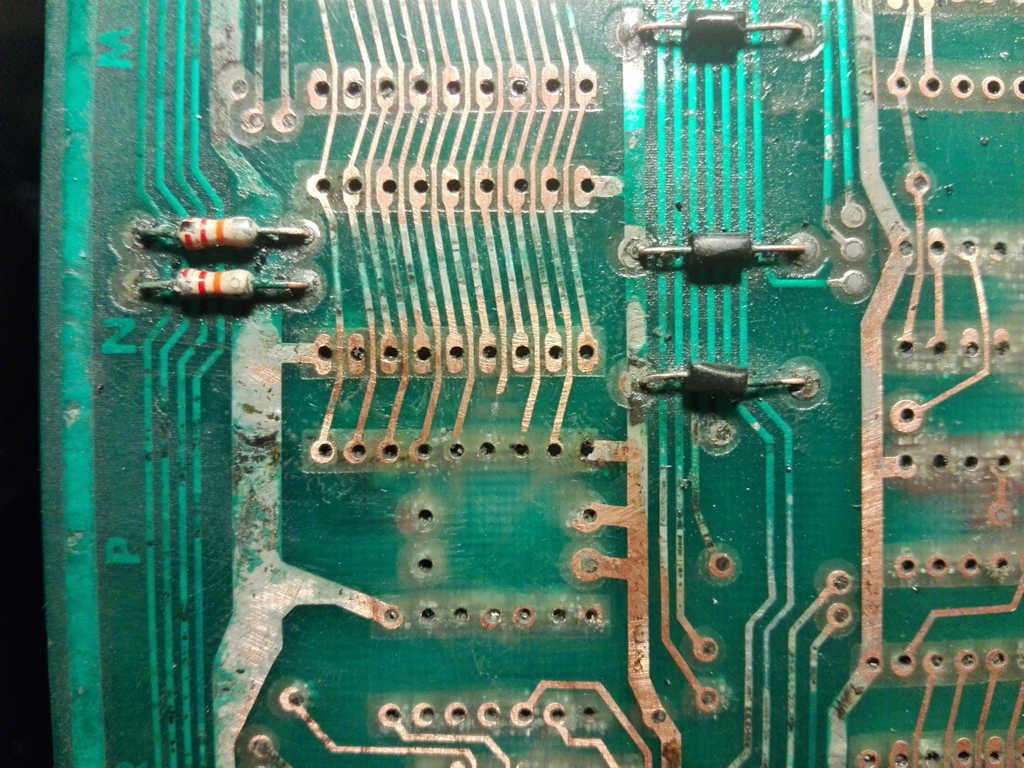
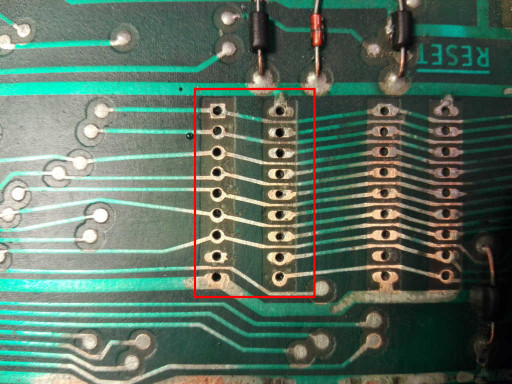
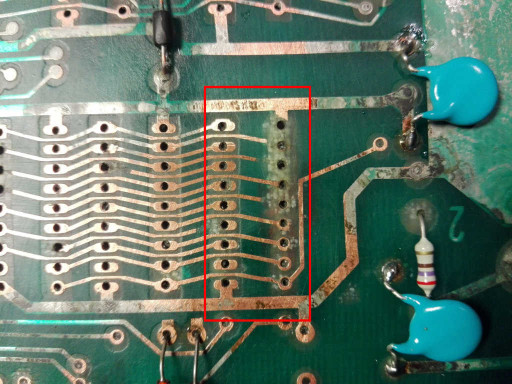
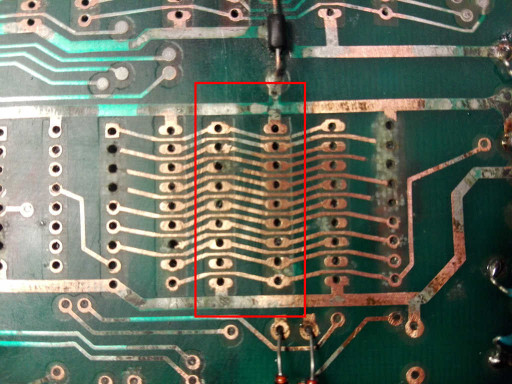
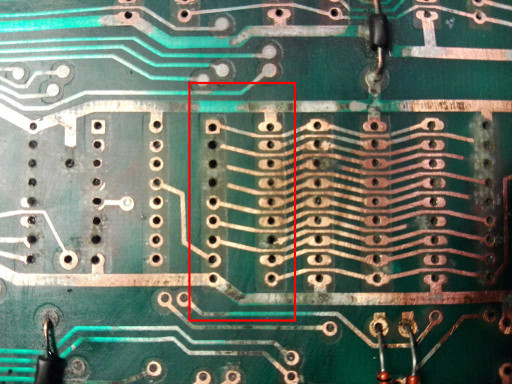
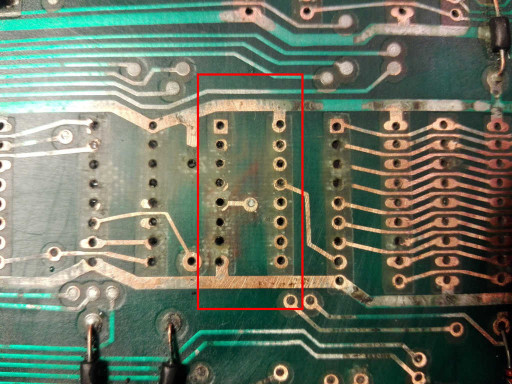


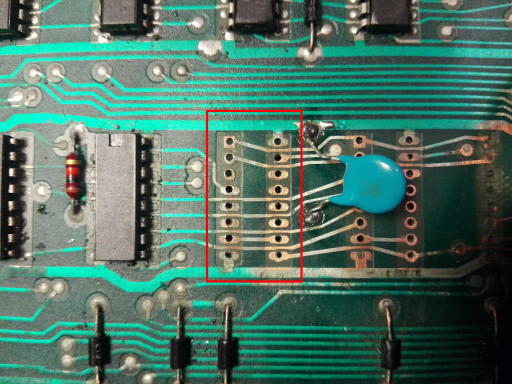

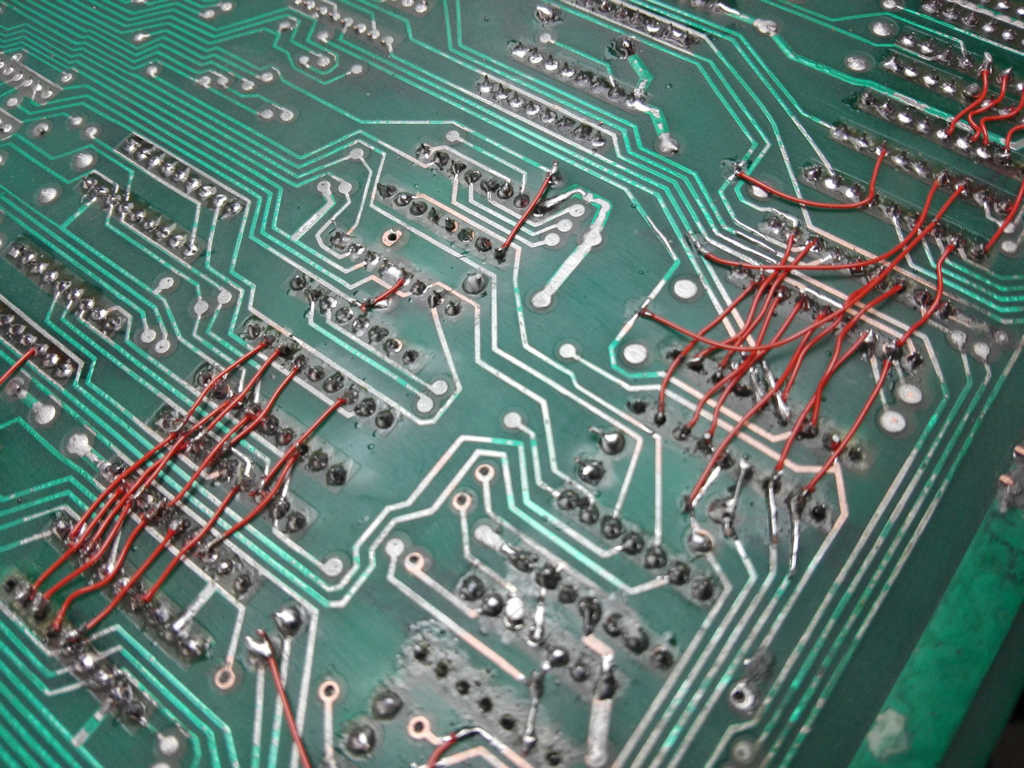
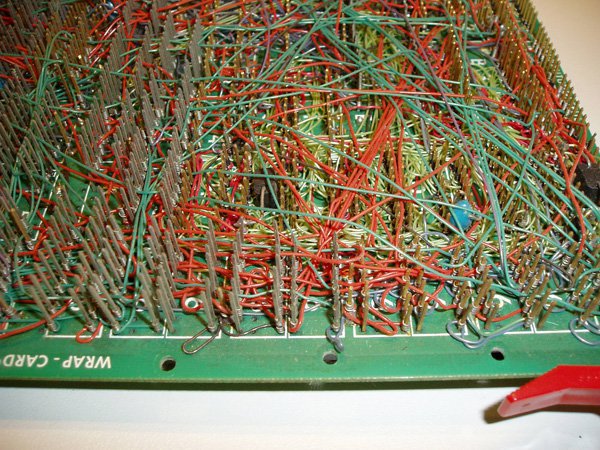
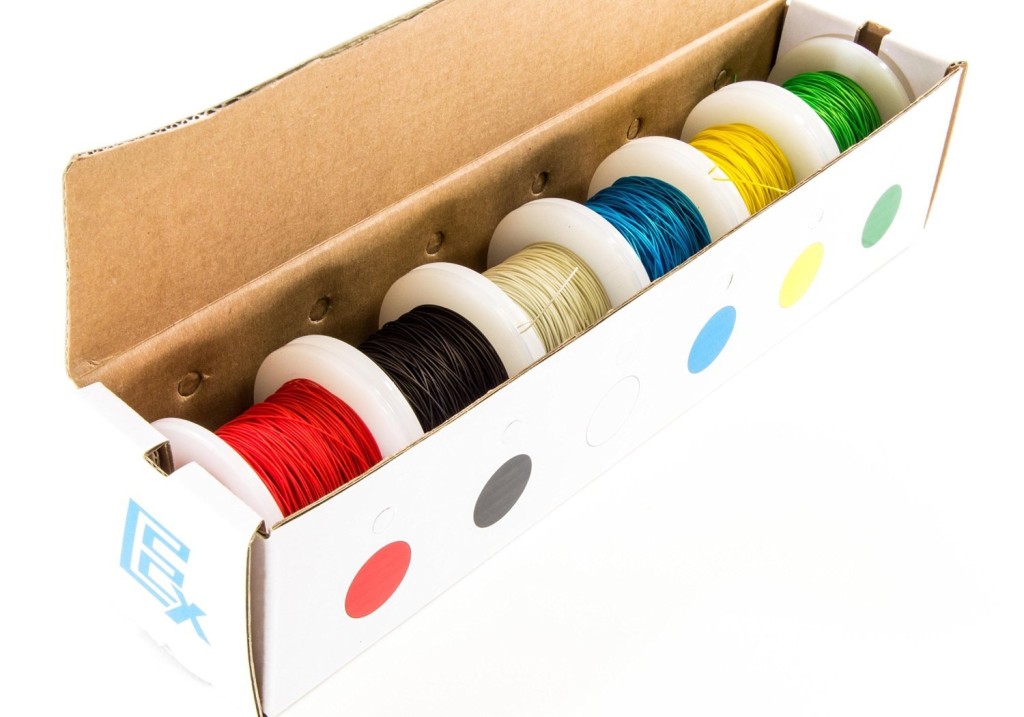 With this special kind of wire you can perform extreme PCB repairs…