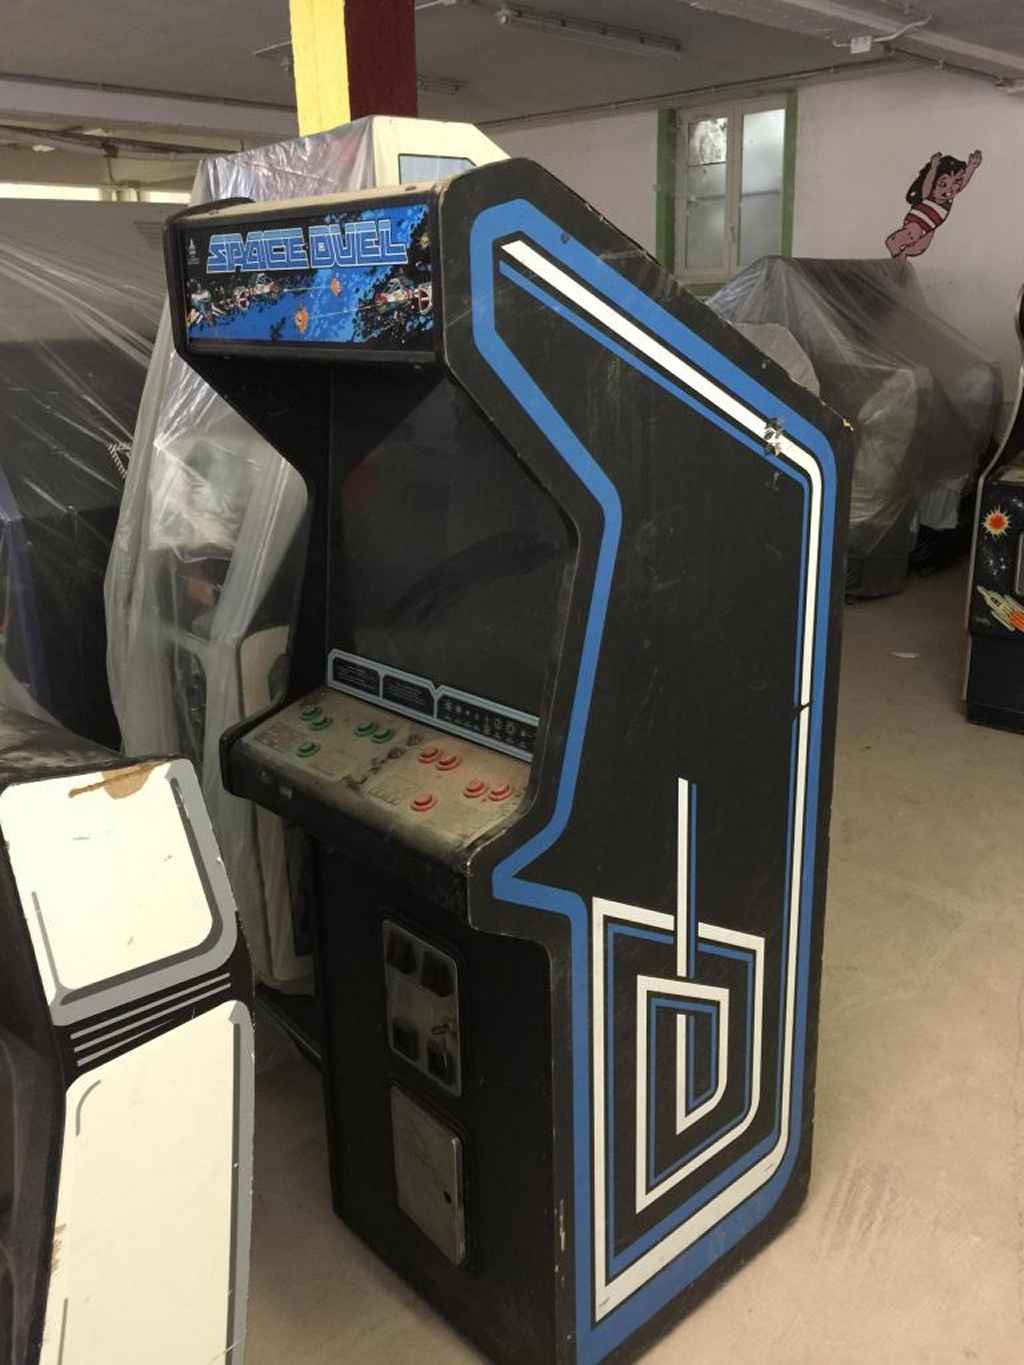
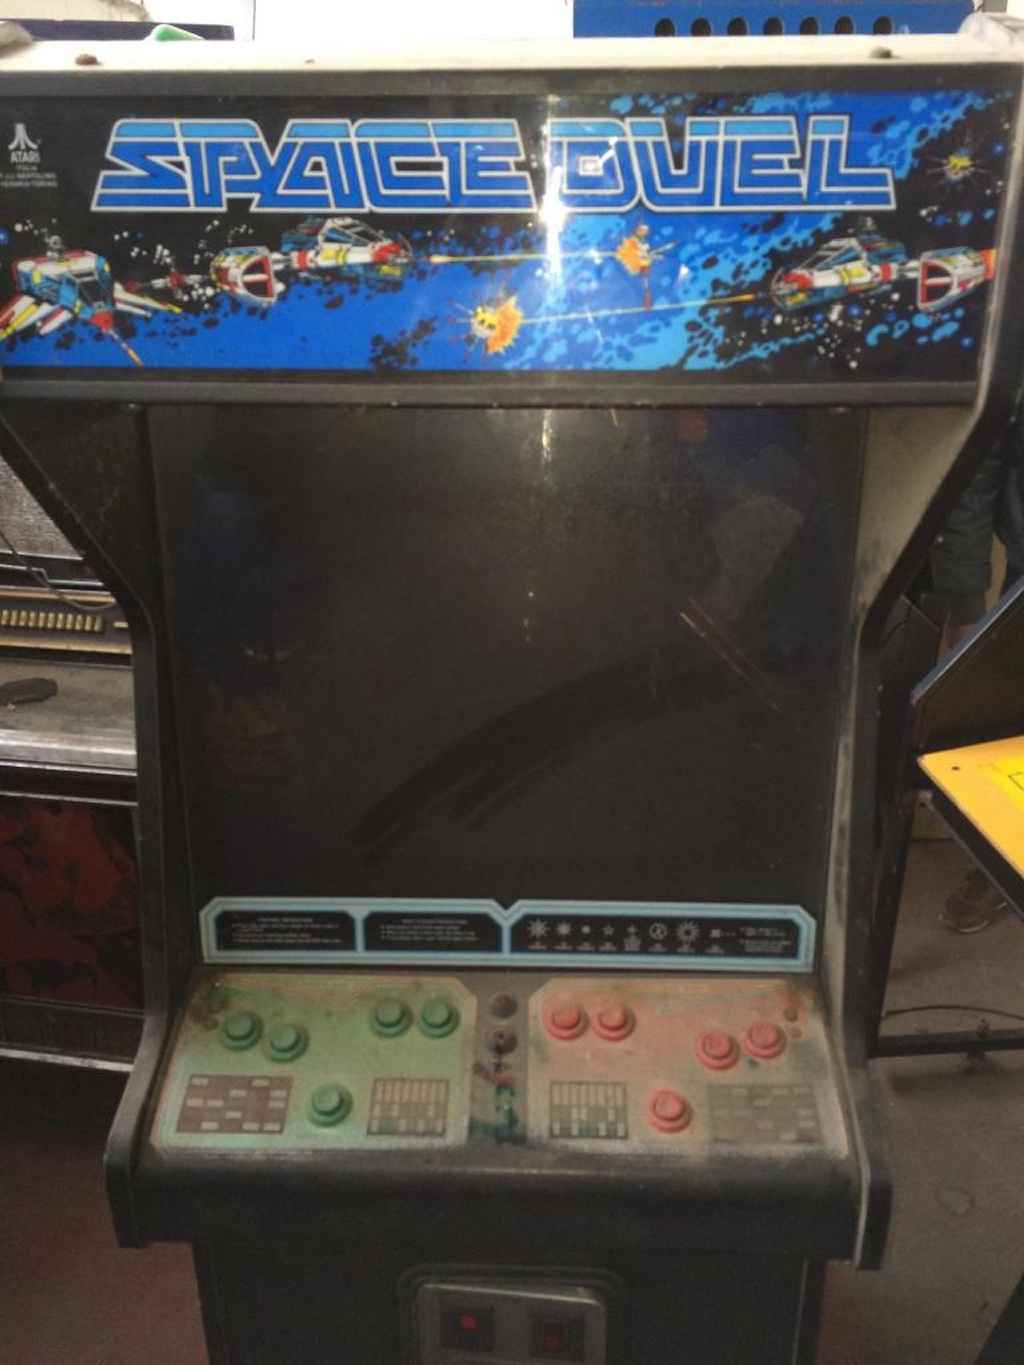
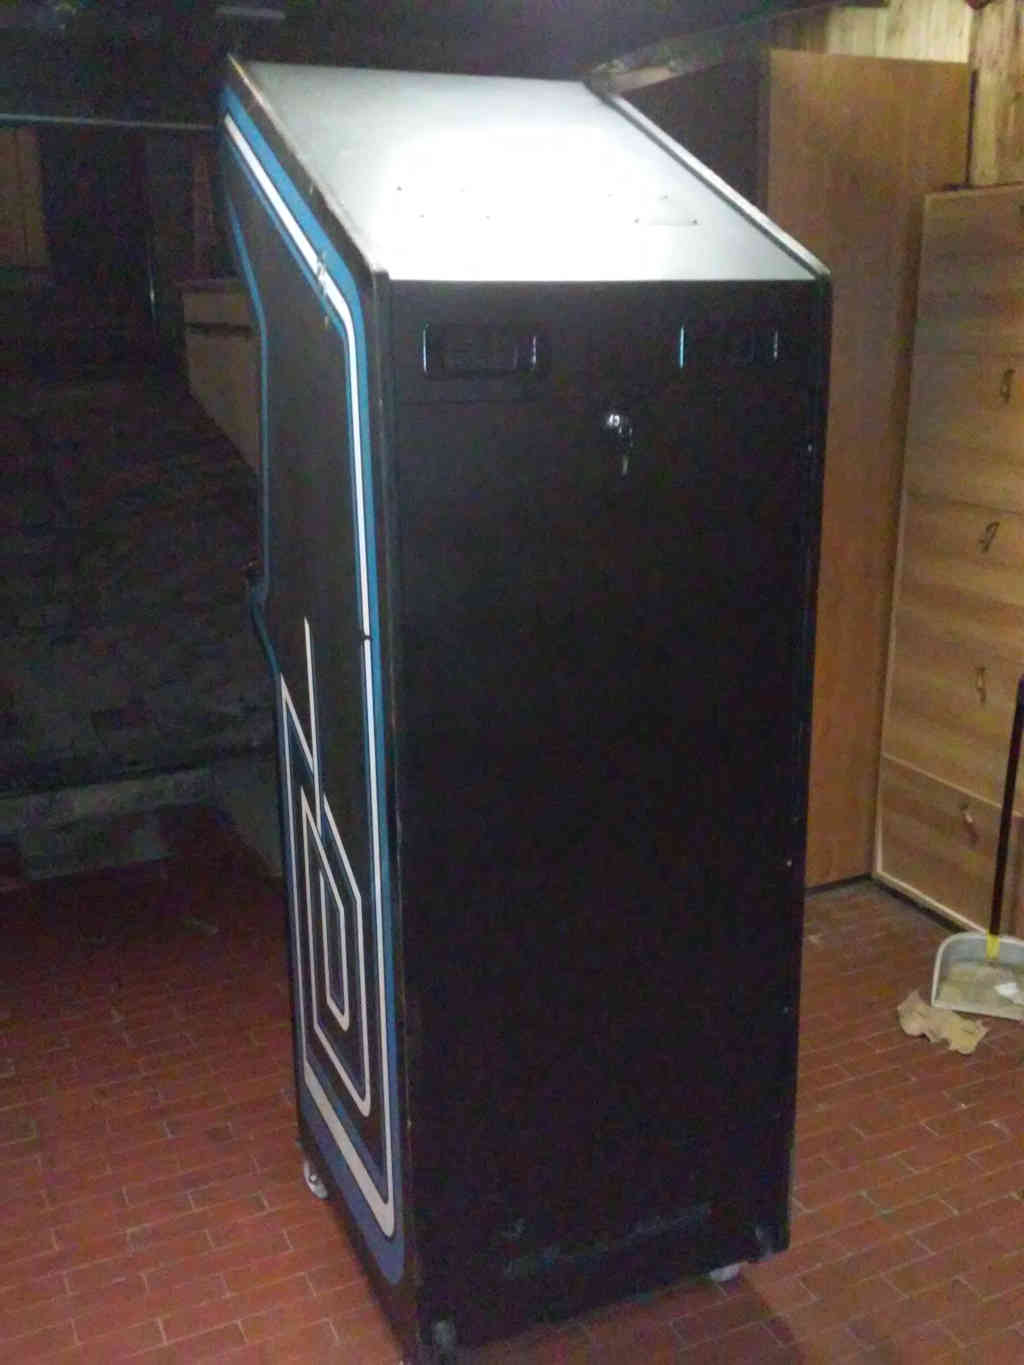
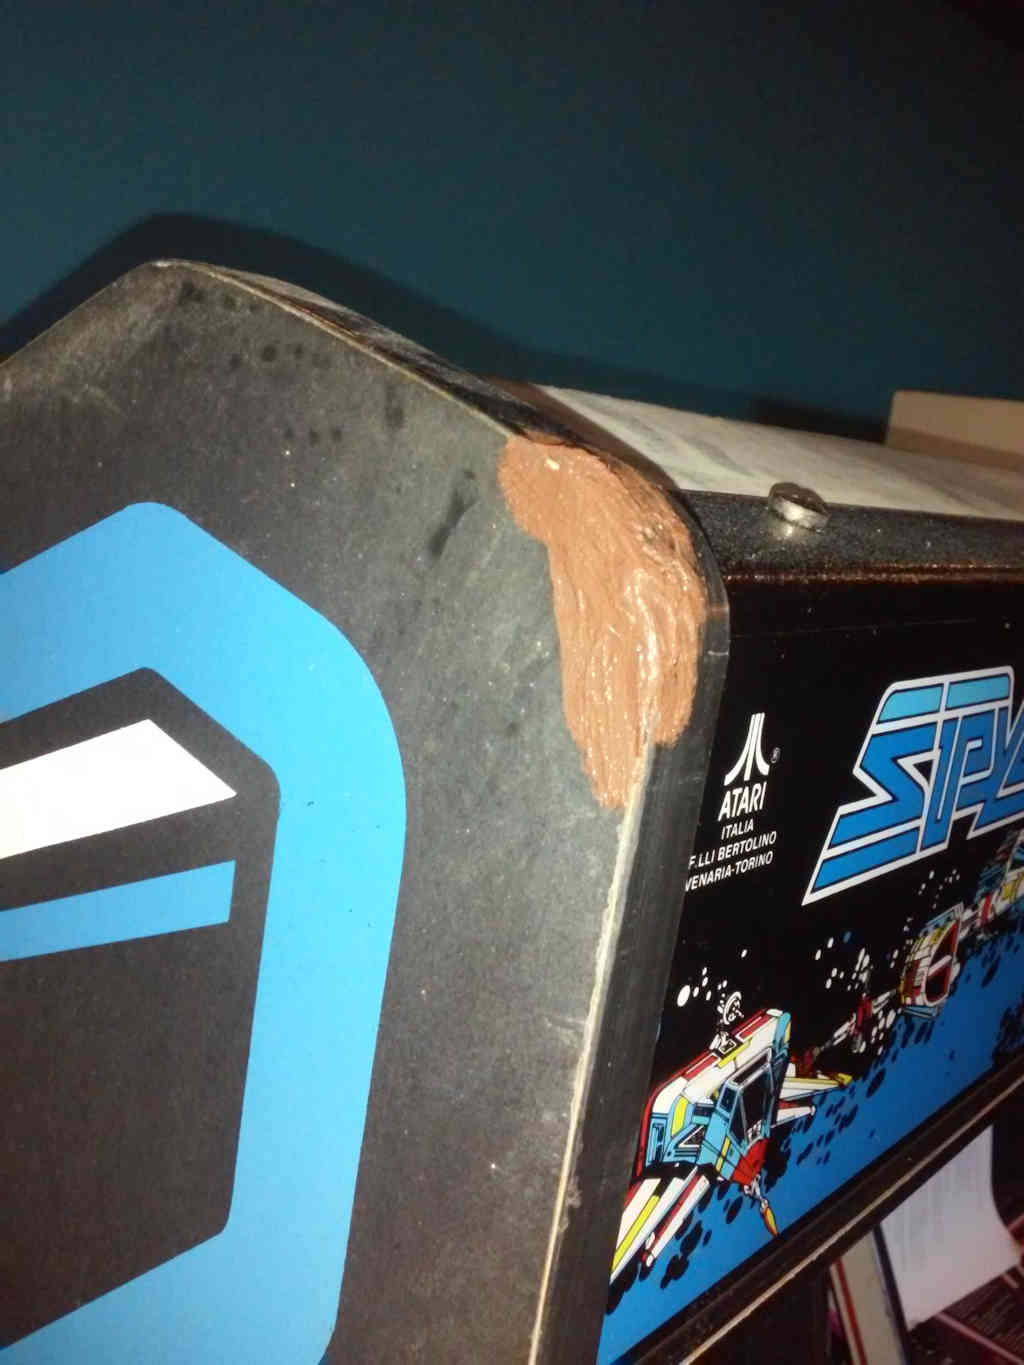
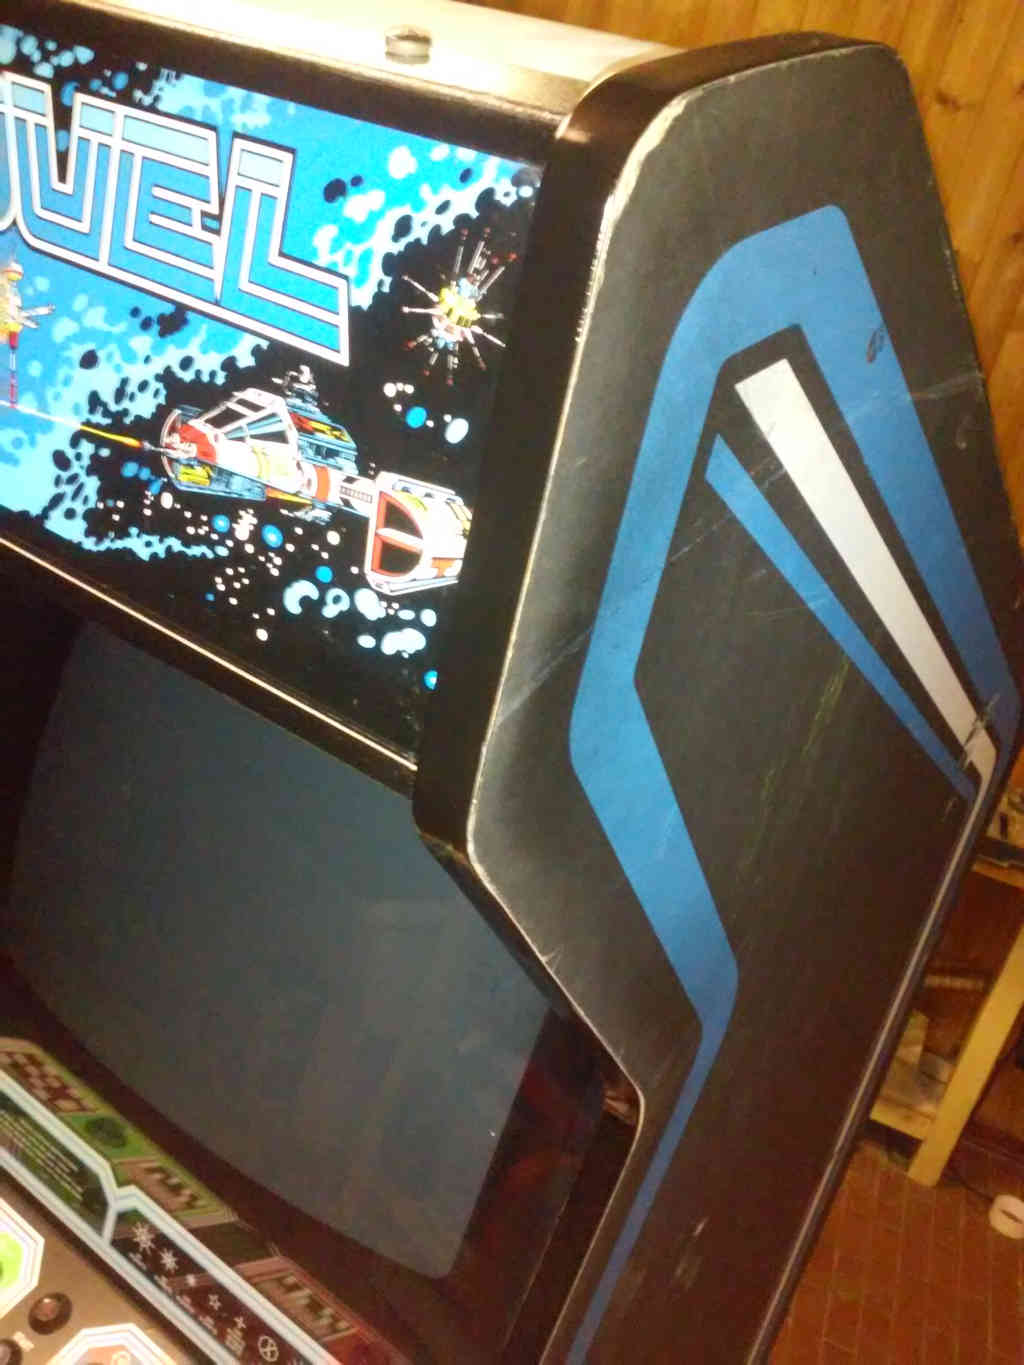
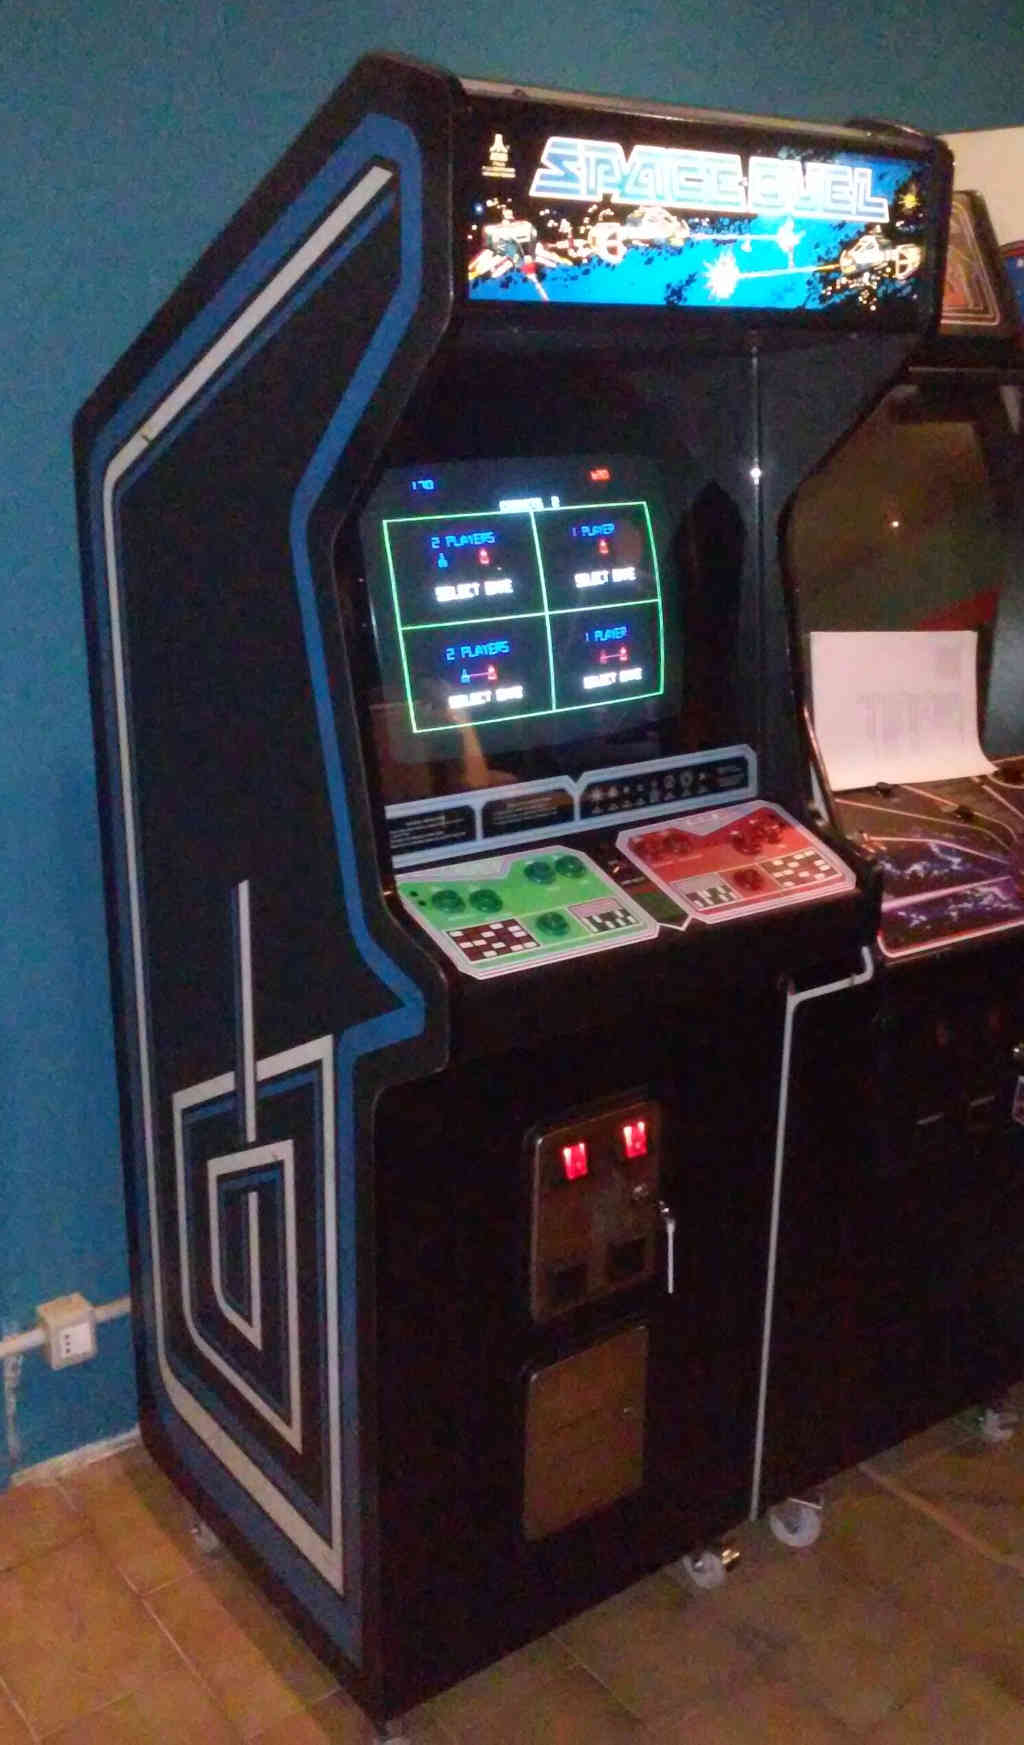
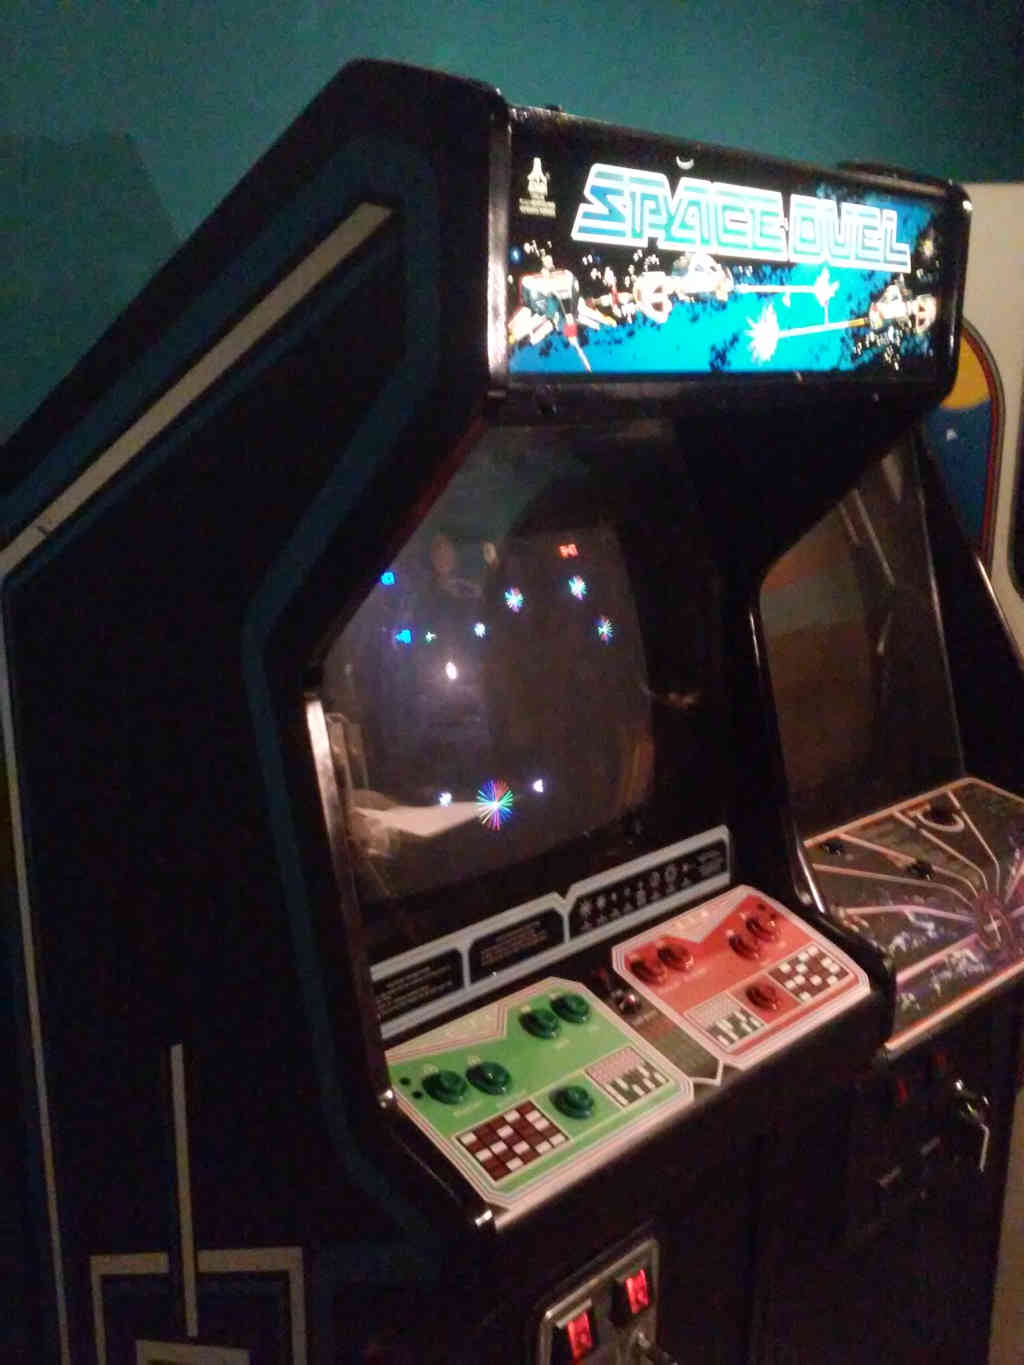
Space Duel

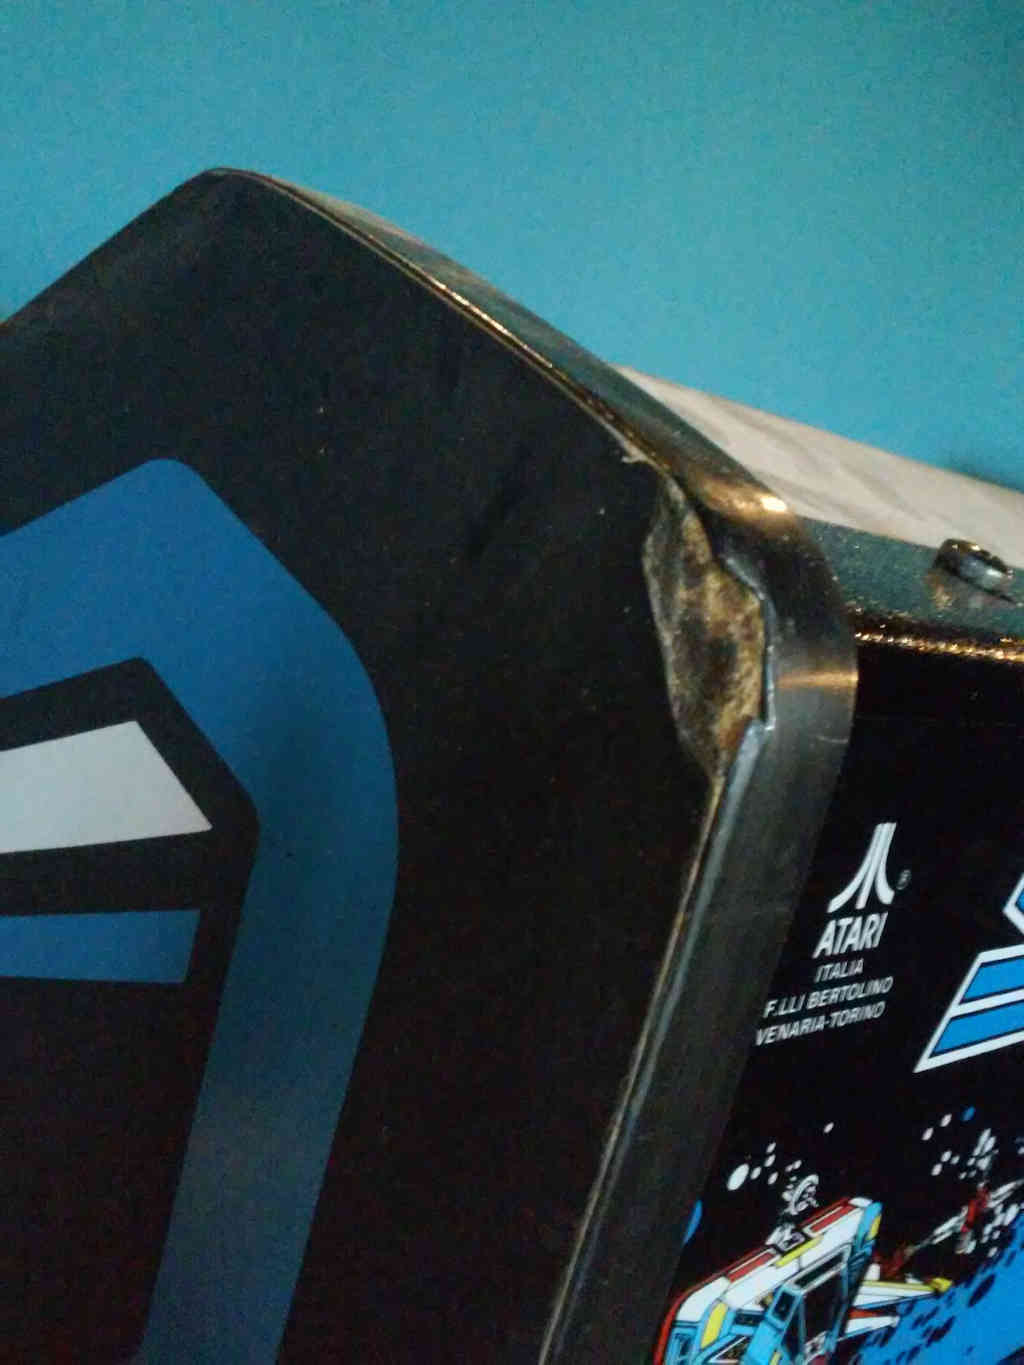
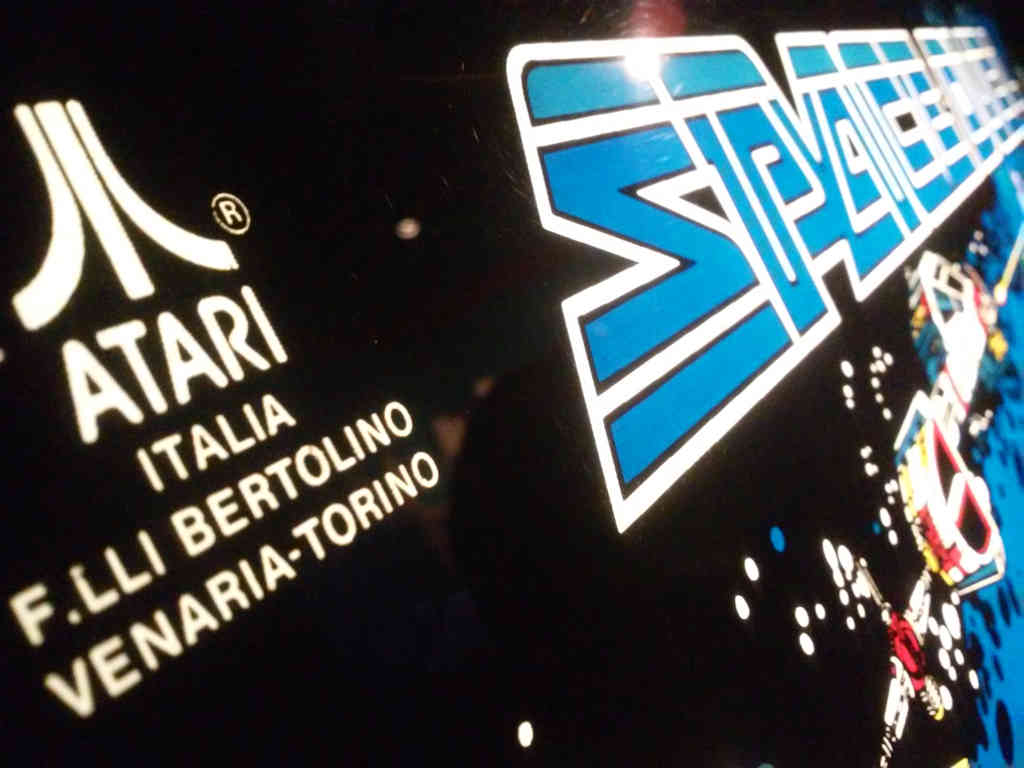
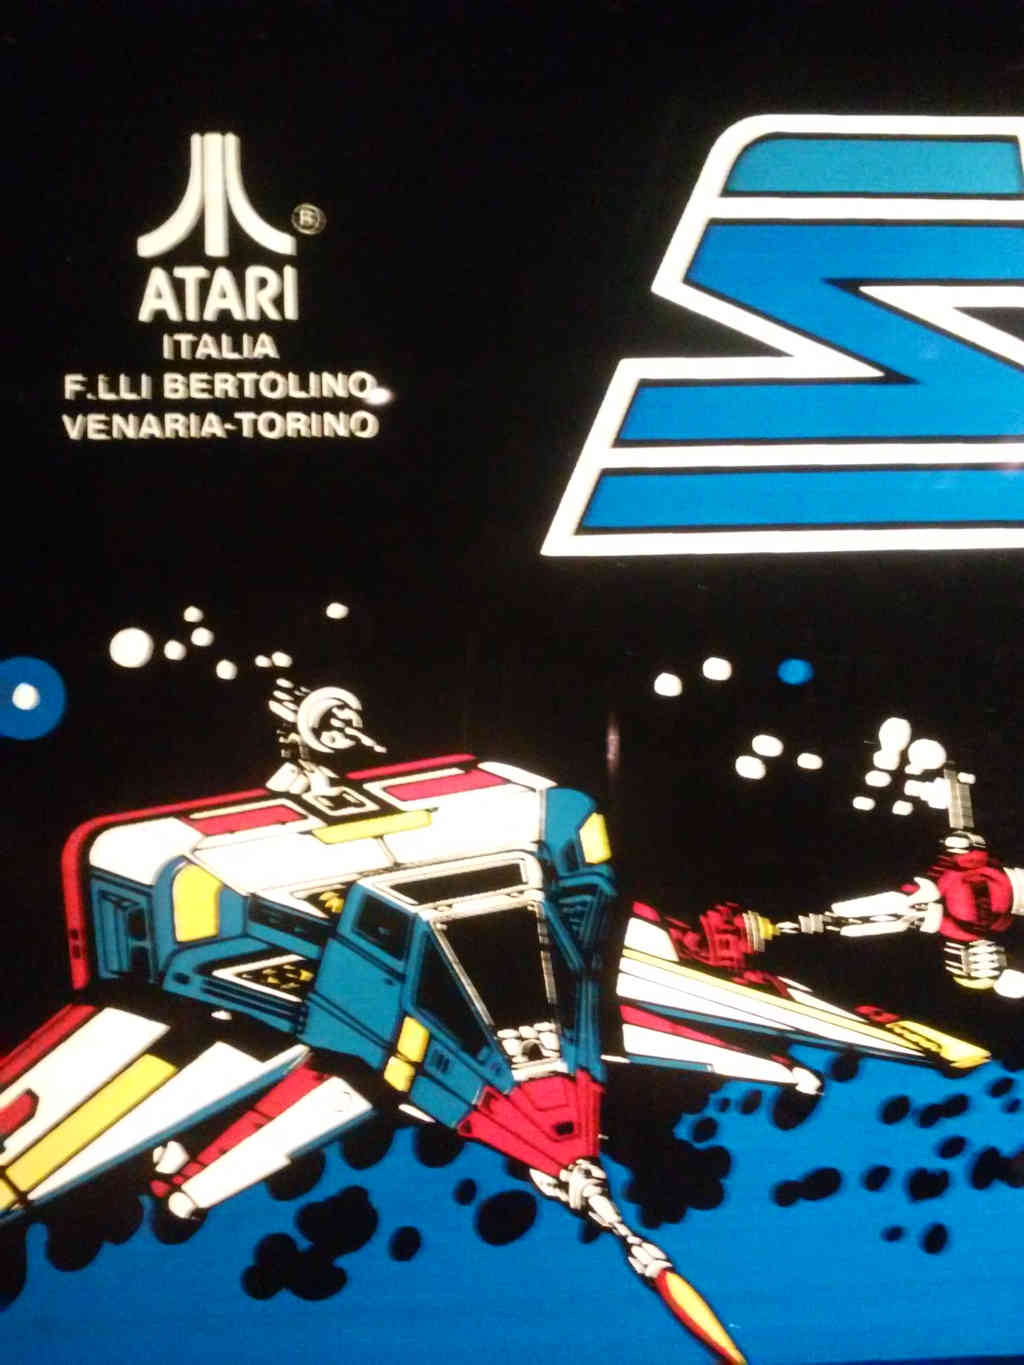
  • Manufacturer: Atari / F.lli Bertolino
  • Year: 1982

Useful info

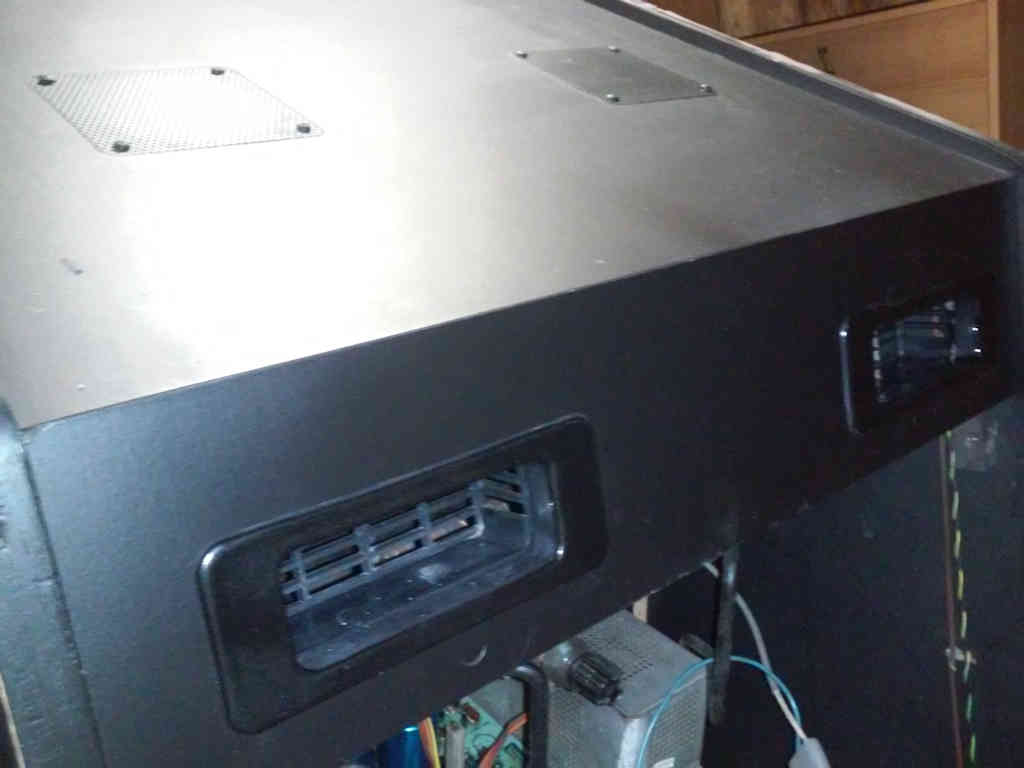
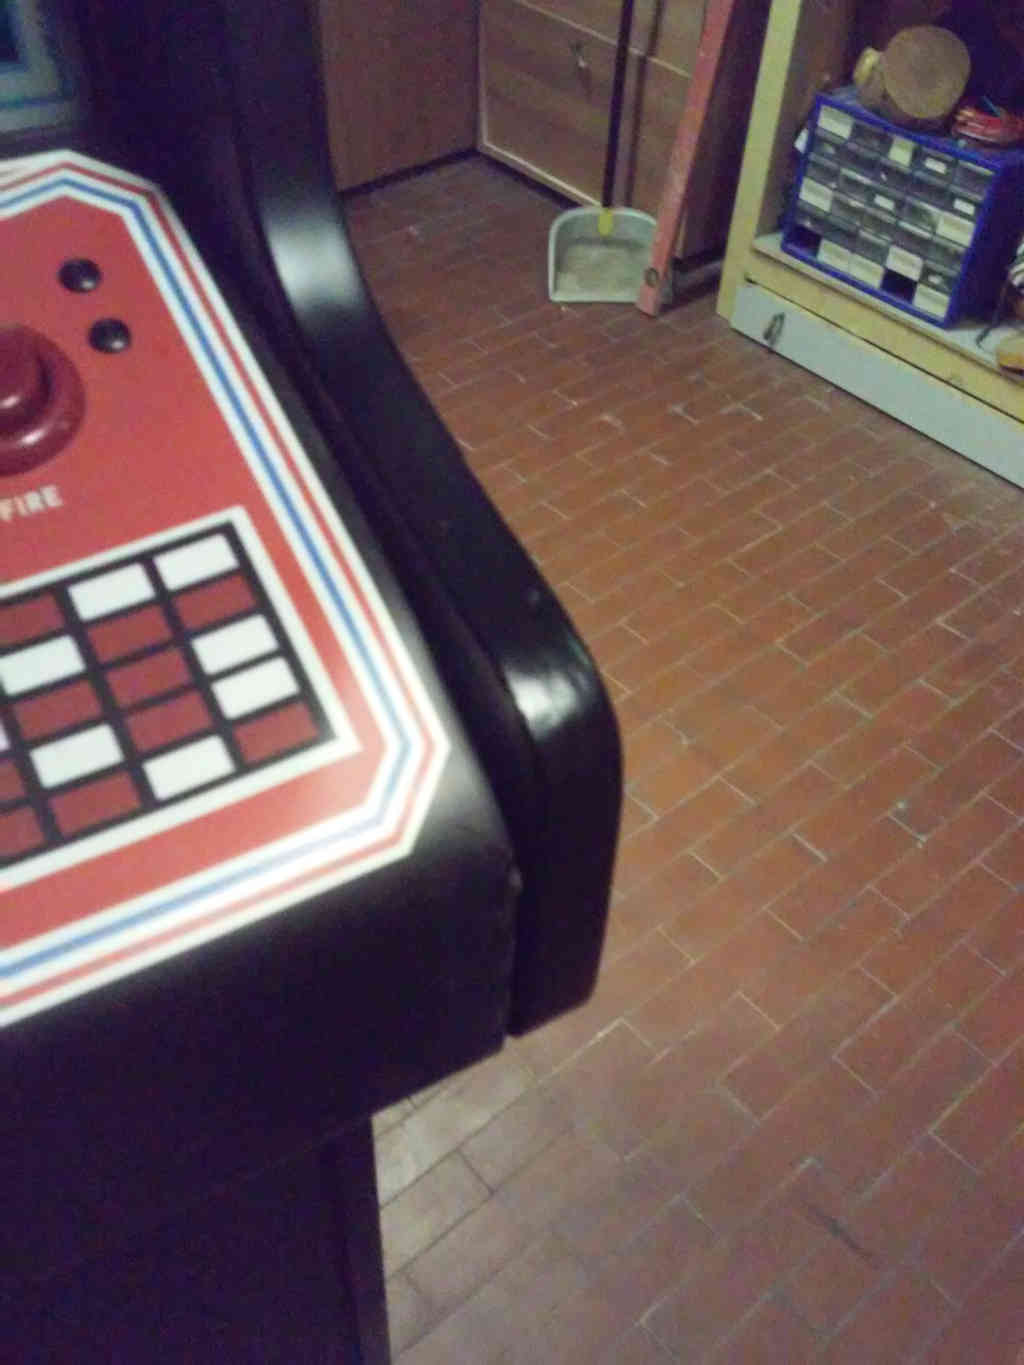
  • Cabinet type: Upright
  • Measures (WxHxD): 59,0 x 186,0 x 78,2 cm
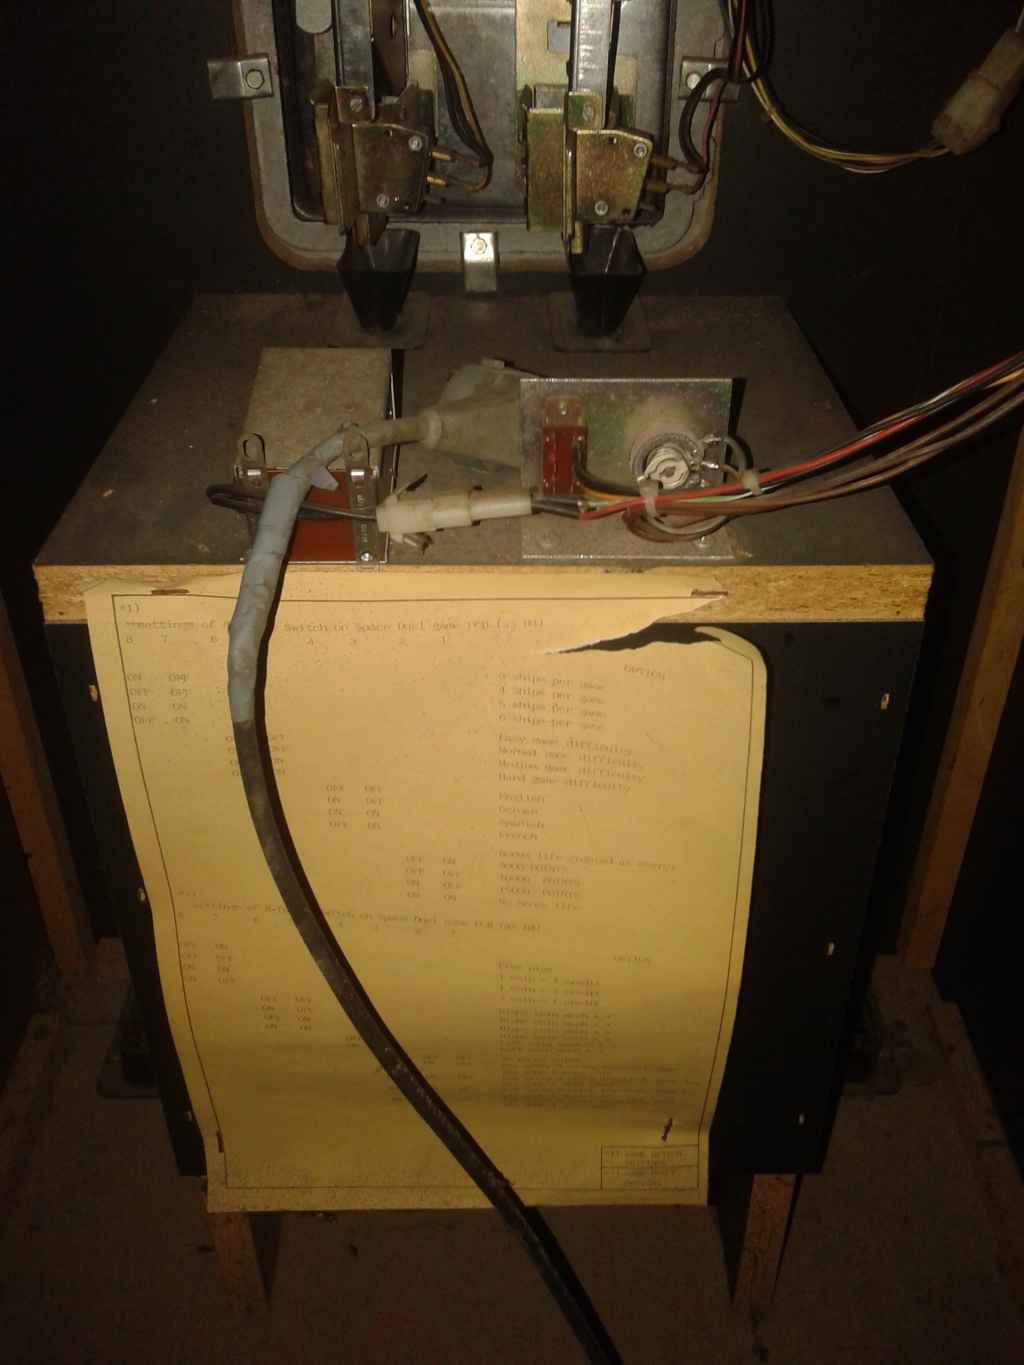
  • Working voltage: 220V
  • Maximum consumption: 197,3W 1,190A
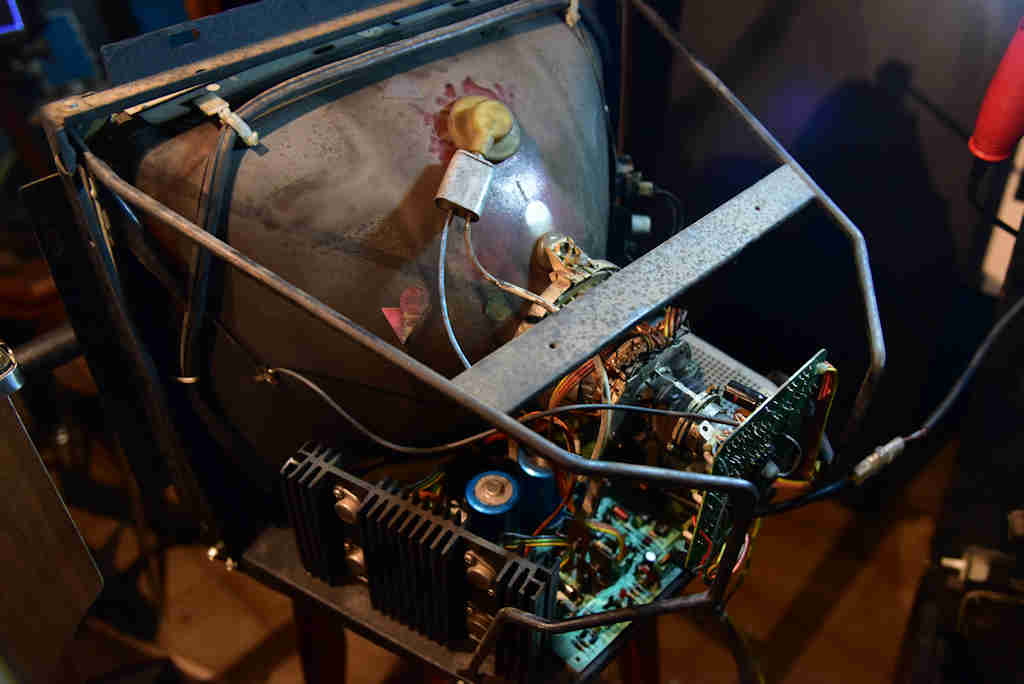
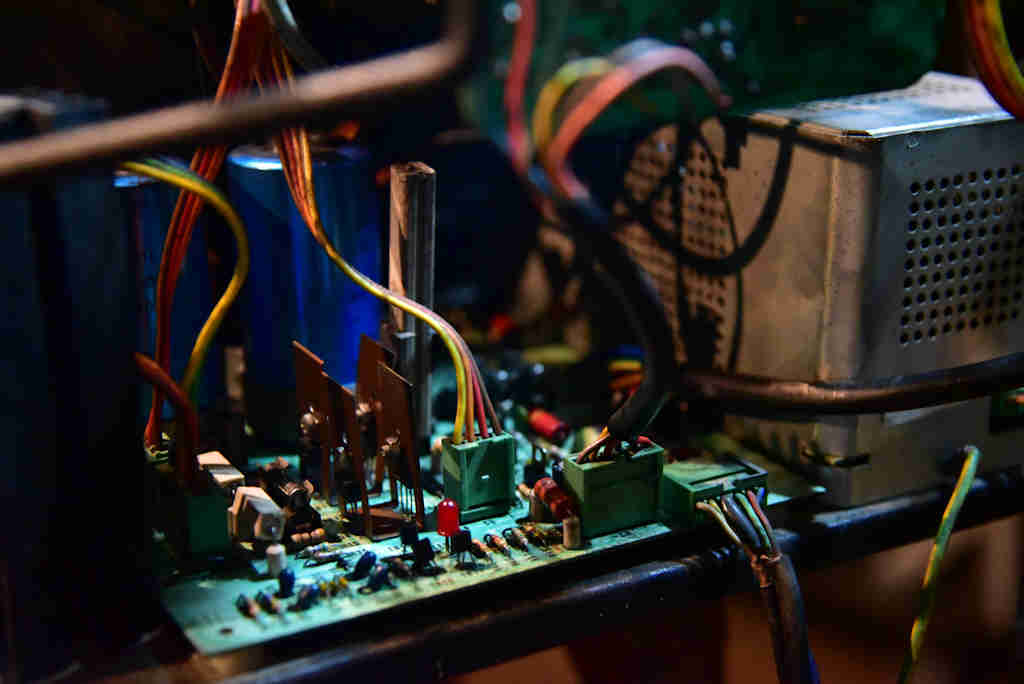
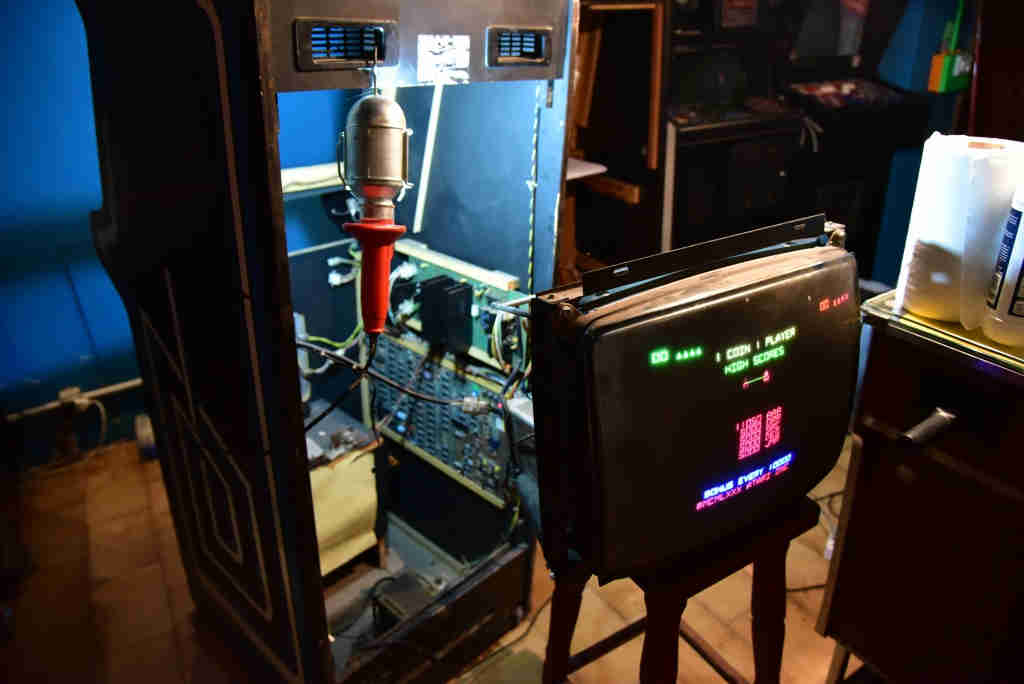
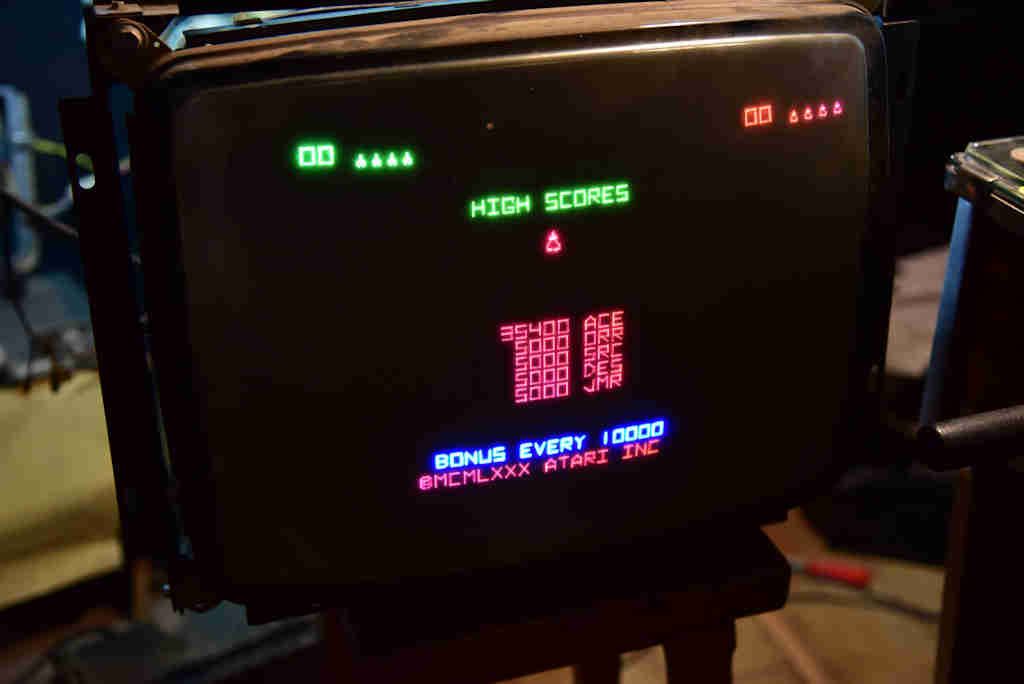
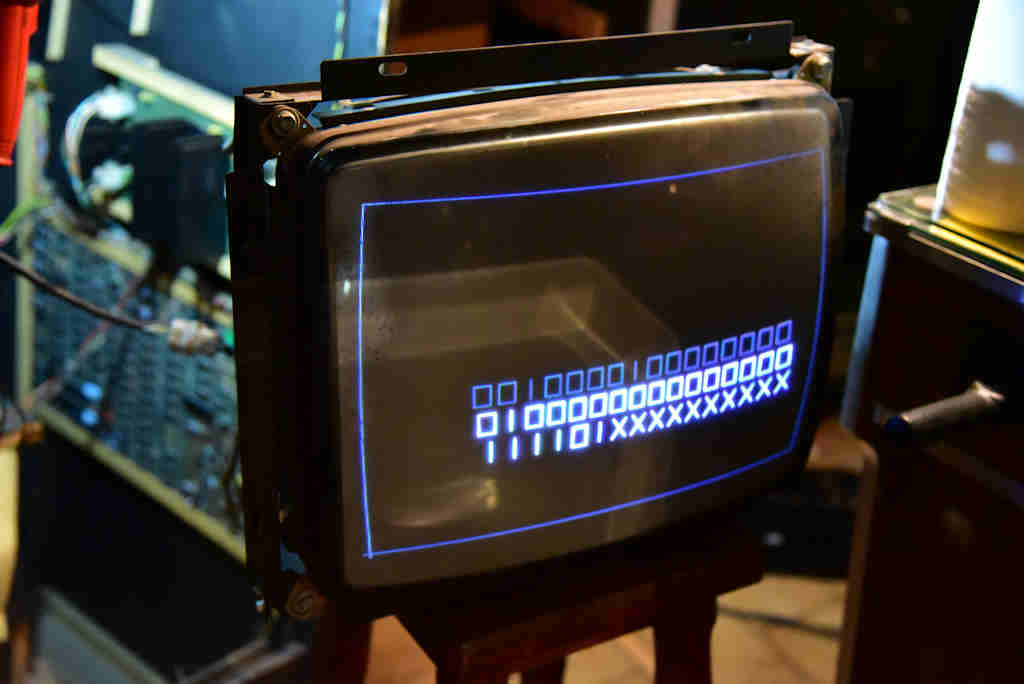
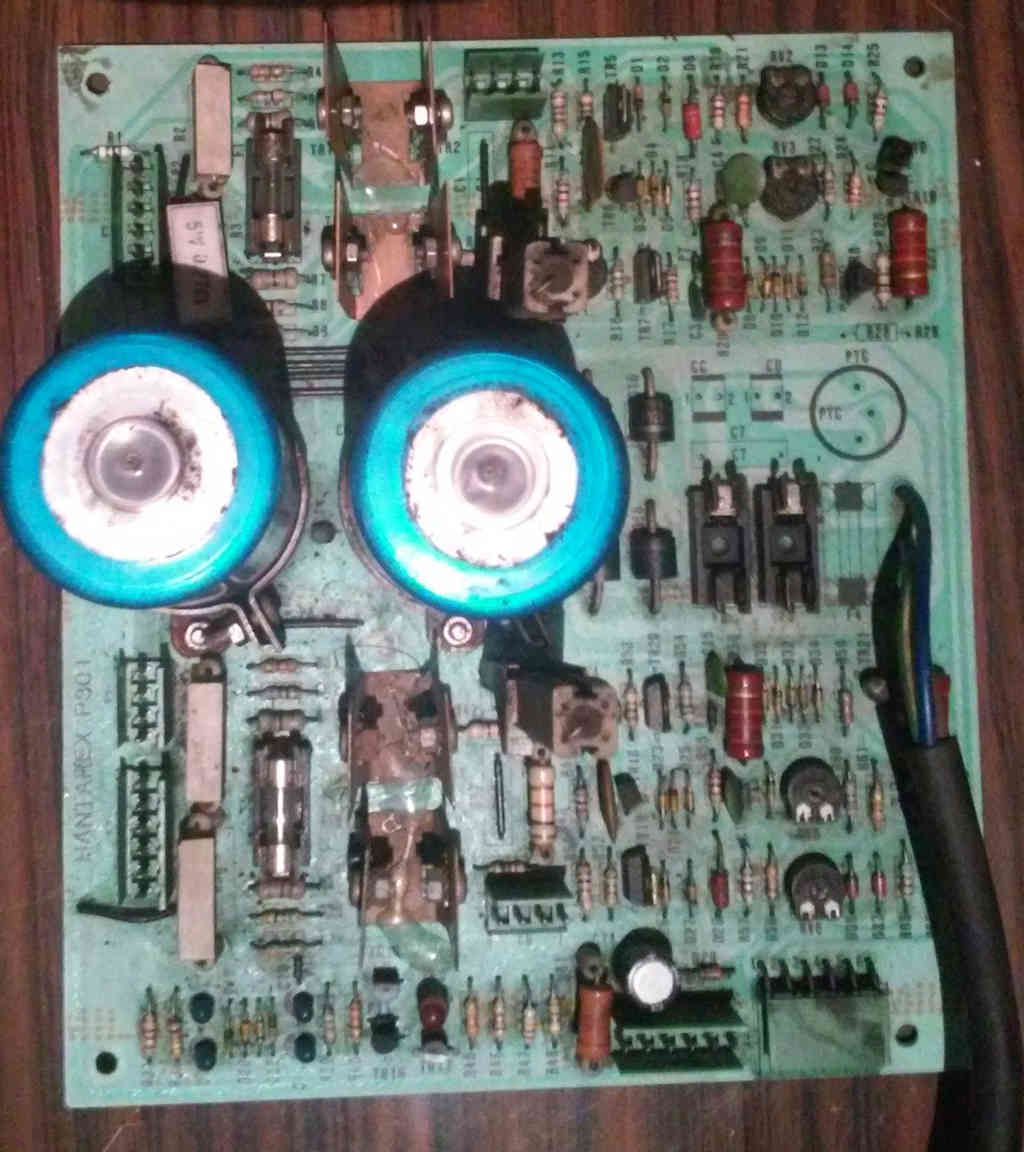
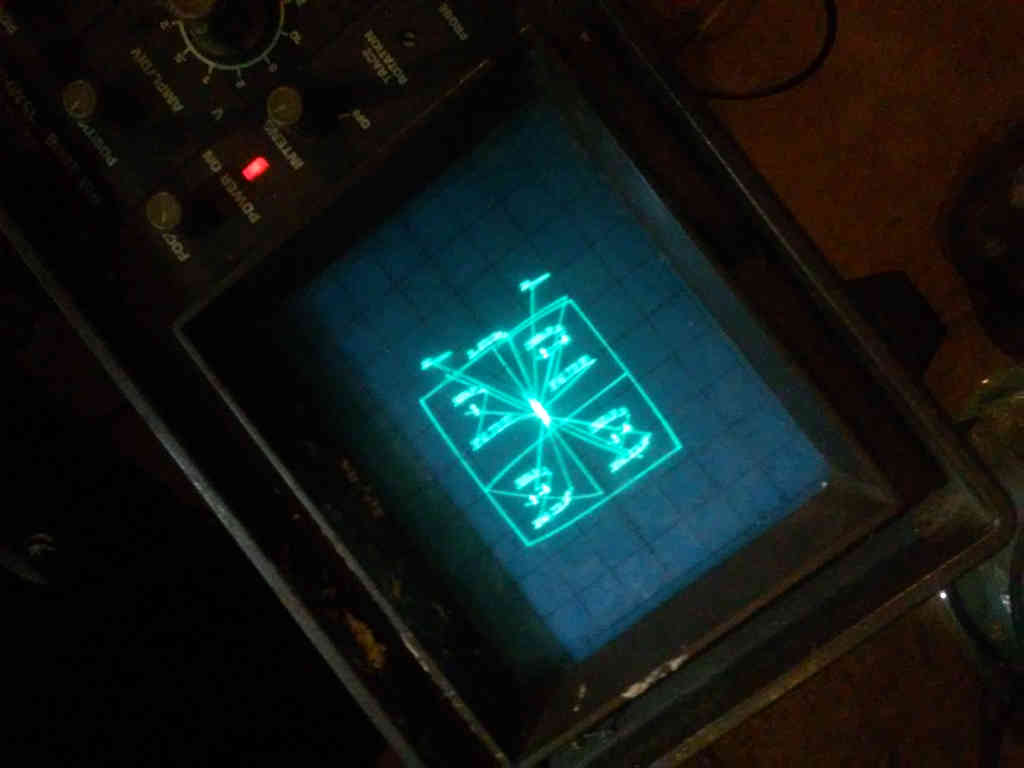
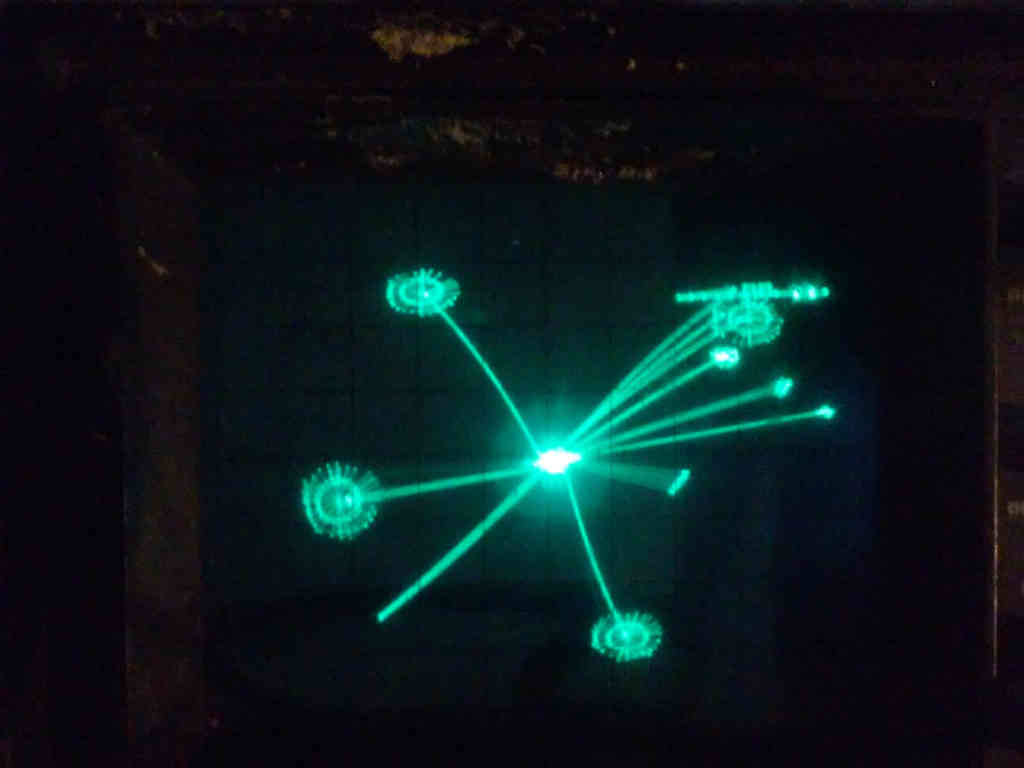
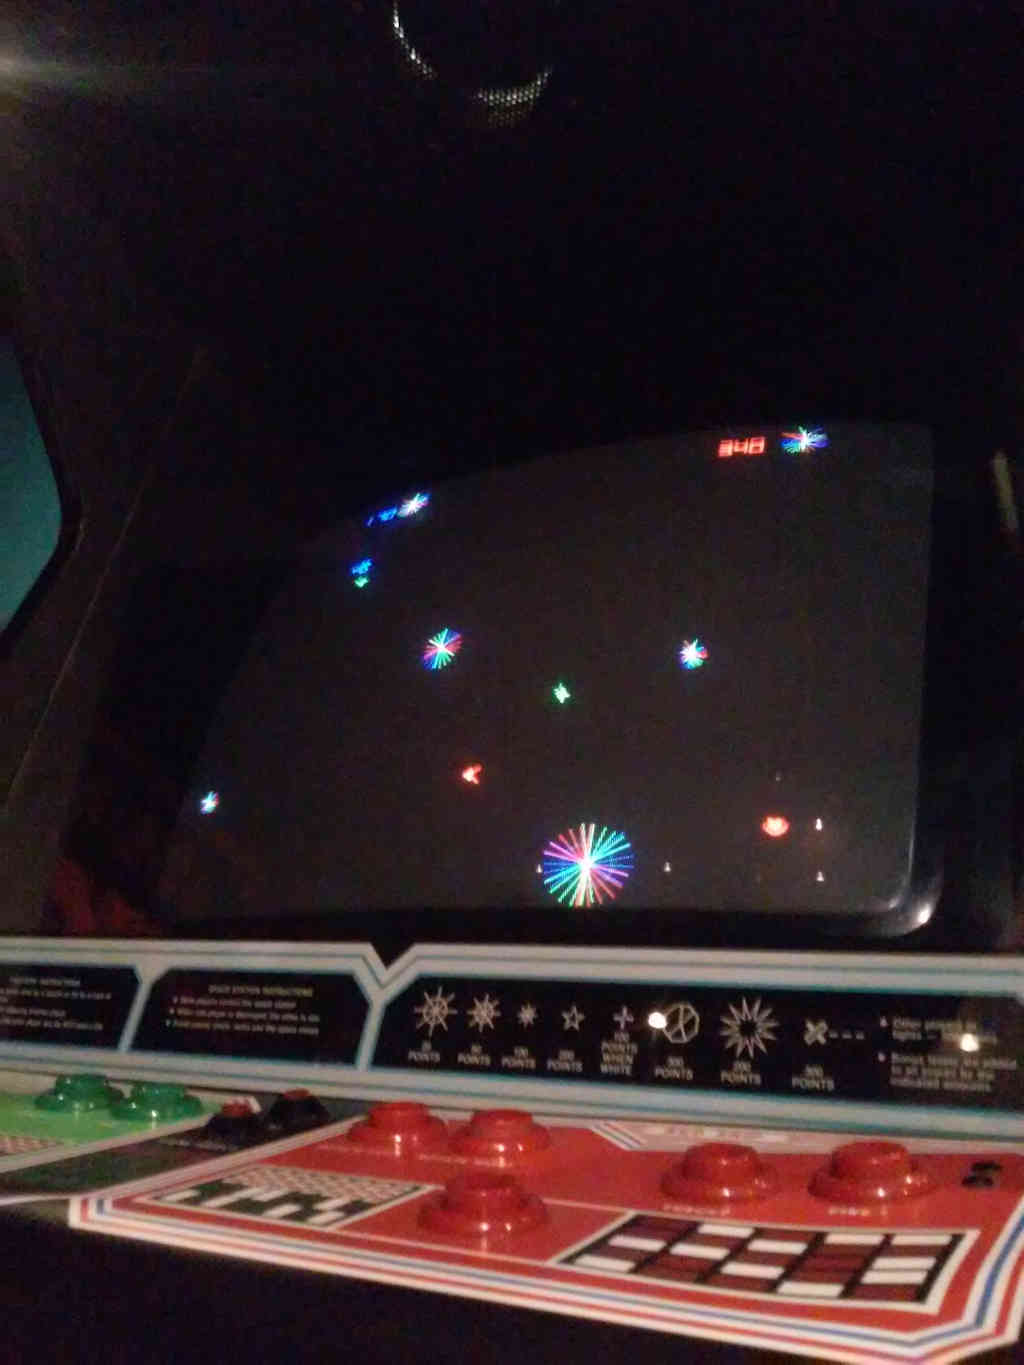
  • Technology: Horizontal color vector monitor

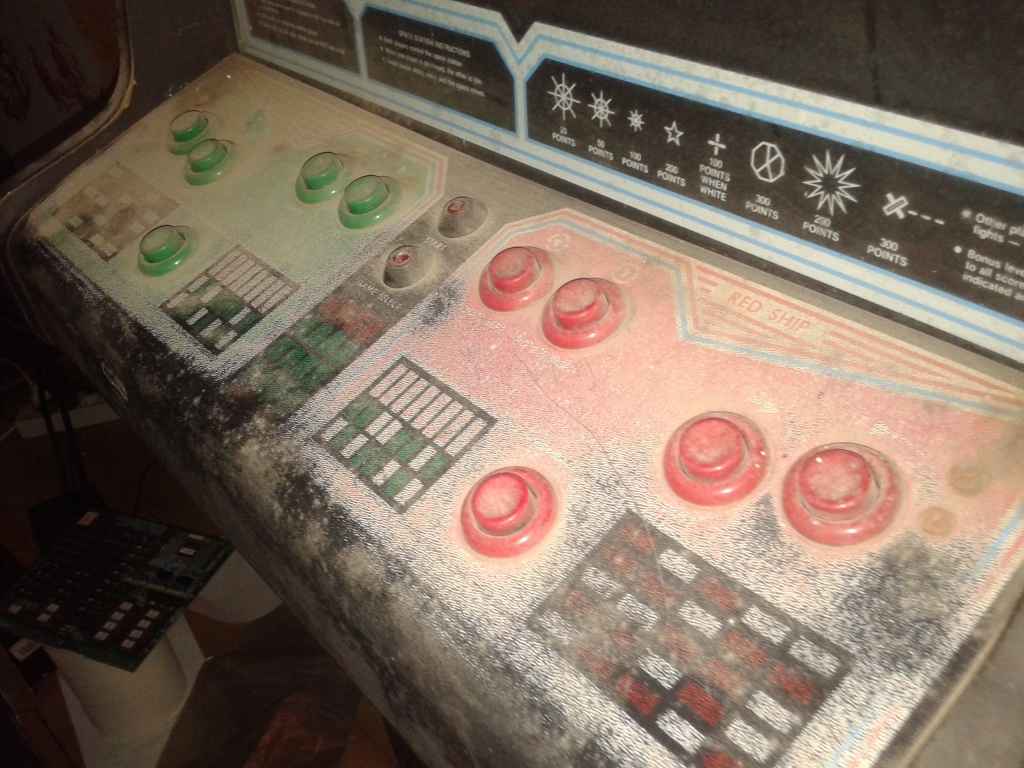
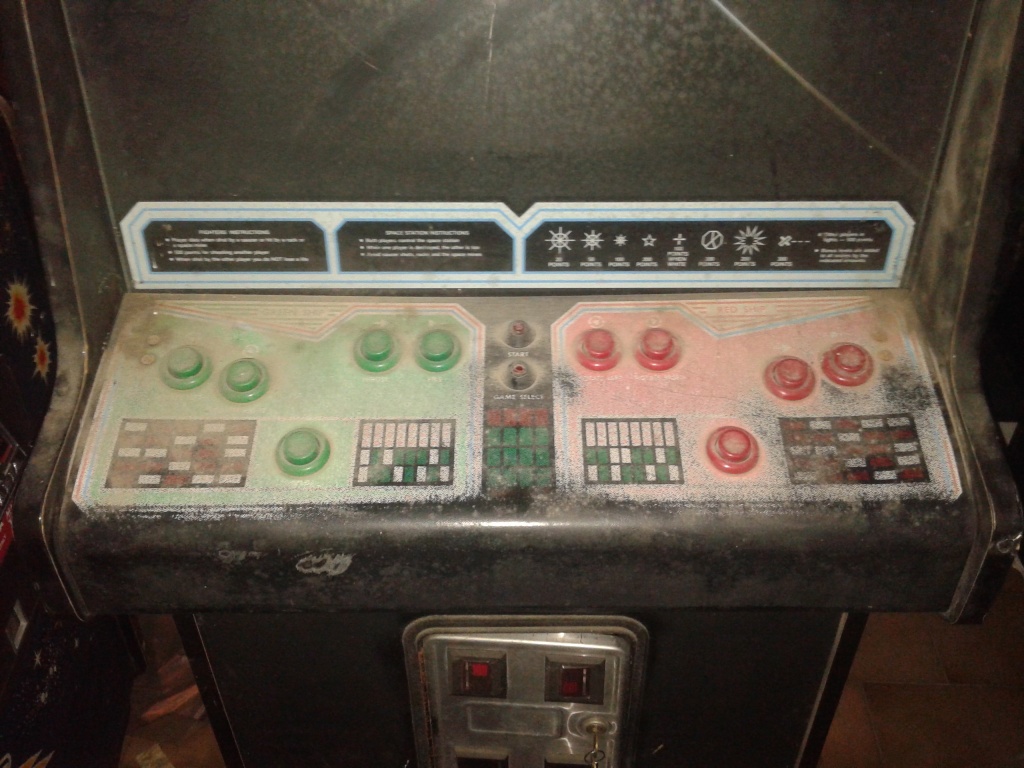
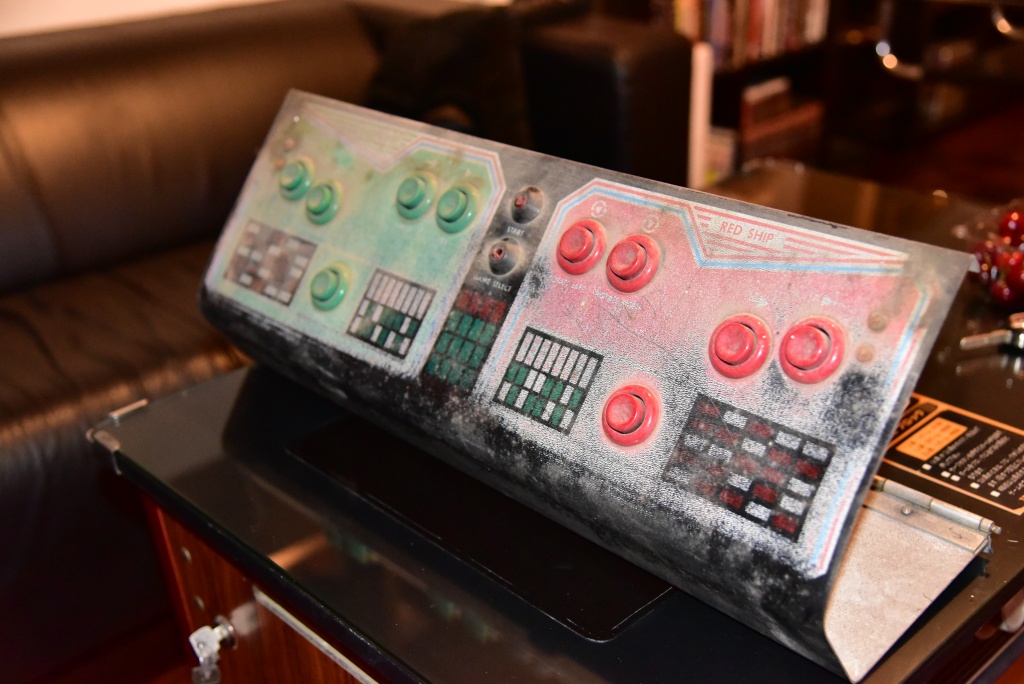
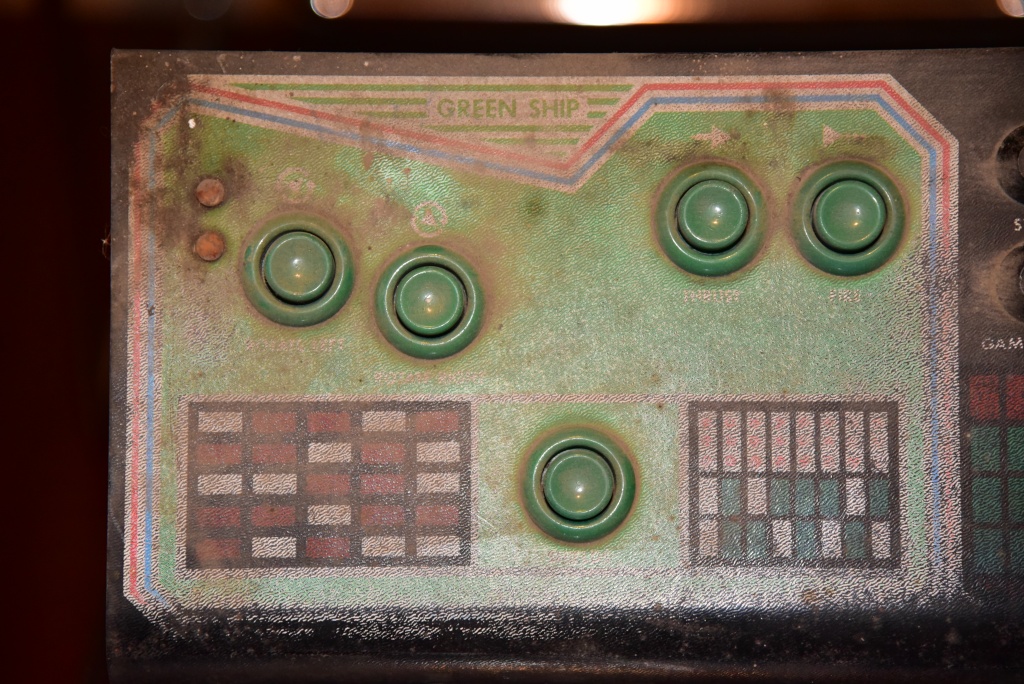
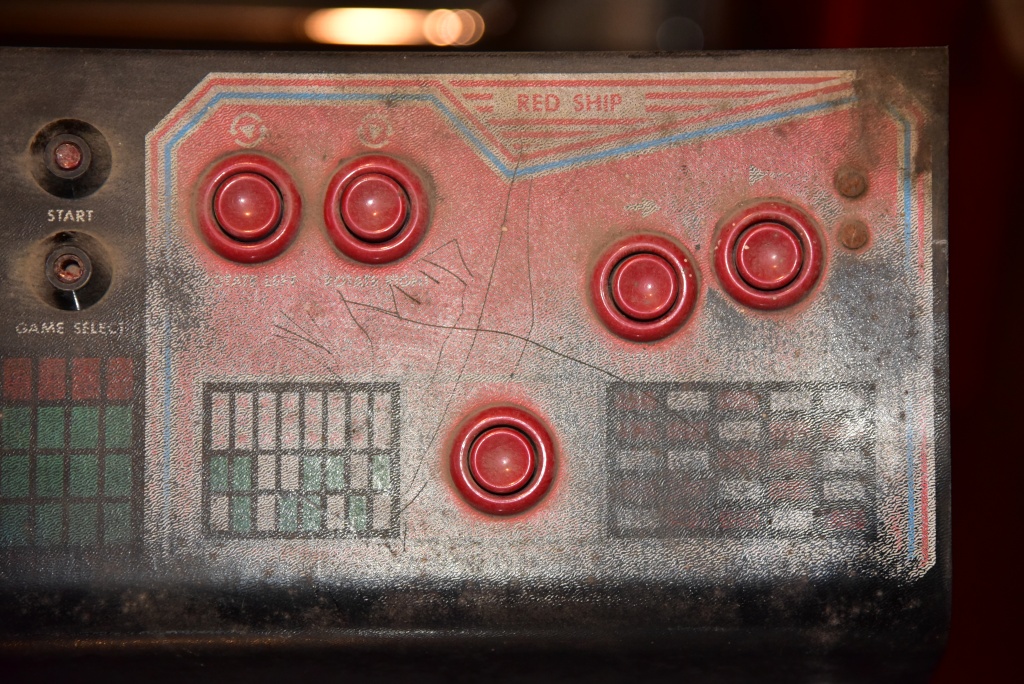
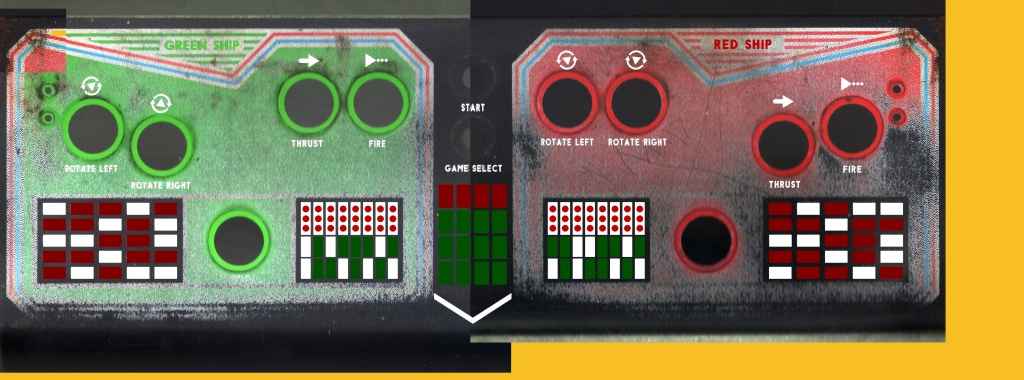
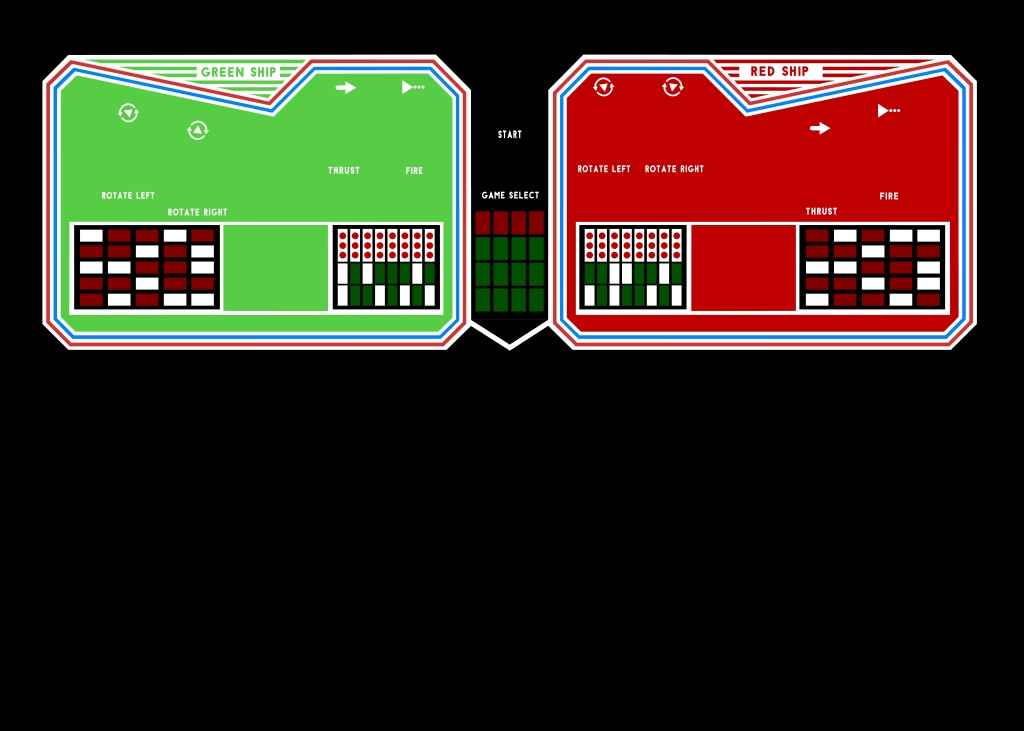
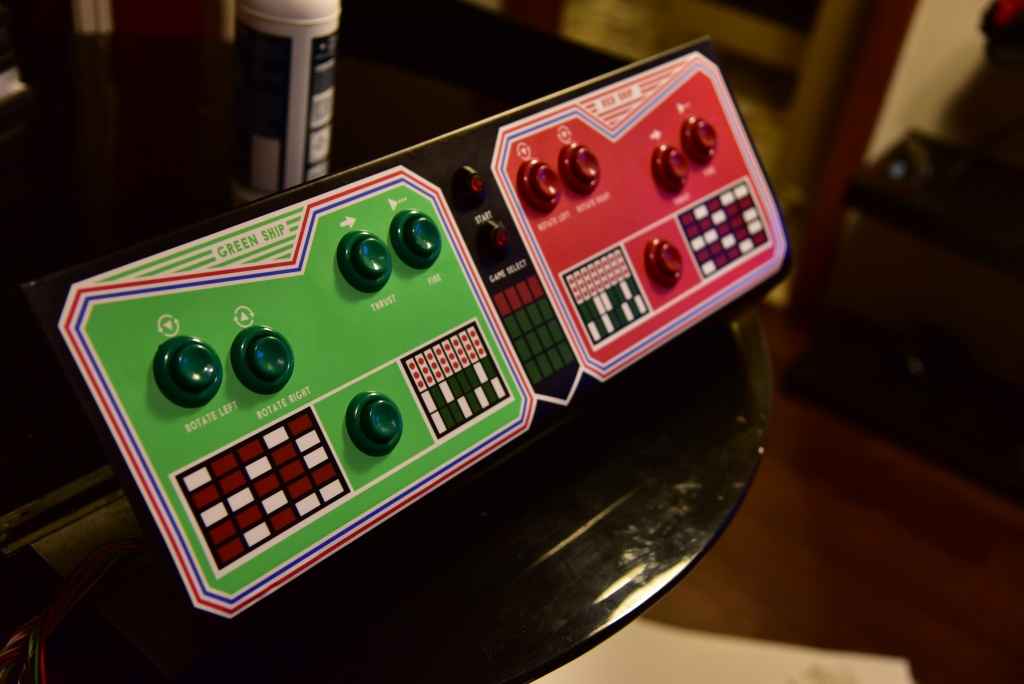
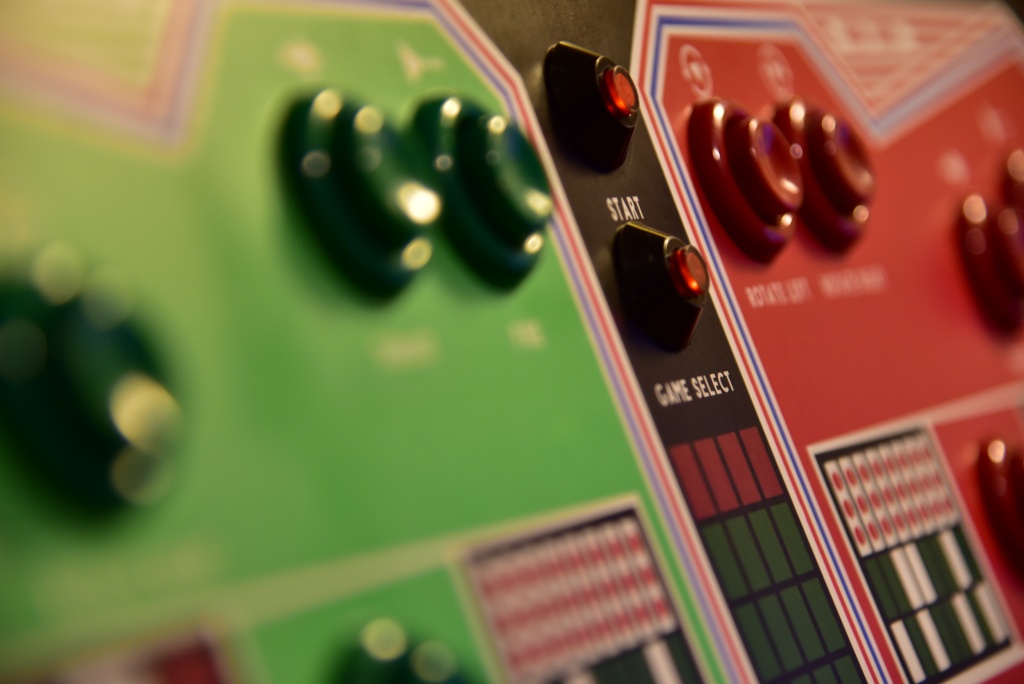
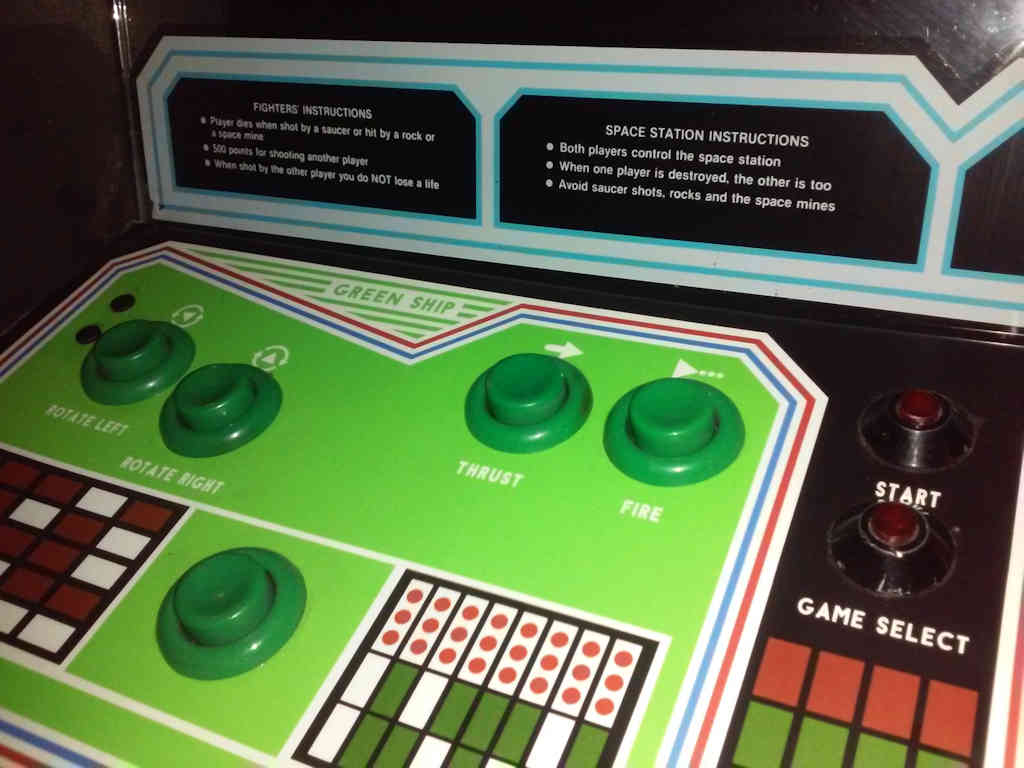
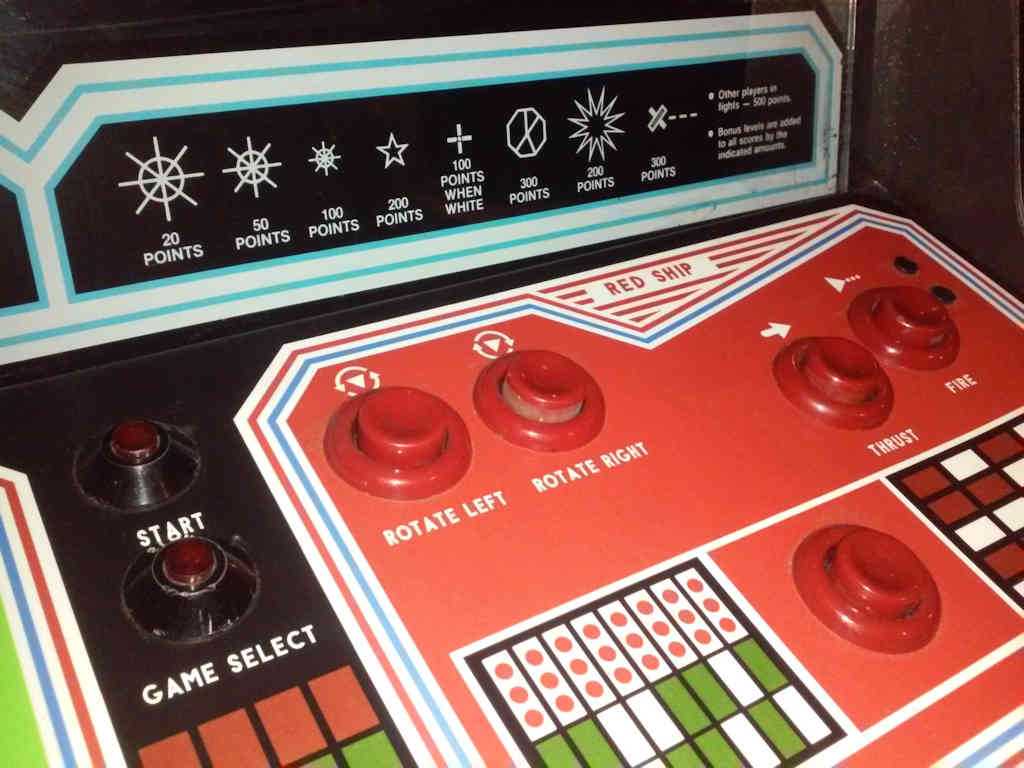
It’s a game designed for two challenge players, but you can also choose the singular or collaborative player modes. Different geometric shapes drift in space and the player has to destroy them all avoiding to be destroyed in turn; moreover, UFOs occasionally attempt the attack in different ways: with spaceships, bombs, guided missiles … It is an evolution of the most famous Asteroids and presents a three-dimensional animation not common for the time. Color also increases engagement and fun.

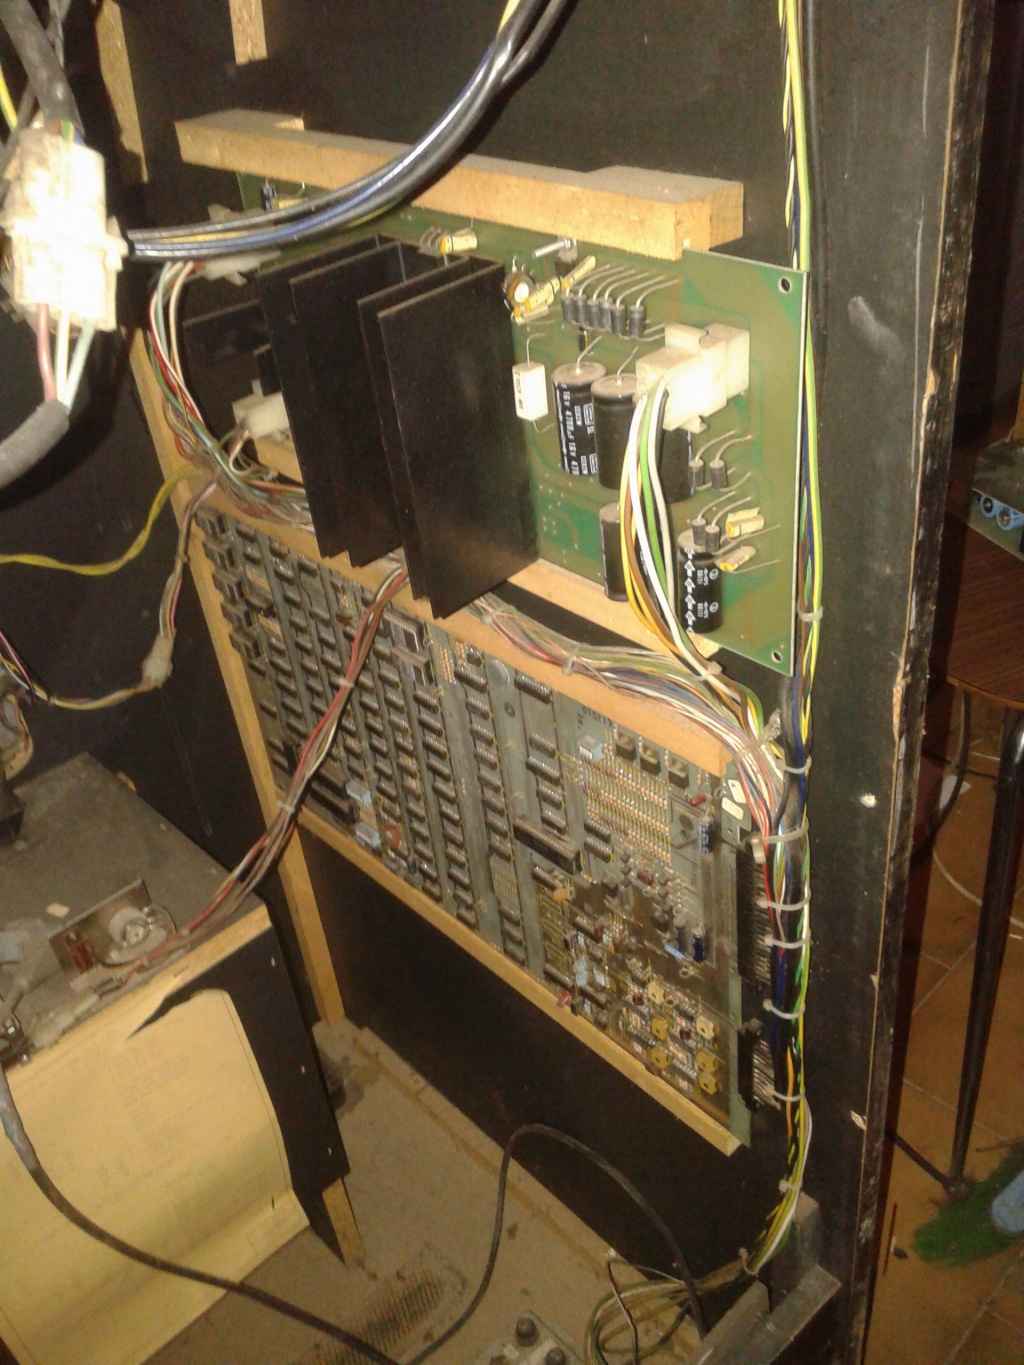
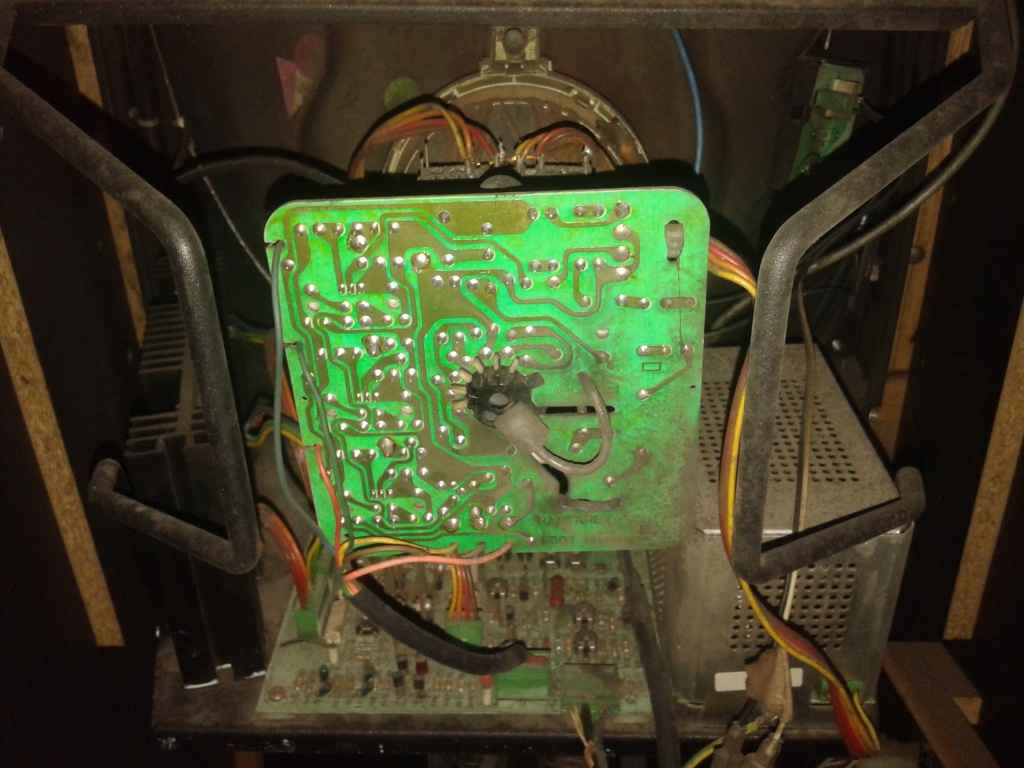
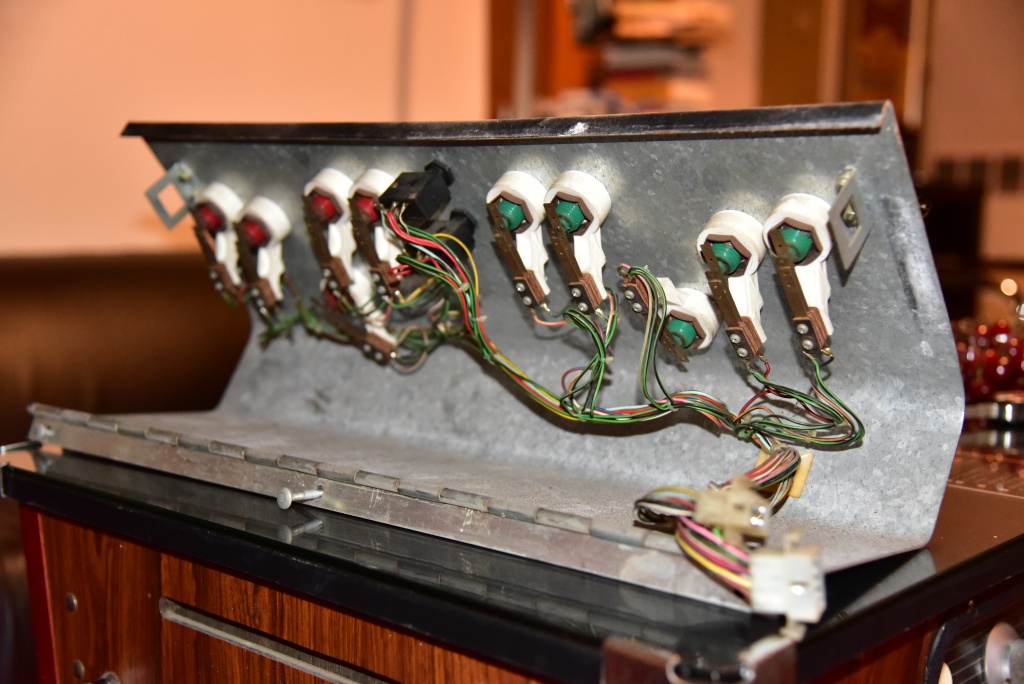
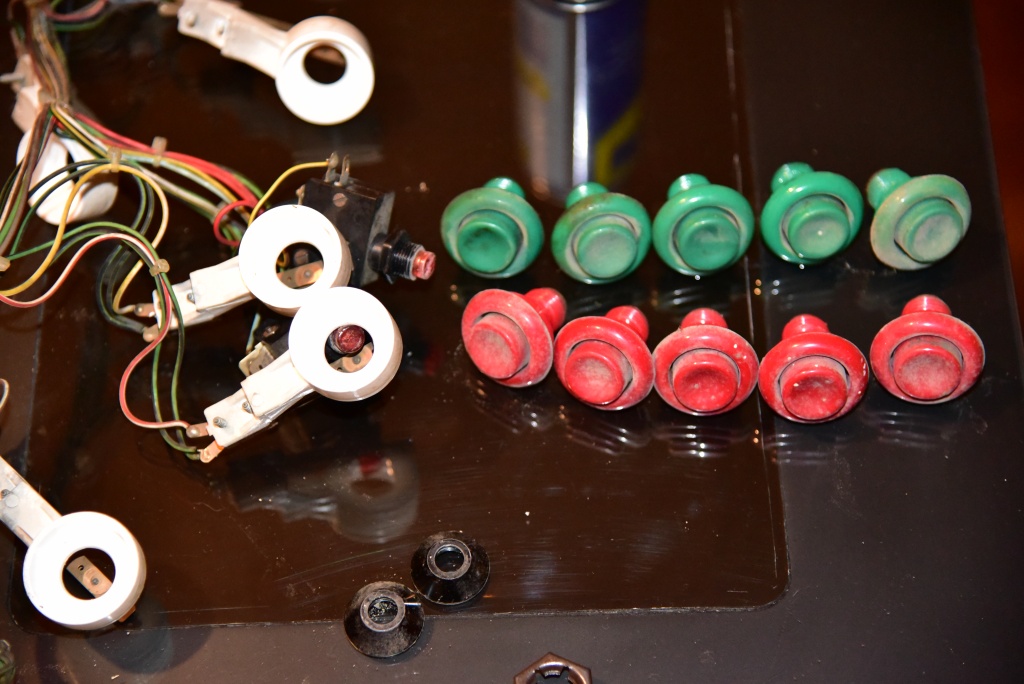
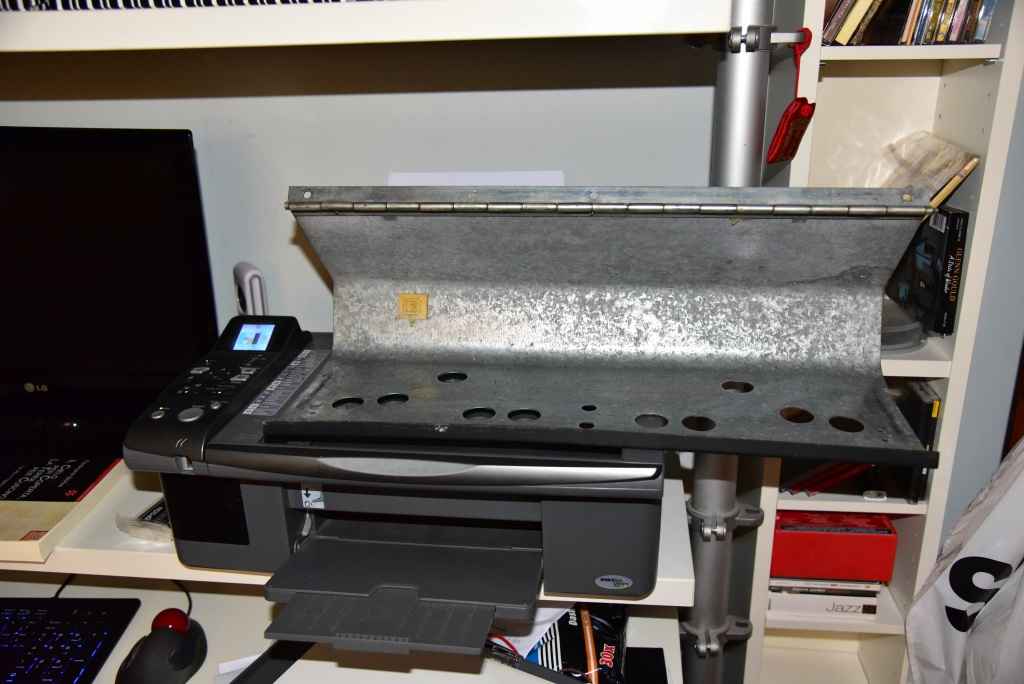
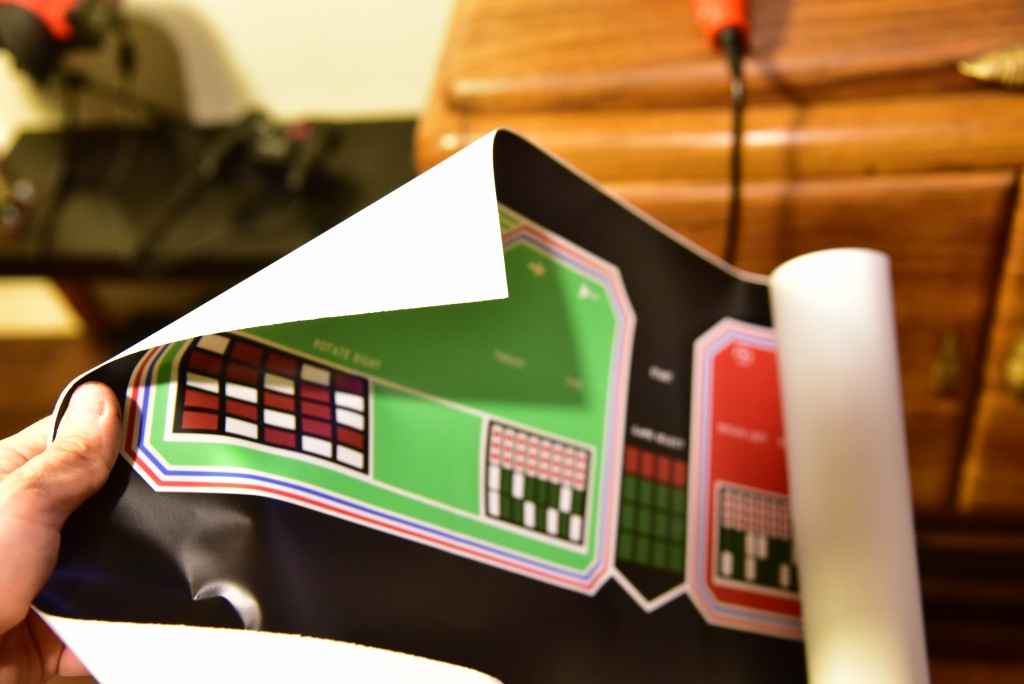
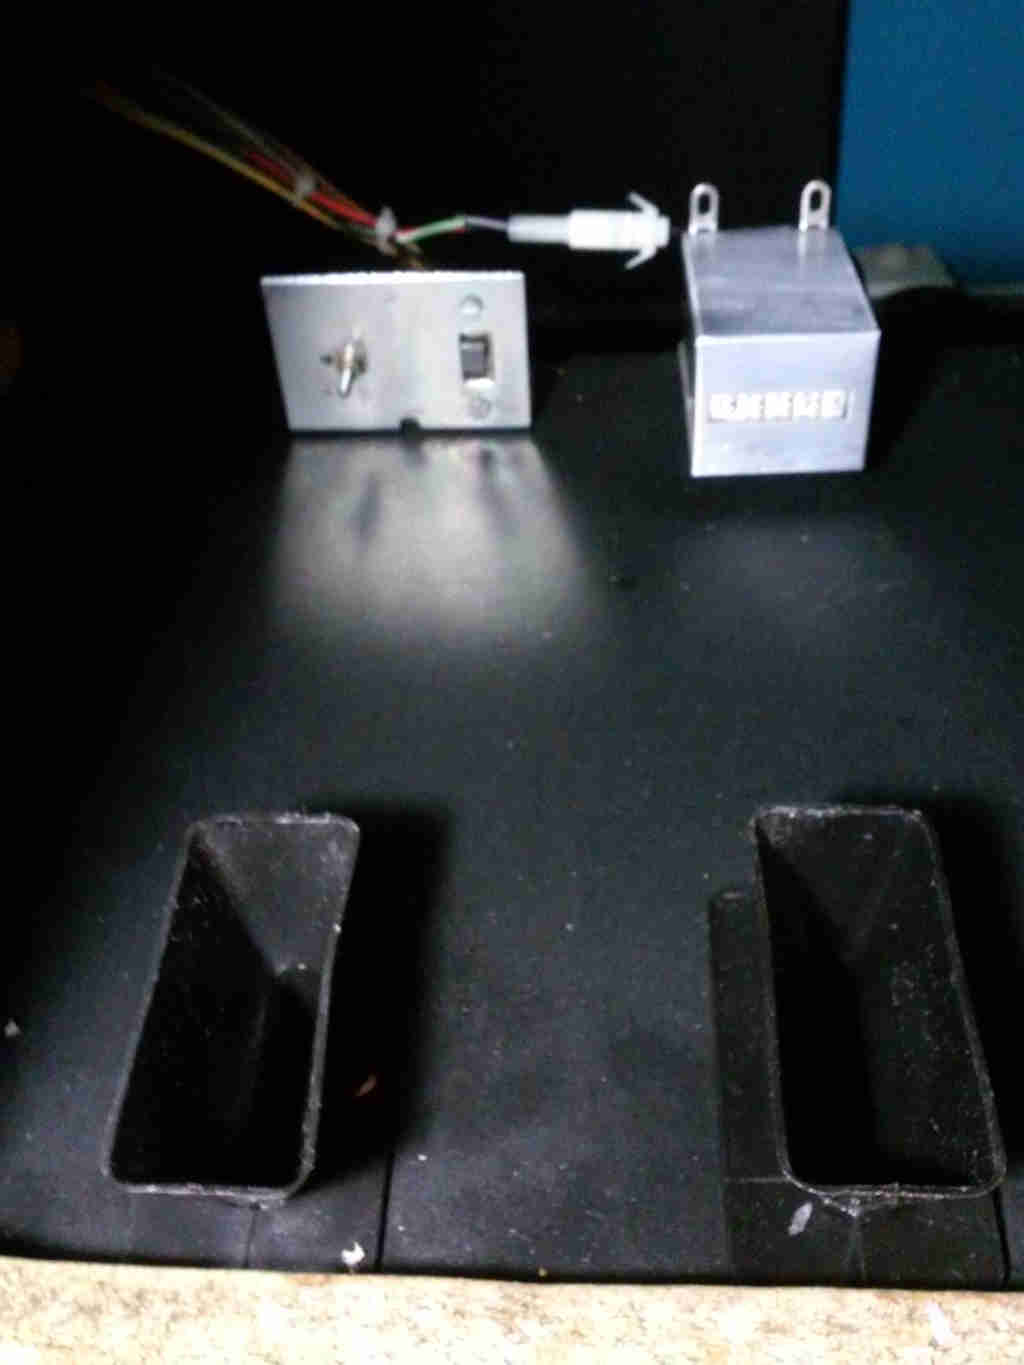
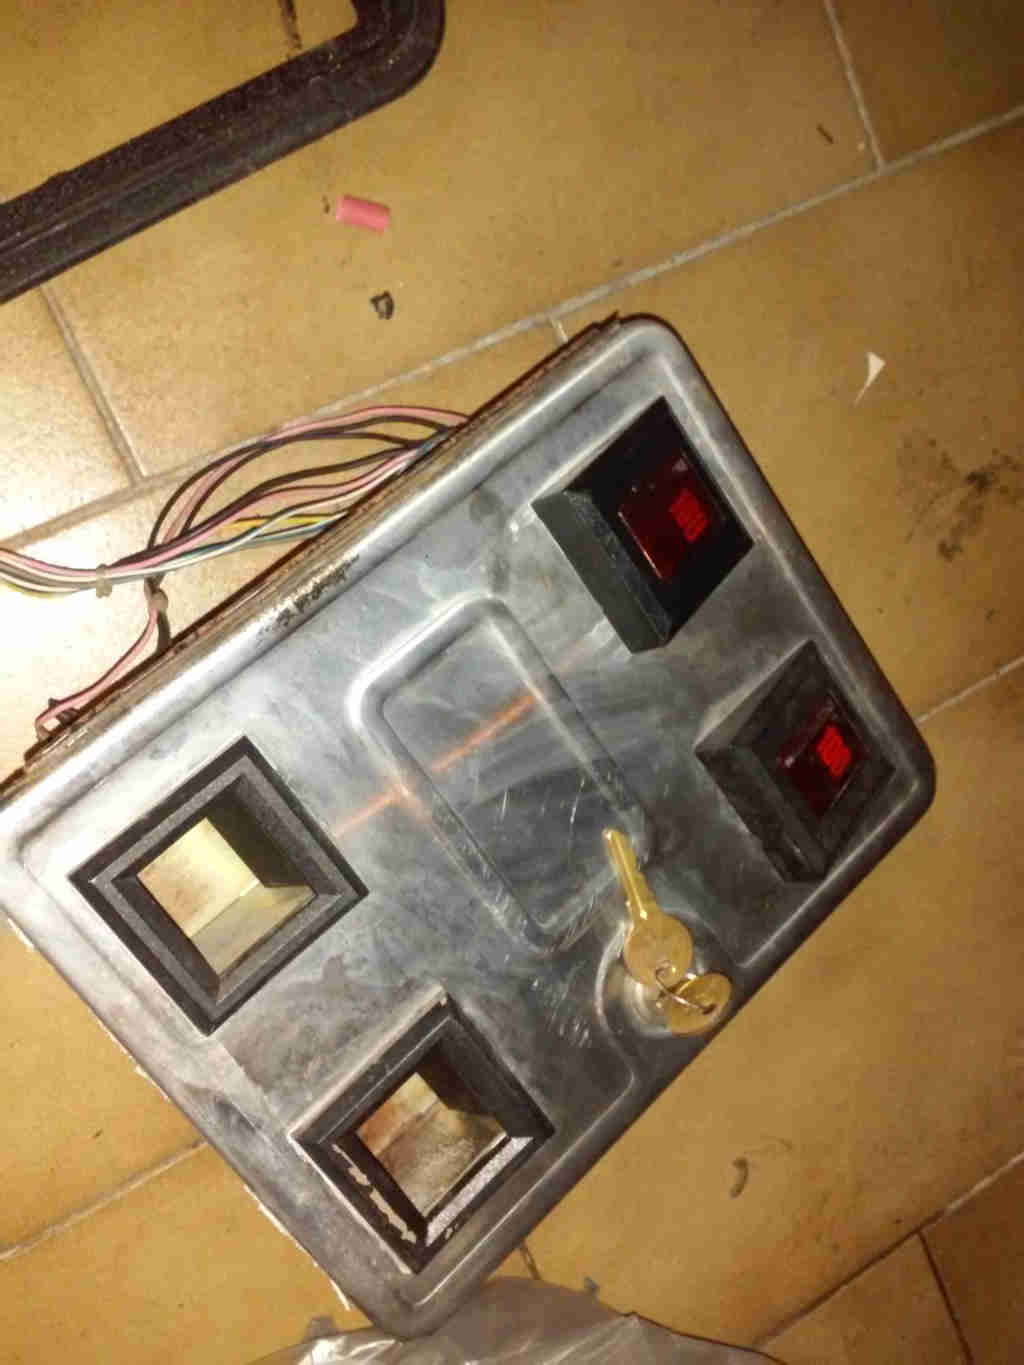
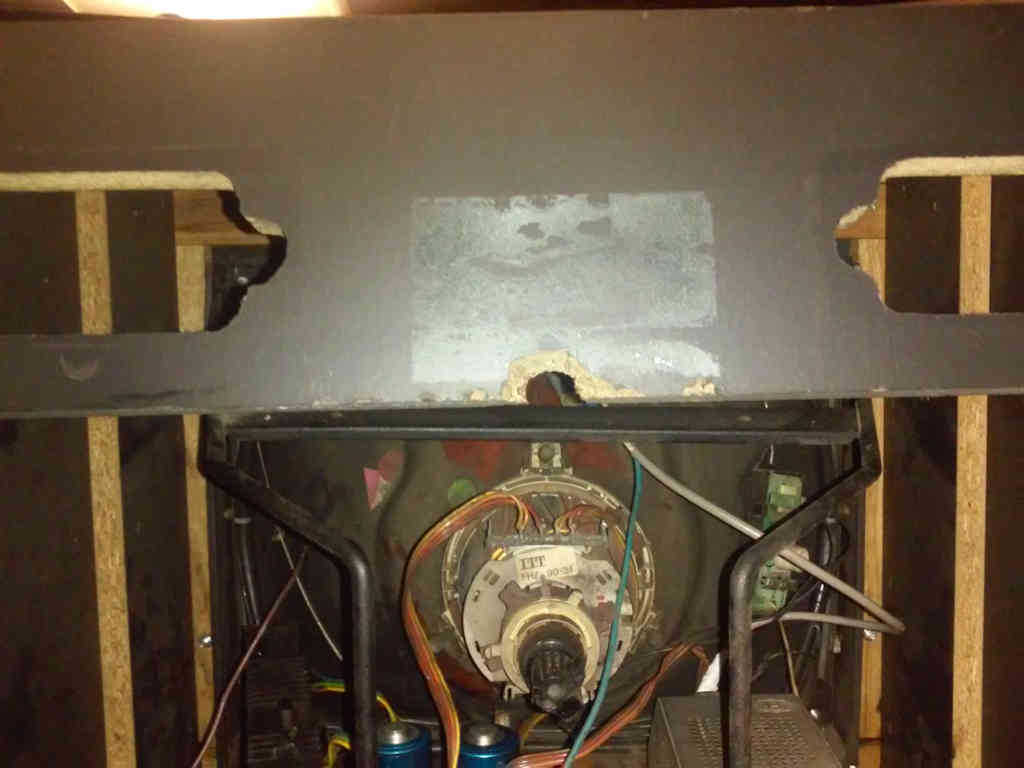
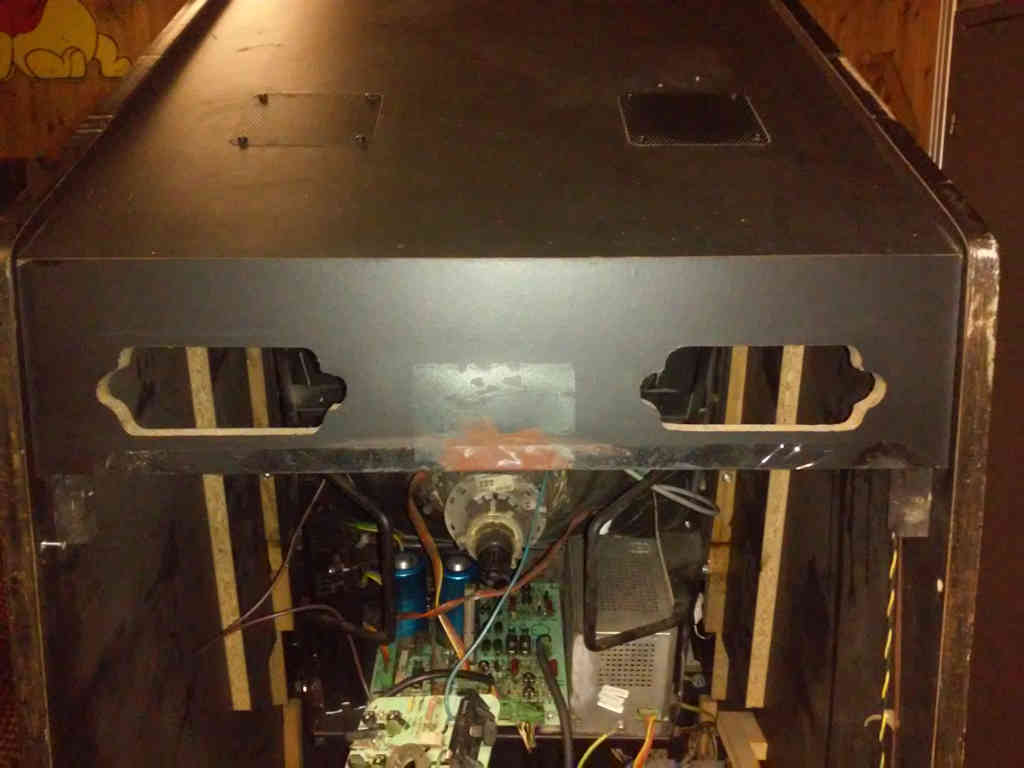
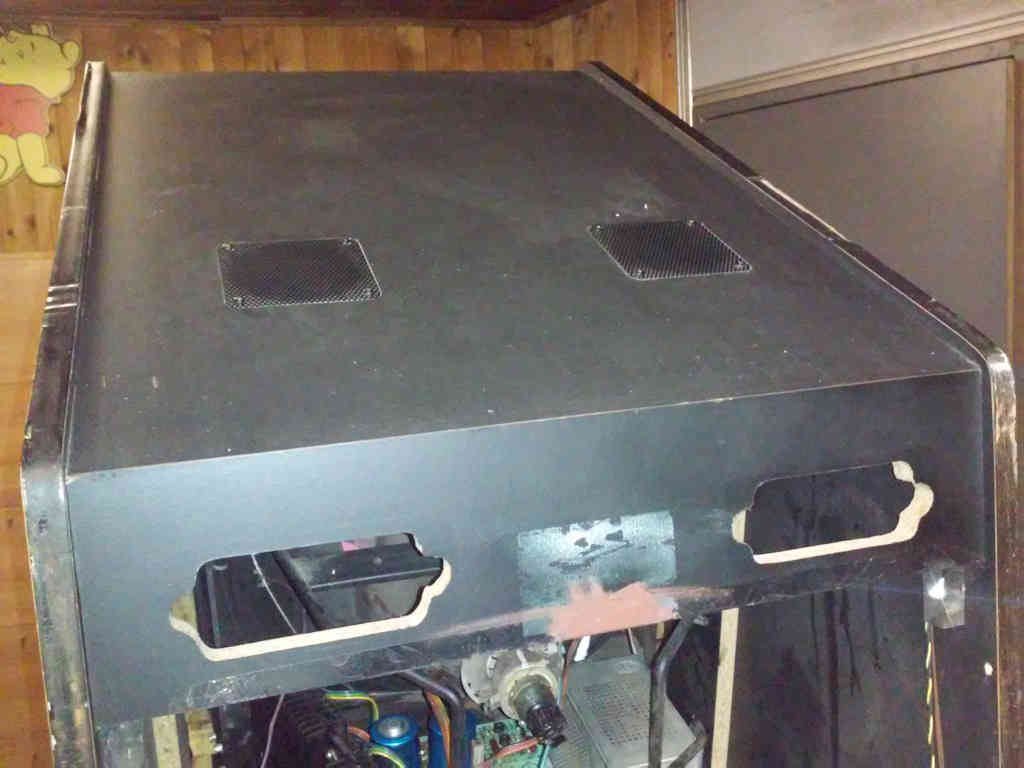
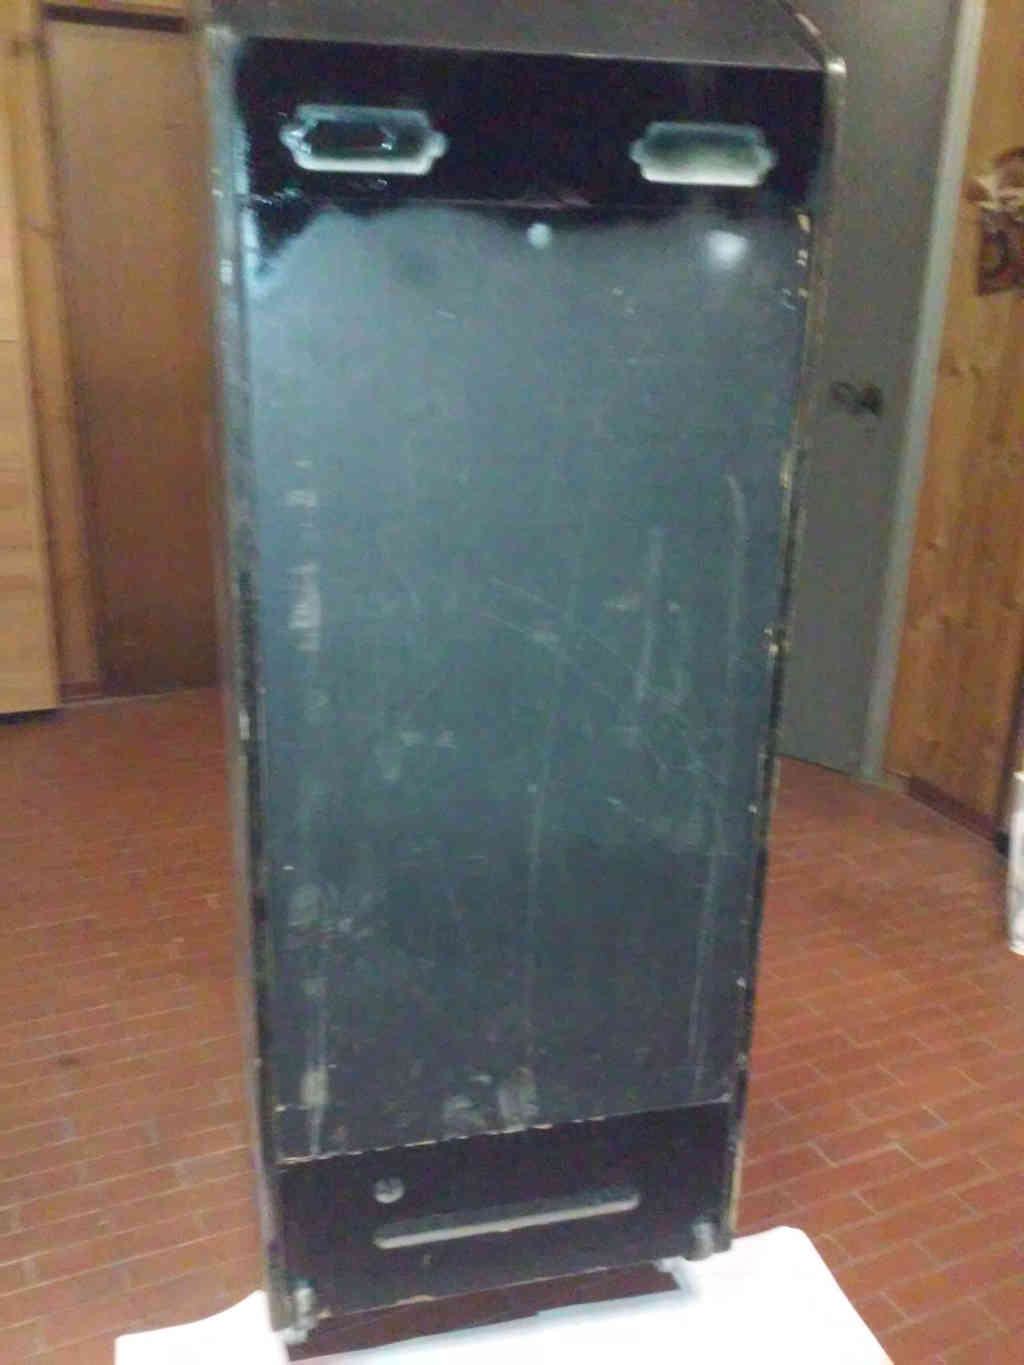
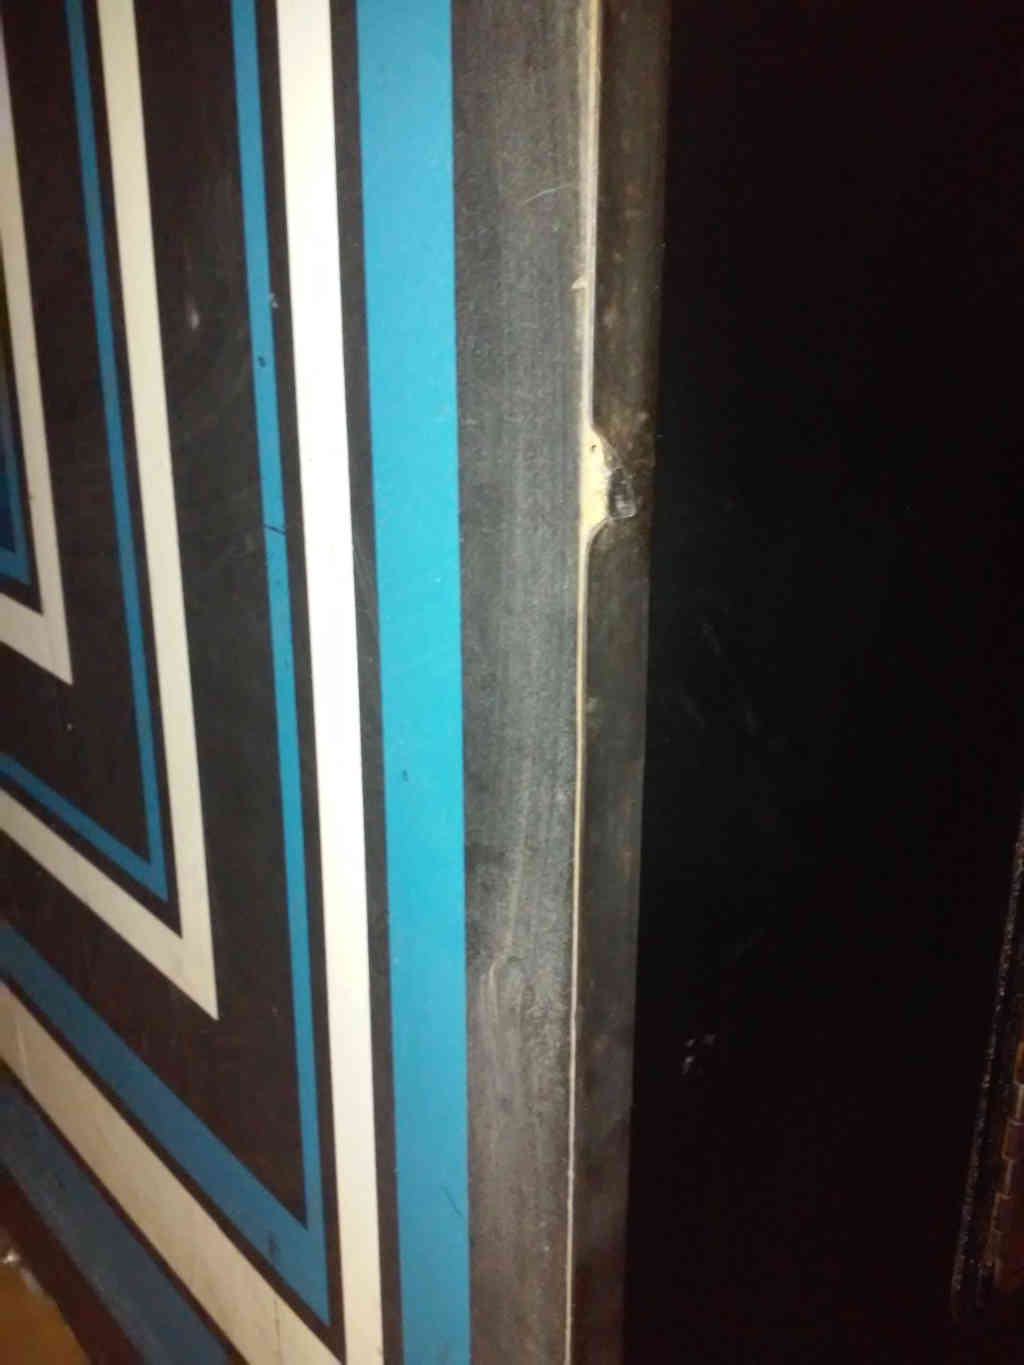
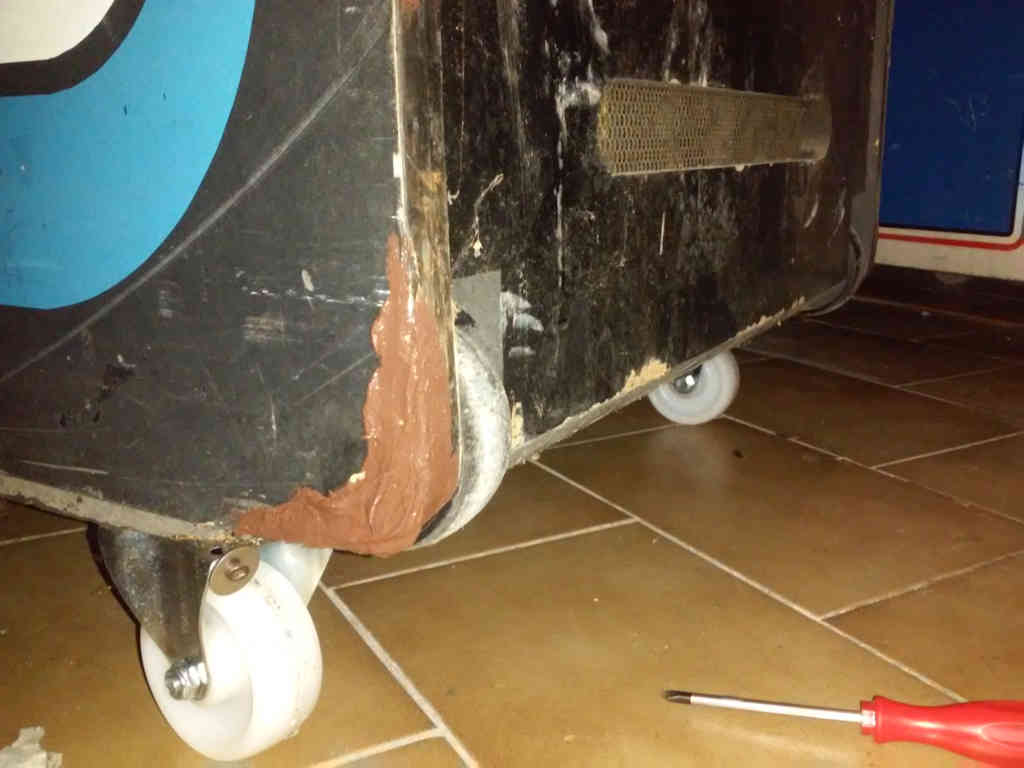
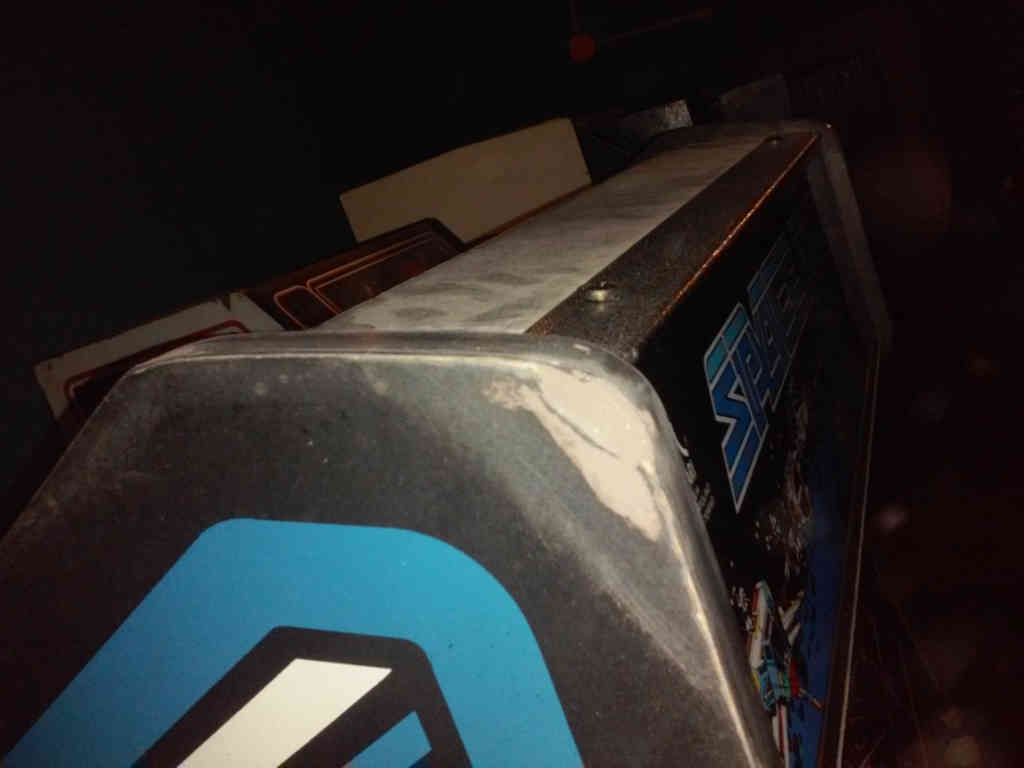
The cabinet in the collection is a very rare Italian version produced by F.lli Bertolino of the same American Atari game (currently only this sample is known in the Italian version). The conditions are very good, the control panel has been reprinted because the original was completely worn out. The used monitor is very special and at the moment only two in the world are known, both owned by Vernimark.

Initial conditions

22 October 2015

I bought this cabinet in not-working conditions. After all general conditions were good with the exception of the control panel.

spaceduel001 spaceduel002 spaceduel004 spaceduel003 spaceduel005
  Inside I found all parts needed:

  • “Brick” Power supply: Italian version
  • ARII: Italiaan version
  • XY Monitor: Hantarex Color XY Monitor
  • PCB: Original Space Duel board by Atari

spaceduel008 spaceduel006 spaceduel007
Here there are the first pictures of the monitor

spaceduel011 spaceduel009 spaceduel010

Control Panel

22 October 2015


I decided to scan and re print the CPO on vinyl. First of all I removed the control panel and all its parts

spaceduel012spaceduel013spaceduel014spaceduel015spaceduel016spaceduel017spaceduel018
  Then I scanned it in two parts vectorizing the result.

spaceduel019spaceduel020spaceduel021spaceduel022
This is the result.

spaceduel023
I cleaned all parts setting up the overlay

spaceduel027 spaceduel024 spaceduel025
And then I reassembled buttons, wiring, and overlay all together

spaceduel028 spaceduel029

Hantarex Color XY Monitor

5 November 2015

Inside the cab I found the very rare Hantarex Color XY monitor. After a recap and mixing the parts with the other one I have I had it working. 

spacedue030 spacedue031 spacedue032 spacedue033 spacedue034 spacedue035 spacedue036

Coin doors

5 November 2015

Usual work for both coin doors. Just cleaning, checking the bulbs, painting both frames, re assembling all parts…  

STEP 1 – Initial conditions

spacedue037 spacedue038 spacedue039 spacedue040 spacedue041 spacedue044 spacedue042 spacedue043  
STEP 2  – Disassembling and cleaning

spacedue049 spacedue045 spacedue046 spacedue047 spacedue048 STEP 3 – Re assembling, the result… spacedue051 spacedue050        

Front panel

5 November 2015

Front panel has some scratches and I think the old owner spayed the coin door frames with black glossy paint. For this operation I used matte black spray. These were the initial conditions.

spaceduel052 spaceduel053  
Ready to spray…  

spaceduel054  
Done…  

spaceduel055 spaceduel056

Back

14 December 2015

I could see some damages made opening the cab on the back side and on the back panel. I tried to repair both part repainting the result. Back side:

spaceduel057 spaceduel058


I used a tape to protect the part until it dried

spaceduel059


modeling with sandpaper

spaceduel060


black spray

spaceduel061


I did the same for the back panel:

spaceduel062 spaceduel063 spaceduel064 spaceduel065

T-molding Phase 1 – damages identification

15 December 2015

T-molding was damaged in multiple parts. I decided to not change it but make a sort of restoration. I already did it for Gyruss. These are three of the several damages I had damages

spaceduel078 spaceduel076 spaceduel077

T-molding Phase 2 – plastering

15 December 2015

Then I plastered the holes.

spaceduel079 spaceduel080 spaceduel081 spaceduel082 spaceduel083

T-molding Phase 3 – sanding

15 December 2015

Then I gave the correct shape sanding the surfaces

spaceduel088 spaceduel084 spaceduel085 spaceduel086 spaceduel087

T-molding Phase 4 – painting

15 December 2015

Last step: I sprayed with glossy black the t-molding and matte black the plastered  cabinet parts fading on the edges

spaceduel089spaceduel090 spaceduel091 spaceduel092 spaceduel093

Monitor pictures (2)

8 January 2016

Here some monitor pics I took, just for reference.  

Deflection board:

spaceduel108 spaceduel109 spaceduel111


What’s “Silga”?

spaceduel114 spaceduel113 spaceduel112


Neck board

spaceduel115


HV board

spaceduel118 spaceduel116 spaceduel117

Testing the game

8 January 2016

I had some problems with the monitor and after few hours the fuse blown. I checked all transistors but I understood a diode shorted. Actually the temperature of the 4 TO3 was very high so I decided to include a 12V fan in order to stabilize the temperature on about 40°C

spaceduel119 spaceduel120 spaceduel121 spaceduel122  


This is the end…

8 January 2016

This is the result…  

spaceduel125 spaceduel126 spaceduel127
In this version the instructions are on the glass

spaceduel129 spaceduel128
marquee…

spaceduel132 spaceduel131
Dedicated key-chain

spaceduel133