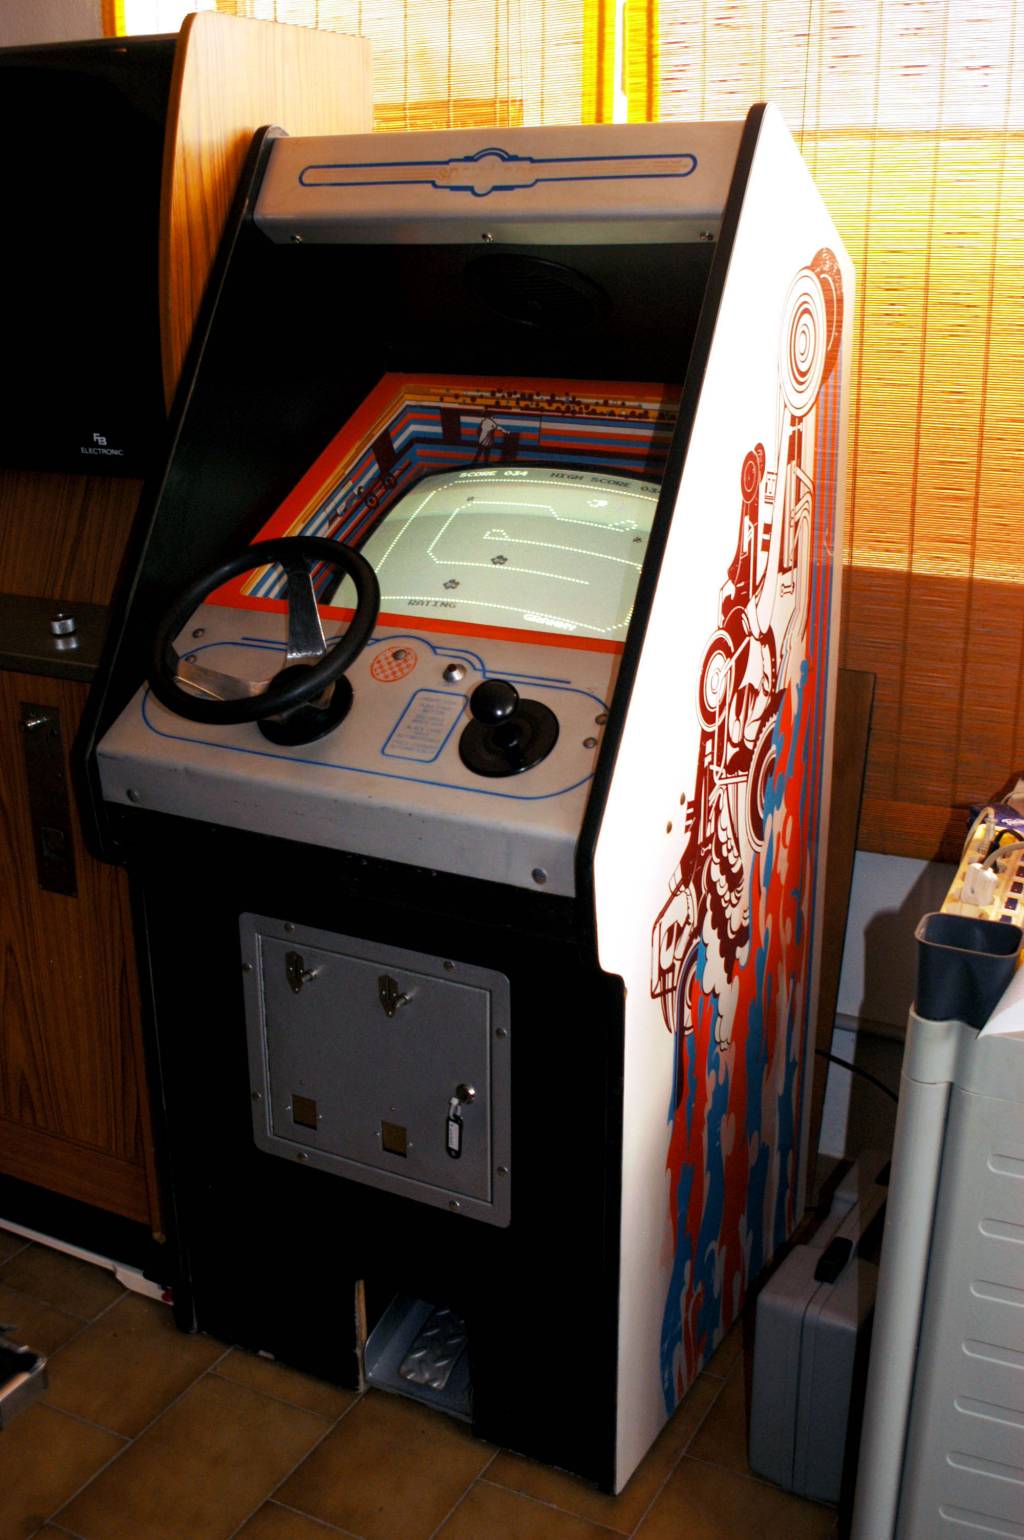
Sprint One

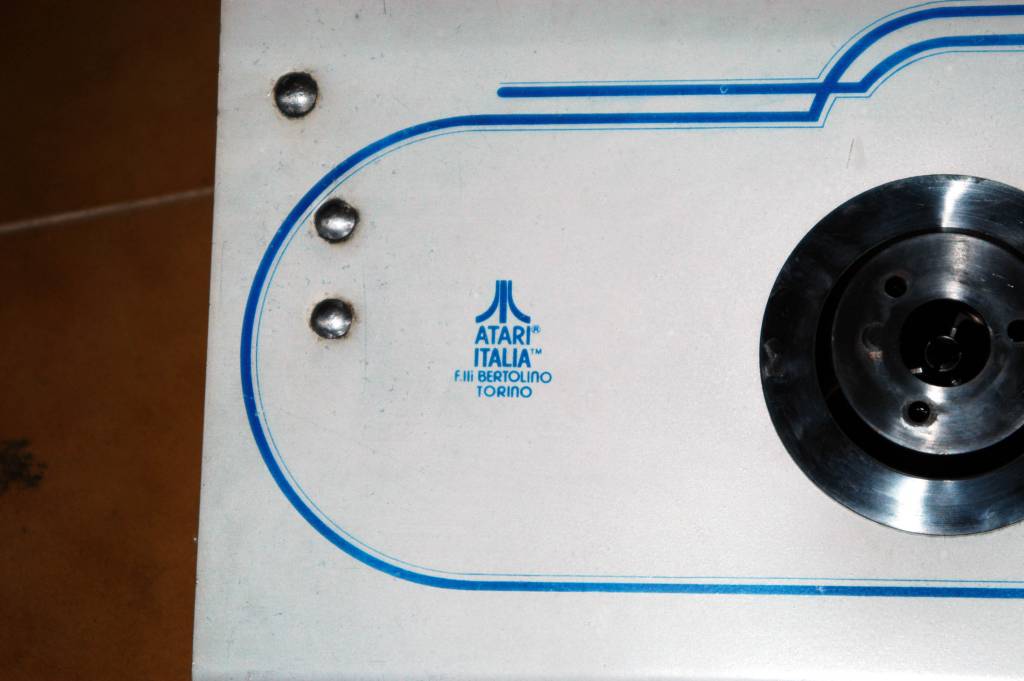
  • Manufacturer: Atari - Kee Games / F.lli Bertolino
  • Year: 1973

Useful info

  • Cabinet type: Upright
  • Measures (WxHxD): 64,3 x 160,0 x 77,0 cm
  • Working voltage: 220V
  • Maximum consumption: 99,0W 0,490A
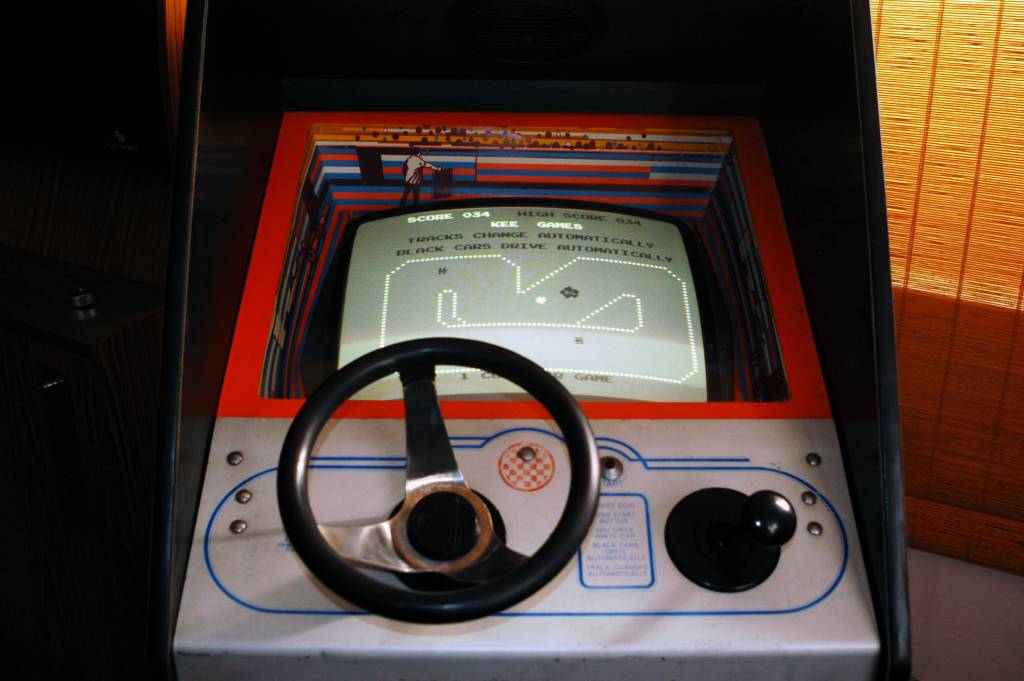
  • Technology: Horizontal B/W raster monitor

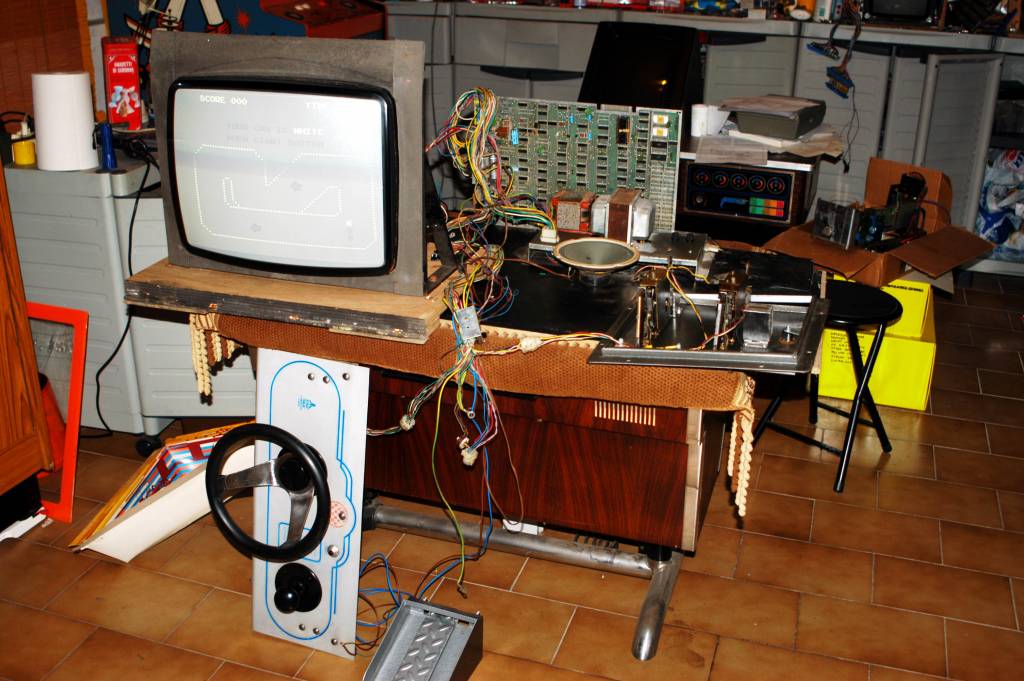
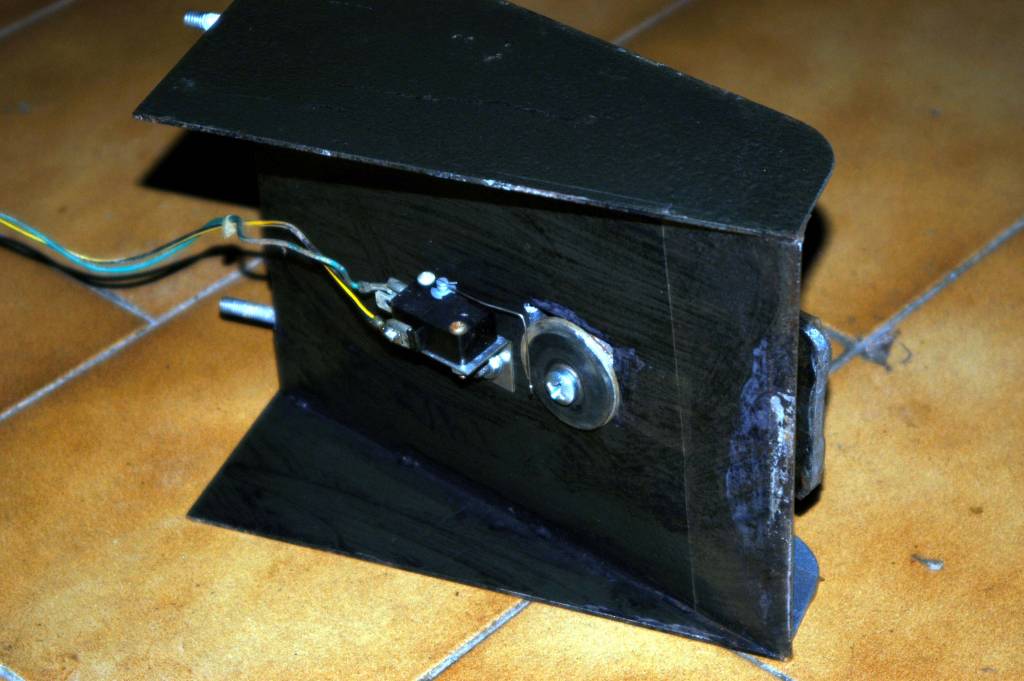
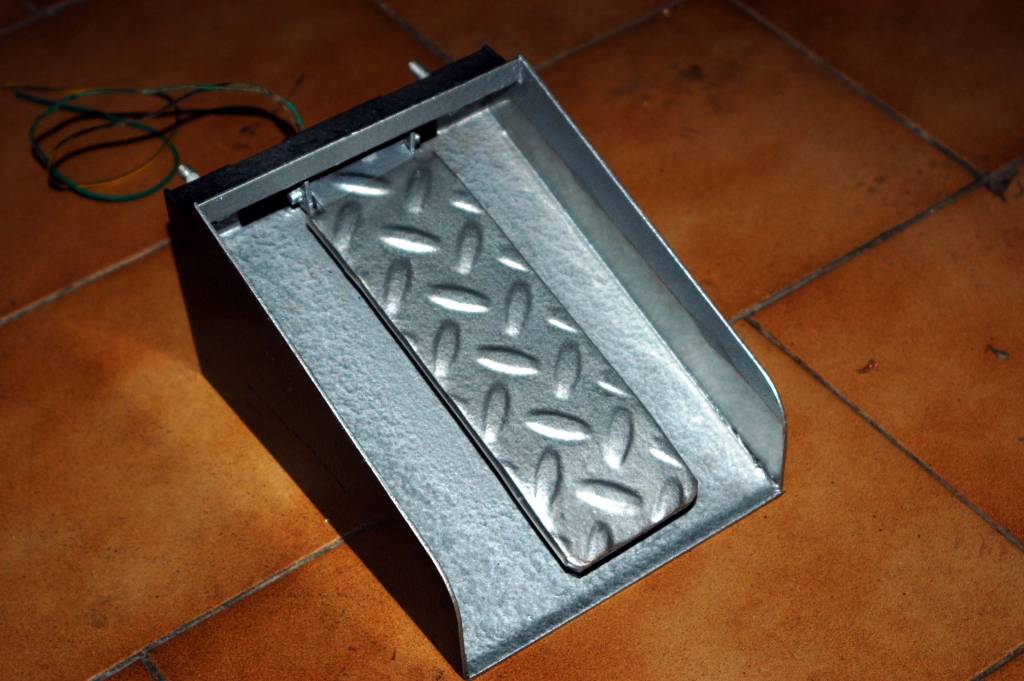
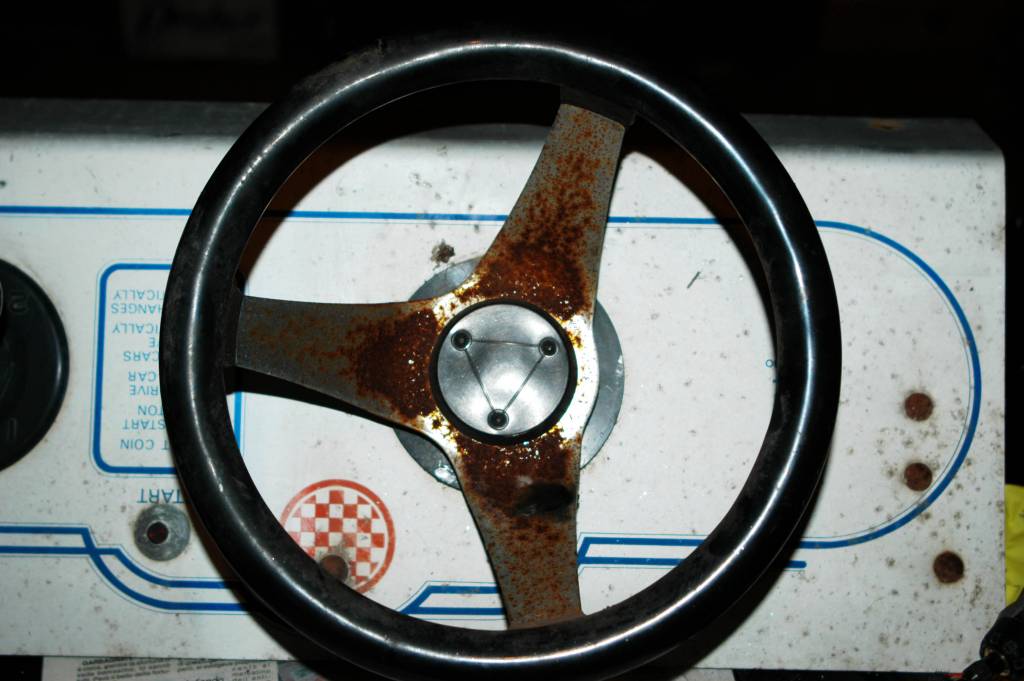
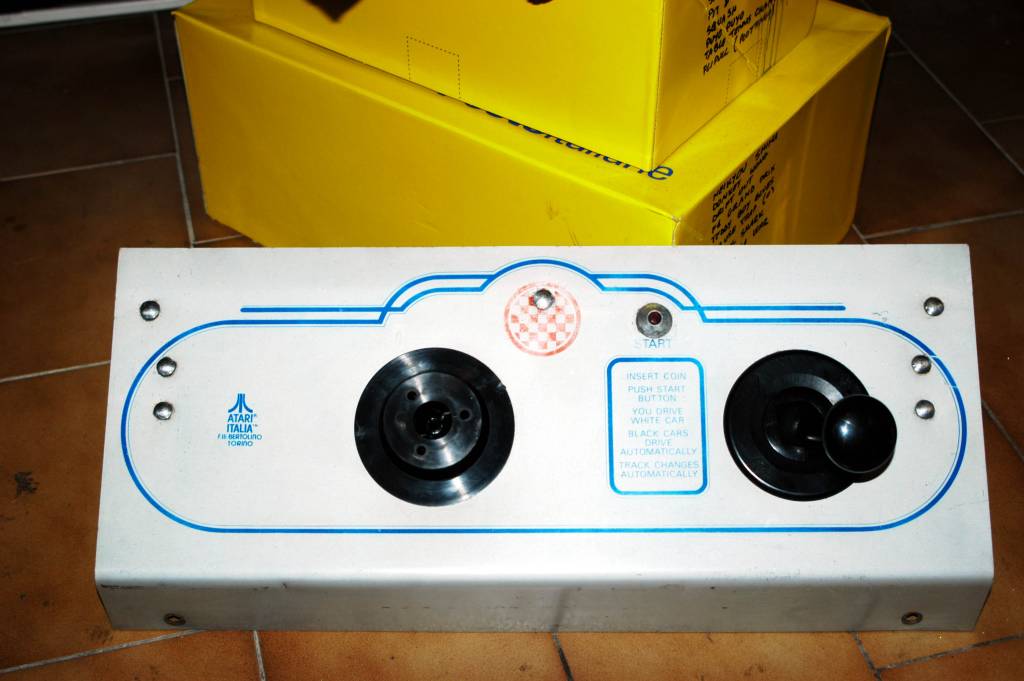
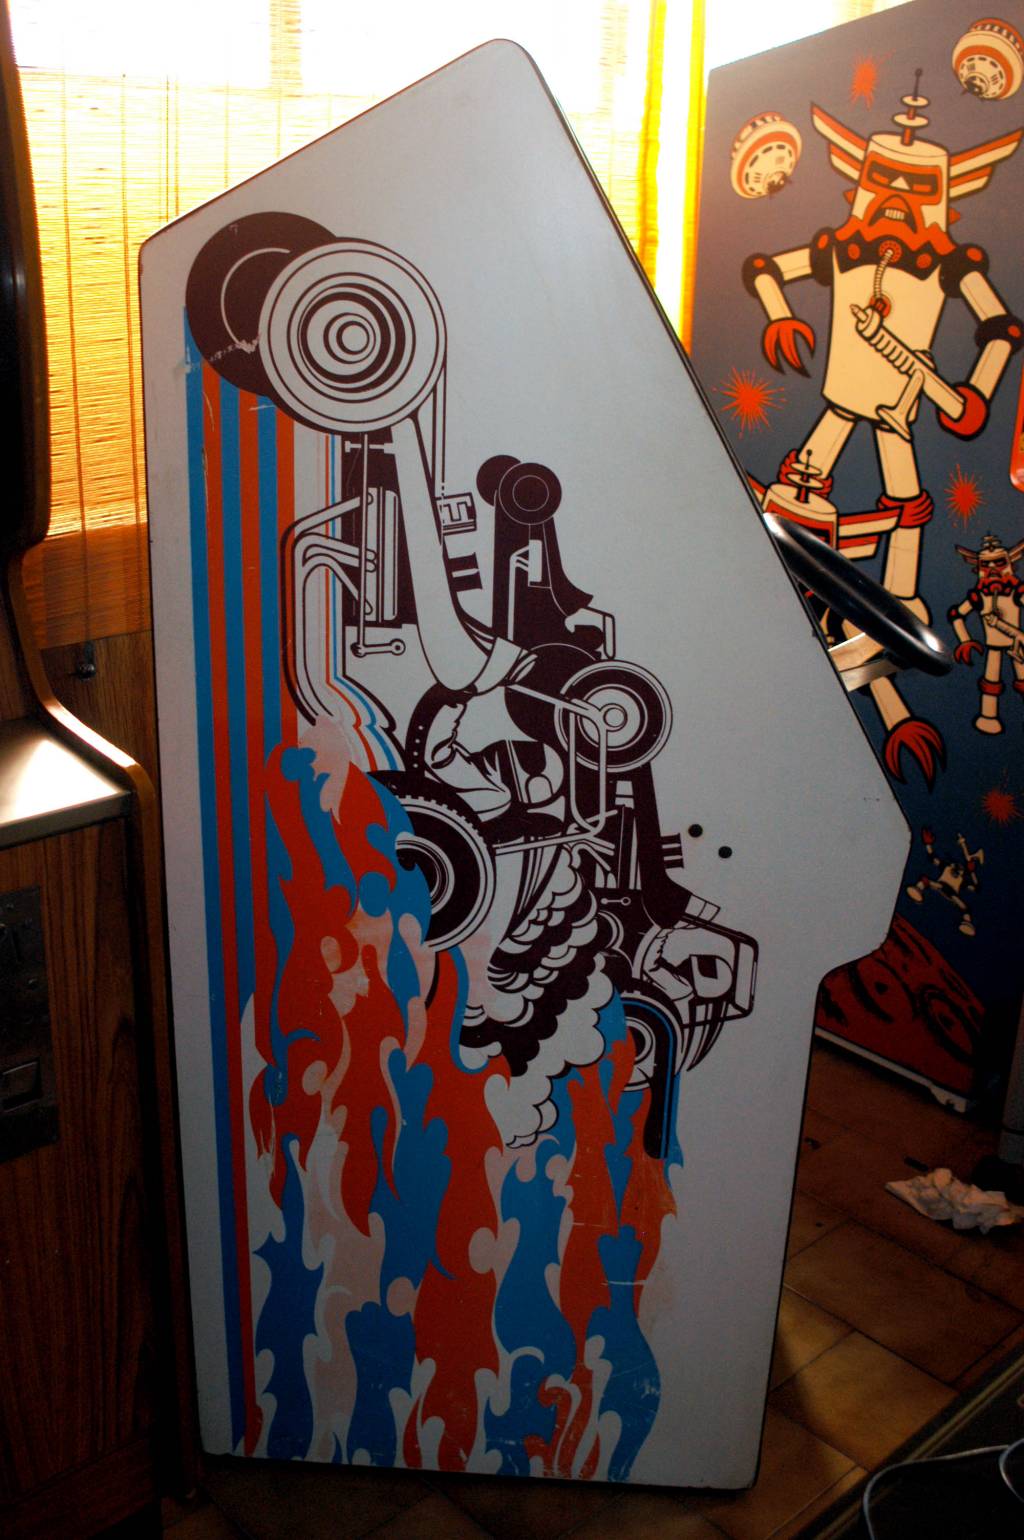
Another classic of the classics: the driver drives a car thanks to an endless rotating wheel, a four-speed gearbox and an acceleration pedal. The route changes whenever the previous one is completed. To complete the picture you must avoid competitors and dangerous oil stains. The game is quite difficult, especially using high gears. To complete the race without any accidents, a good technique that can only be matured with experience is required.

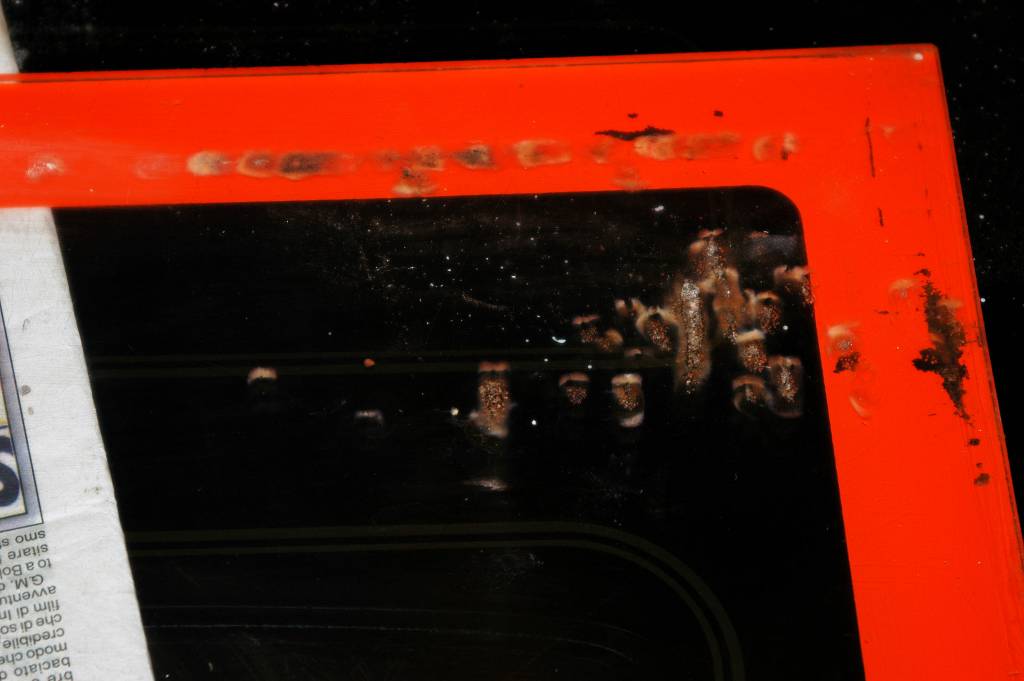
The game in the collection is the version produced in Italy by F.lli Bertolino. The conditions are very good, only the upper writing is a bit worn out while the side art and the card board are in very good condition. This version is licensed by the US Atari while in the United States the game was produced by Kee Games (affiliated dell’Atari).

Collecting parts…

3 April 2014

I think Sprint One is a must-have. I picked up it in 2011 in discrete conditions although it was lying in a field protected only by a small canopy. Inside a lot of spiders and humidity, but nothing so problematic.

sprint1_cab_11 sprint1_cab_12 sprint1_cab_13

First of all I removed everything, including wiring and cleaned all parts. Then I repaired monitor and PCB using my SPace Pirate cocktail like a desk…

sprint1_cab_10

PCB

3 April 2014

PCB is well known, I upload here some pics only for reference.

sprint1_pcb_01 sprint1_pcb_02 sprint1_pcb_03 sprint1_pcb_04 sprint1_pcb_05

Pedal

3 April 2014

I was writing… “I applied the same method used for other pedals” but I think this was the first pedal I restored, so I can write: here I developed a good method to restore pedals… First of all you have to clean and smooth all surfaces

sprint1_restoration_10


Then I used a “de-rust” product. It combines with rust and transform it in a protective (black) layer

sprint1_restoration_11


Then you can paint it as you want. Here I used a “special-effects” spray painting.

sprint1_restoration_12

Control Panel

3 April 2014

Nothing special done to the CP, but I had to sand the wheel.  

sprint1_restoration_30 sprint1_restoration_31 sprint1_restoration_32 sprint1_restoration_33

Coin door

3 April 2014

Yes I know this is lighter than the original… More or less I used the same method applied to the pedal. In this case I used Dremel to polish buttons and chromed parts.

sprint1_restoration_50 sprint1_restoration_51 sprint1_restoration_52 sprint1_restoration_53 sprint1_restoration_54 sprint1_restoration_56 sprint1_restoration_57

Plexi

3 April 2014

In order to remove burns on plexi I used a very fine sand paper and then Novus 3, 2 and 1

sprint1_restoration_40

The cab

3 April 2014

This is the cab.  

sprint1_cab_01 sprint1_cab_02 sprint1_cab_03 sprint1_cab_04

Color monitor

4 April 2014

After some days I decided to try an experiment. I back tracked a color hack seen on a Sprint 2 board. Then I mounted an Hantarex 900 and adapted the hacking to Sprint One. This is the modification I made.

Image1

Ah, and I found for few euros a new wheel. I had (and still have) the black “KG” plastic central knob but actually I don’t remember why I mounted this one.

Dscn2341

New old monitor

9 September 2014

Some years ago I made the “color” modification for this game but now I decided to mount a BW monitor removing the hack. I used a SELTI monitor I had in my garage coming from a Bazooka Italian bootleg. This is the monitor.

sprint1_restoration_60
  I replaced all electrolytic capacitors. In order to check the monitor I used a signal from an Astro Wars Zaccaria 🙂 this is what I saw:

sprint1_restoration_61
and replacing the yoke I had a working monitor

sprint1_restoration_62
This is the monitor mounted into the cabinet

sprint1_restoration_63 sprint1_restoration_64
And this is the game as it appears now

sprint1_restoration_65