Turbo

  • Manufacturer: Sega - Gremlin
  • Year: 1981

Useful info

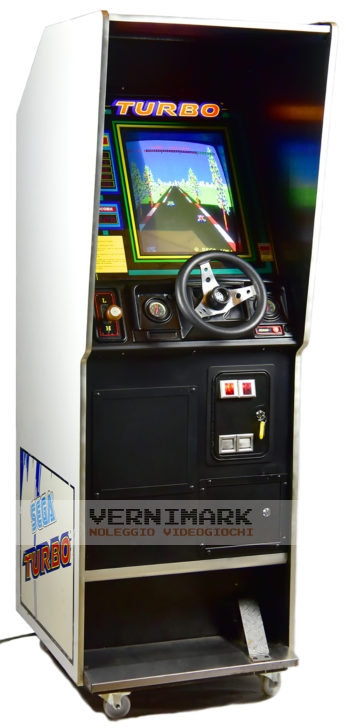
  • Cabinet type: Upright
  • Measures (WxHxD): 64,2 x 191,0 x 93,0 cm
  • Working voltage: 220V
  • Maximum consumption: 204,0W 1,190A
  • Technology: Vertical Color raster monitor

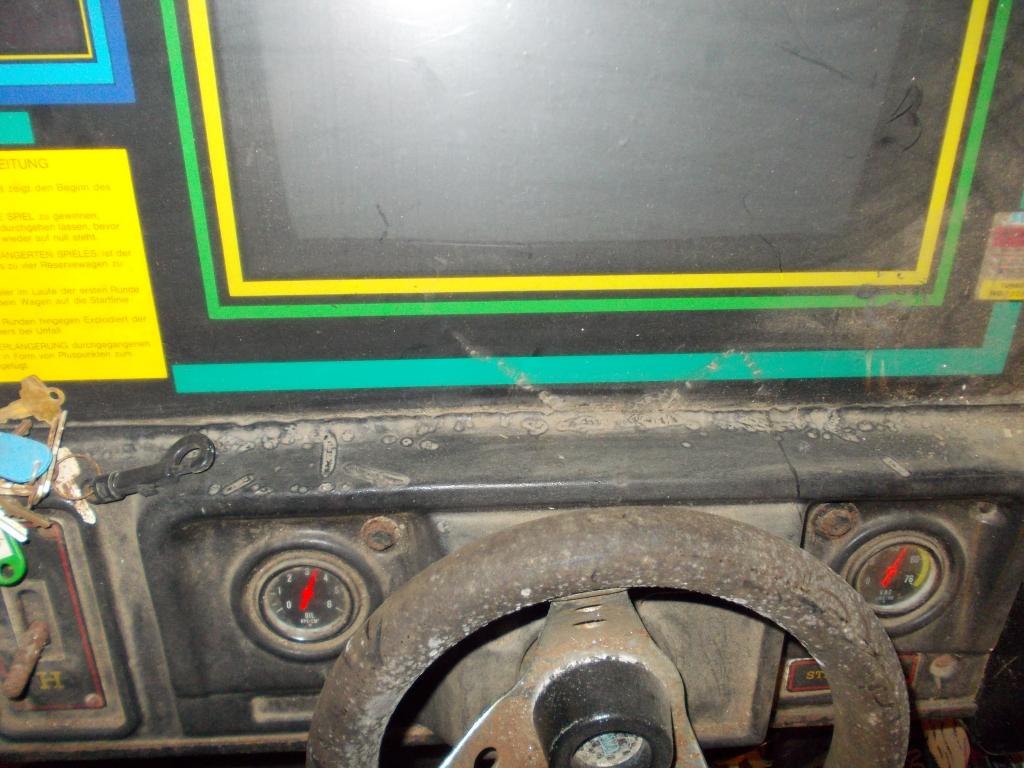
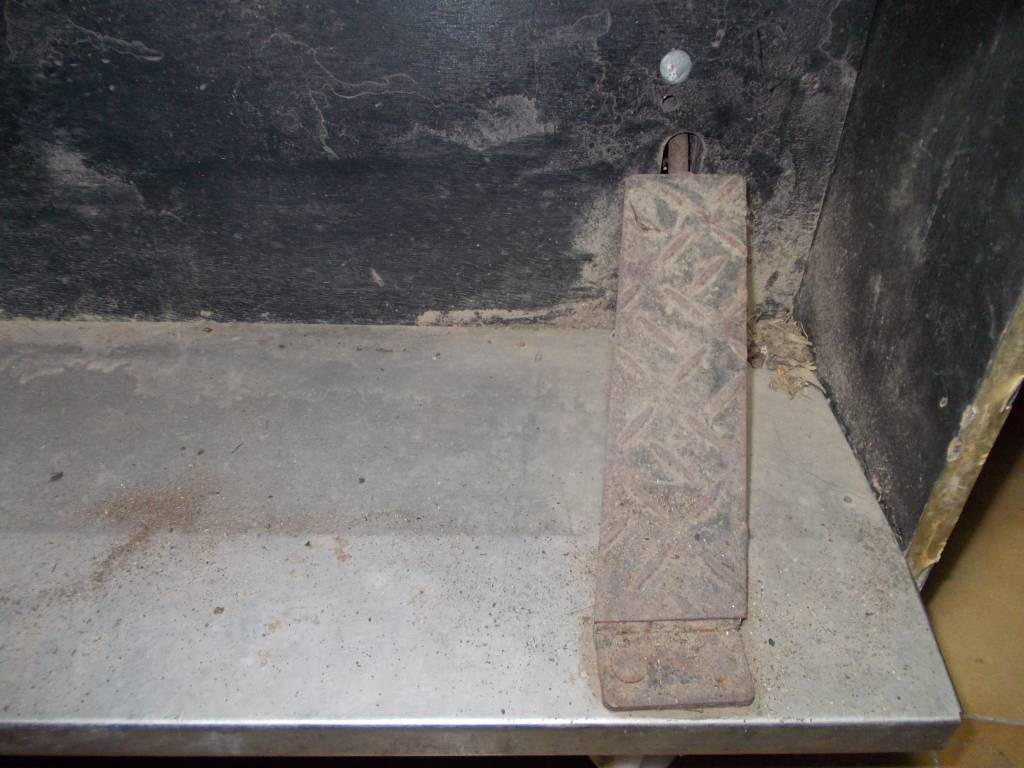
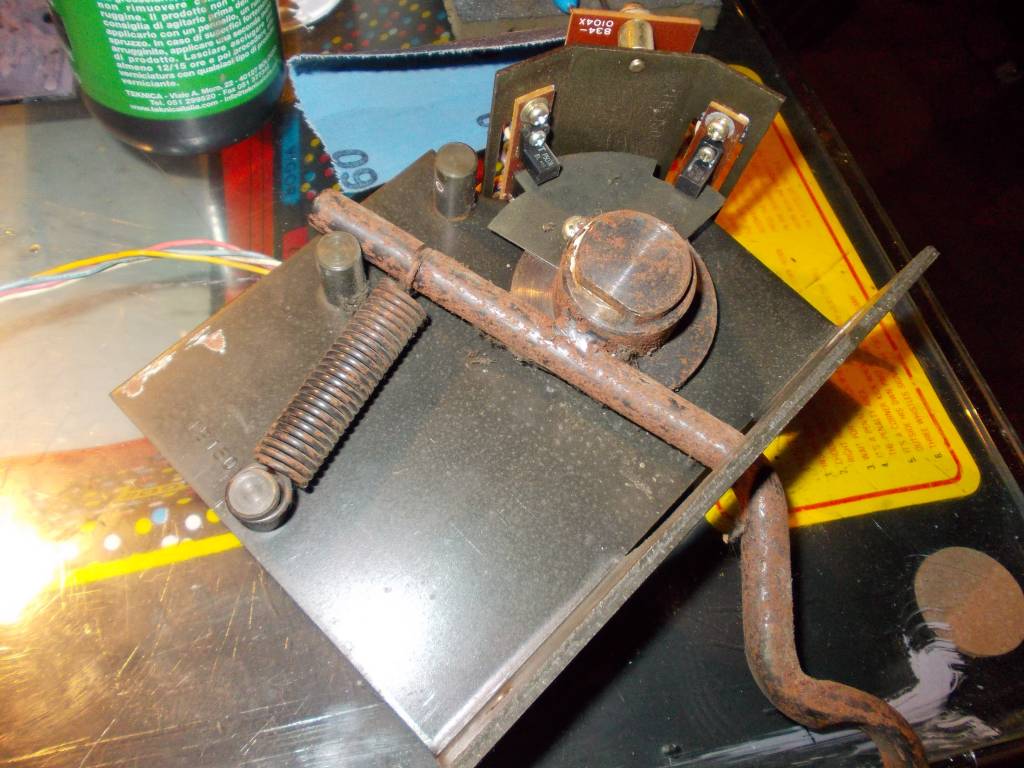
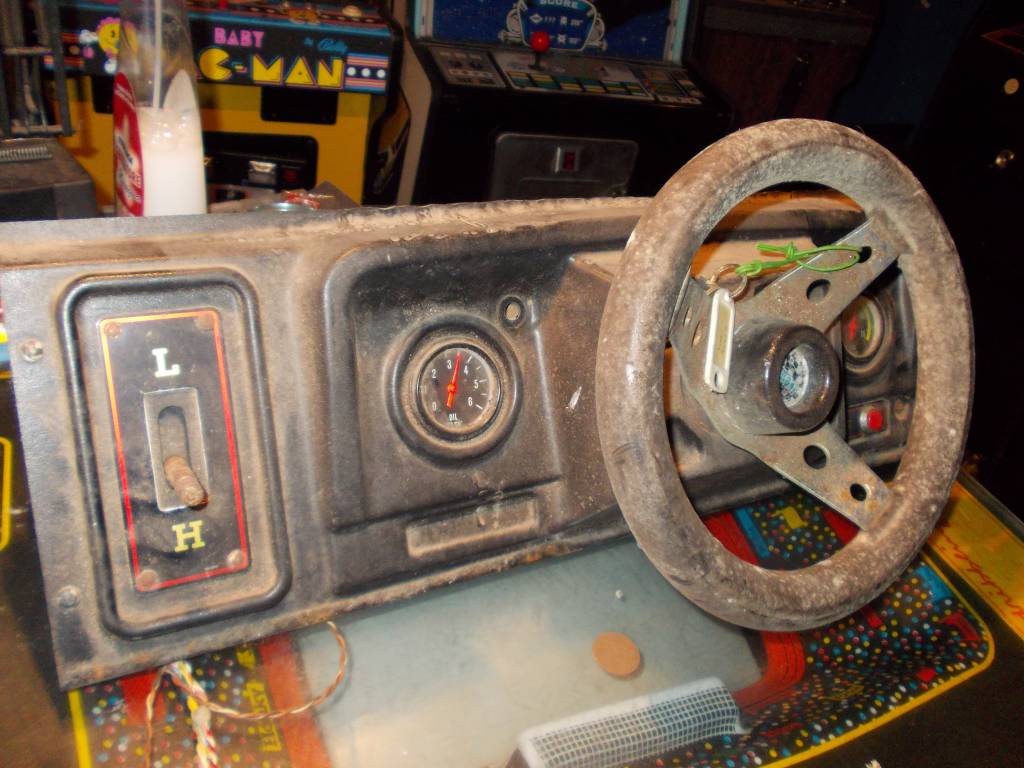
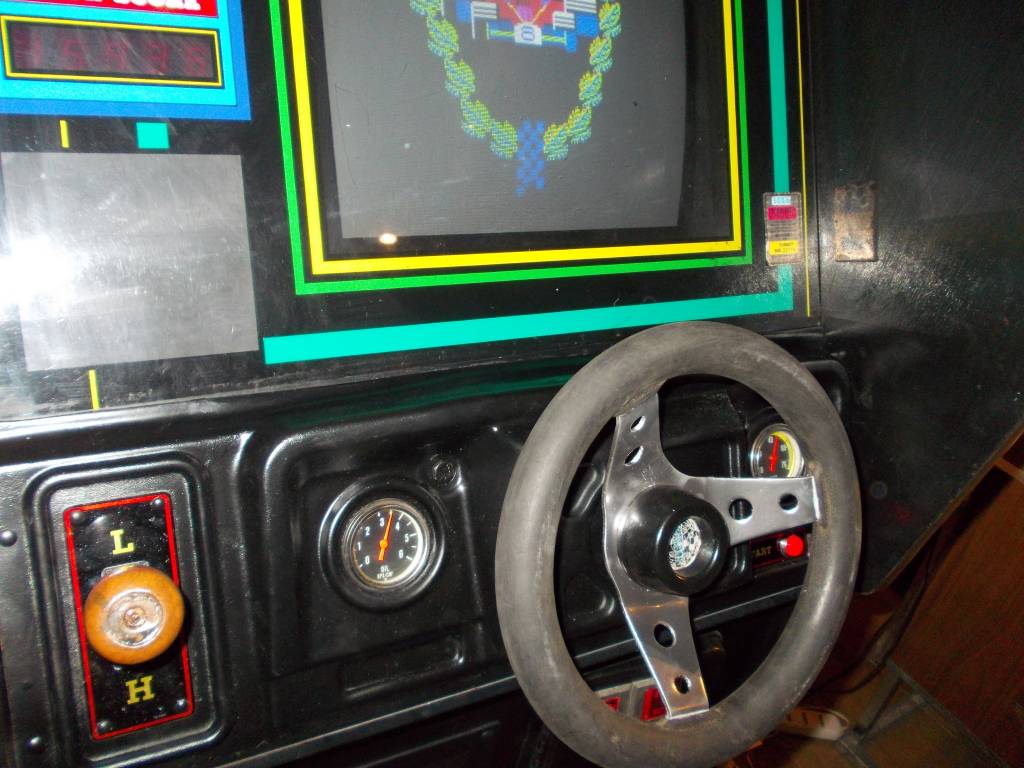
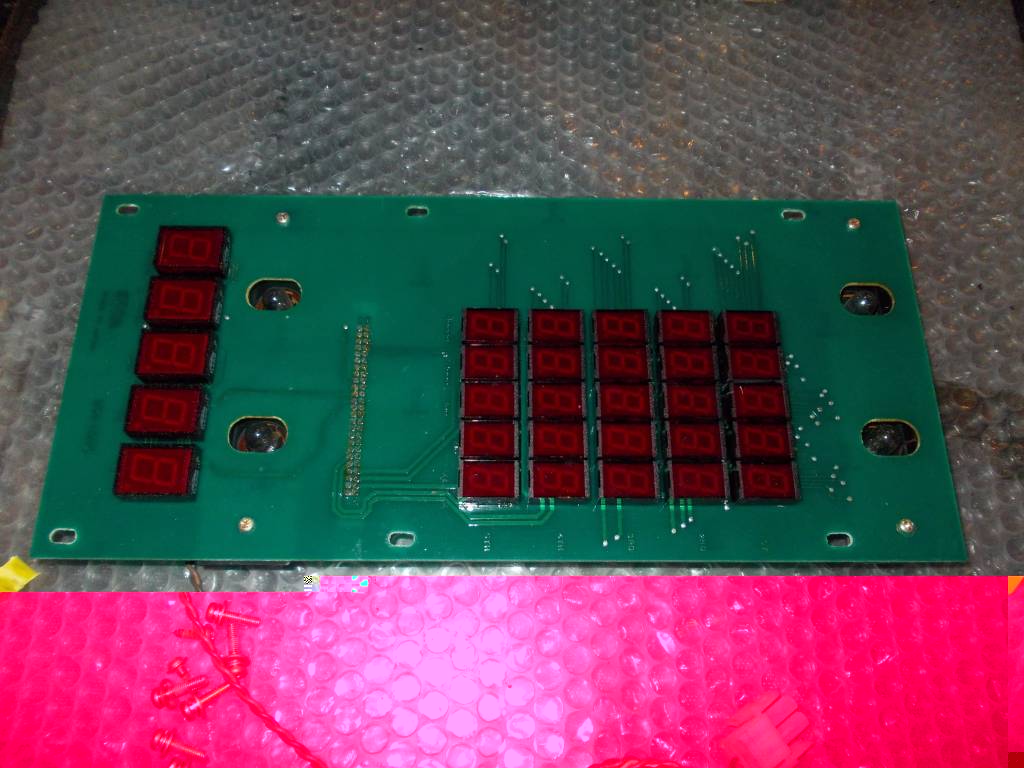
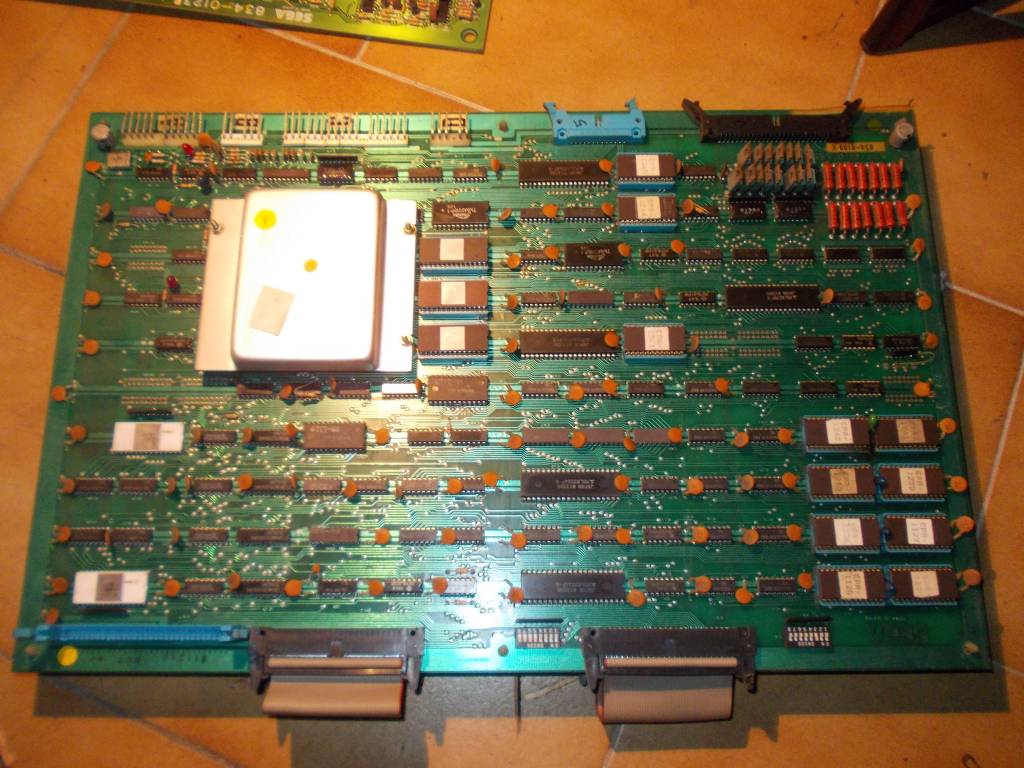
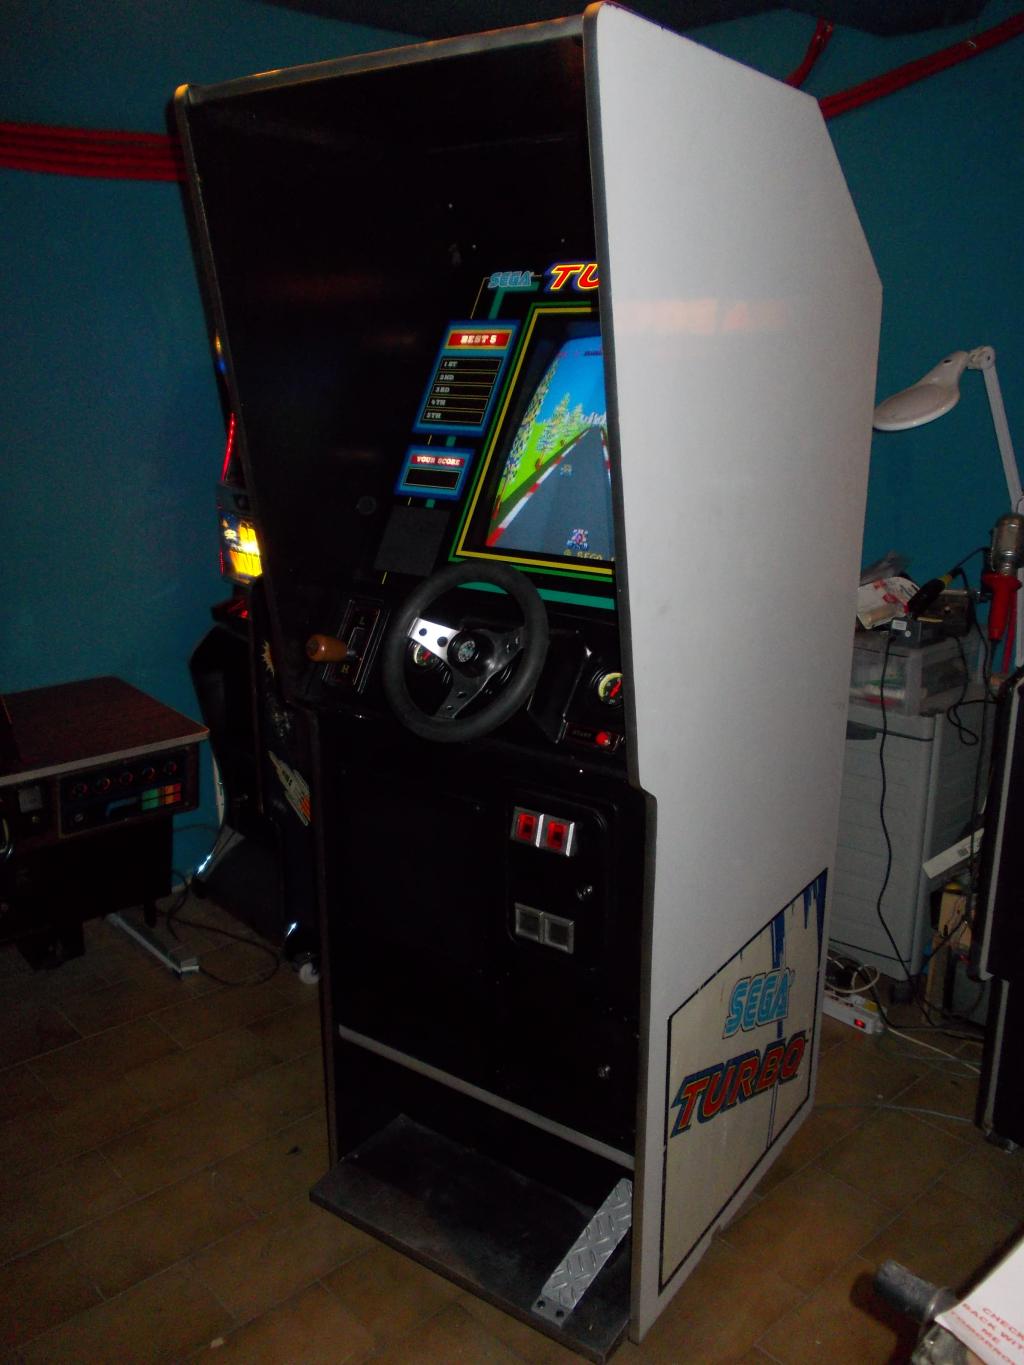
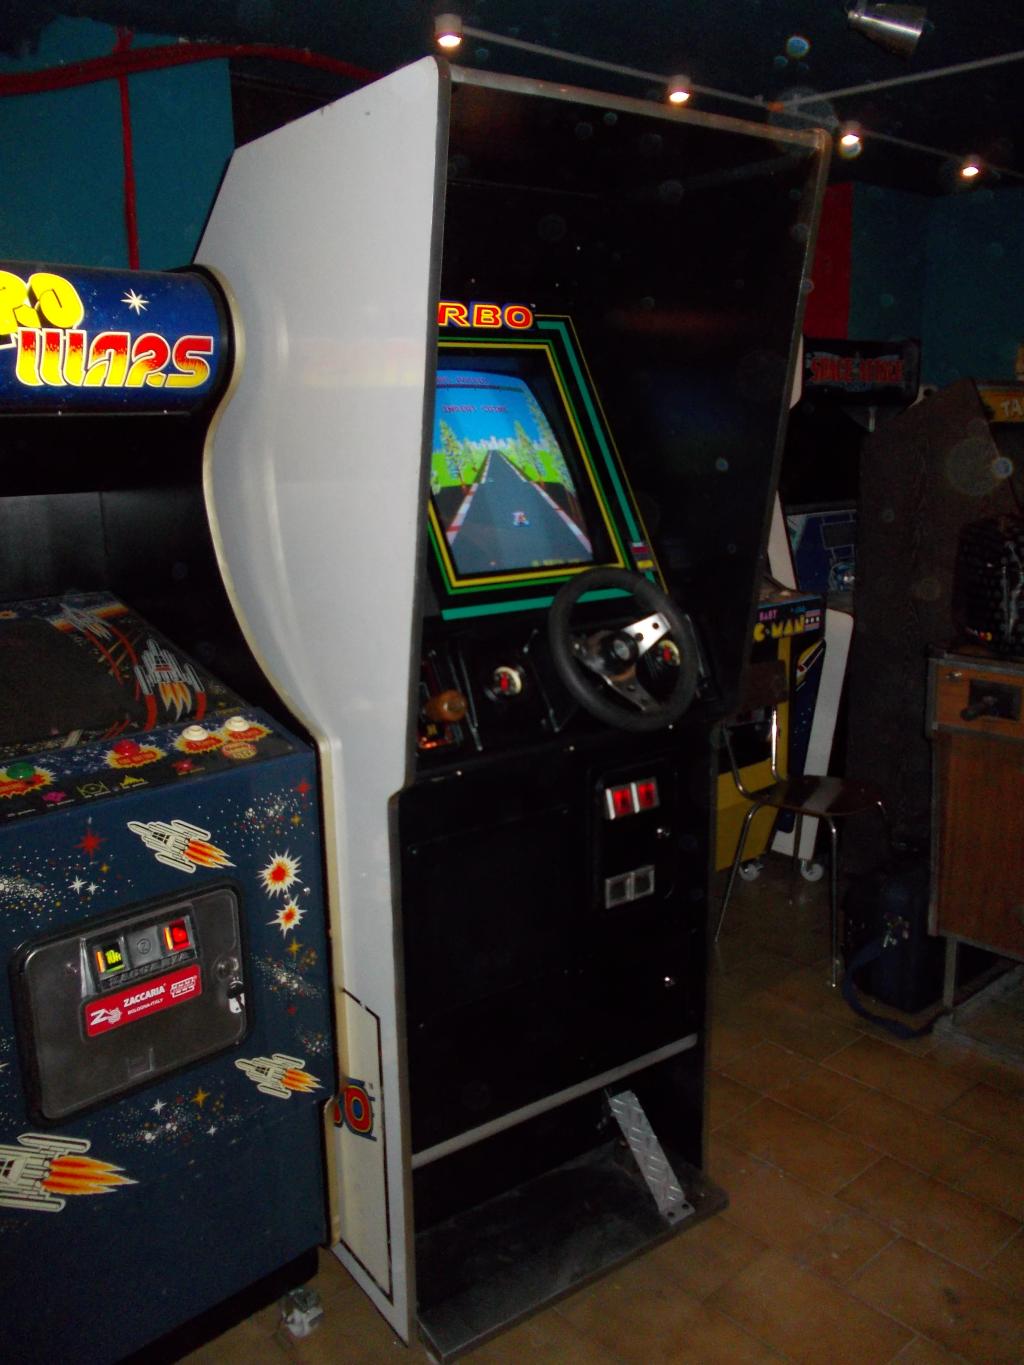
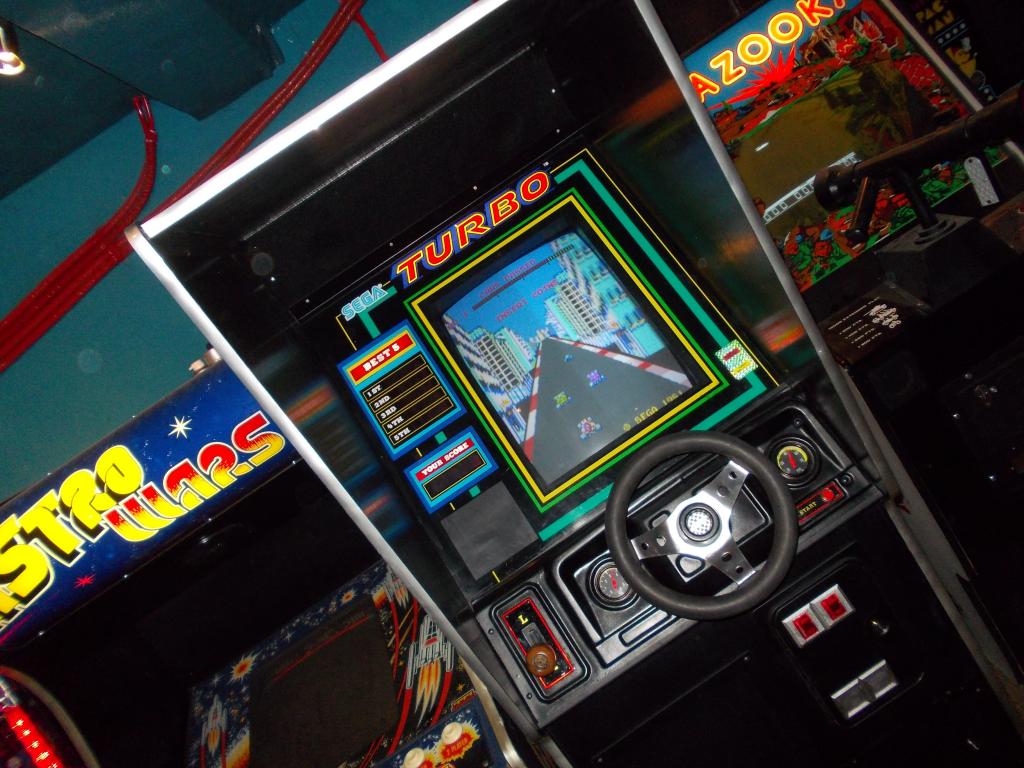
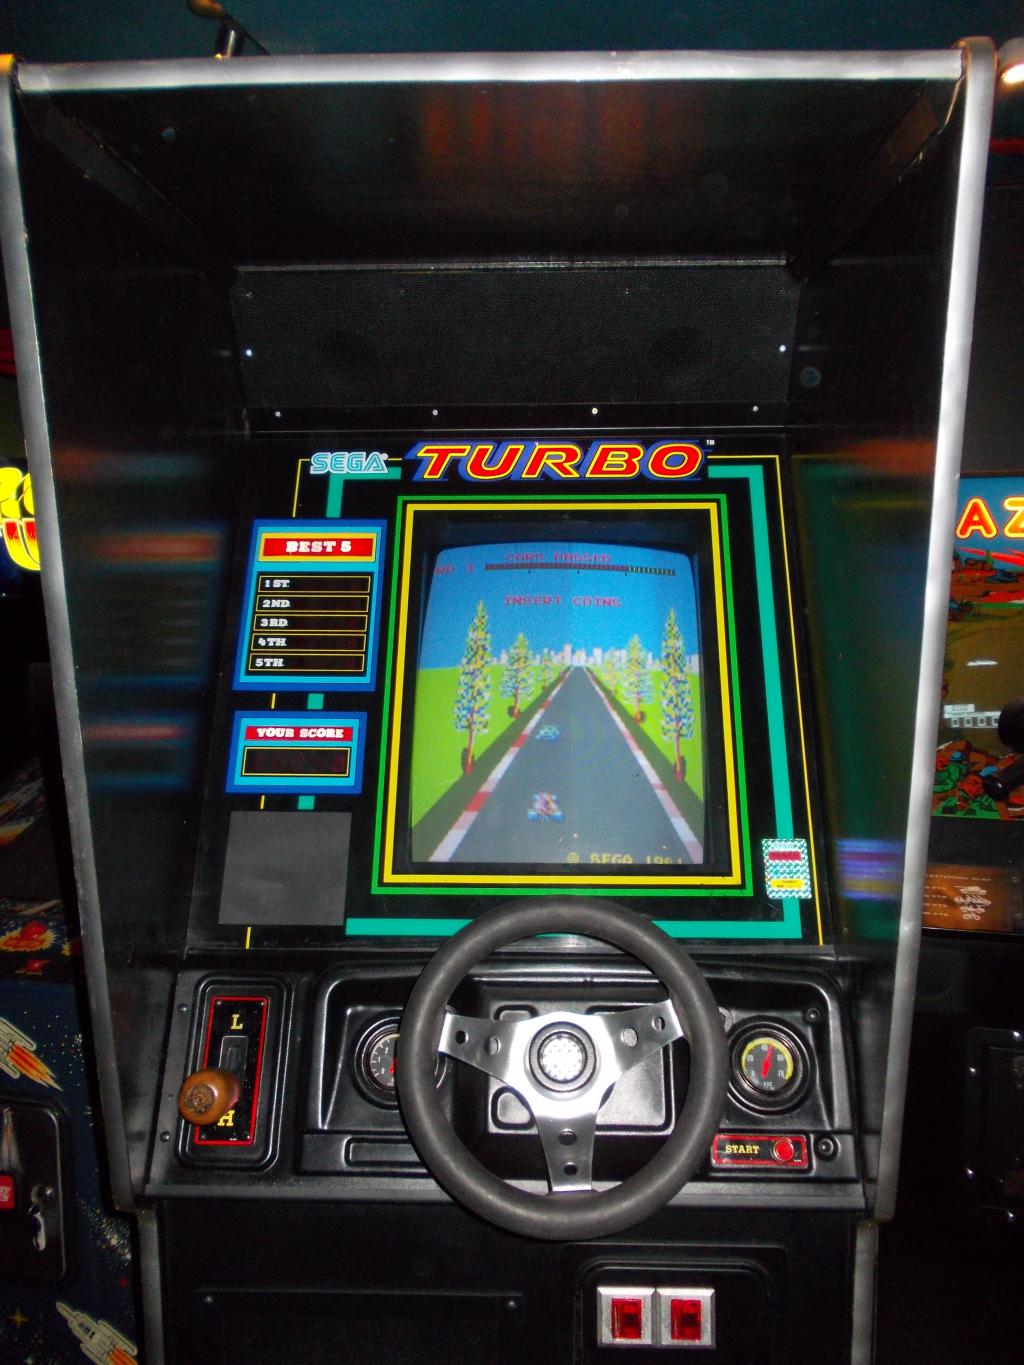
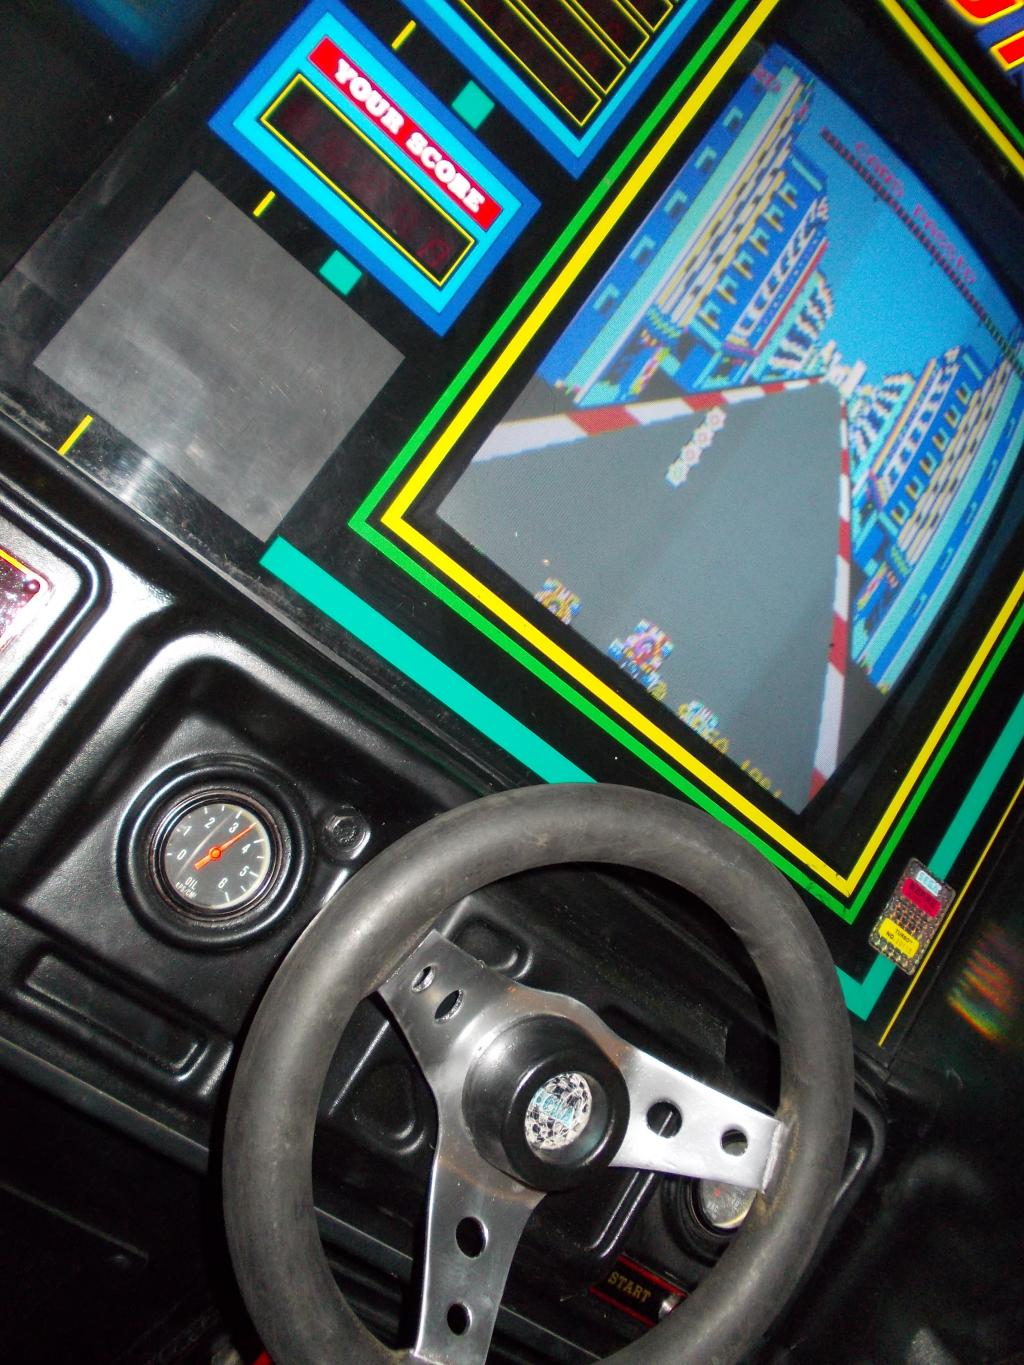
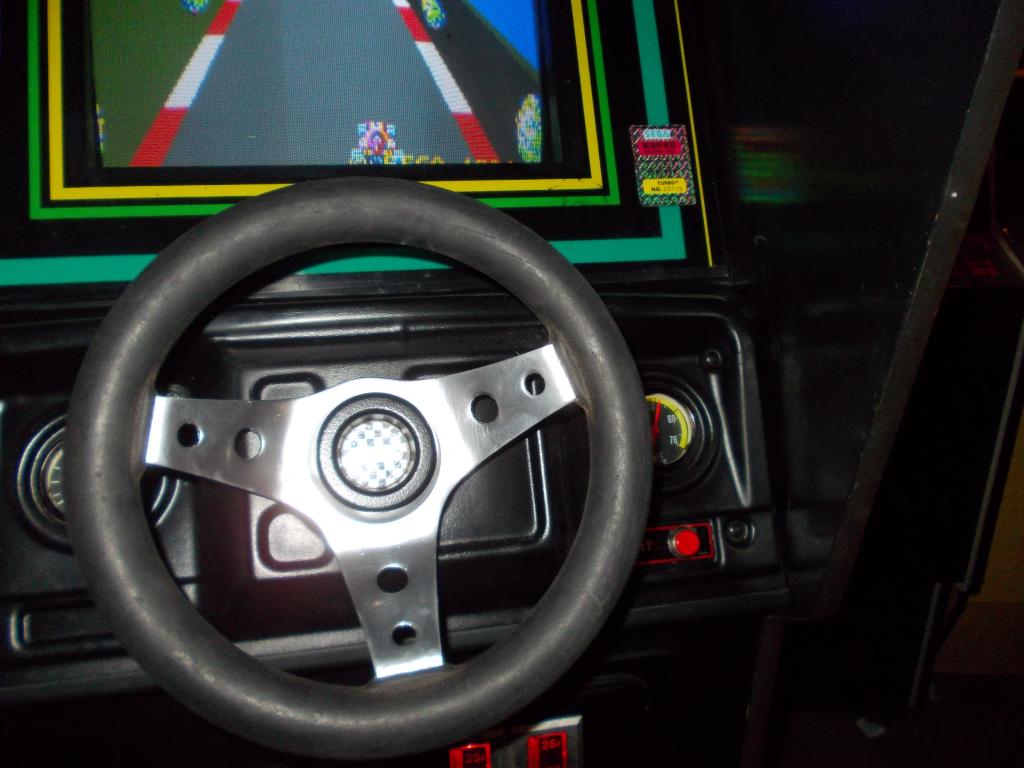
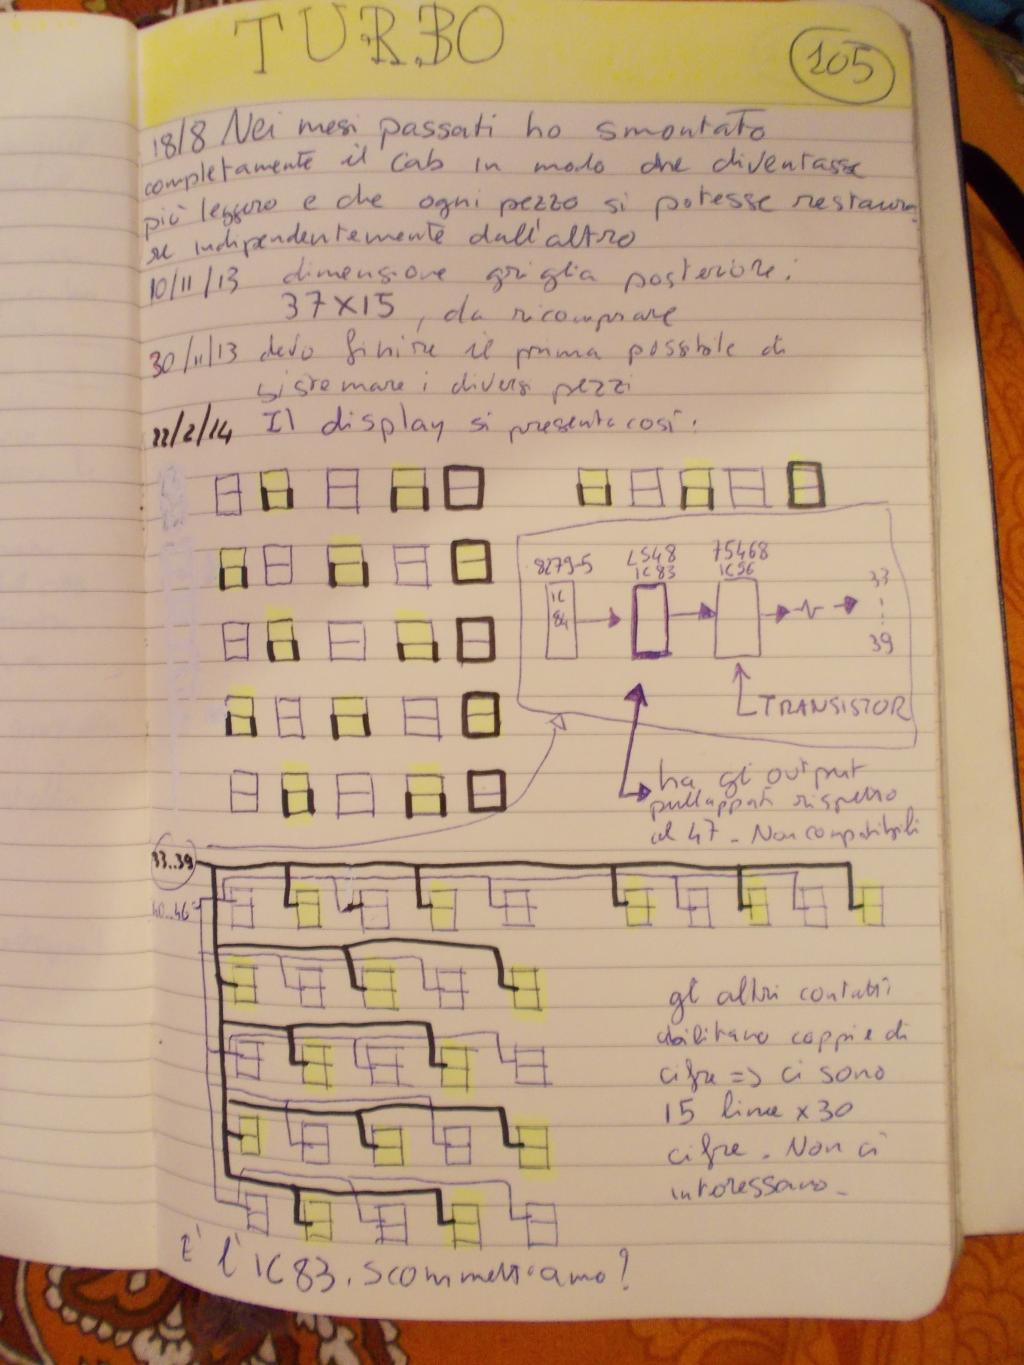
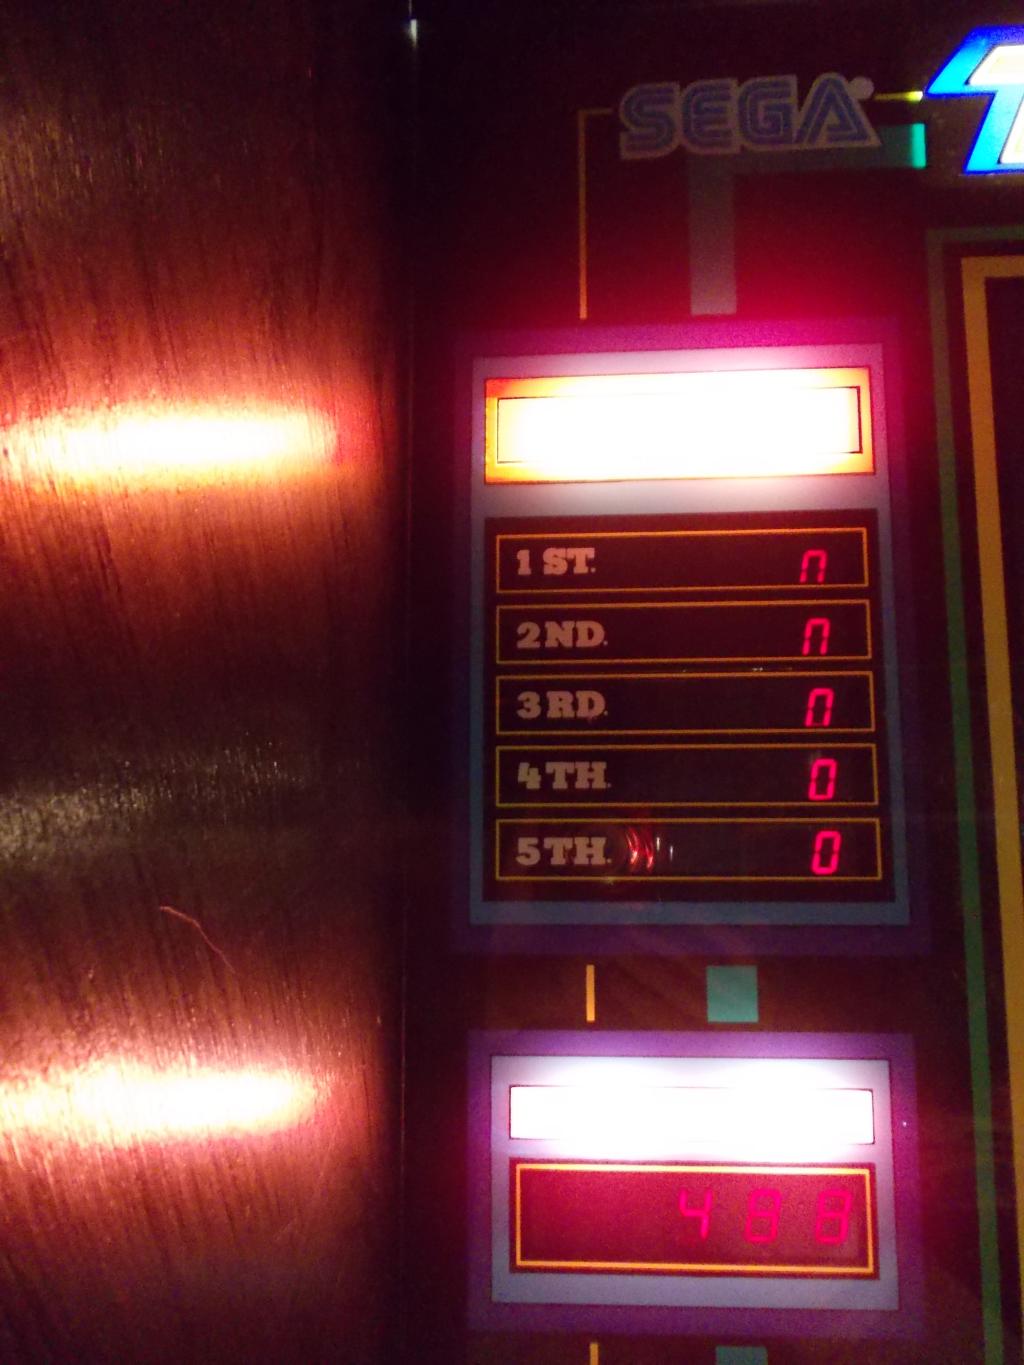
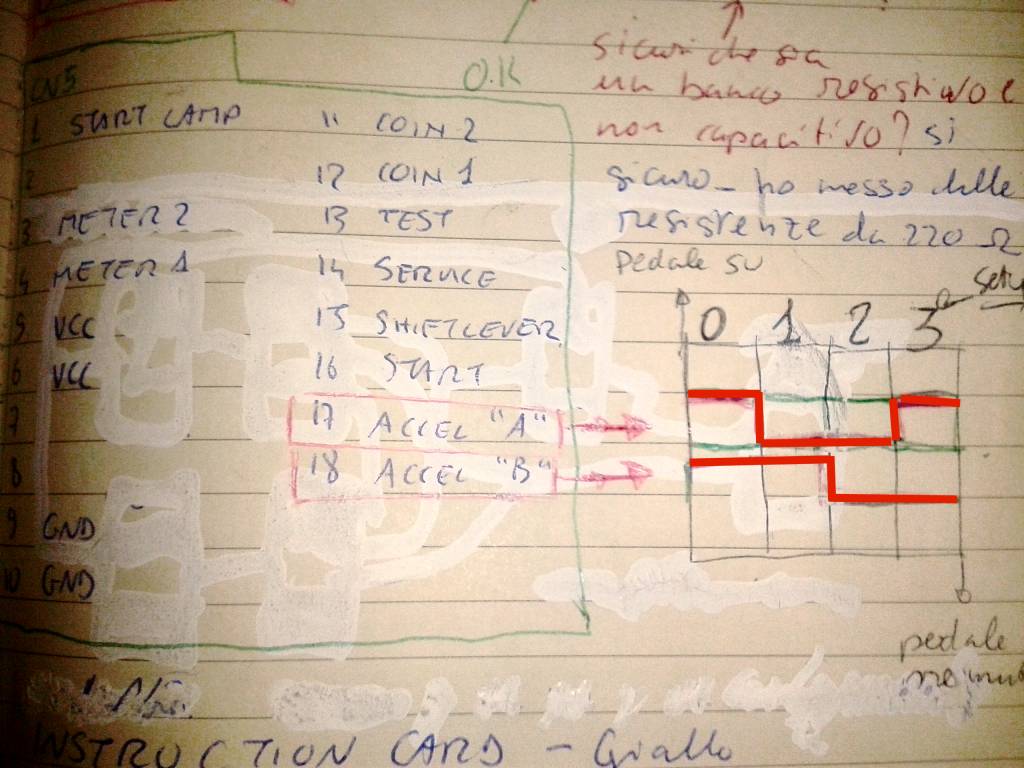
Turbo is the classic driving game. A steering wheel, two gears (typical of the games of the time), a pedal (after all, what is the brake?). The route is mixed: city, sea, mountains, ice, dark tunnels. Complicating the race there are competitor cars, who try to hinder overtaking causing serious slowdowns in the event of a collision. If the route is completed in time, extra time is given, and extra “cars” to be used in the event of a collision in over time too. Records are managed by a 7-segment display. From the philological point of view Turbo can be considered the son of Monaco GP which follows the gameplay ported in a three-dimensional perspective view.

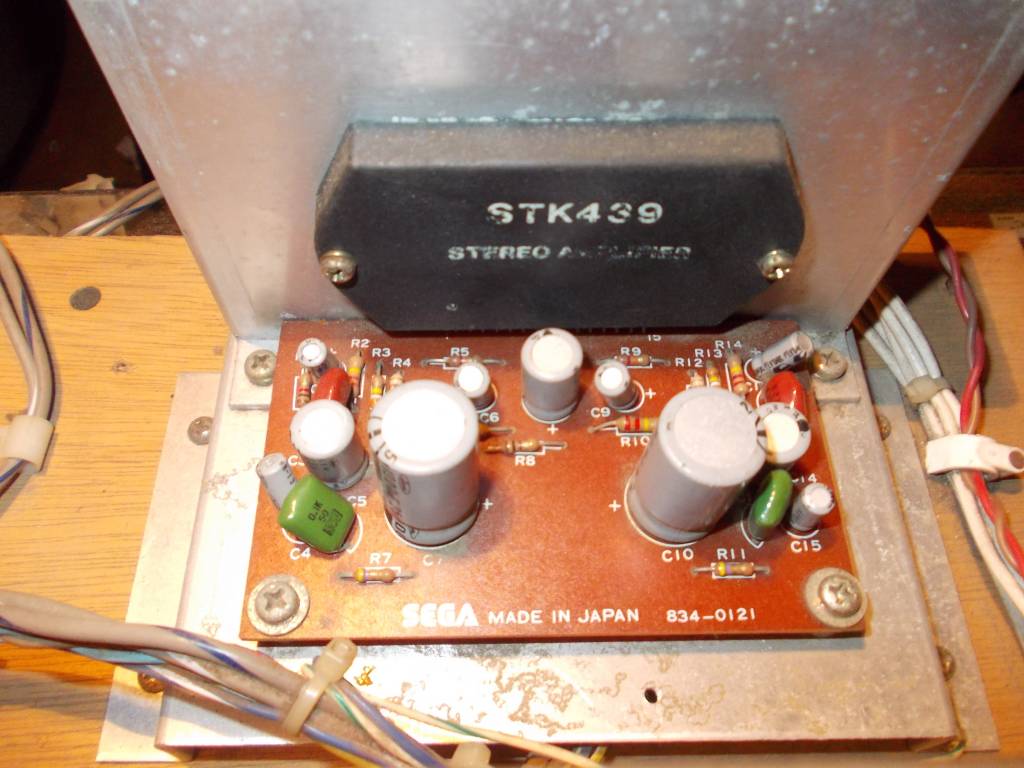
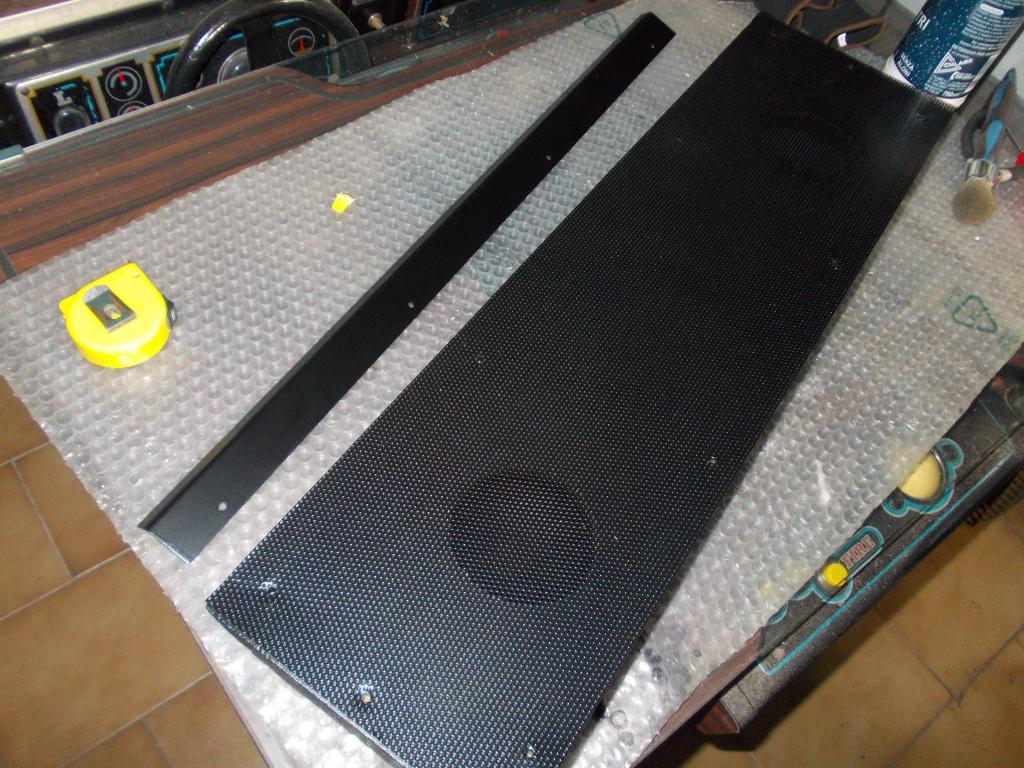
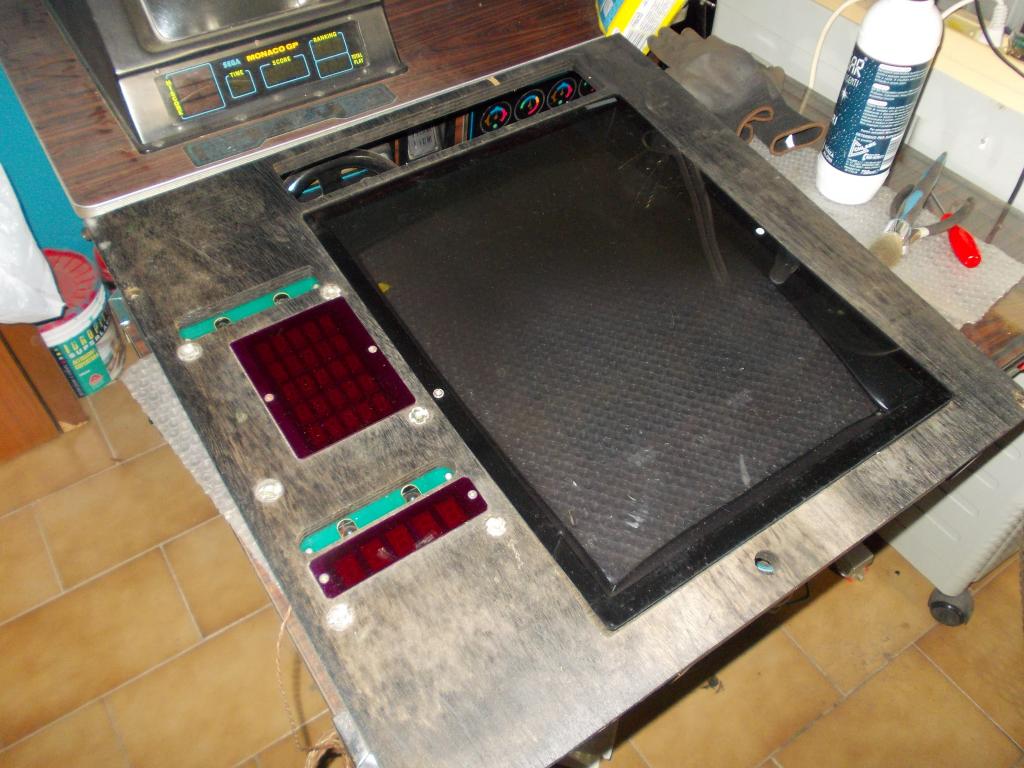
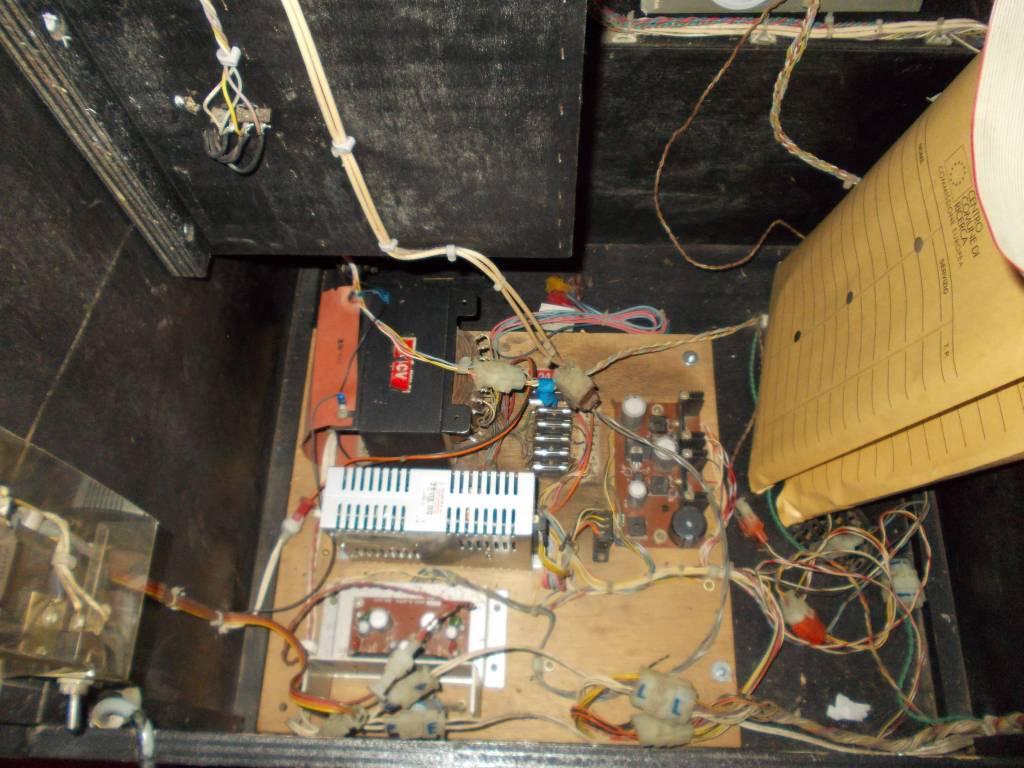
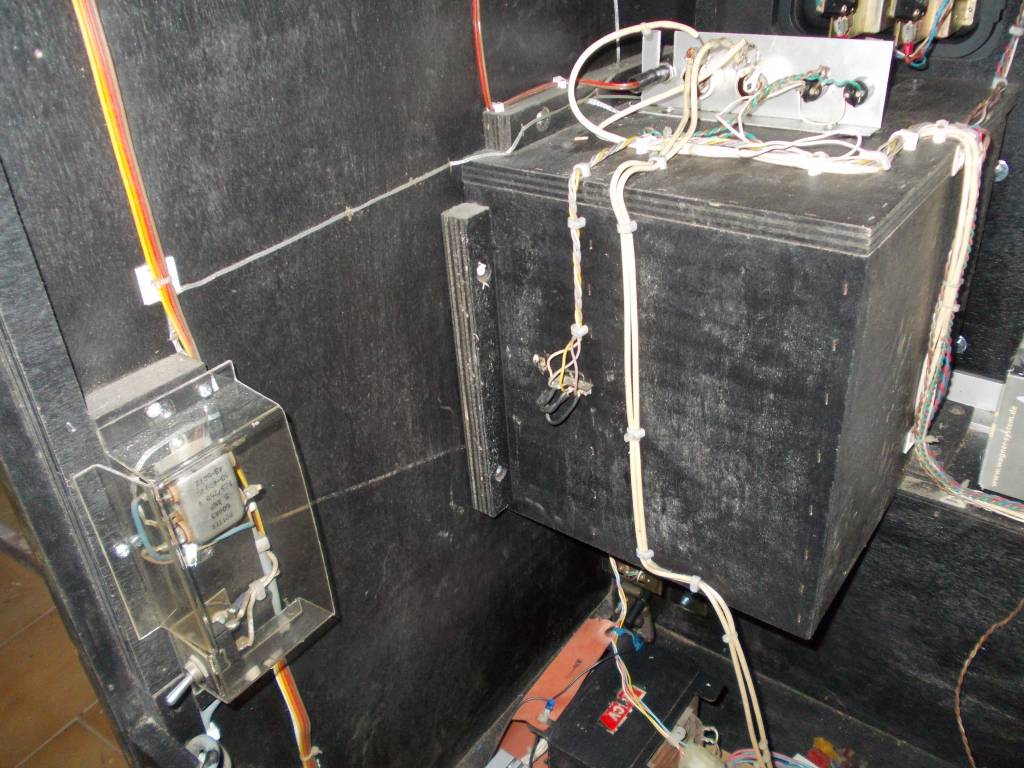
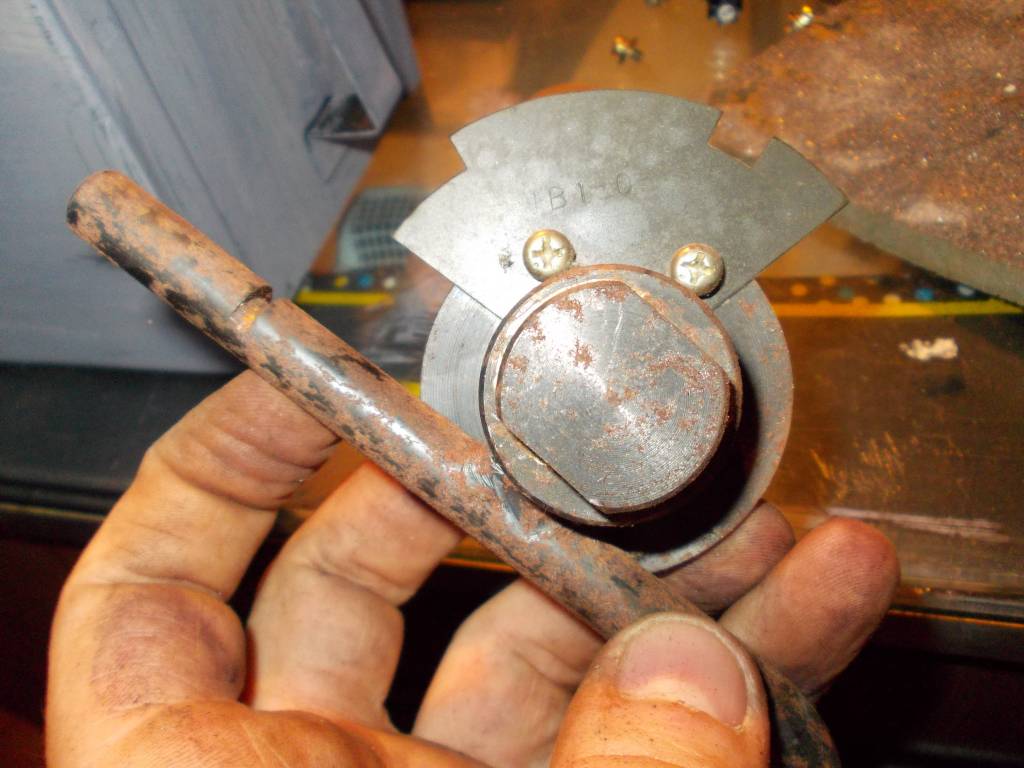
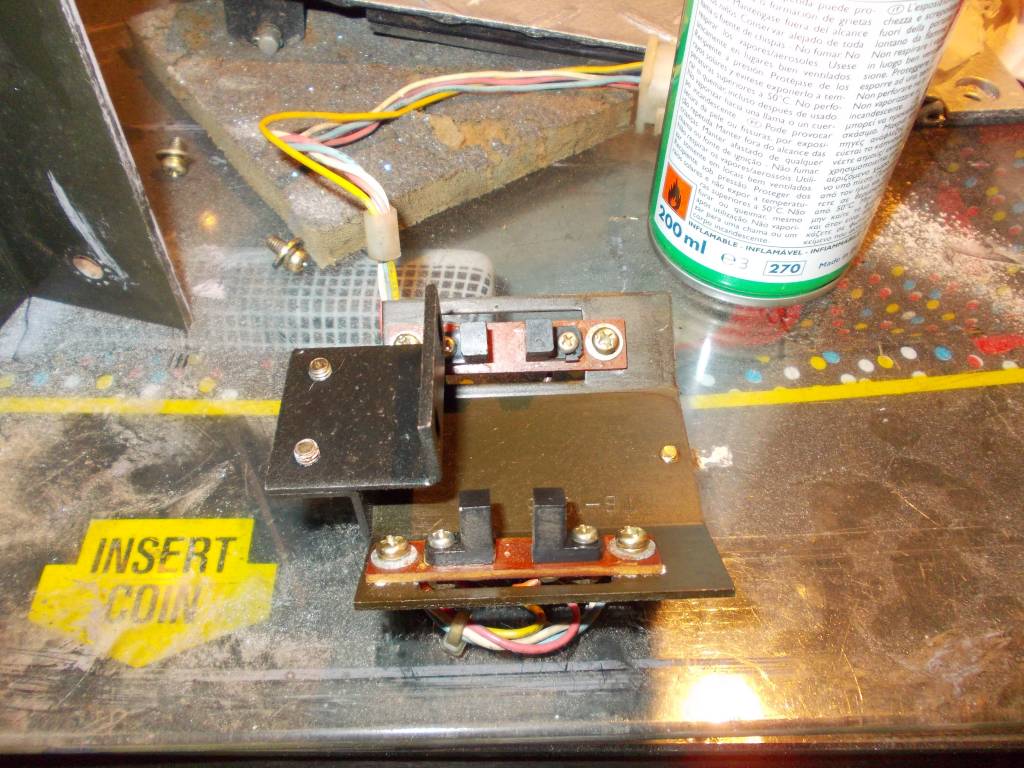
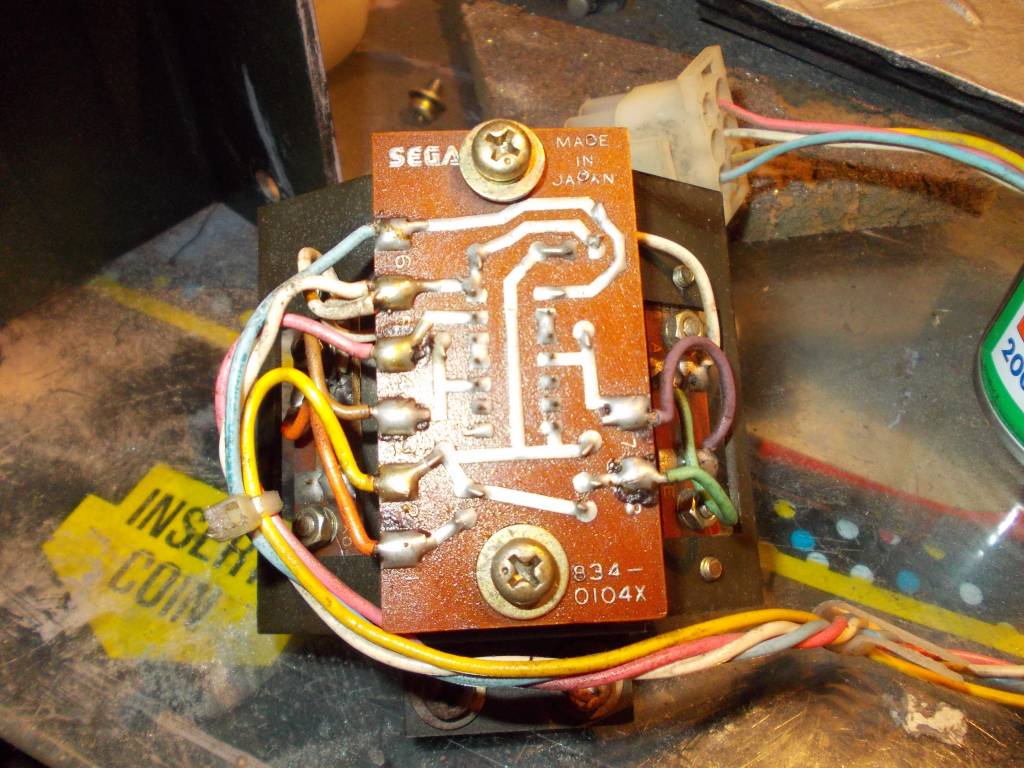
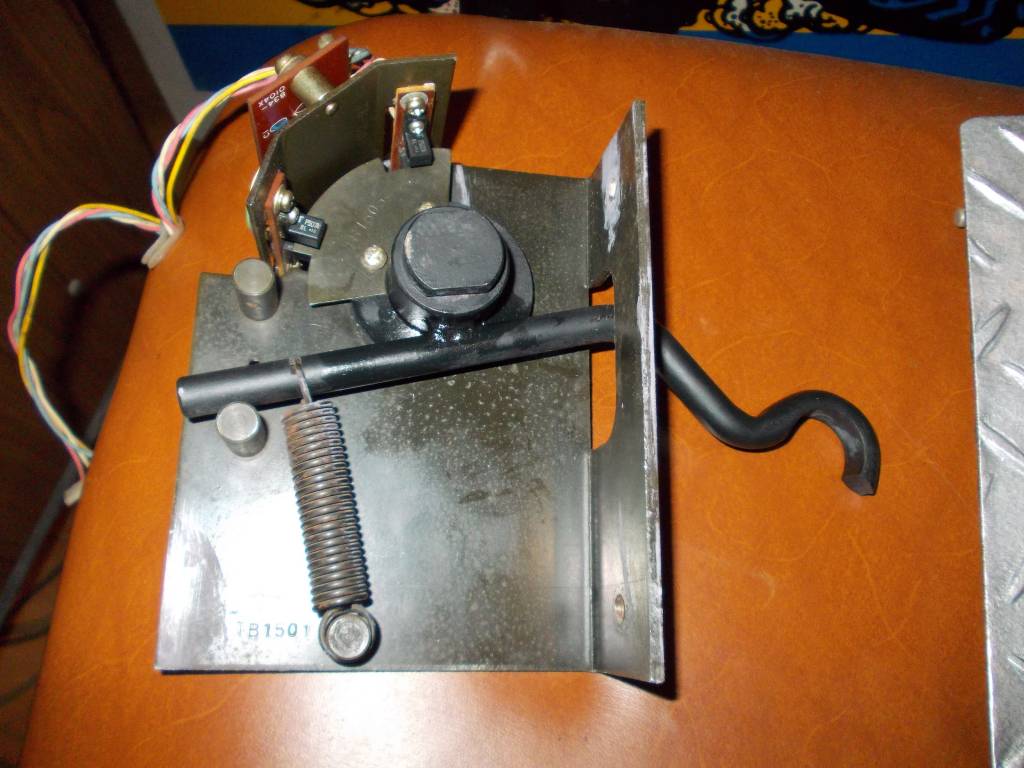
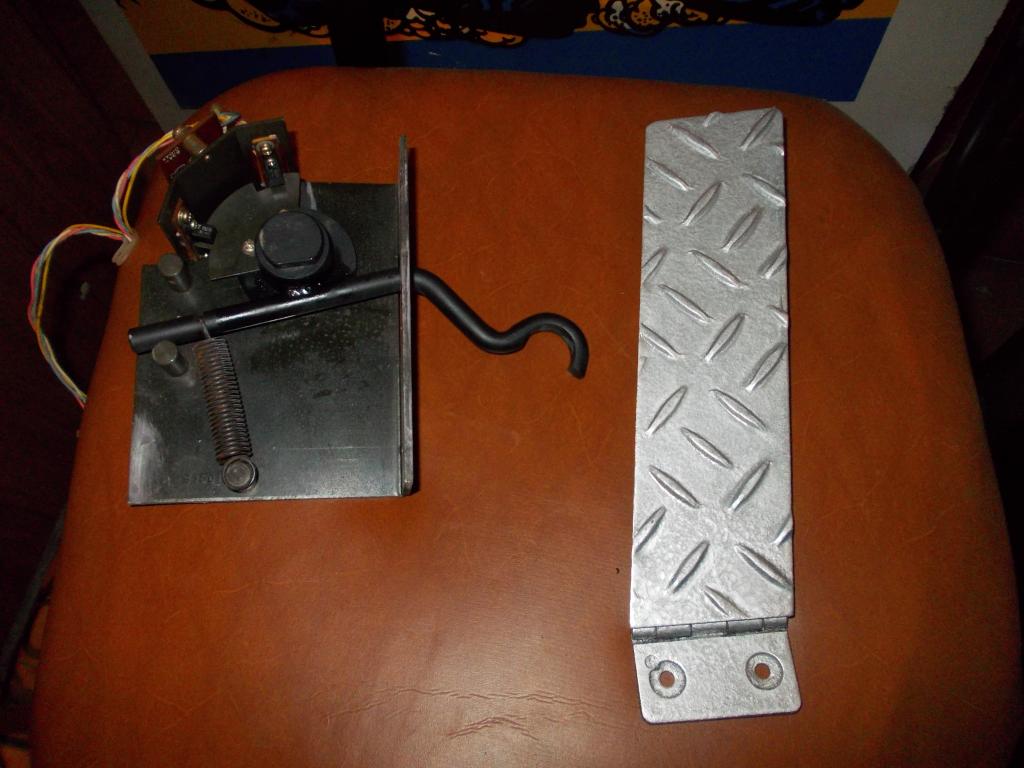
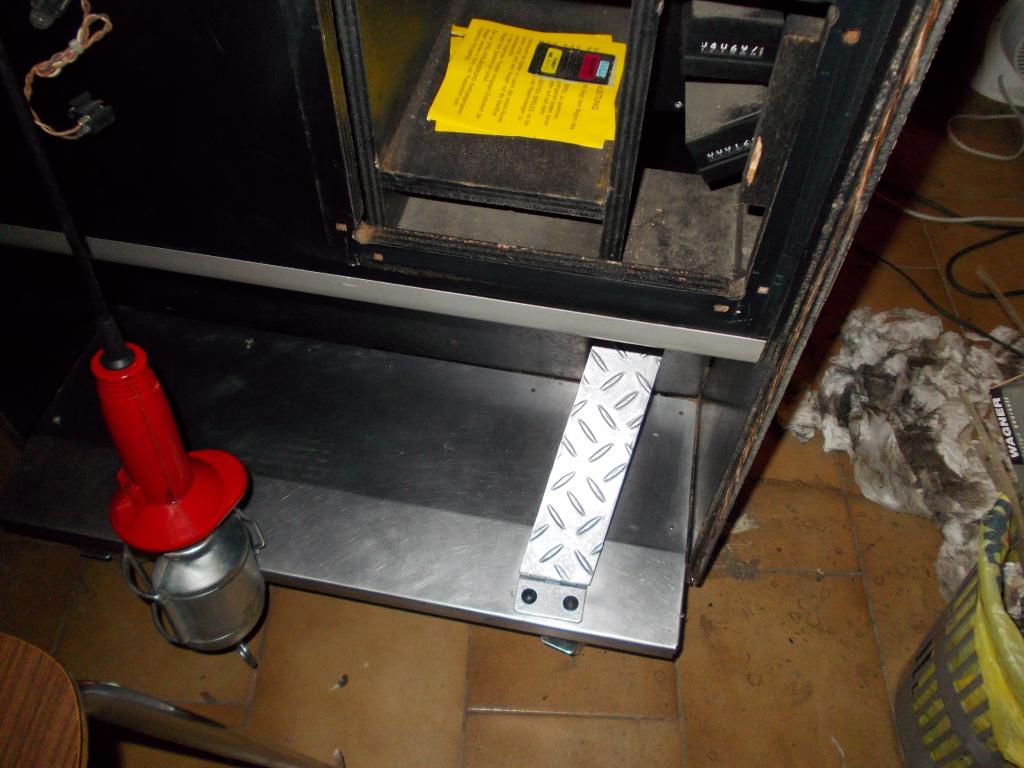
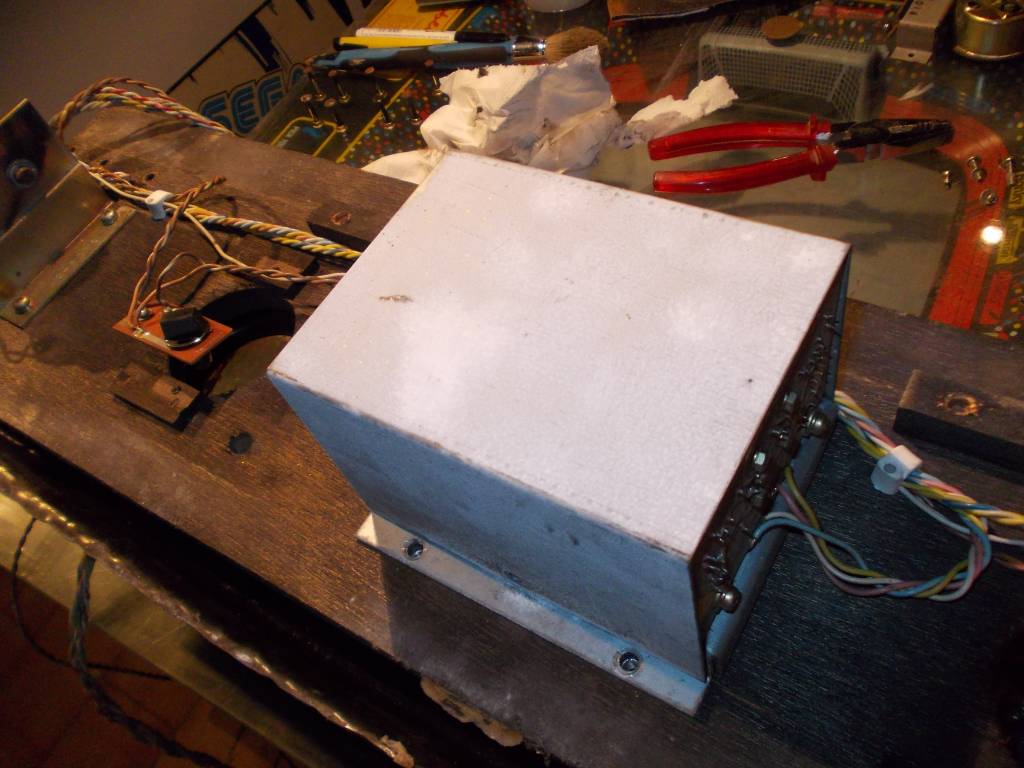
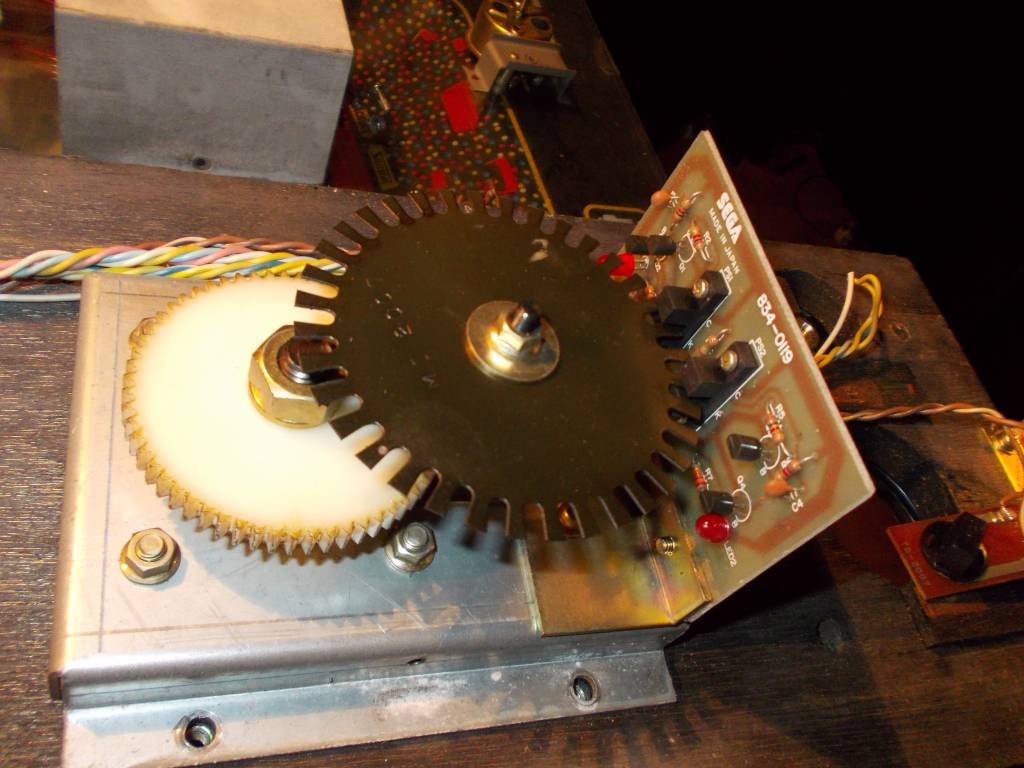
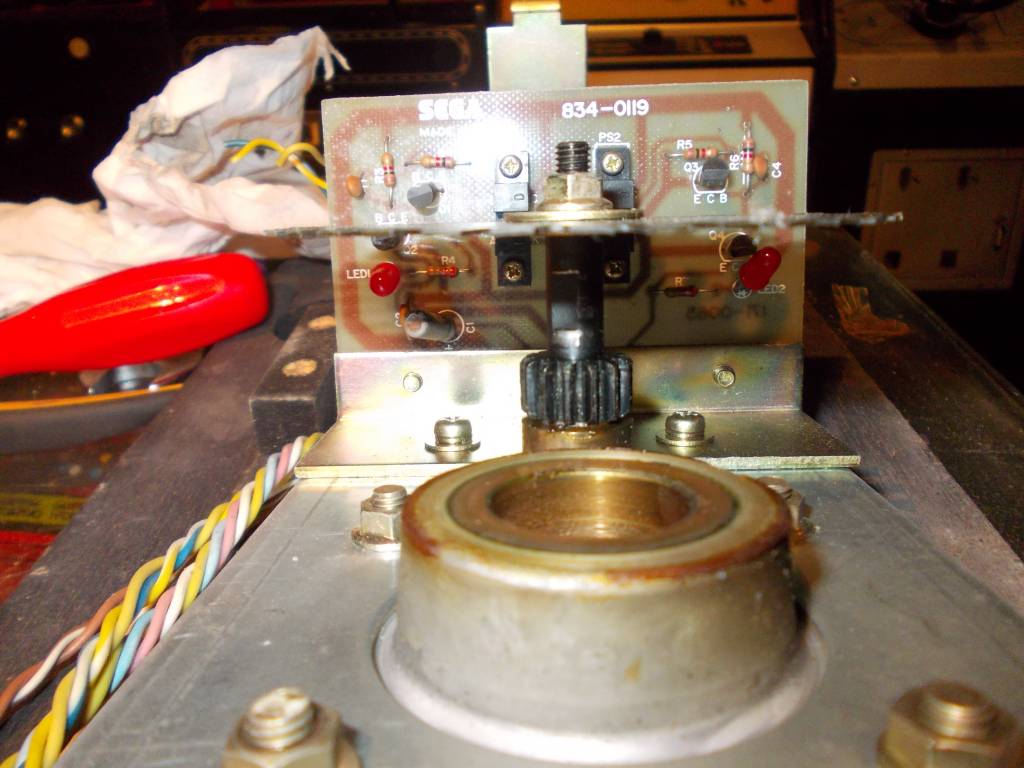
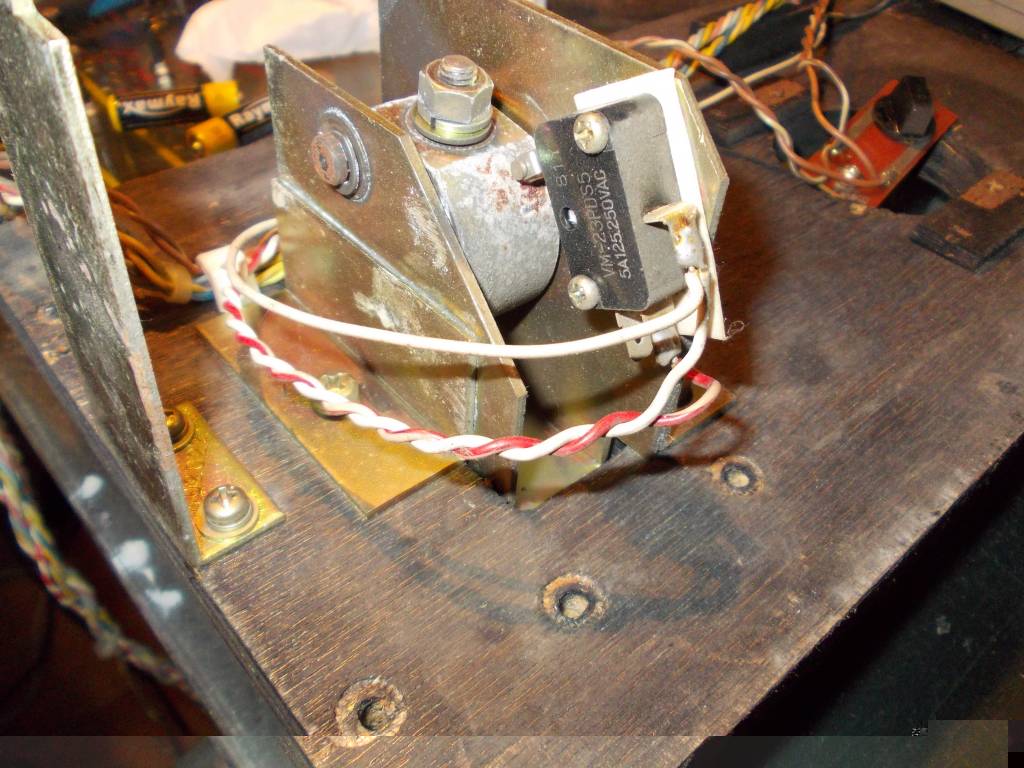
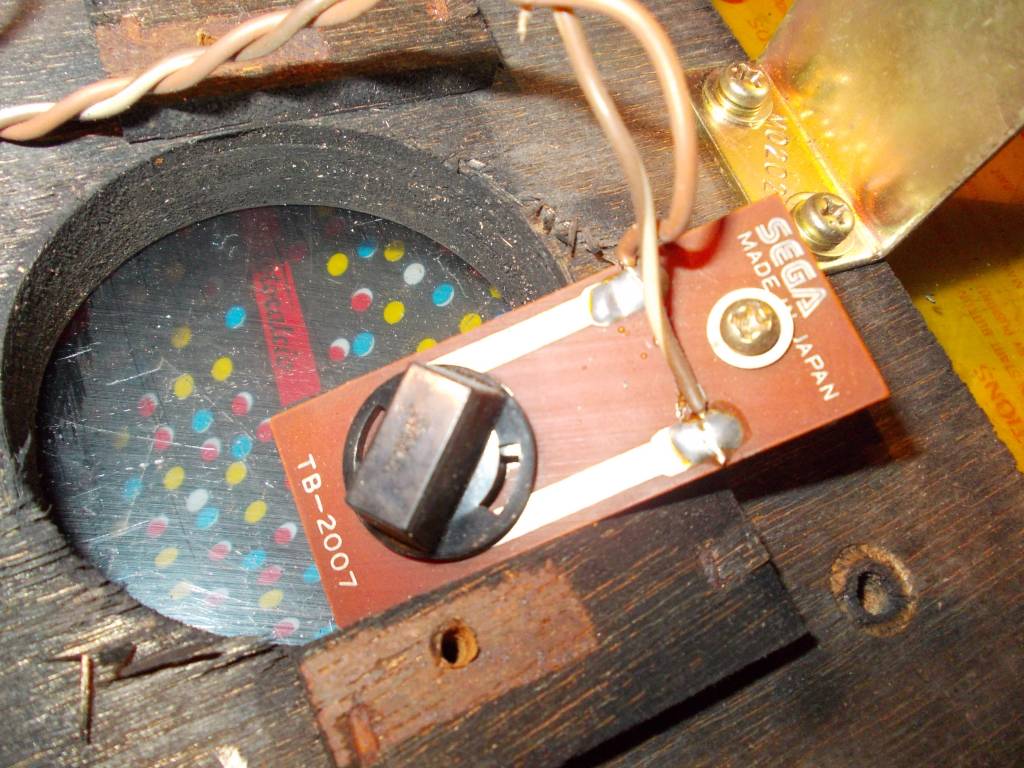
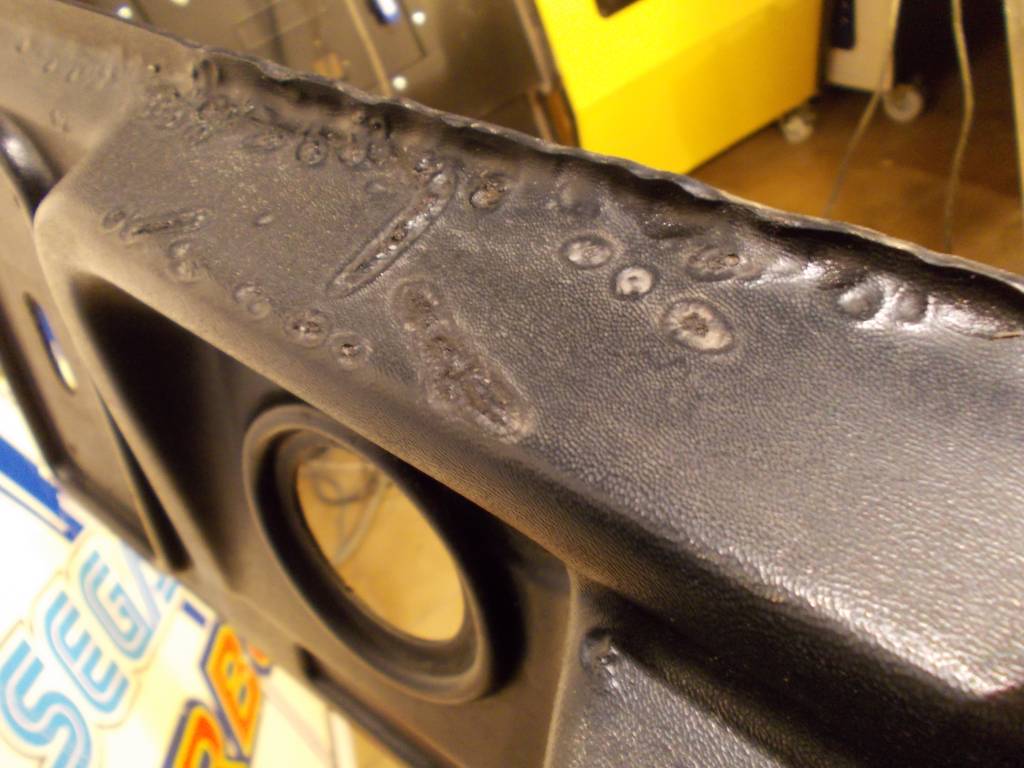
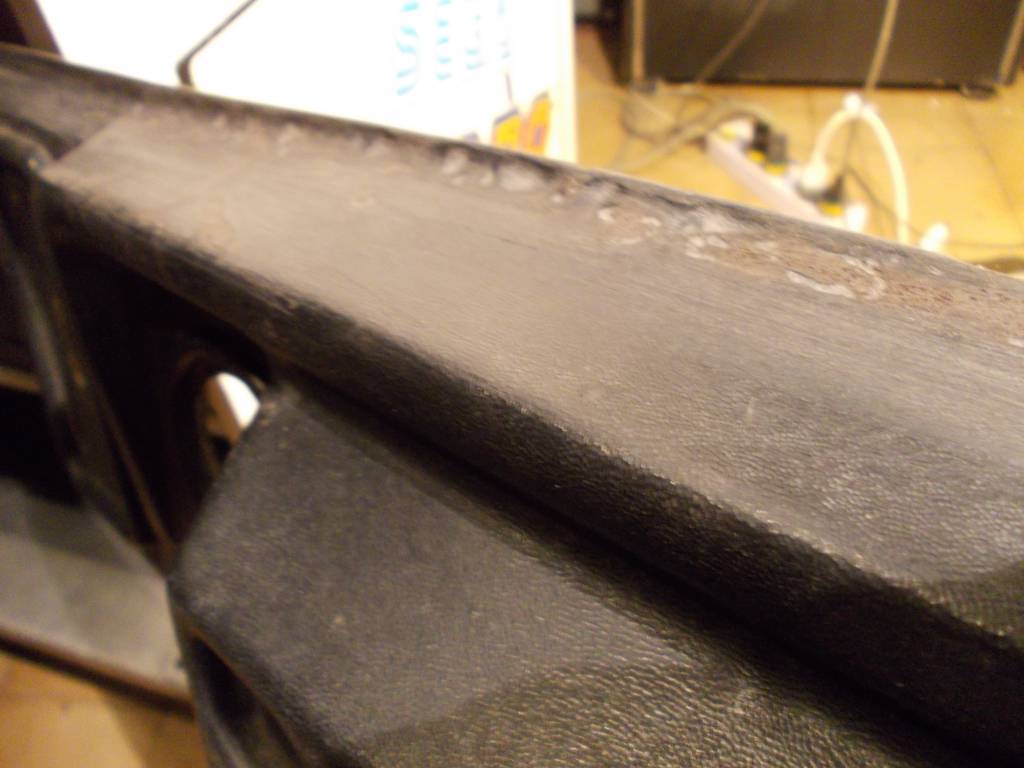
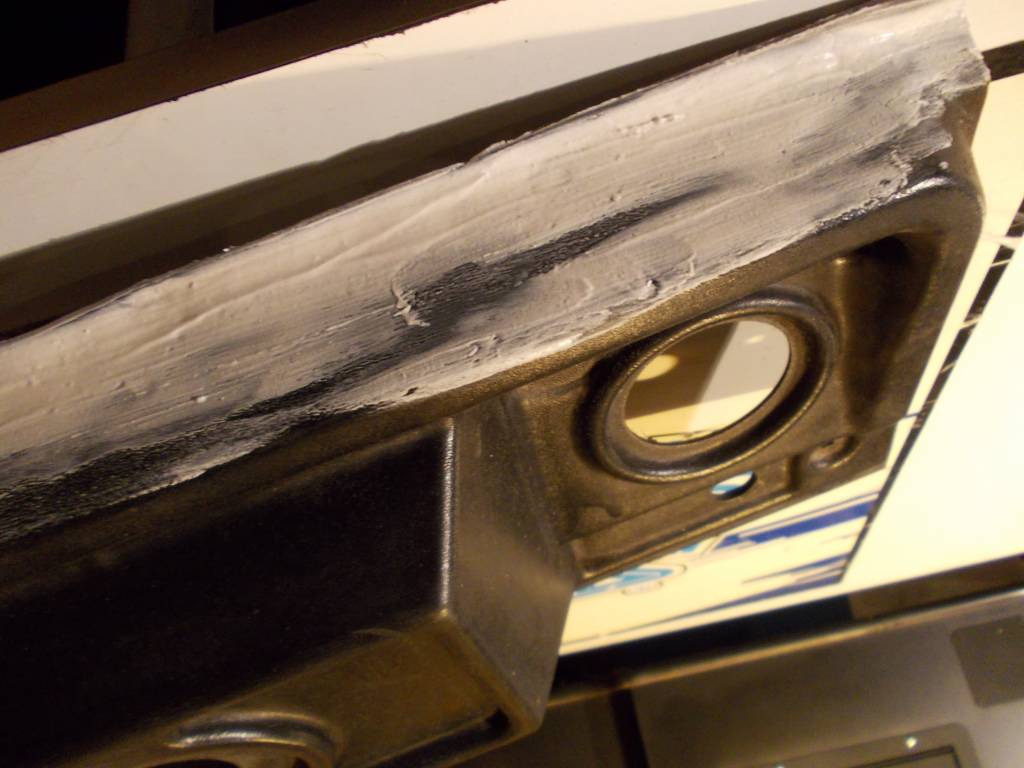
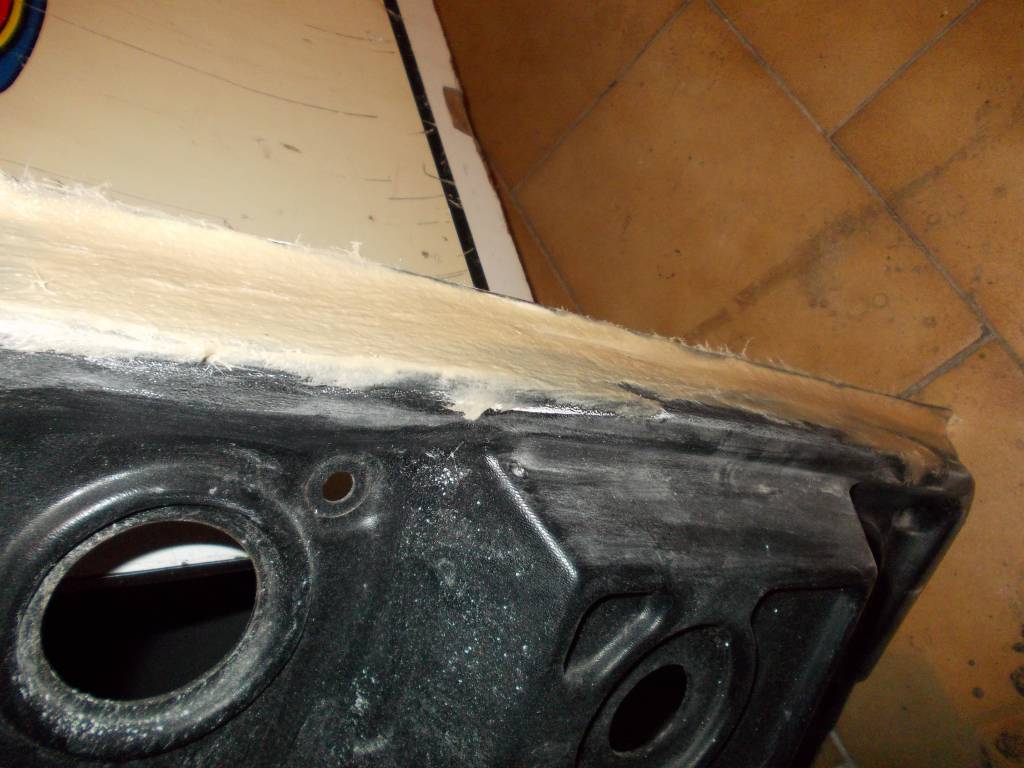
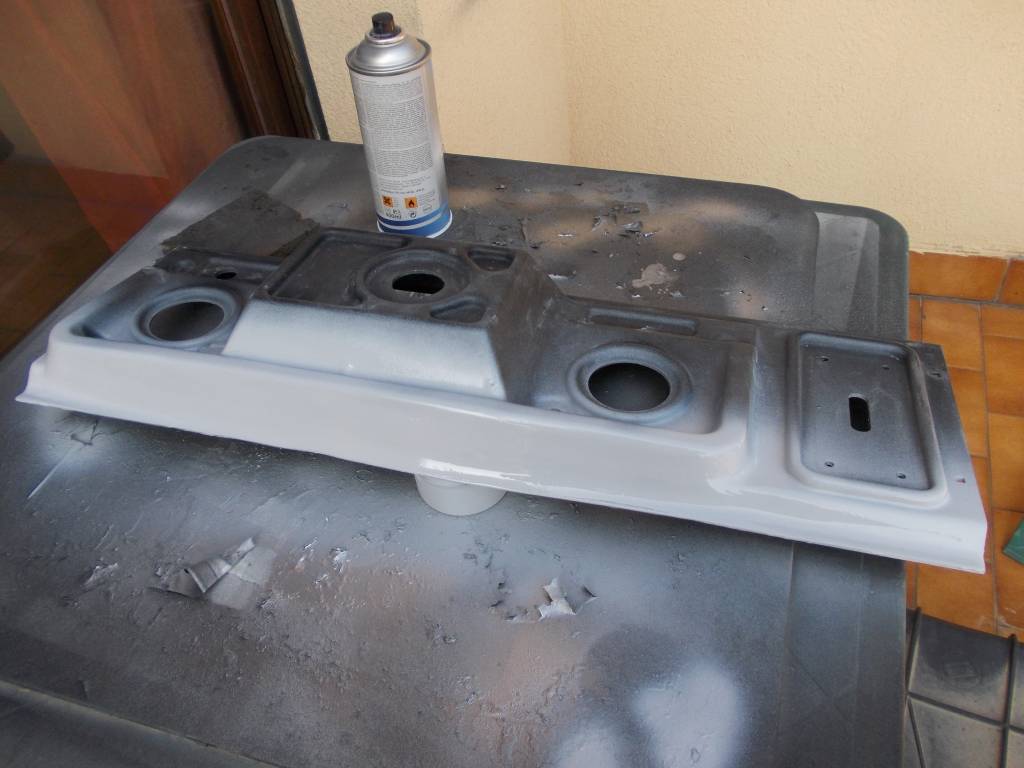
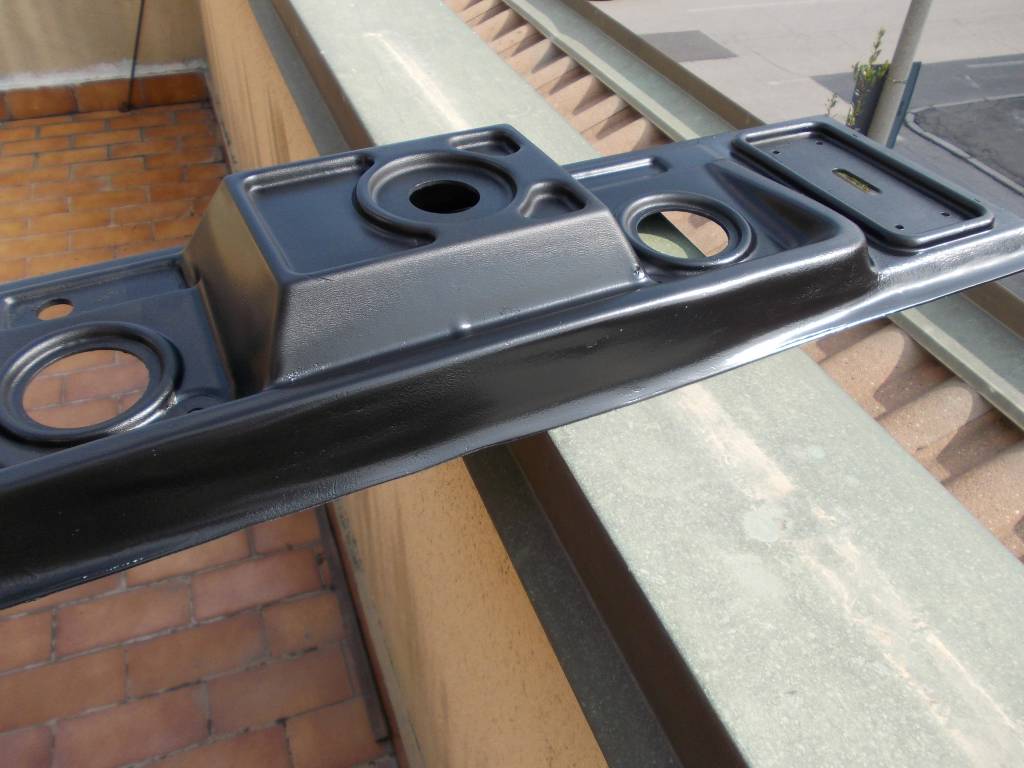
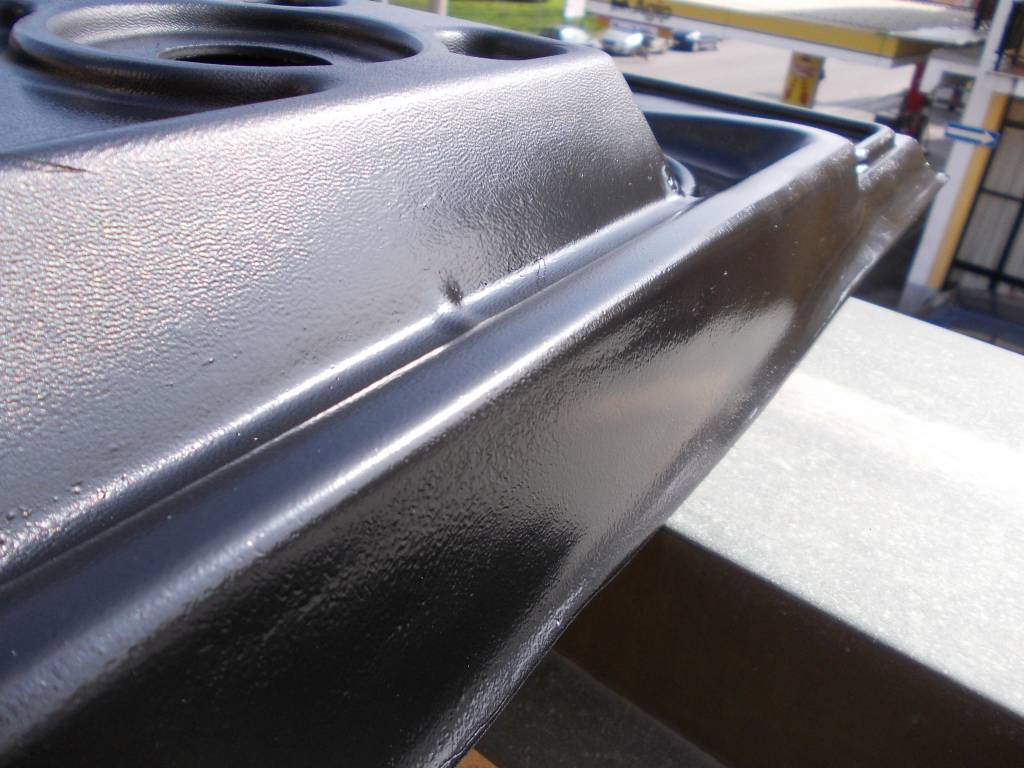
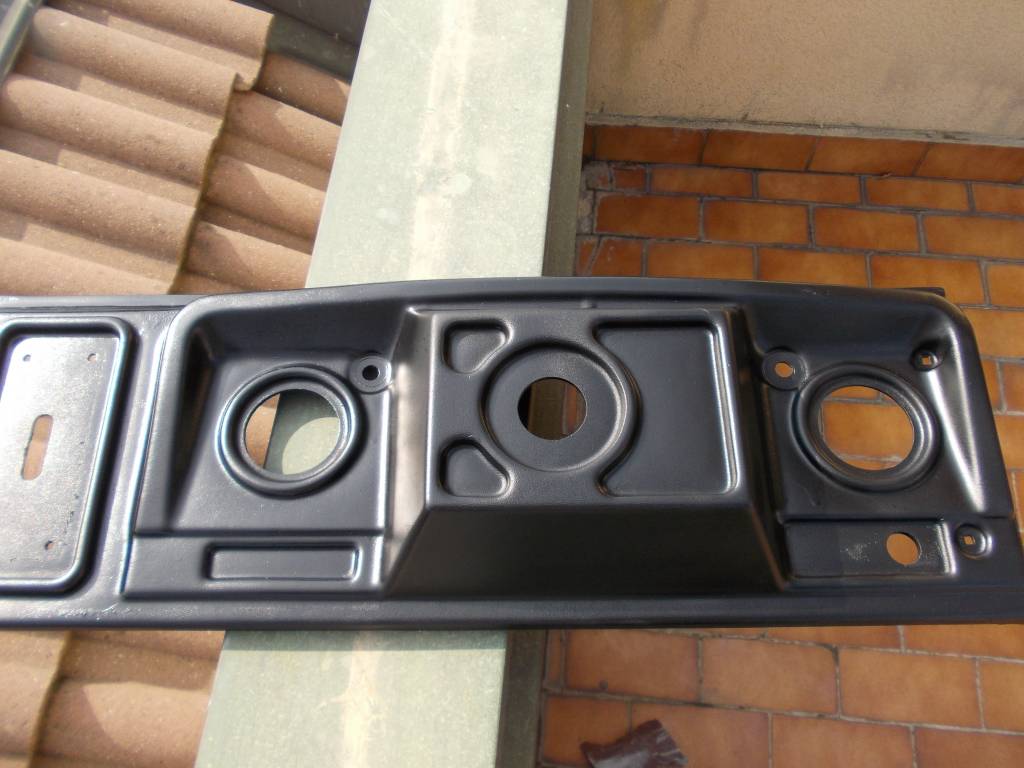
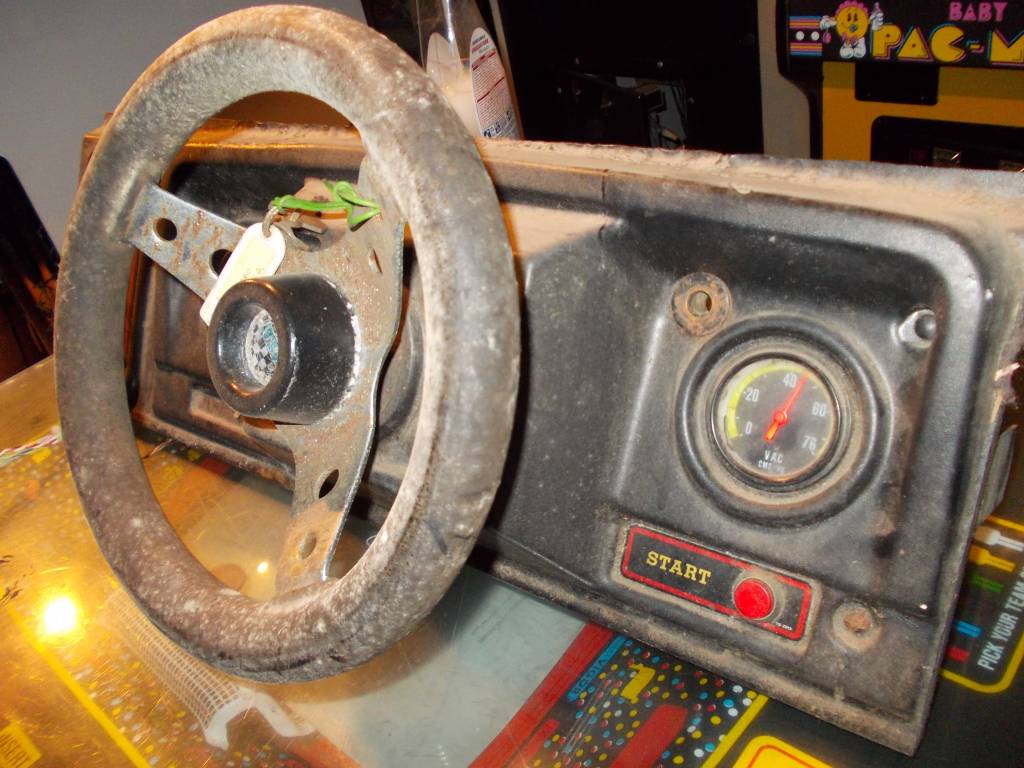
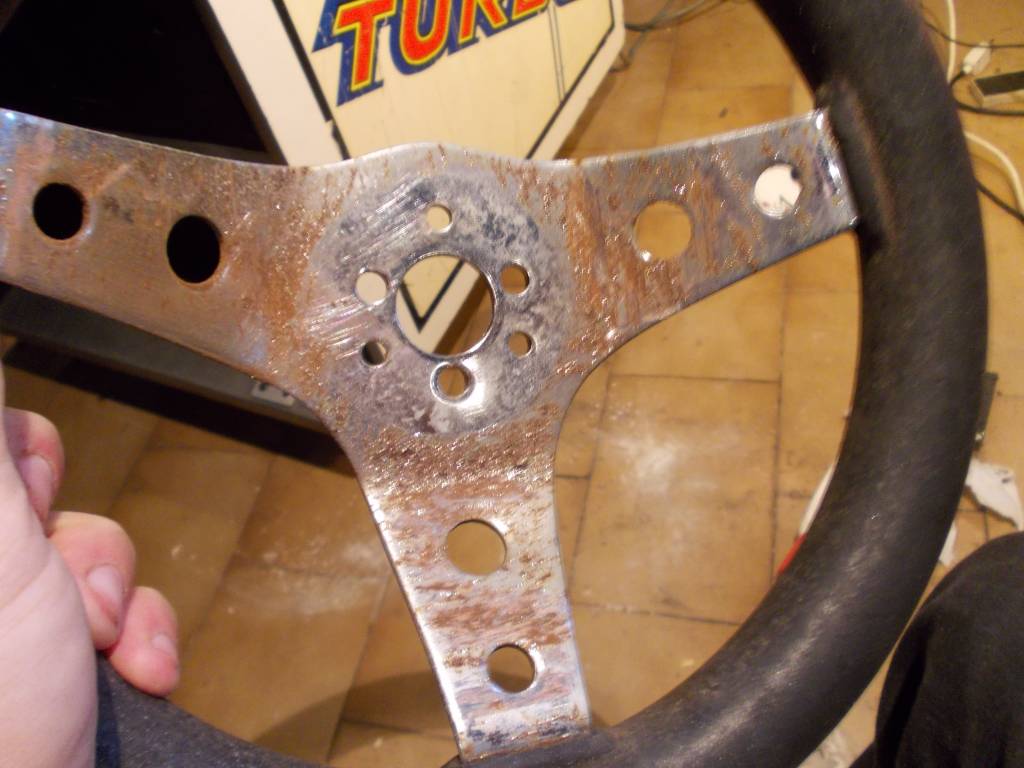
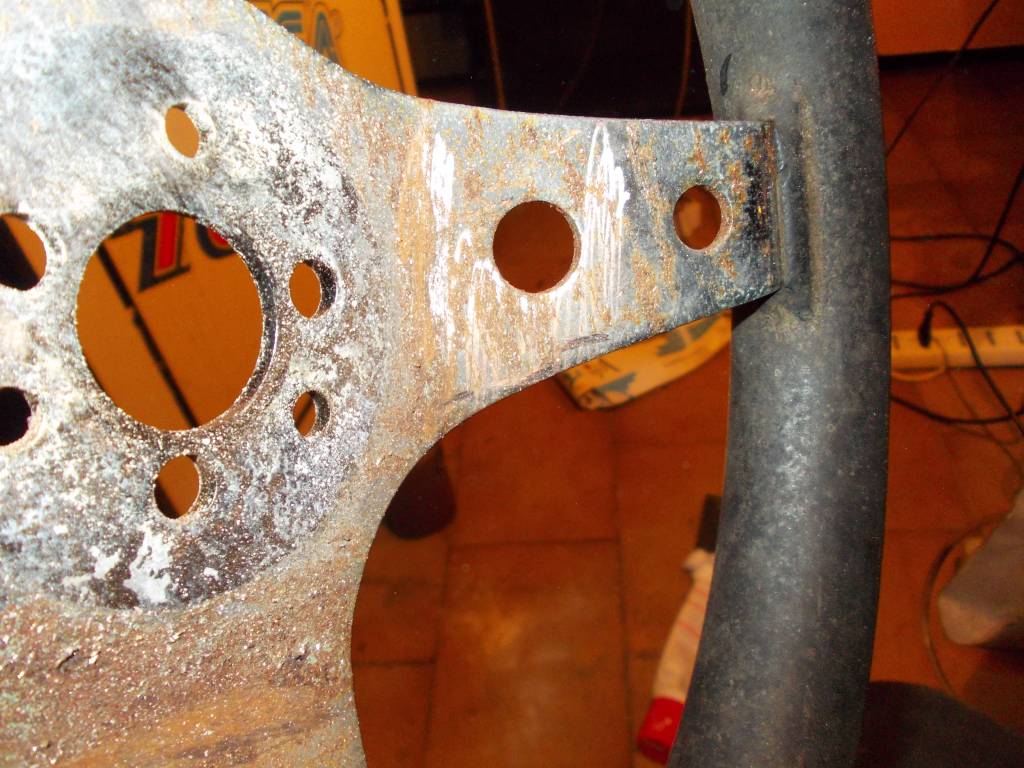
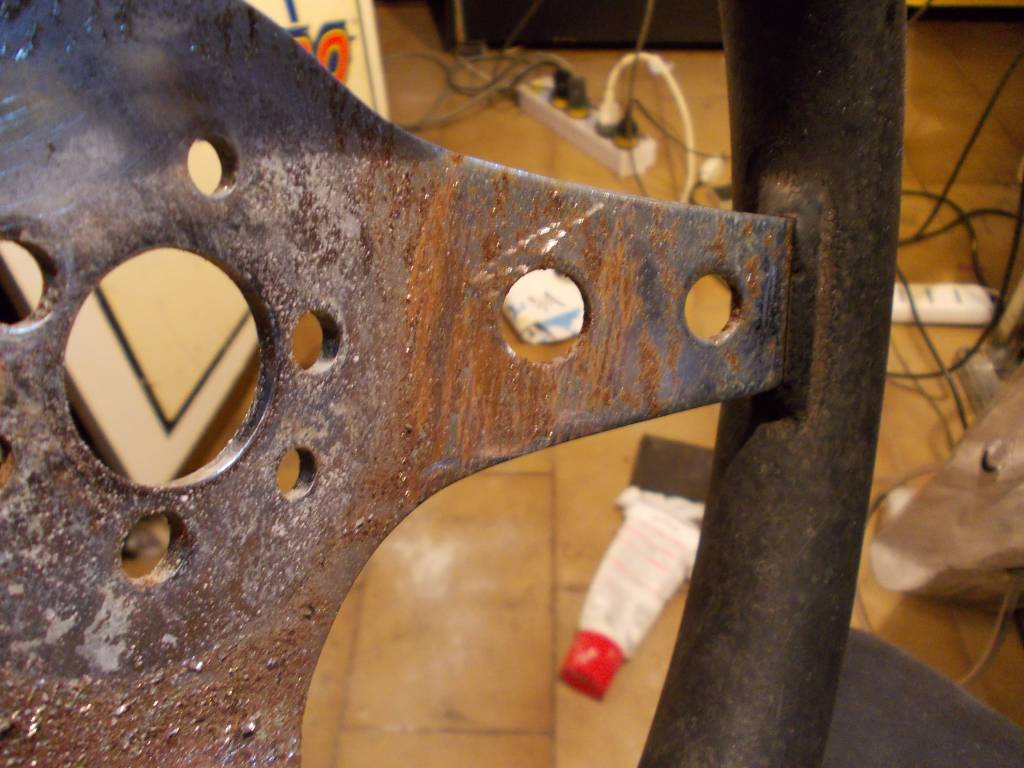
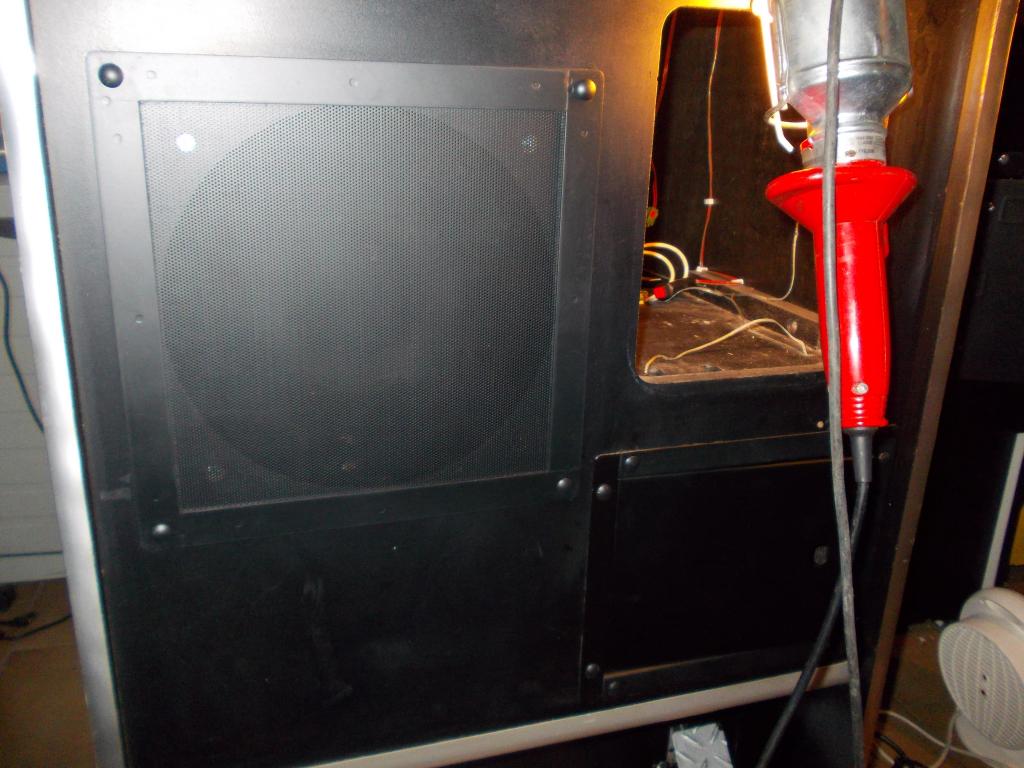
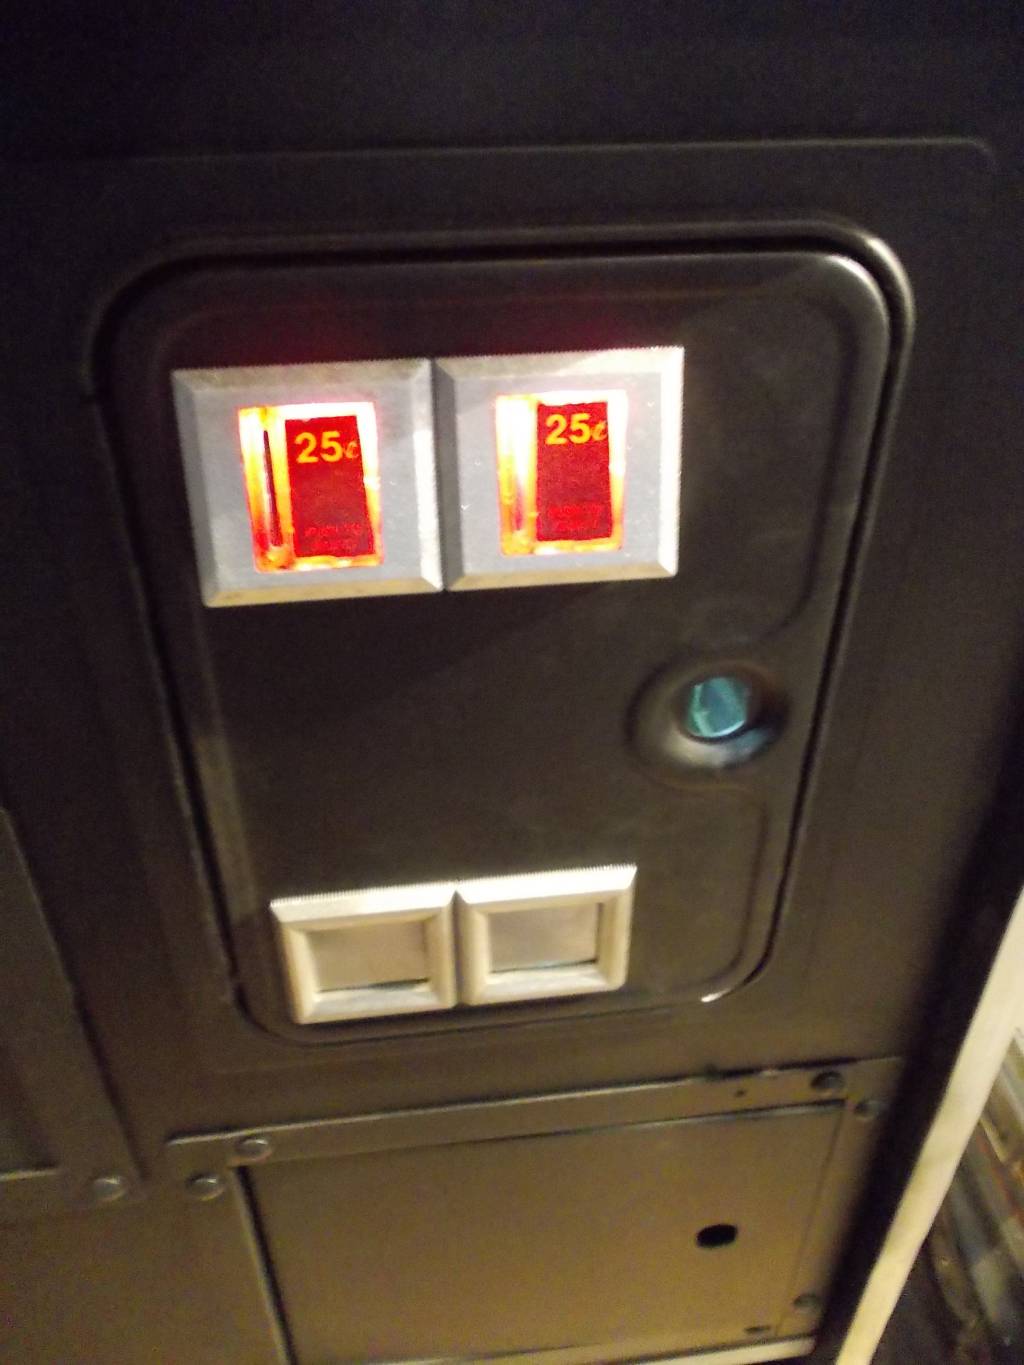
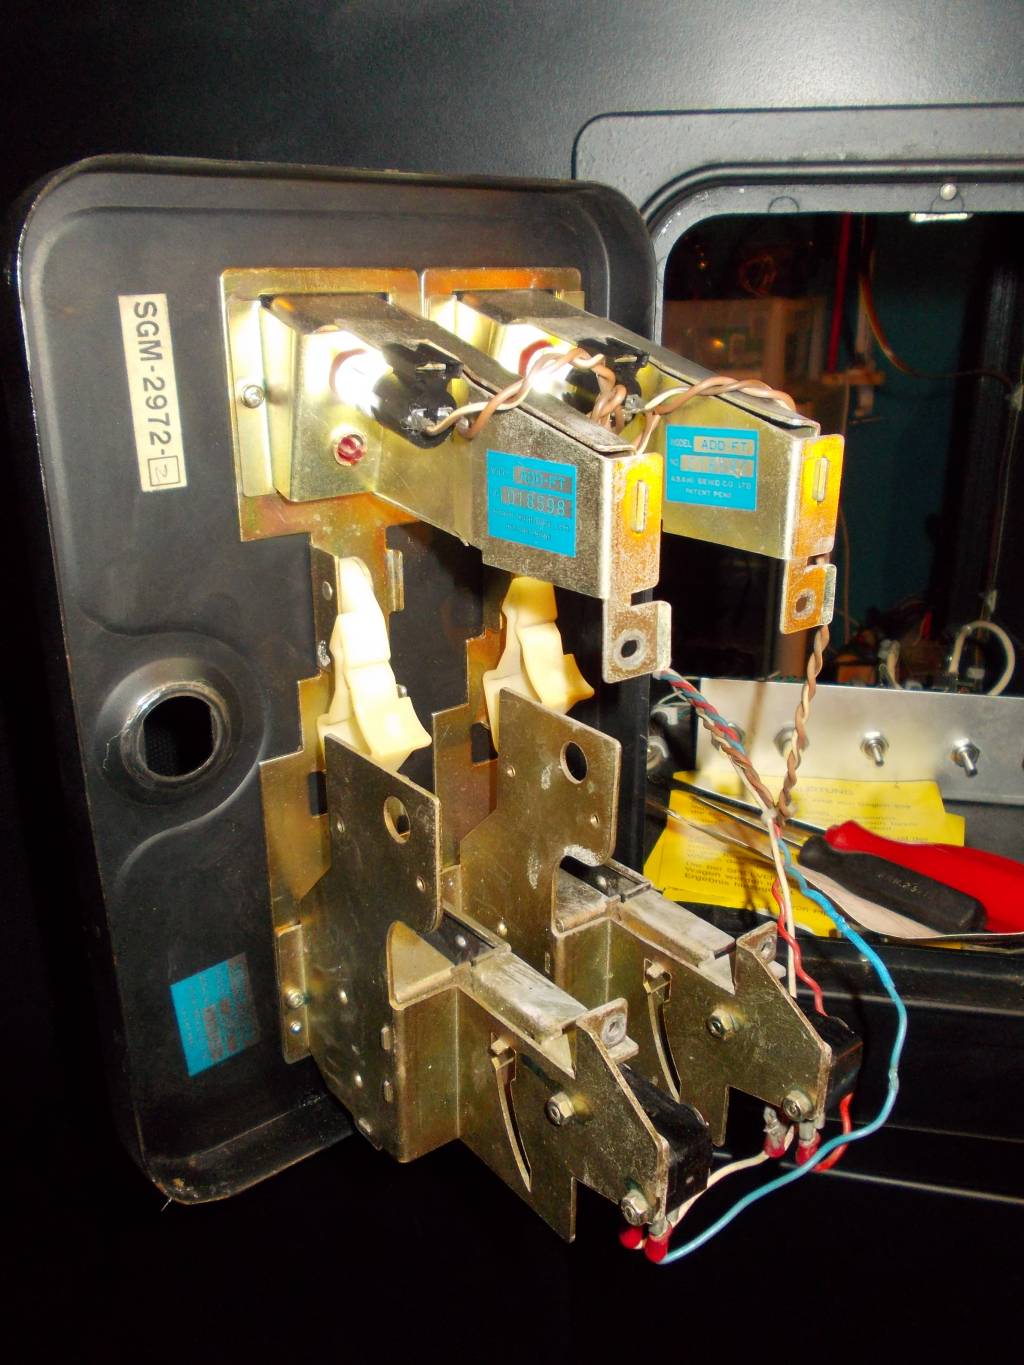
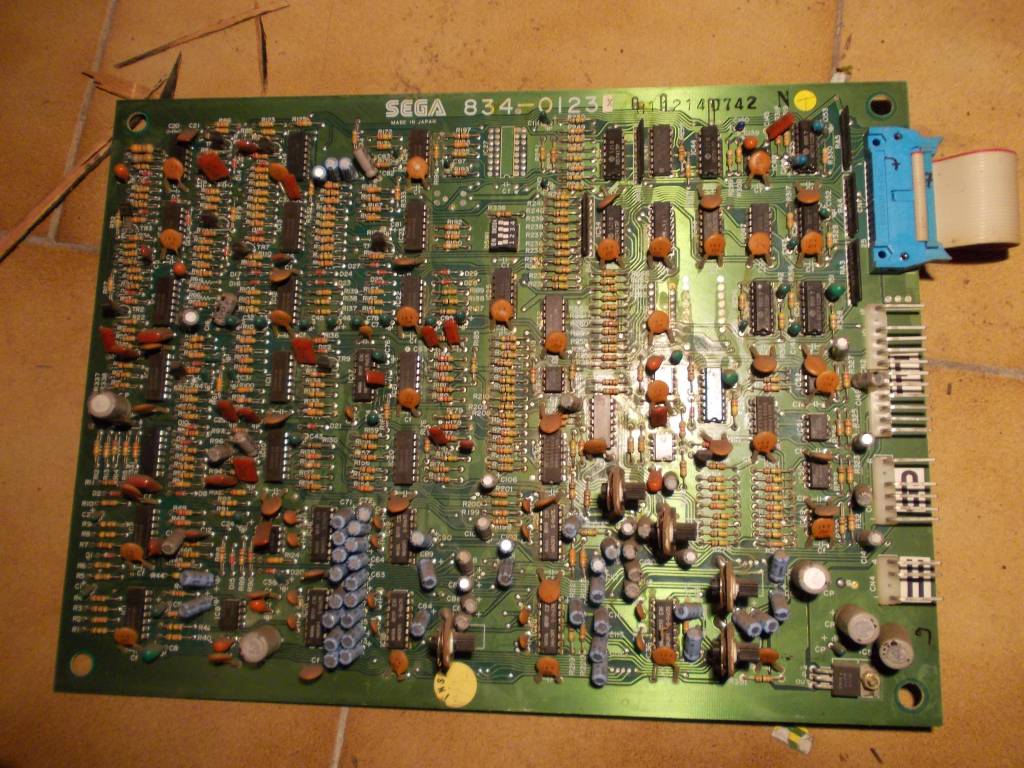
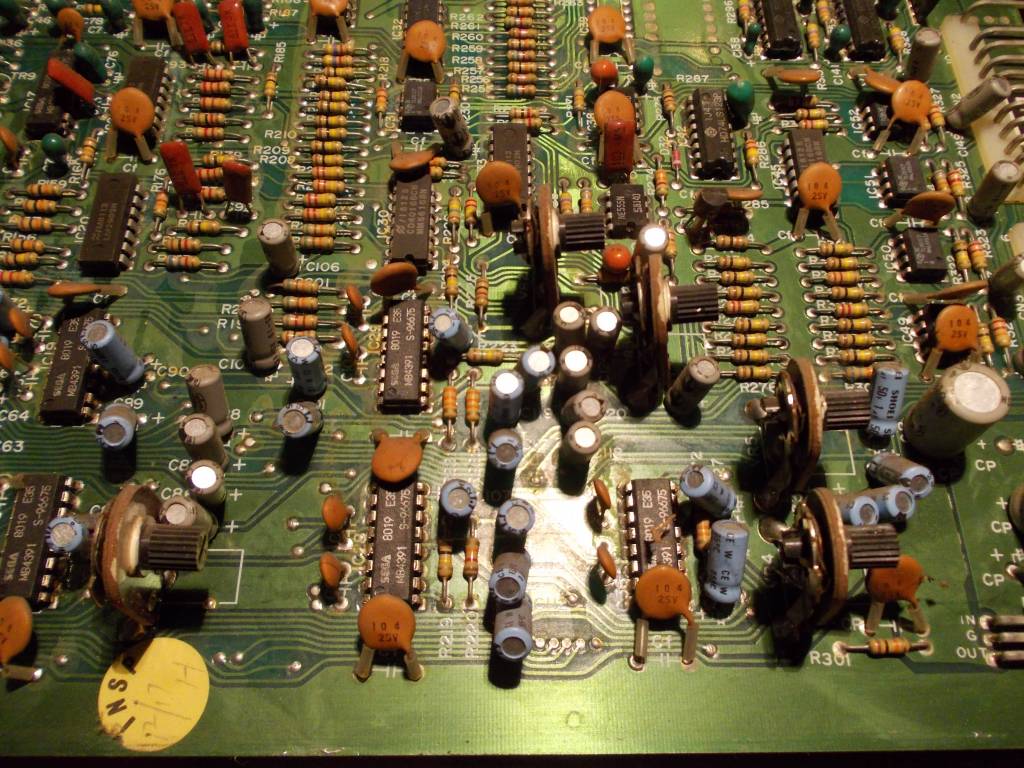
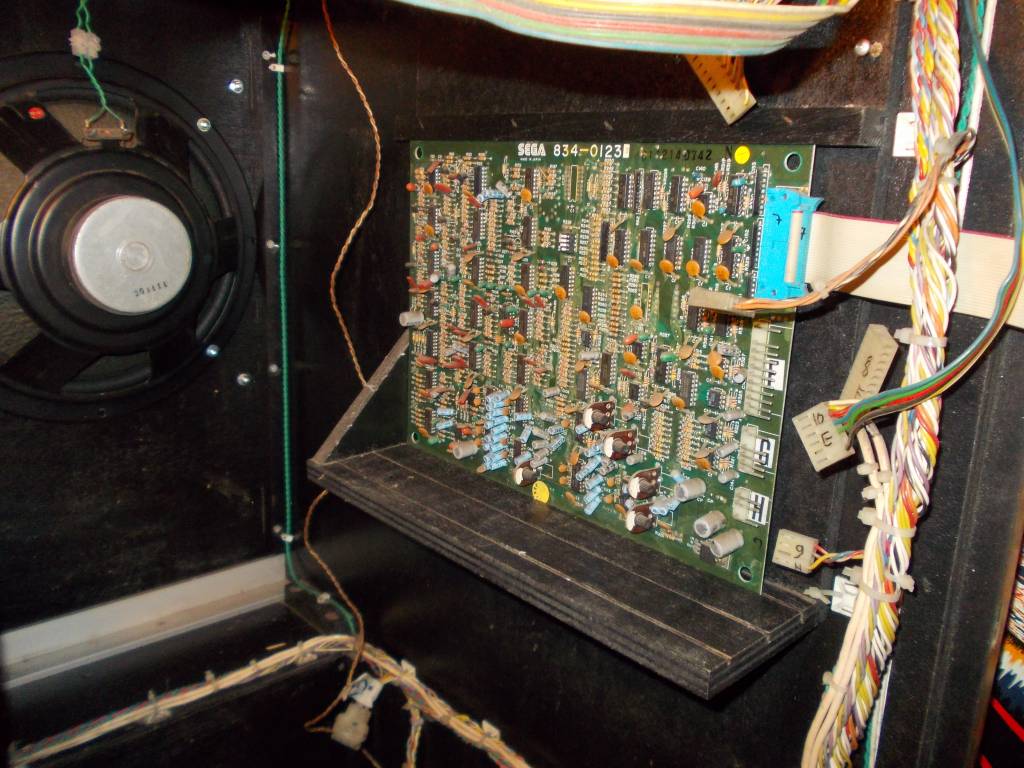
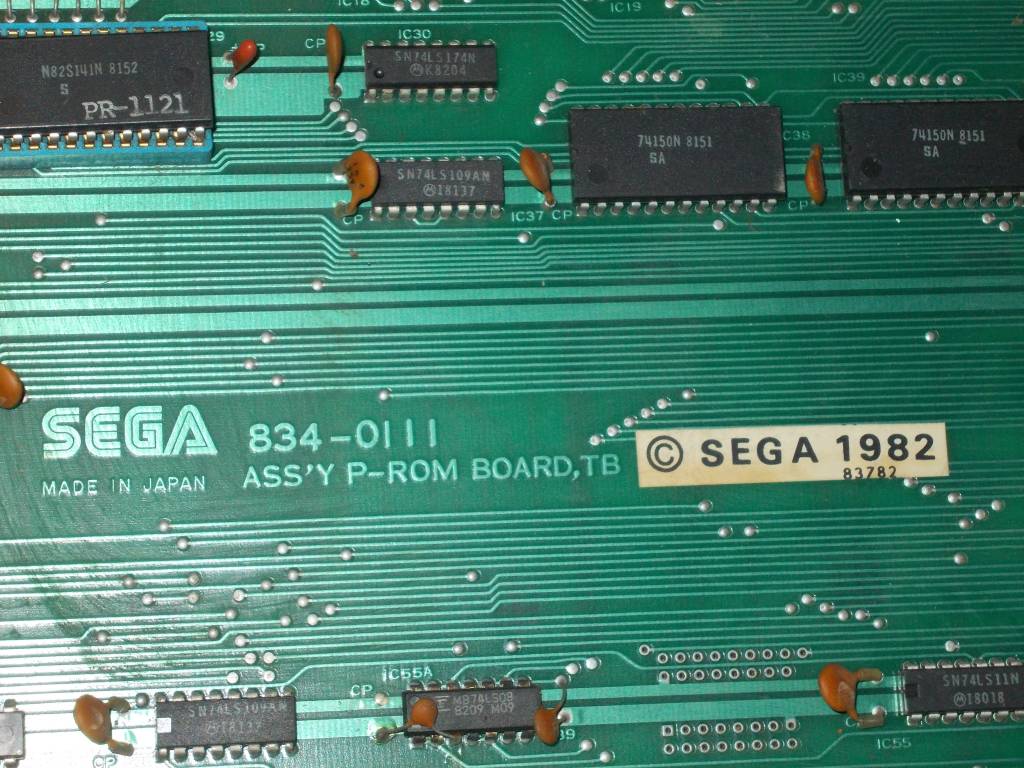
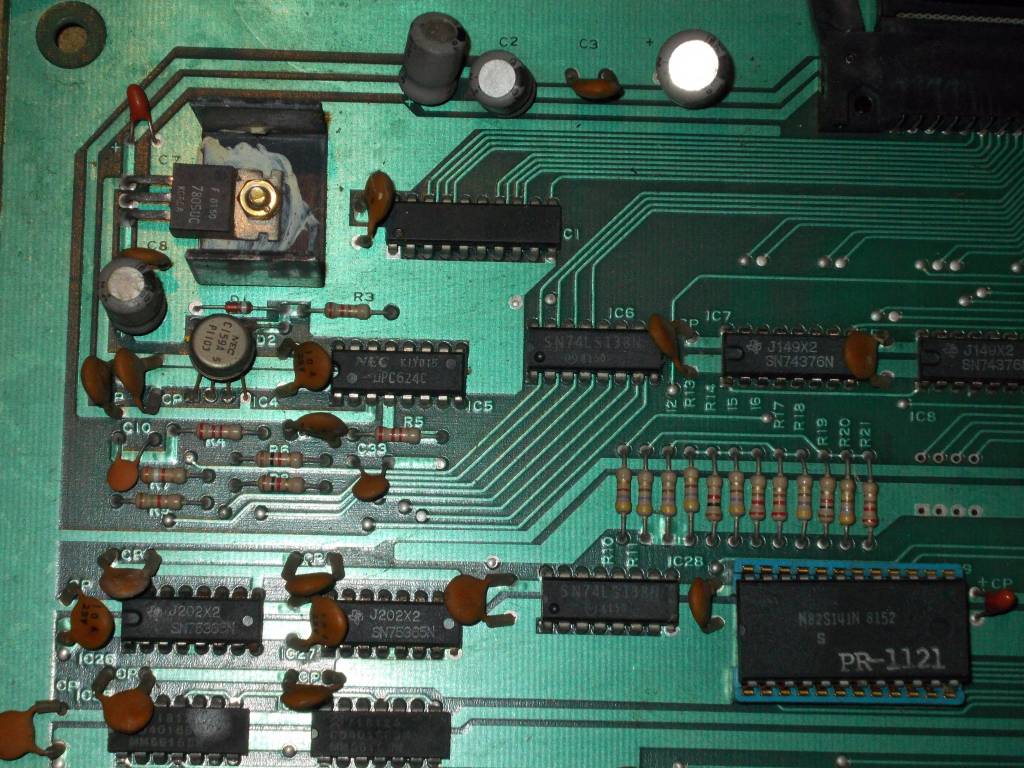
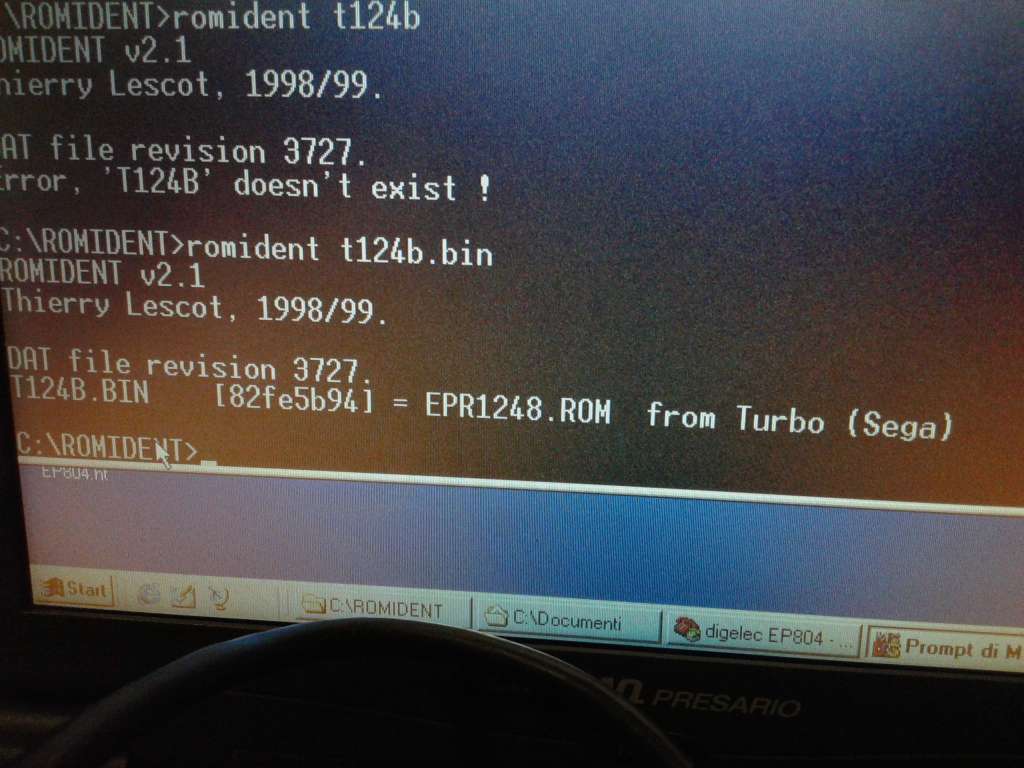
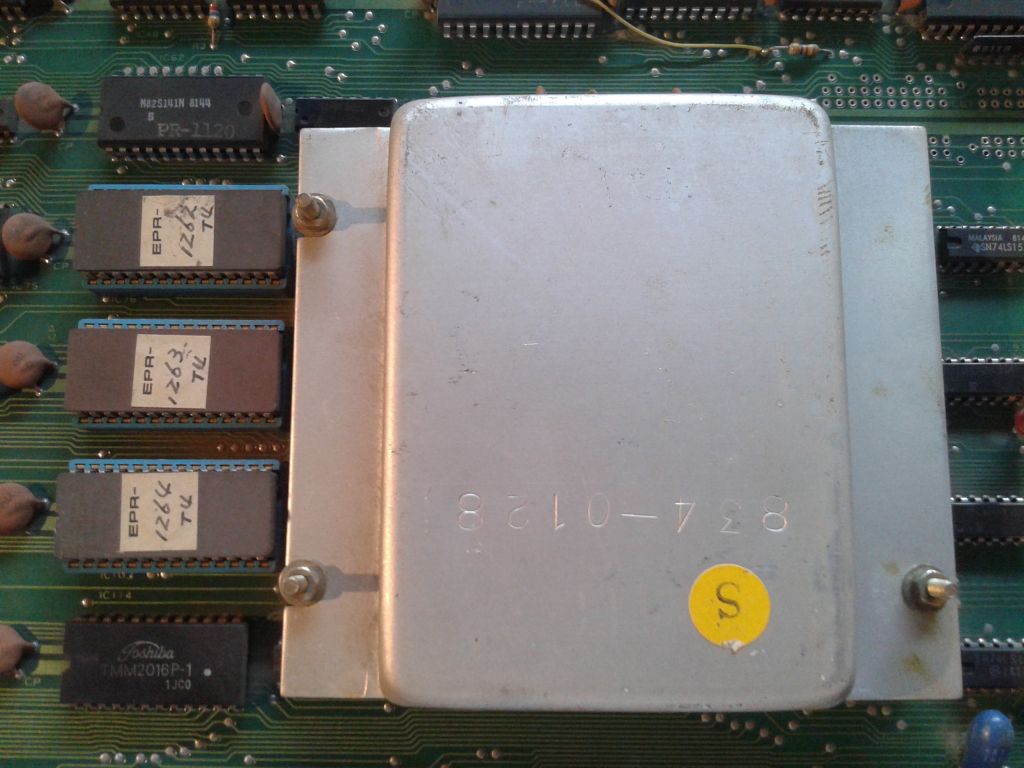
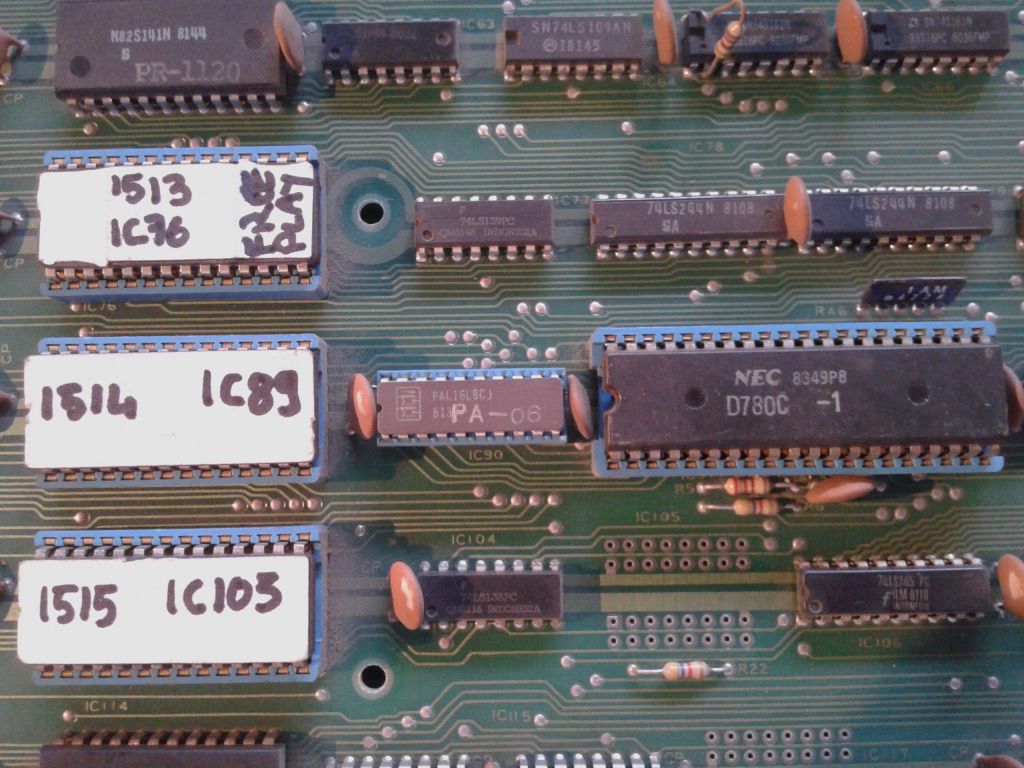
The game in the collection is probably a European version. Internally it is completely SEGA and even if the different electronic parts were produced in Japan, the side art is smaller with different arts. The gear is on the left as in the original. Knob and control panel have been strongly restored but fortunately it has been possible to preserve the originals.

Initial conditions

7 April 2014
I bought this cab a lot of years ago in Germany but I found enough time to restore it recently only. Cleaning the cab I found these coins. A long trip. If it could tell its story…

turbo_before10

Cabinet was quite complete. Only the coin door and the gear shift knob were missing.

turbo_before01 turbo_before02 turbo_before03 turbo_before04 turbo_before05

turbo_before09

turbo_before07

Power section (1)

7 April 2014

This is the power section as I found it.

turbo_before06 turbo_before06-1 turbo_before06-2

Power section (2)

7 April 2014
Clening these components I had a good result. Fortunately I had to remove dust only. Usually I find any kind of things…

Dscn1243 turbo_after08 turbo_after09 turbo_after10 turbo_cleaning02 Dscn1241 Dscn1242 turbo_after07

Sound panel

7 April 2014

Just repainting here and there…

turbo_cleaning03 turbo_cleaning04

Score panel

7 April 2014

Here is the score panel before and after cleaning and repainting

turbo_cleaning08 turbo_cleaning09

T-molding

7 April 2014

T-molding was very compromised. I had to remove all the parts and replace with a new one.

turbo_cleaning08 turbo_cleaning09 turbo_cleaning10

On the left the old T-molding. On the right the new one.

turbo_cleaning12

Inside

8 April 2014

After cleaning I put all stuff inside again.

turbo_inside01 turbo_inside02 turbo_inside03 turbo_inside04 turbo_inside05


Pedal

8 April 2014

This is what I made to the pedal.

Dscn1417 Dscn1641 DSCN1642 Dscn1643 Dscn1644

Dscn1645 Dscn1646 Dscn1647 DSCN1648 DSCN1649

Control panel

8 April 2014

These are the initial conditions of the control panel

Dscn1681

Control panel back side

8 April 2014

This is the rear of the panel. Gauges have been still removed.

Dscn1685 Dscn1686 Dscn1690 Dscn1691 Dscn1692


Control panel front side

8 April 2014

First of all, I sanded the burned area, then I filled the holes. I sanded it again and then I covered everything with resin combined with fiberglass and… I sanded it again…. turbo_after16 turbo_after17

turbo_after18 turbo_after19 turbo_after20 turbo_after21

next step… I used a Primer to prepare the surface to the final color. once the primer was on the surface I use a sponge in order to emulate the original irregular pattern. once it was dry I sprayed it black. that’s all

turbo_after22 turbo_after23 turbo_after24 turbo_after25 turbo_after27

The wheel

8 April 2014

Here is the wheel

Dscn1682 turbo_wheel01 turbo_wheel02 turbo_wheel03 turbo_wheel04 turbo_wheel05

Coin door and cash box

8 April 2014

These are the coin door and the cash box

Dscn1634

Dscn1635 DSCN1636 Dscn1657 DSCN1658 Dscn1660 Dscn1661

Boardset – Sound board

8 April 2014

Dscn1820 Dscn1822 Dscn1823

Boardset – Score board

8 April 2014

turbo_after13 turbo_after14

Boardset – Main board

8 April 2014

Dscn1832 Dscn1834 Dscn1835

Boardset – P-Rom board

8 April 2014

Dscn1931 Dscn1932 Dscn1933

Cabinet

8 April 2014

This is the cab after restoration.

turbo03 turbo02 turbo07 turbo01 turbo05 turbo04


Troubleshooting the display

8 April 2014

Display was corrupted. This is the pattern shows during test:

Image4

Looking at the schematics I could see the corrupted digits are all connected to the same bus.

DSCN1960low

Changing IC83 the display started working properly.

DSCN1962low


Troubleshooting the pedal

8 April 2014

During tests I can see pedal values sequence is 3-2-3 instead of 0-1-2-3.

peda2

3-2-3 means “Accel B” doesn’t work. Changing the IC on the pedal circuit (7414)  pedal started to work properly for few days but then I had to replace 7414 again. I changed other 3 times the same chip. Substituting this component with a 7404 I had no more problems.

3D malfunctioning

19 October 2014

Last week I saw my TURBO had this funny problem:


https://www.youtube.com/watch?v=SikhA6IW5wg 


after some checks I understood that the problem was into the power connector on the CPU board. removing the oxide from the connector I solved this problem but another one raised up

Wrong car sprites

19 October 2014

Probably the power problems on the connector made a damaged in the circuit that draws cars. I had a problem on violet and green cards; here you can see a movie of the problem.

I checked the EPROMS on the PROM board and I found the EPROM dedicated to the violet and green cars! It is the EPR1248. EPR1247 is dedicated to the other cars, yellows and blues.

This is a movie of the game with the EPR1248 removed

I checked the EPROM but the checksum was ok

turbo10
Swapping EPR1247 and 1248 cars swapped position too but the problem persisted on violet and green cars so I burned a new EPR1248 although ROMIDENT said it was ok. So this was the right decision because with a new EPROM the game played perfectly.

Free Play

25 February 2016

Thanks to Matt Osborn I installed the FREE PLAY eprom on my boardsets; very easy job and great result? Are you interested in this modification including the save kit?, please go here. This is the CPU board before the modification. You can see the metal case with the encrypted CPU

turbo_encrypted
and here is the same board with the Z80 instead of the encrypted CPU and the unencrypted EPROMs installed

turbo_unencrypted